Skip to content
Facebook
Instagram
YouTube
TikTok
Search
Quilt Block Club
Join a Swap
Meet Nicole Moore
Expand
Contact Me
Creative Day Job
Blog
Expand
Quilting
Sewing
Crafting
Sew Much Moore Events
Expand
In-Person Events
Expand
Guild and Event Lectures
Workshops & Classes
Retreats
Online Events
Expand
Sew Much Moore Swaps
Sew Much Moore Quilt-A-Longs (QAL)
Shop
MENU
Toggle Menu
Home
»
Blog
Blog
Quilting
|
Sewing
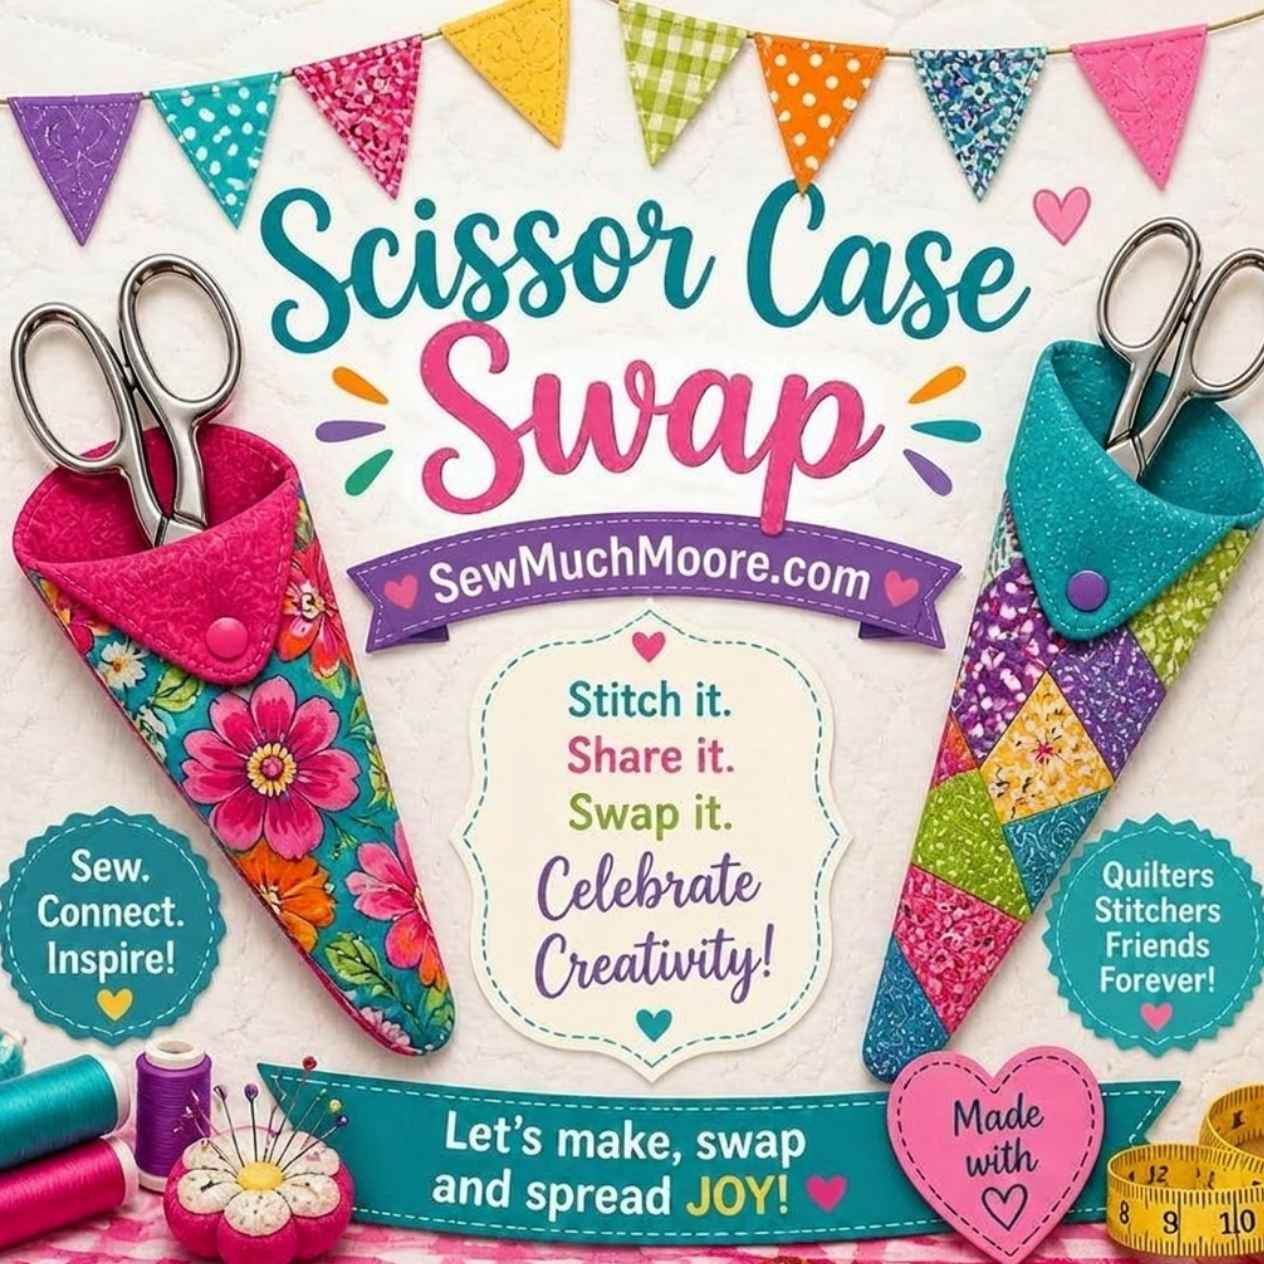
Scissor Case Swap
Quilting
|
Sewing
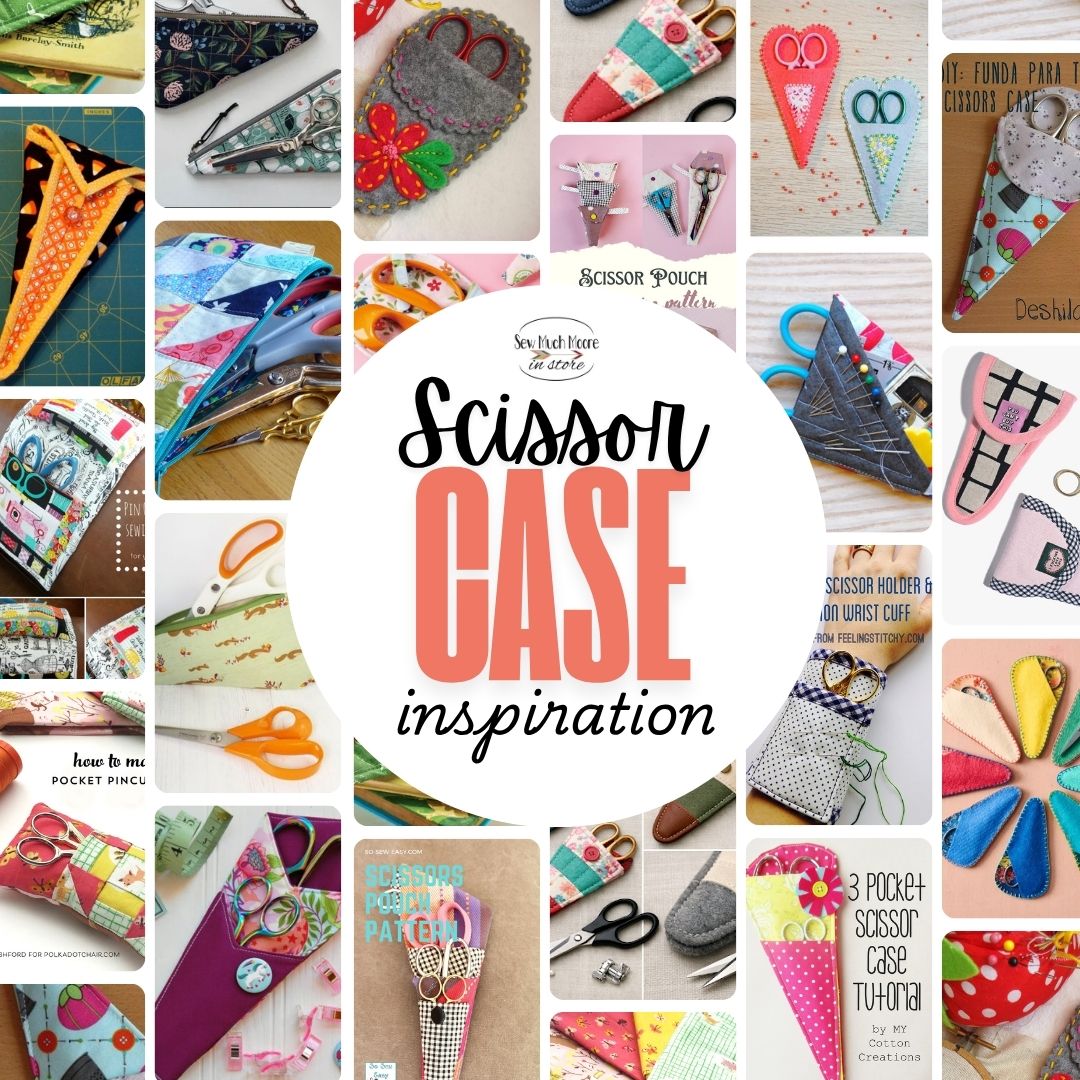
Scissor Case Inspiration
Quilting
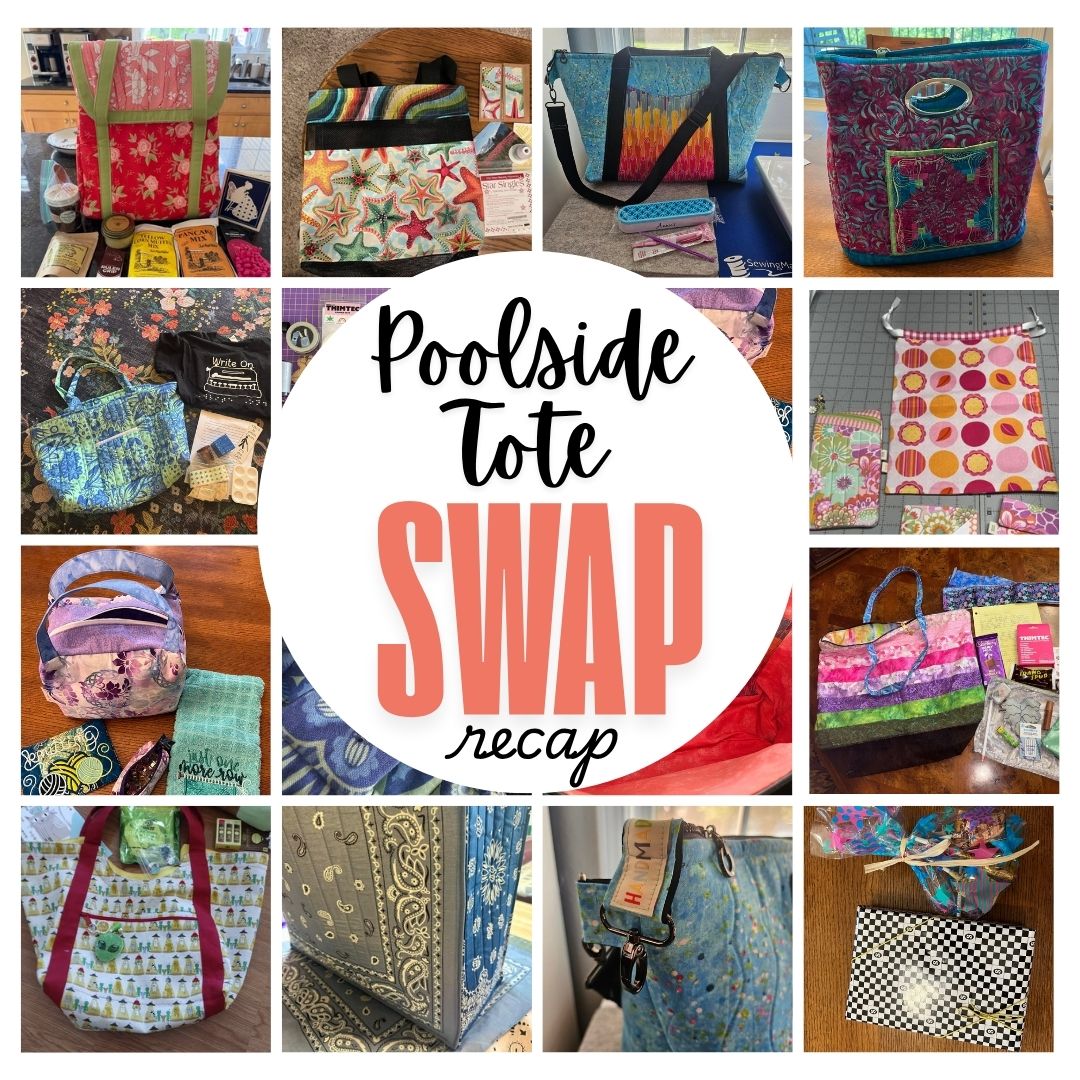
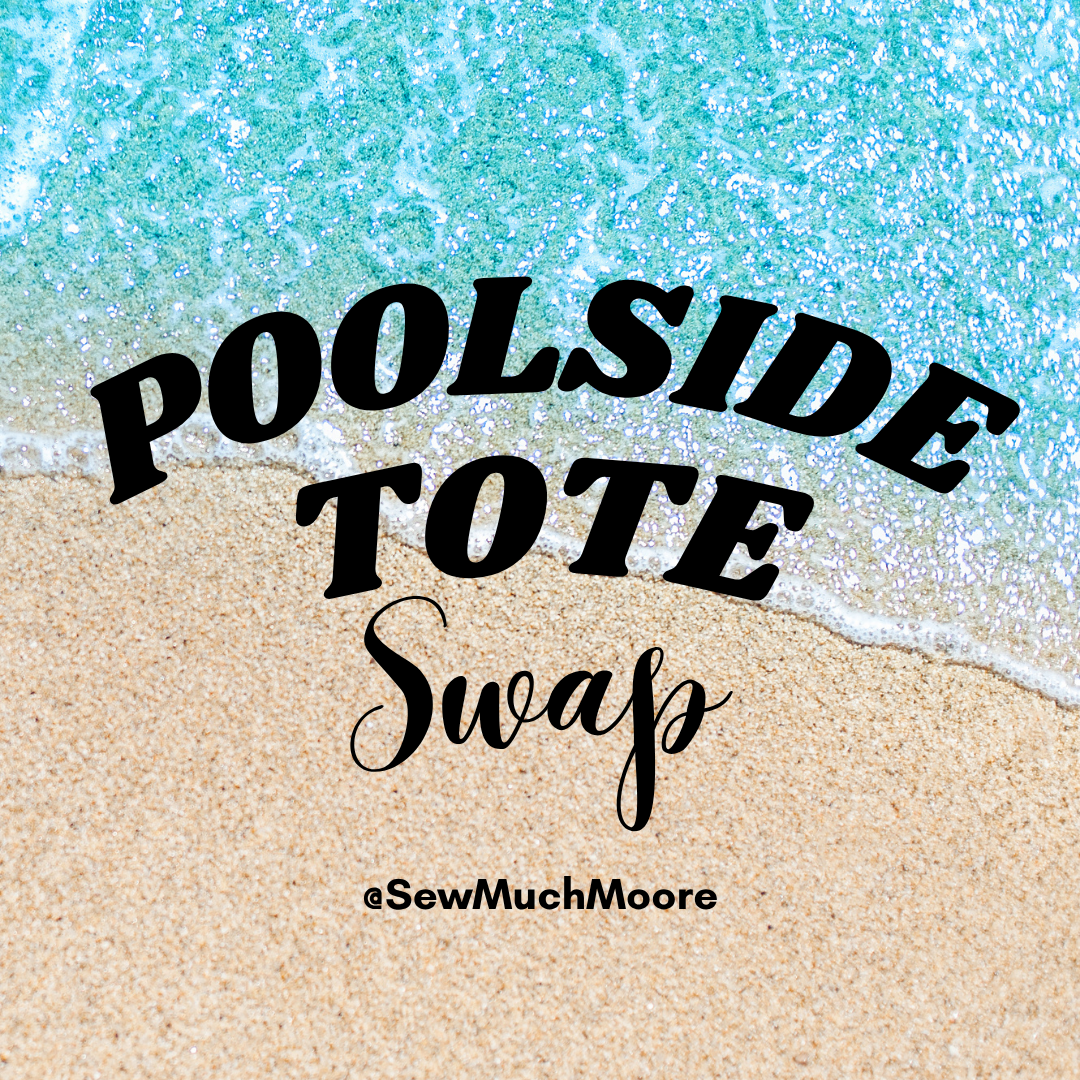
Poolside Tote Swap Recap
Quilting
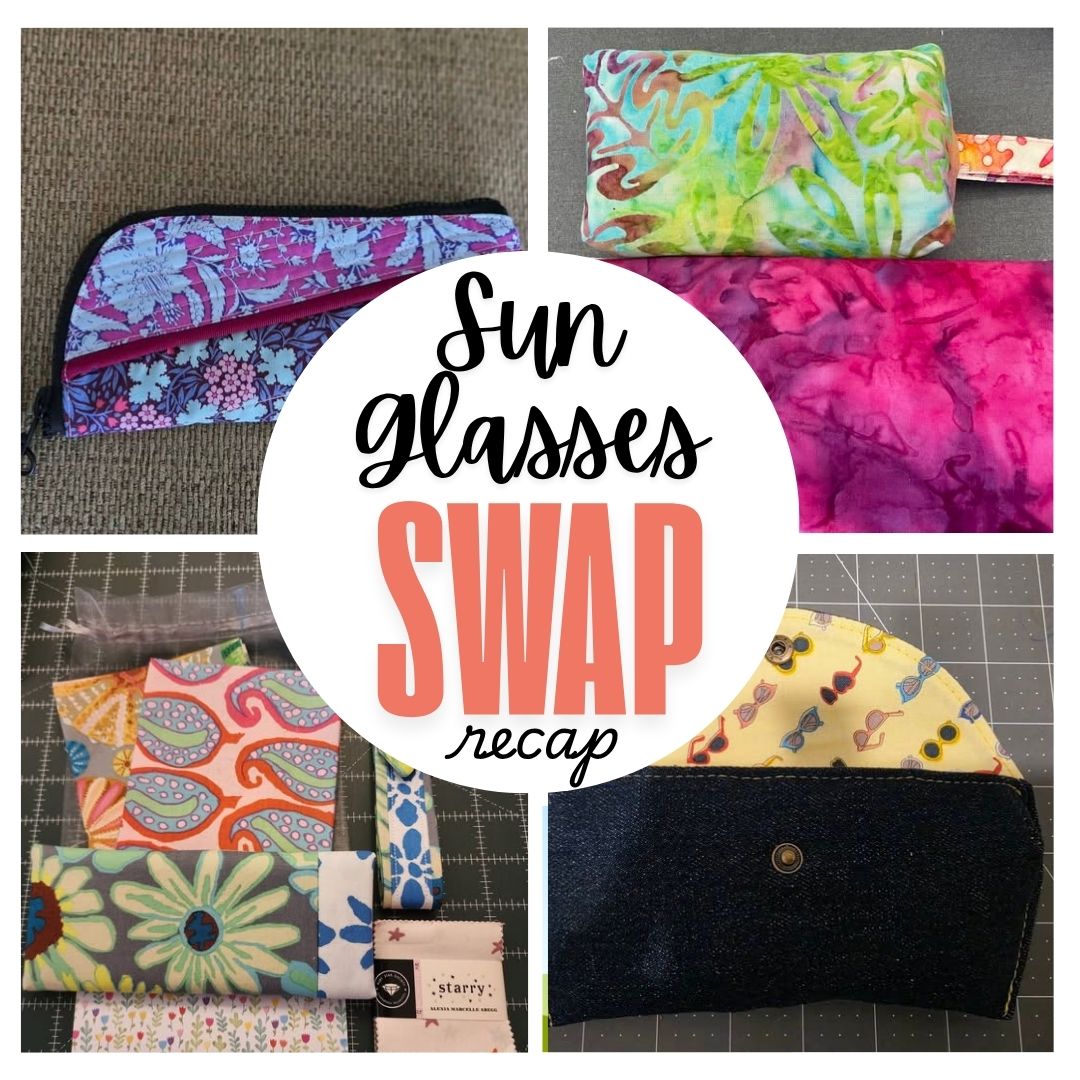
Sunglasses Case Swap Recap
Quilting
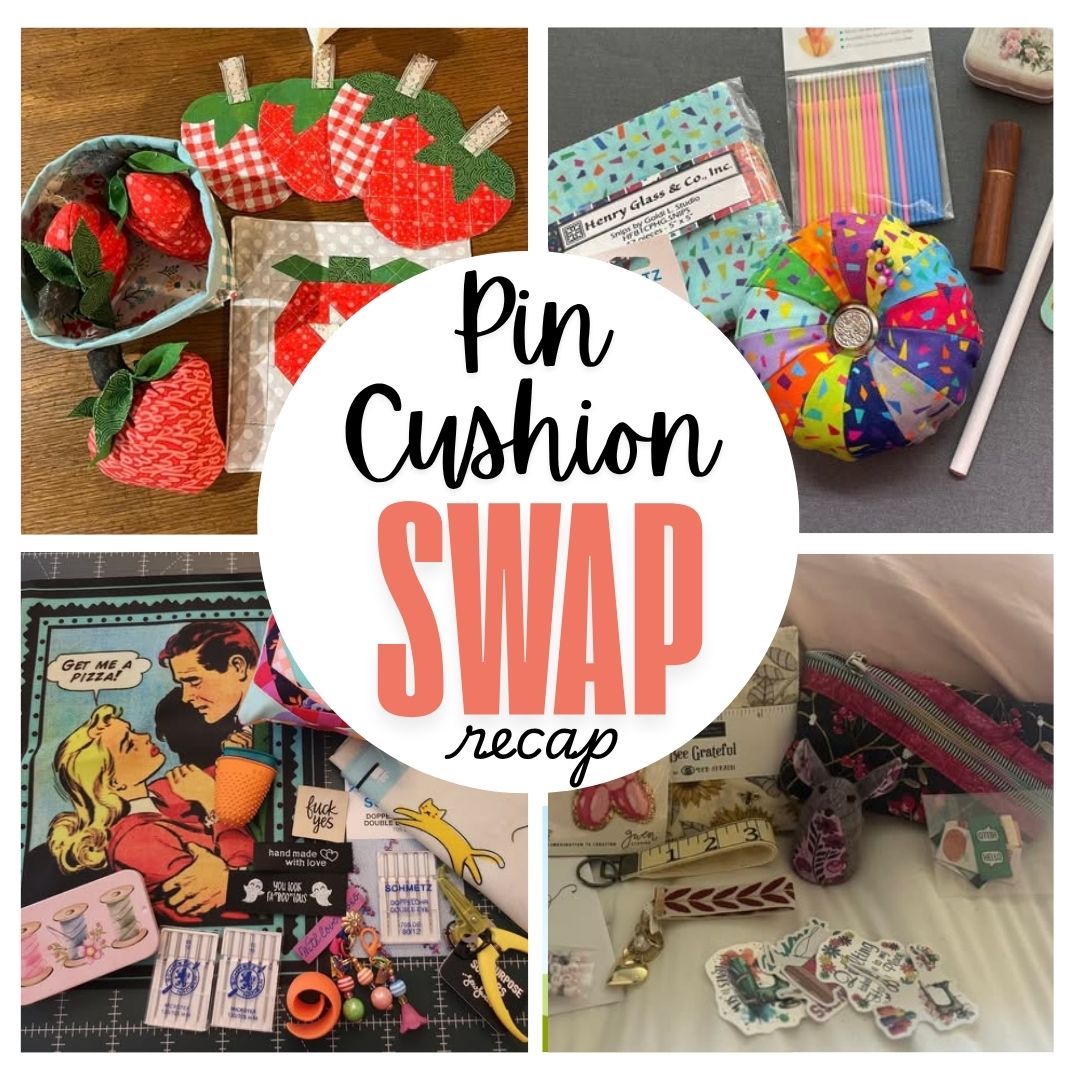
Pin Cushion Swap Recap
Quilting
|
Sewing
Poolside Tote Swap
Quilting
|
Sewing
Poolside Tote Inspiration
Quilting
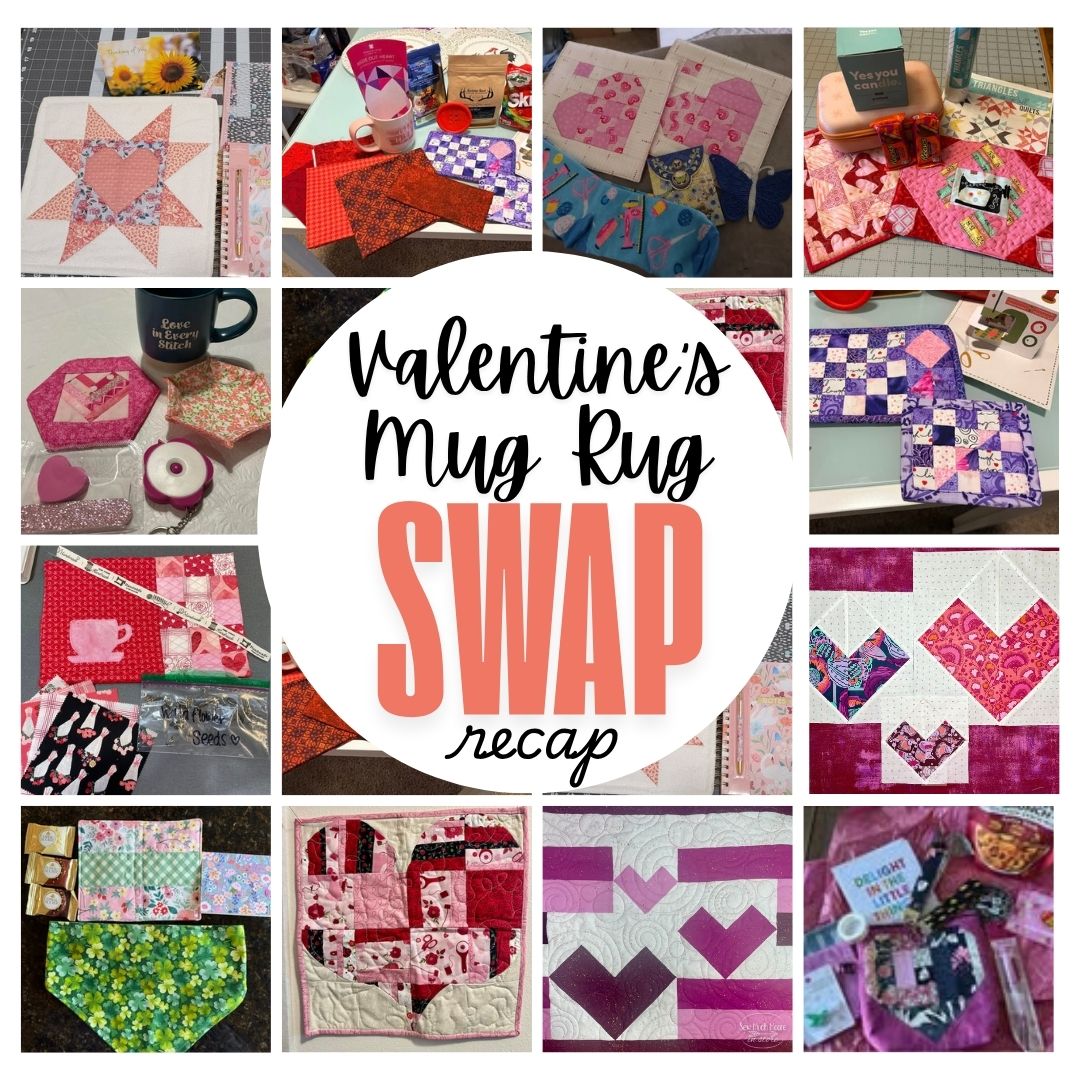
Valentine’s Mug Rug Swap Recap
Quilting
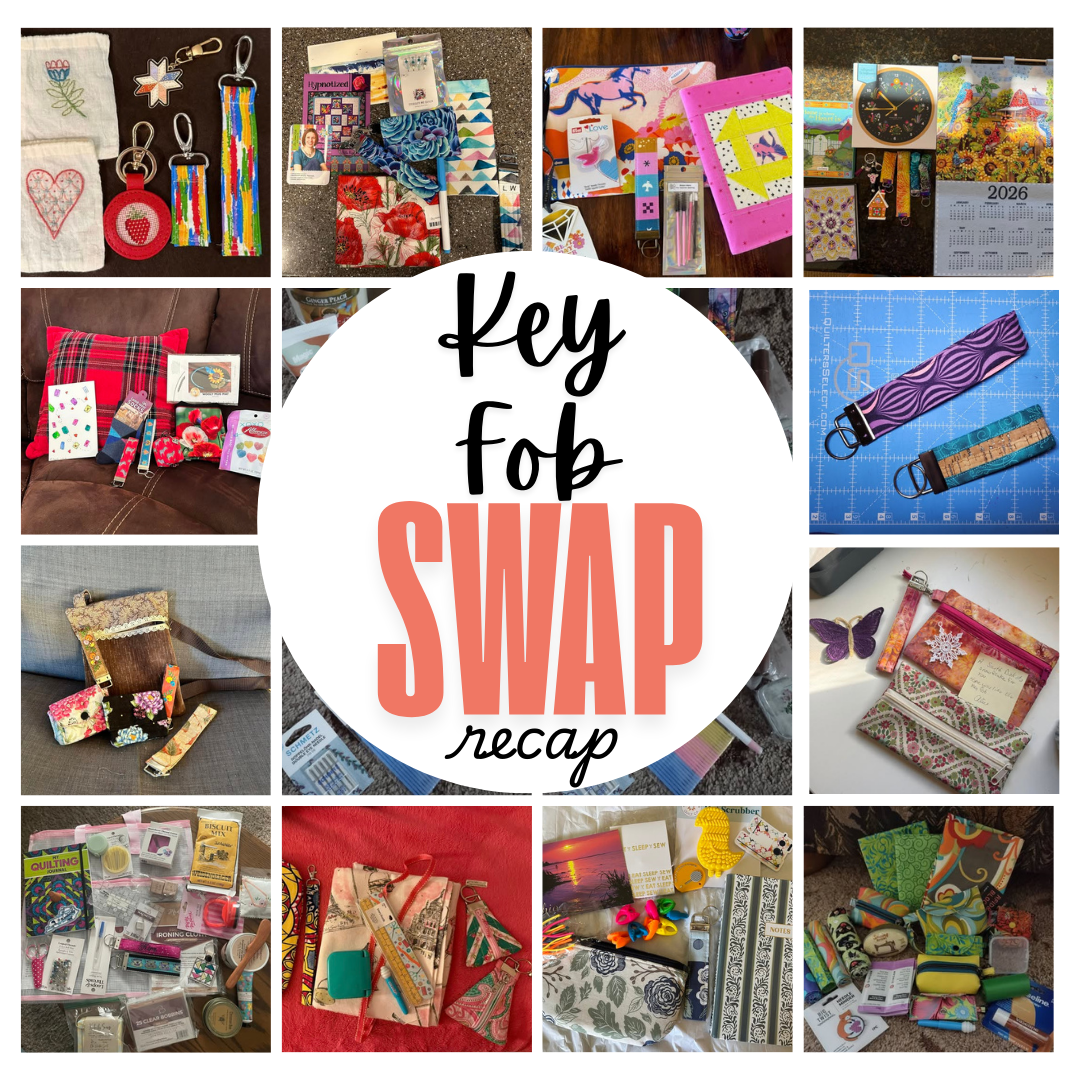
Key Fob Swap Recap
Quilting
|
Sewing
Sunglasses Case Swap
Quilting
|
Sewing
Sunglasses Case Inspiration
Quilting
|
Sewing
Valentine’s Mug Rug Swap
Quilting
|
Sewing
Valentine’s Mug Rug Inspiration
Quilt Block Club
December 2025 Quilt Block Club Recap
Quilt Block Club
November 2025 Quilt Block Club Recap
Quilting
|
Sewing
Key Fob Swap
Quilting
Hot Pad Swap Recap
Quilting
|
Sewing
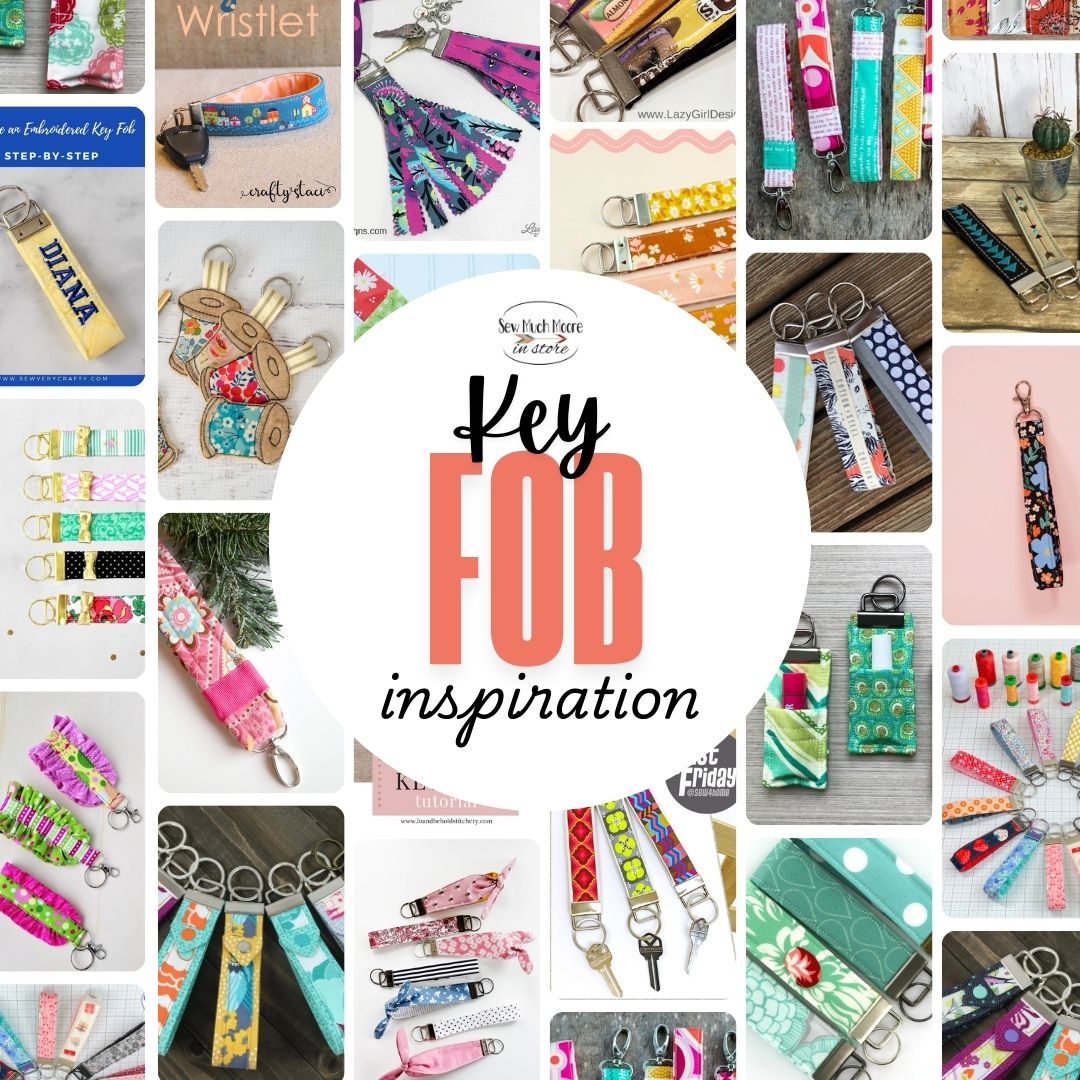
Key Fob Inspiration
Quilting
Twinkle Twinkle Tannenbaum QAL Recap
Quilt Block Club
October 2025 Quilt Block Club Recap
Quilting
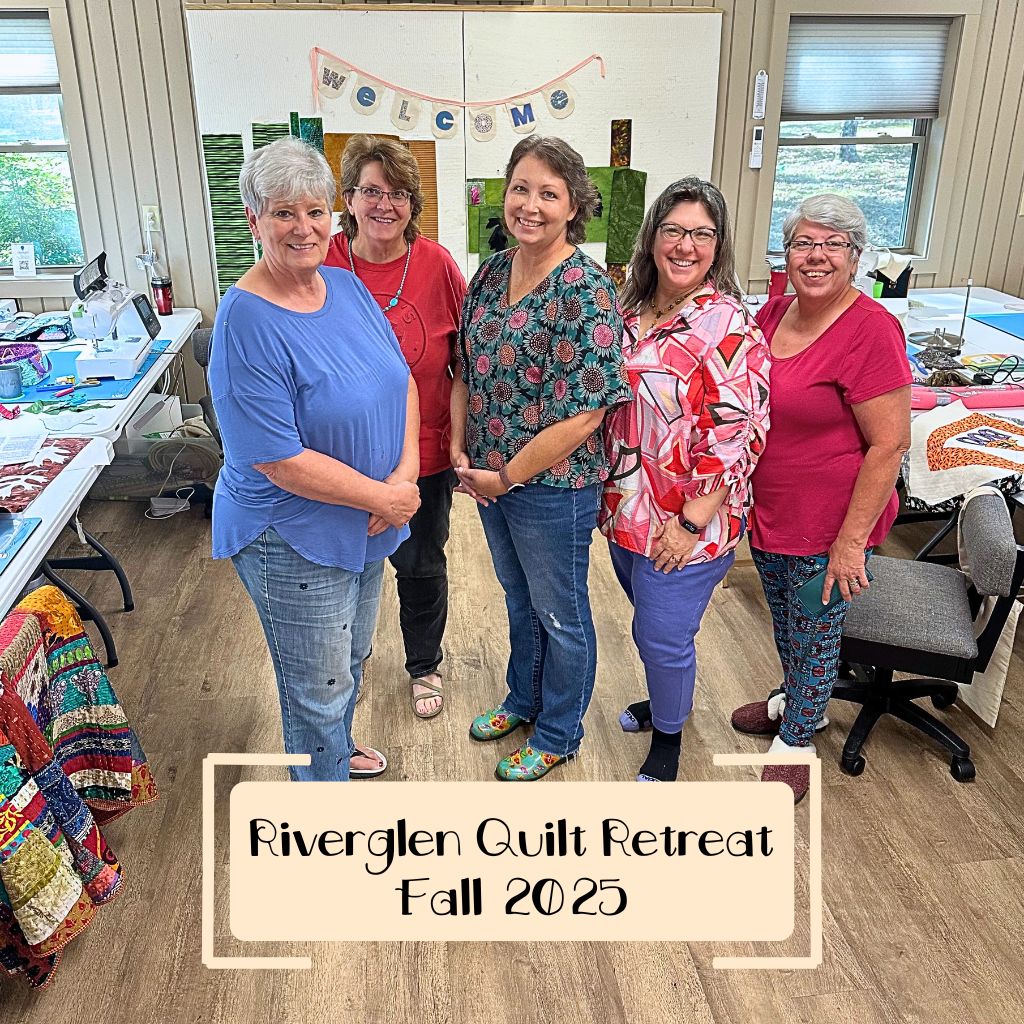
Riverglen Quilt Retreat Recap
Quilting
Tote Bag Swap Recap
Quilting
|
Sewing
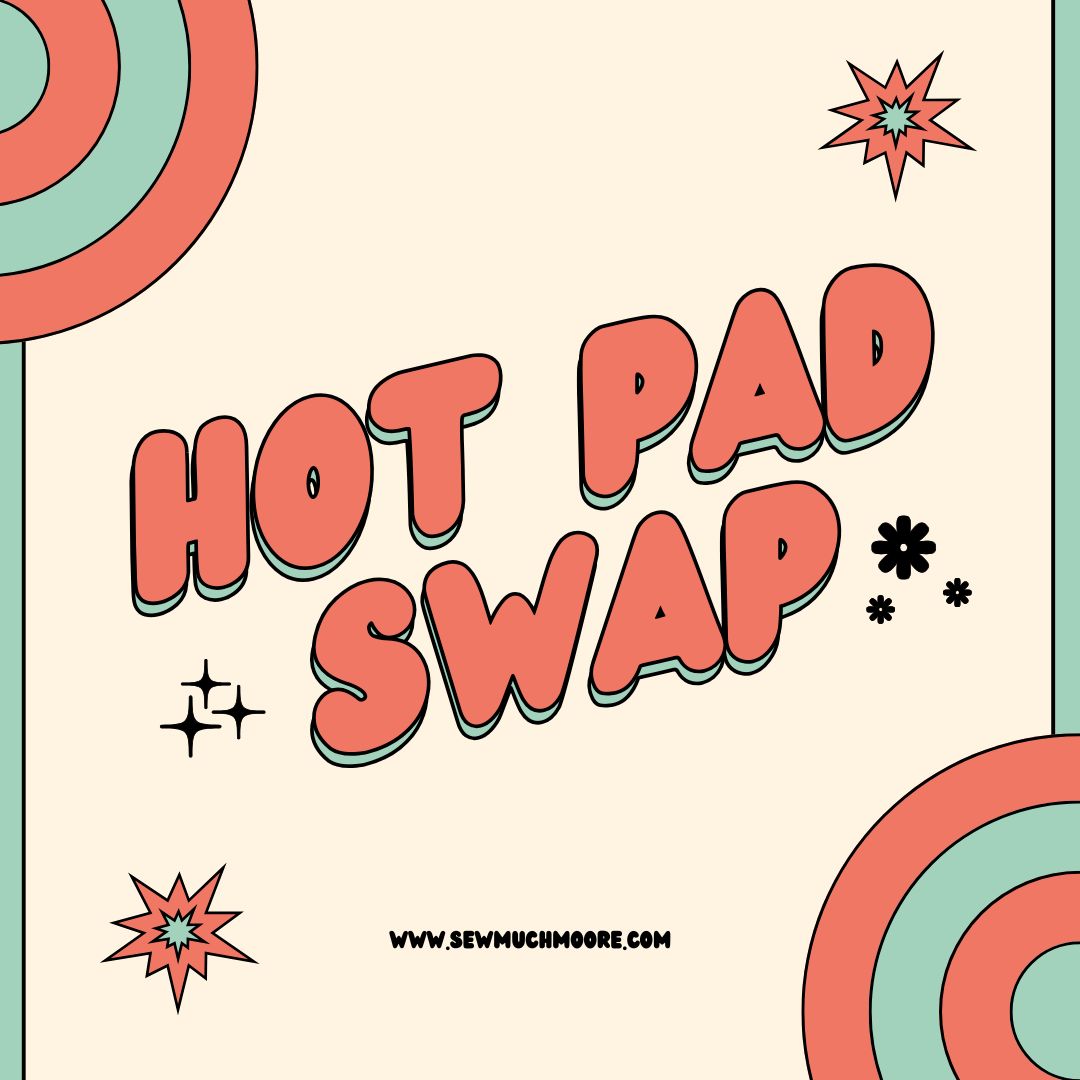
Hot Pad Swap
Quilting
|
Sewing
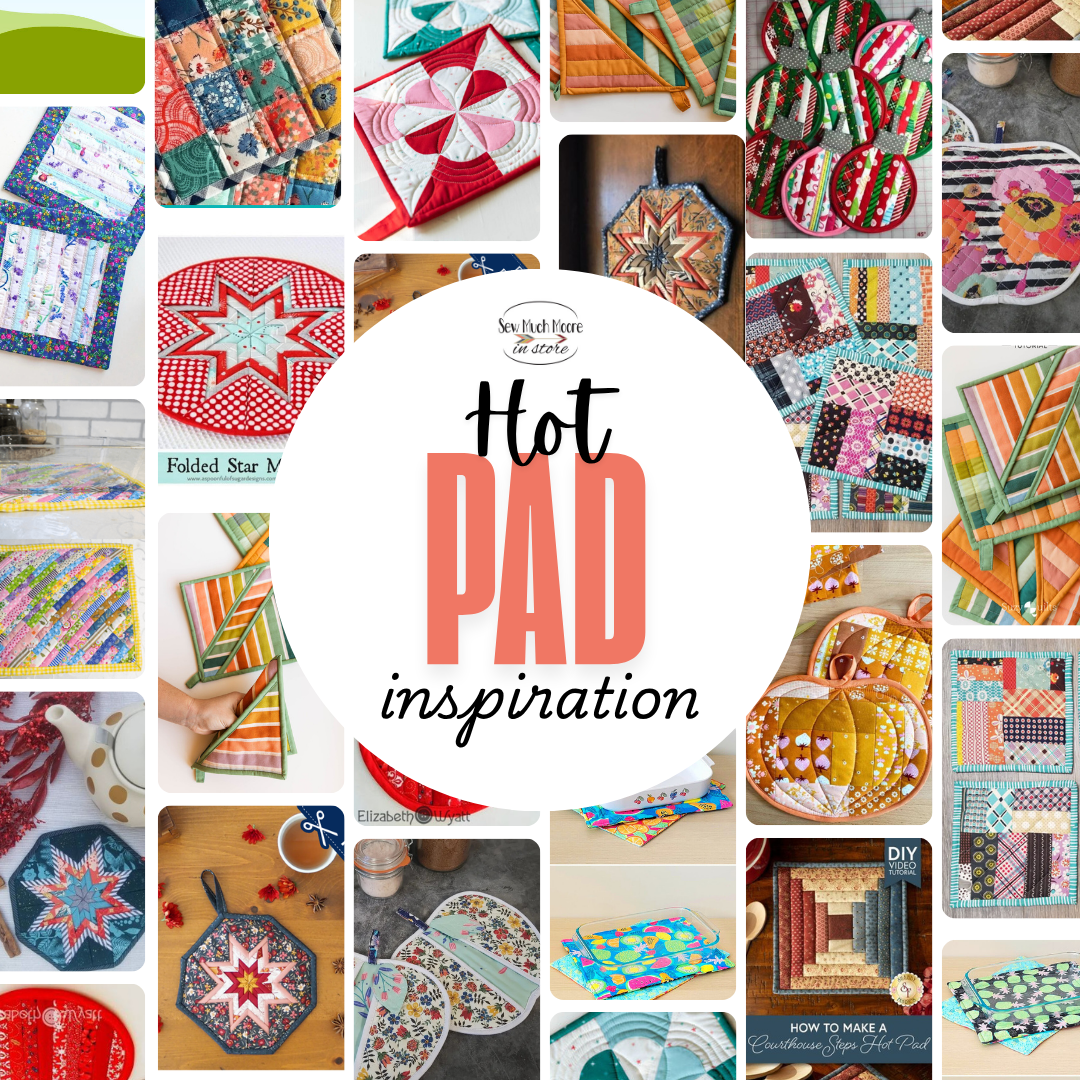
Hot Pad Inspiration
Quilt Block Club
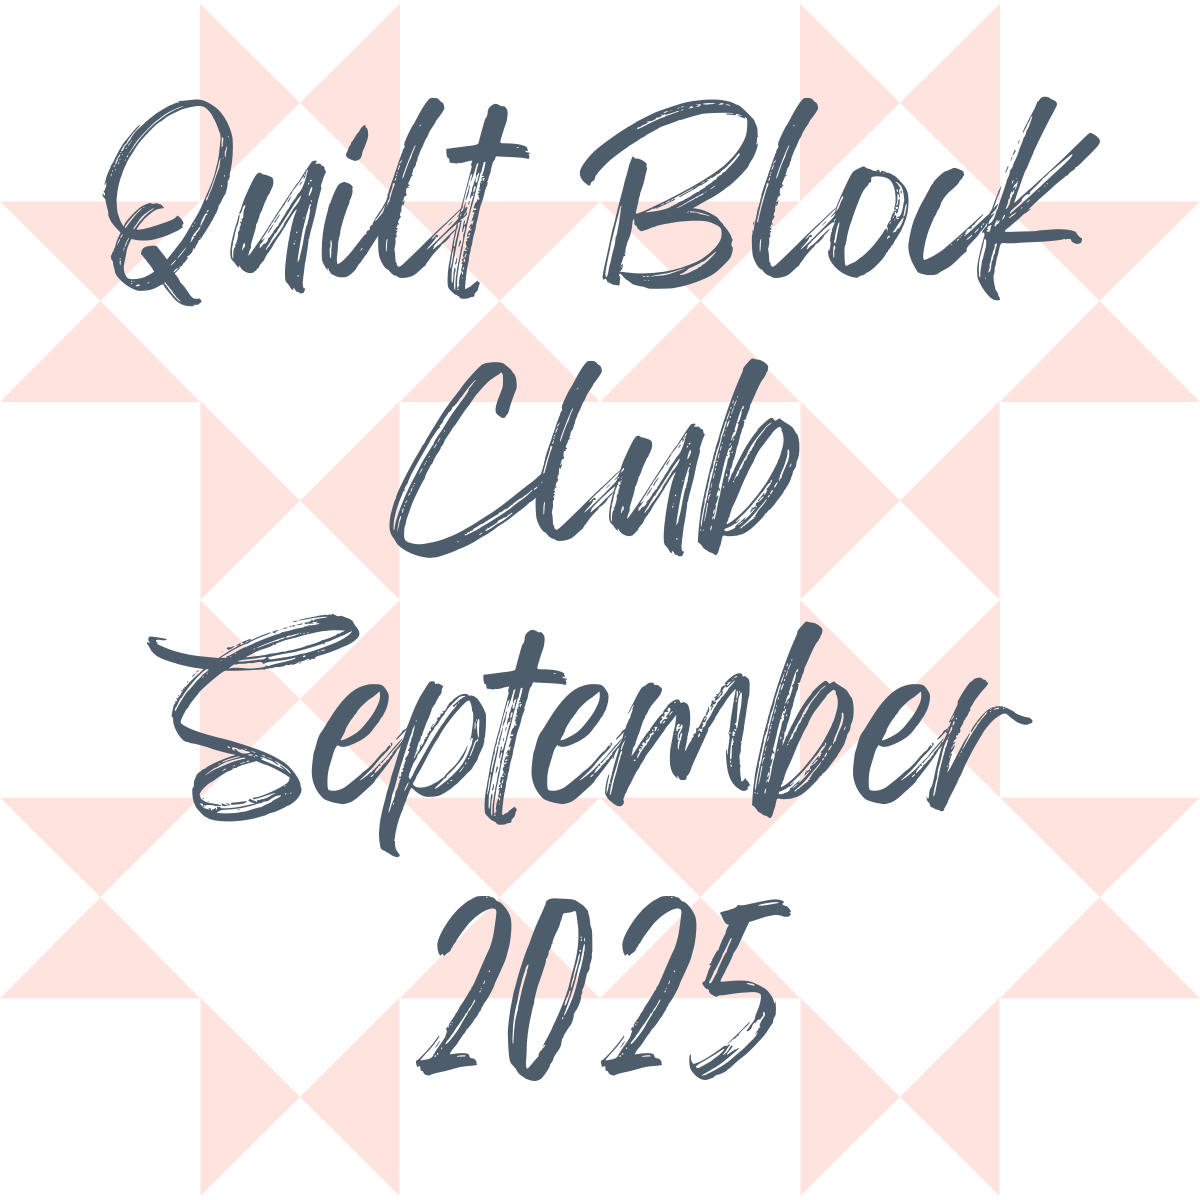
September 2025 Quilt Block Club Recap
Quilting
Why I Switched to CutterPillar Quilting Tools
Quilting
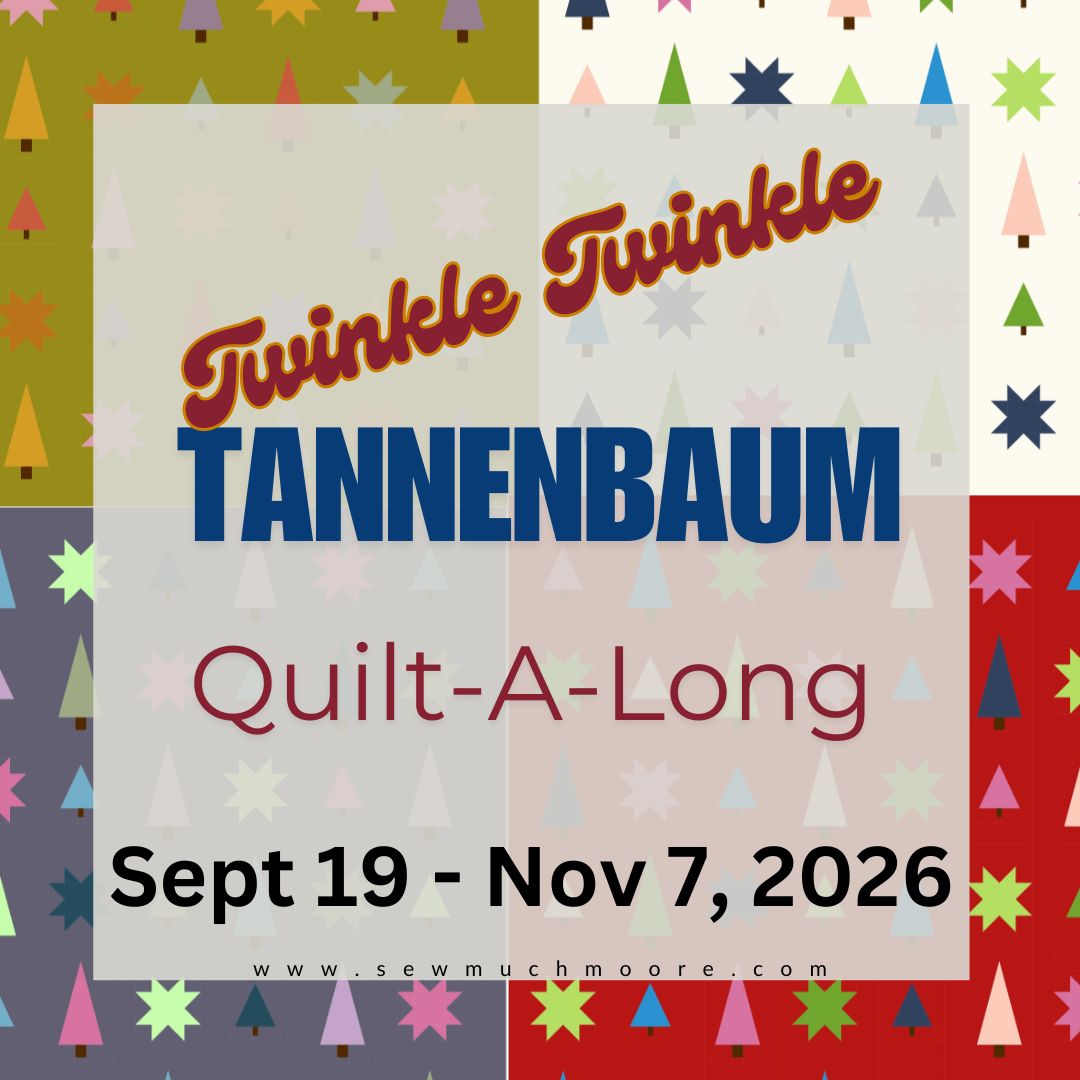
Twinkle Twinkle Tannenbaum QAL
Quilt Block Club
August 2025 Quilt Block Club Recap
Quilting
|
Sewing
What’s the Difference Between Tiled and Mosaic Memory Quilts?
Quilting
|
Sewing
Best Quilting Starch: Why I Use Magic Quilting & Crafting Spray
Quilting
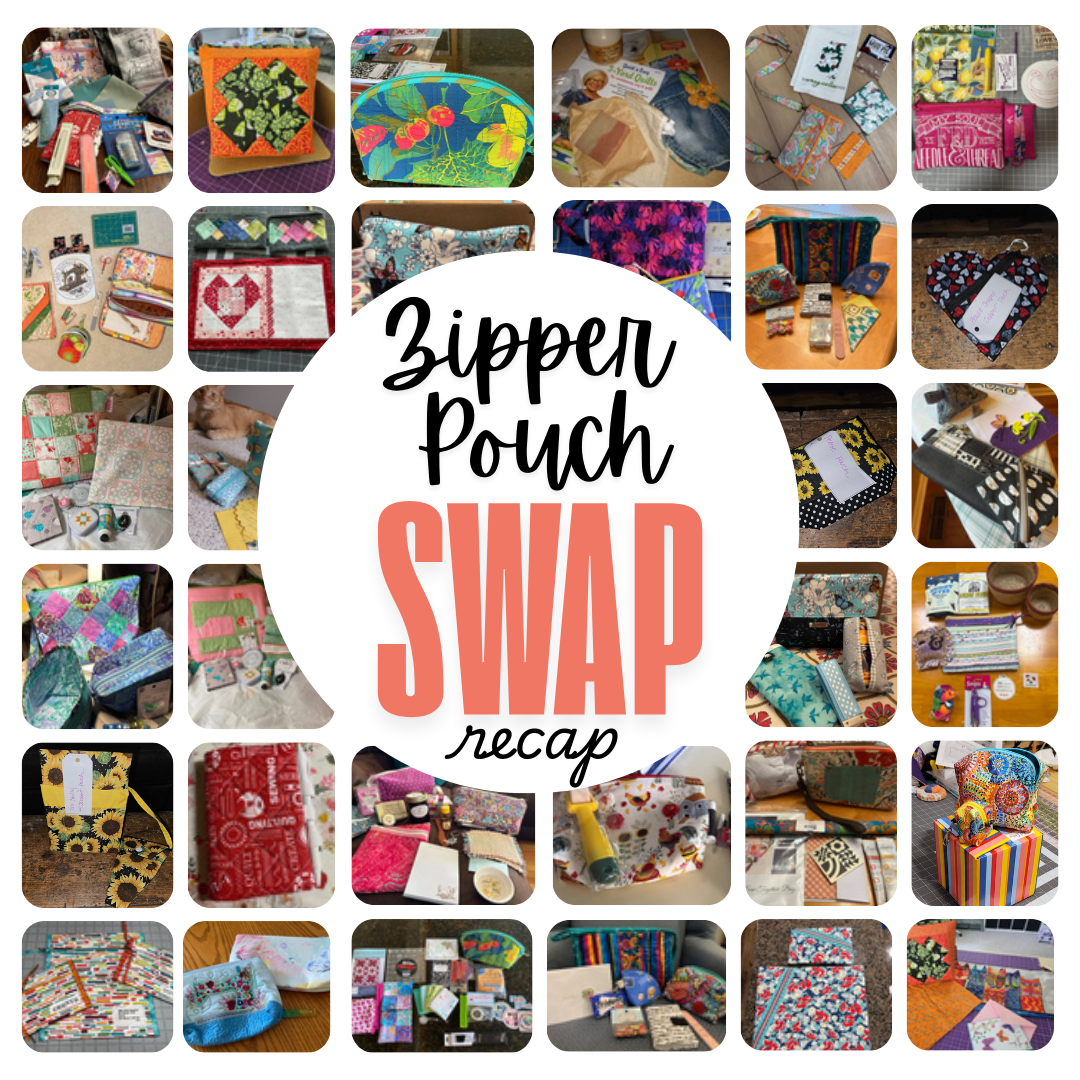
Zipper Pouch Swap Recap 2025
Quilting
|
Sewing
Tote Bag Swap
Page navigation
1
2
3
…
10
Next Page
Next
Scroll to top
Scroll to top
Quilt Block Club
Join a Swap
Meet Nicole Moore
Toggle child menu
Expand
Contact Me
Creative Day Job
Blog
Toggle child menu
Expand
Quilting
Sewing
Crafting
Sew Much Moore Events
Toggle child menu
Expand
In-Person Events
Toggle child menu
Expand
Guild and Event Lectures
Workshops & Classes
Retreats
Online Events
Toggle child menu
Expand
Sew Much Moore Swaps
Sew Much Moore Quilt-A-Longs (QAL)
Shop
Facebook
Instagram
YouTube
TikTok
Search for:
Search
Toggle Menu Close
Search for:
Search