Snowflake Wall Art
Creating Snowflake Wall Art is an excellent solution for those who have unconventional home color schemes, like my orange and green walls. It’s challenging to find Christmas decor that matches such unique colors, which is why I often make my own. This article will walk you through a simple, no-sew project to make snowflake wall art that can complement any room.
Fabric for this Project
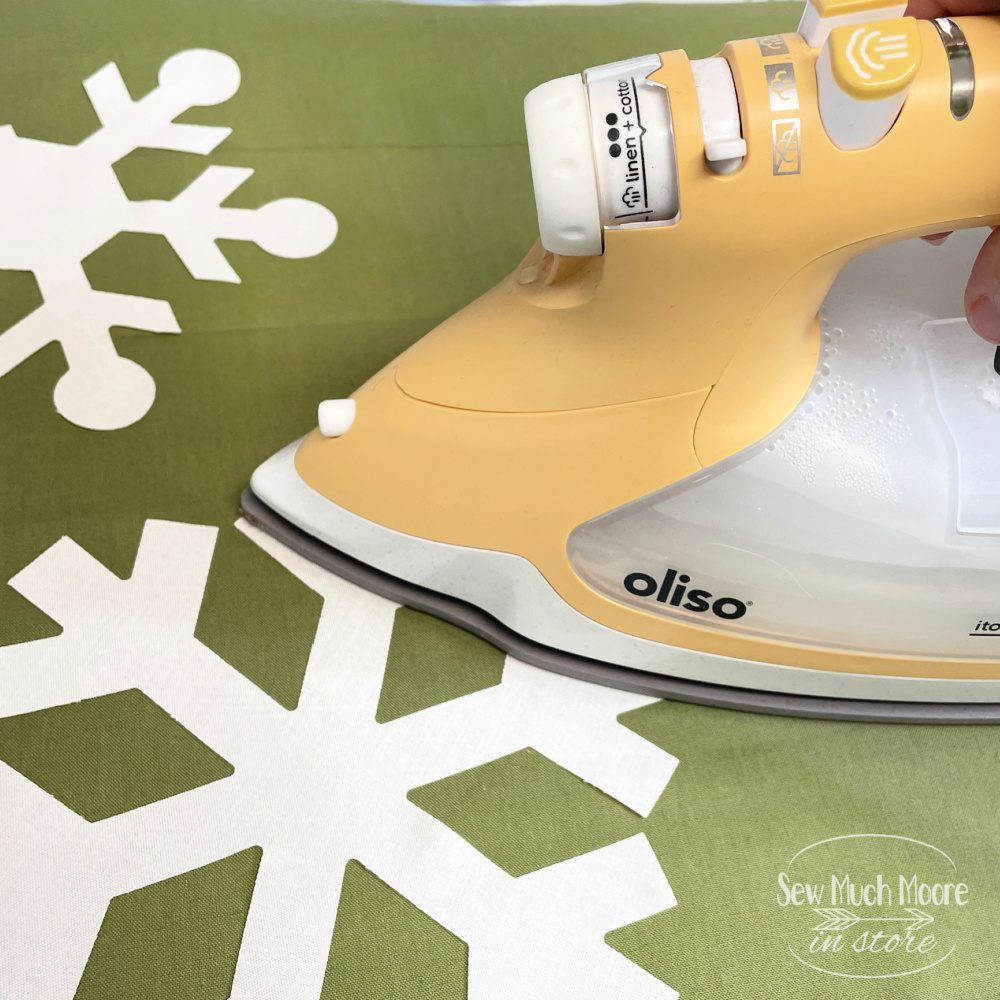
The project starts with choosing the right fabric. You’ll need a yard of background fabric and a 23” x Width of Fabric piece for the snowflakes. The fabric should match your room’s color scheme. For sticking the snowflakes, HeatnBond Iron On Adhesive works well. It’s strong and easy to find online or in stores.
Tools, Equipment & Supplies
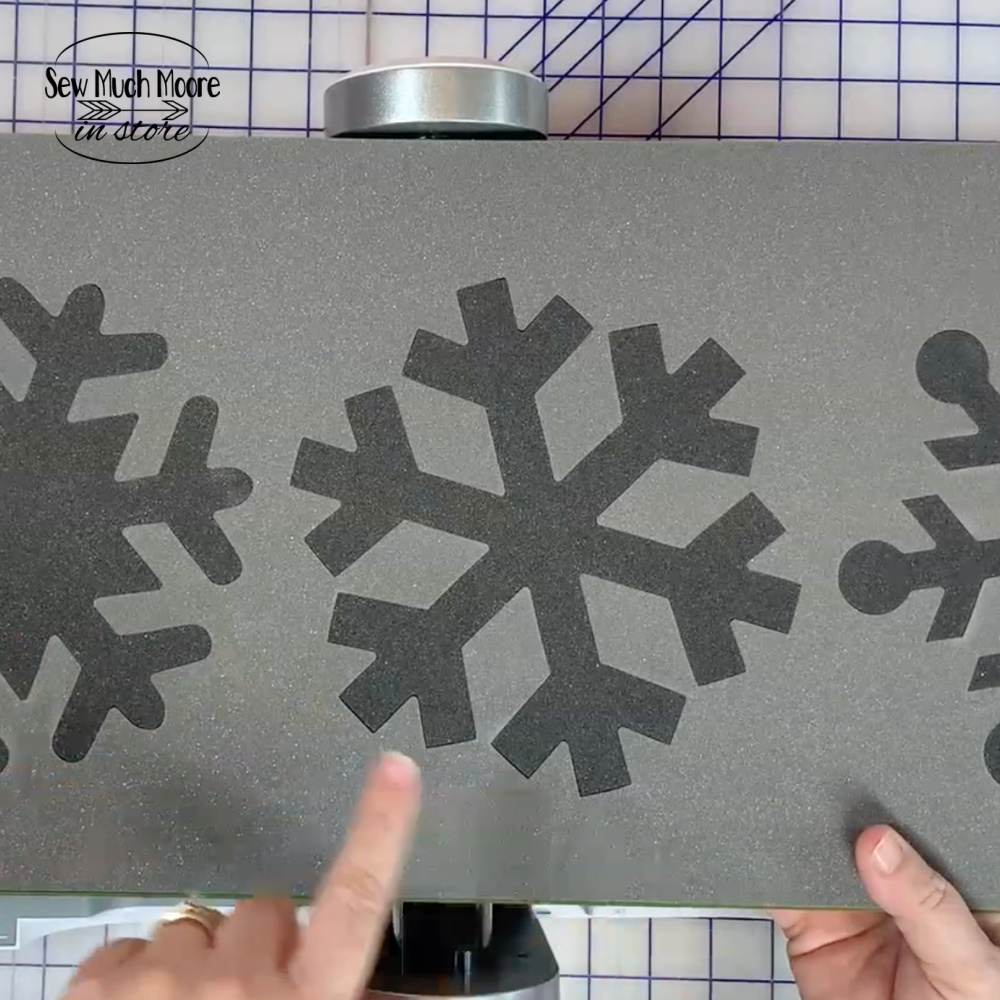
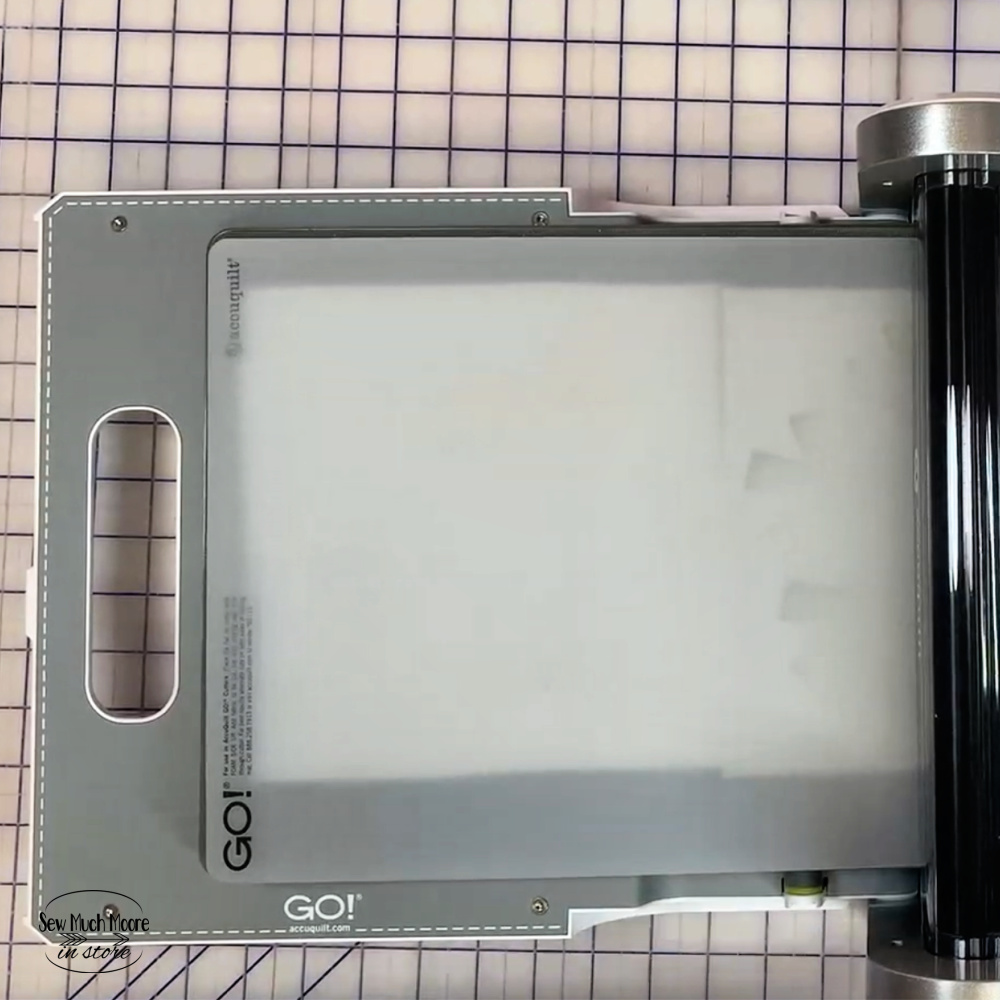
For this project, you’ll need basic tools: an iron, ironing board, and the AccuQuilt Go! Cutting System with a Snowflake Die. These tools make the job easier, especially the AccuQuilt system, which cuts snowflakes precisely and quickly. Don’t forget the packing tape – it’s simple but effective for securing the final product.
Frame and Canvas
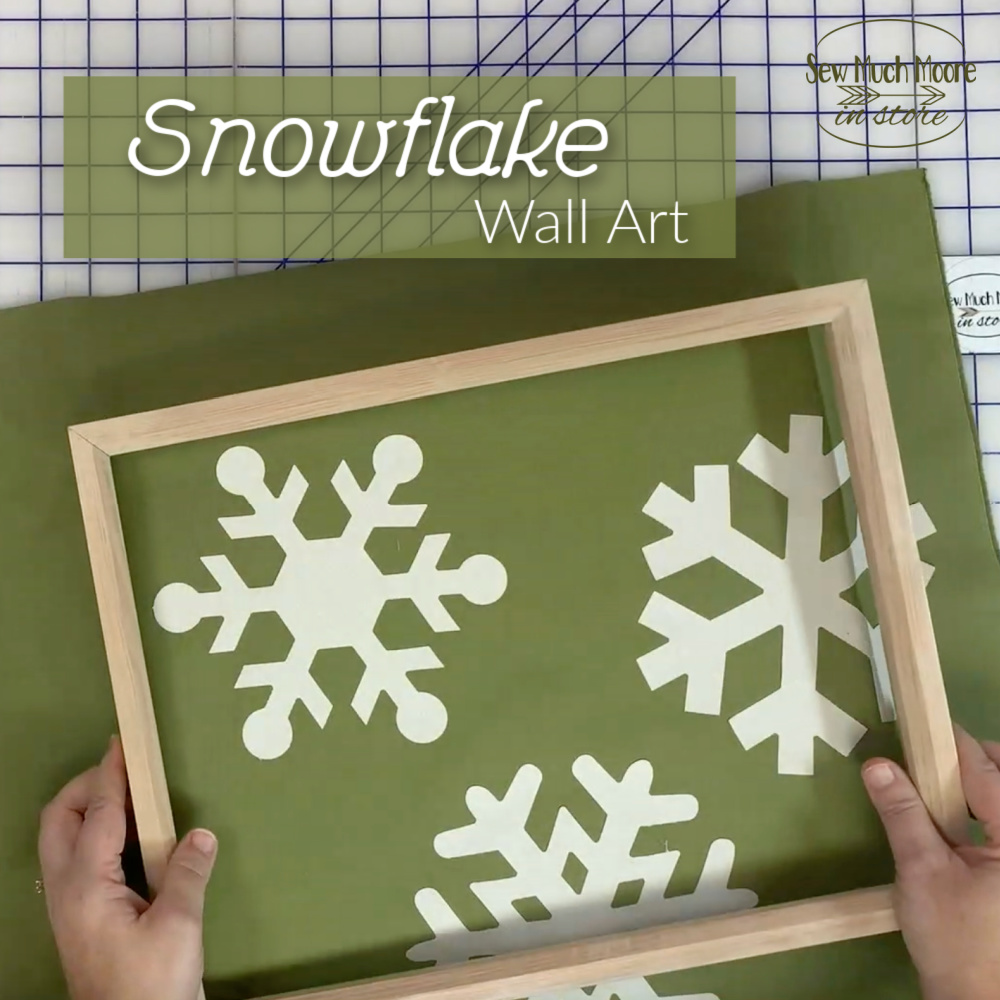
I used frames my dad made, which match the aspen-colored wood in my kitchen. These frames have been versatile over the years, used for various seasonal decorations. This flexibility is something to consider when choosing or making frames for your own snowflake art.
Prepping the Snowflake Fabric
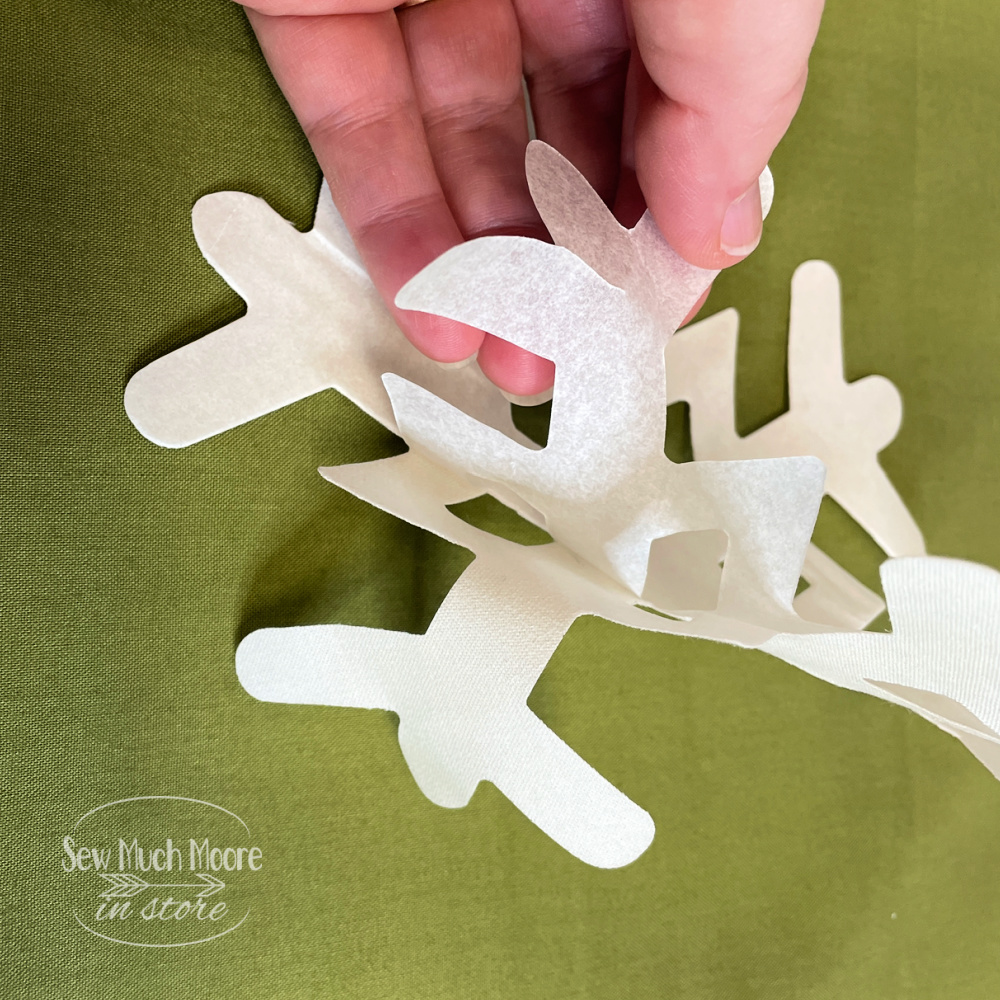
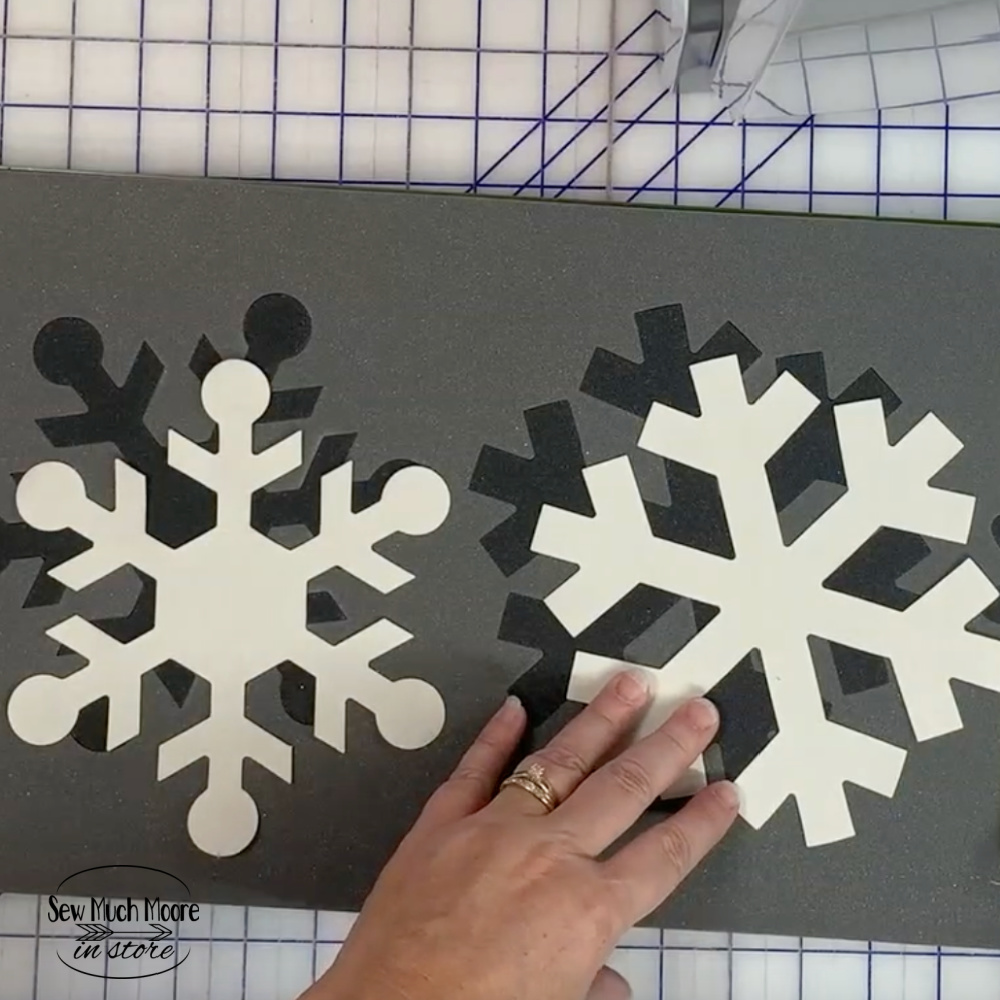
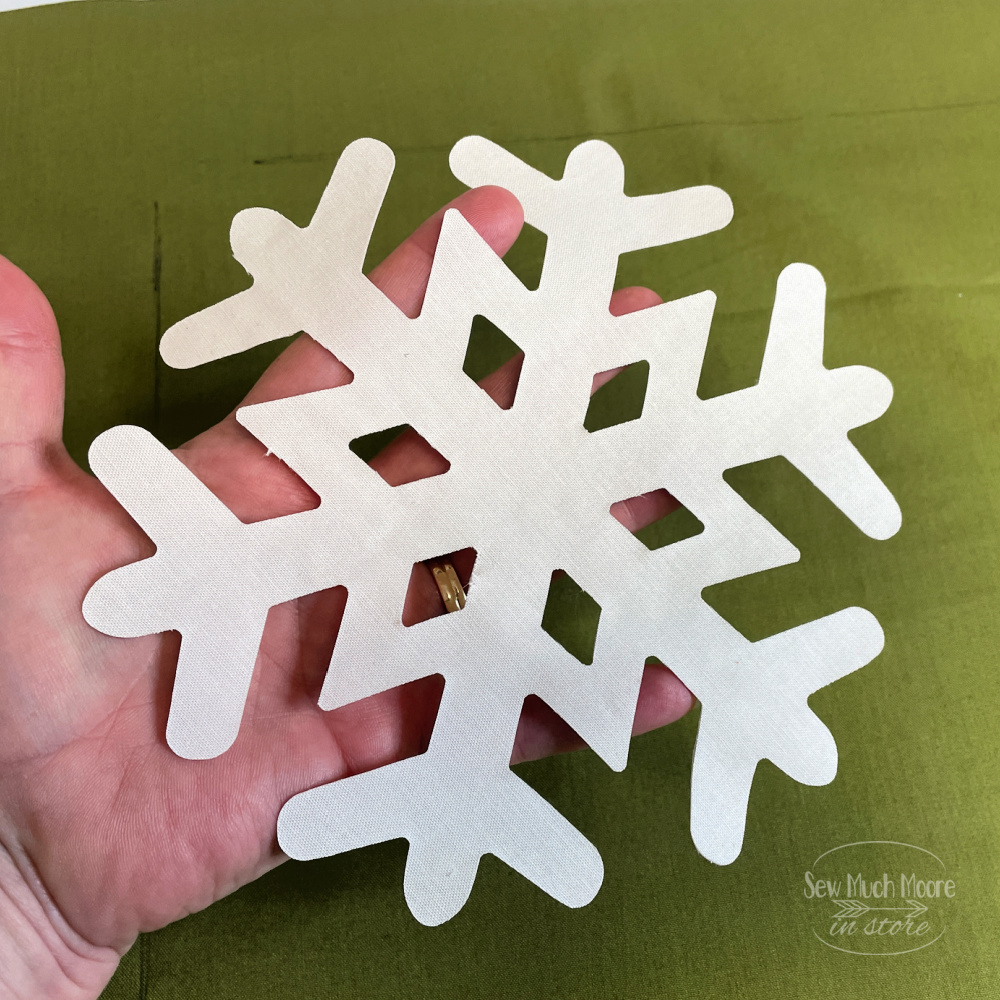
Preparation is key. For the snowflakes, you need 7-inch fabric squares. I needed 12 snowflakes for my four frames. Attaching double-sided iron-on adhesive to the fabric before cutting ensures a firm hold and easy application later on.
Cutting out the Snowflakes
The AccuQuilt GO! Cutting system simplifies cutting out the snowflakes. Just place the fabric squares on the Die, run it through the machine, and you get perfect snowflakes. This process is straightforward and efficient, ensuring neat and consistent results.
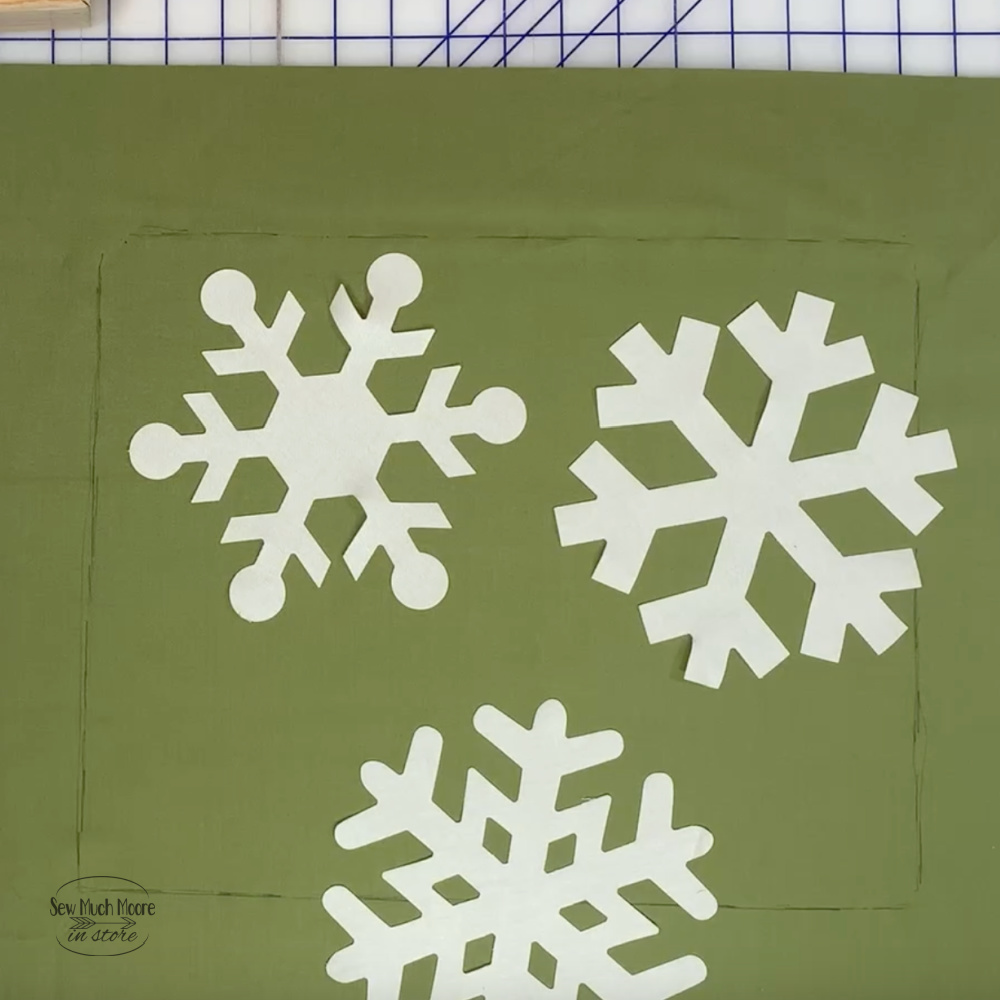
Laying out the Snowflake
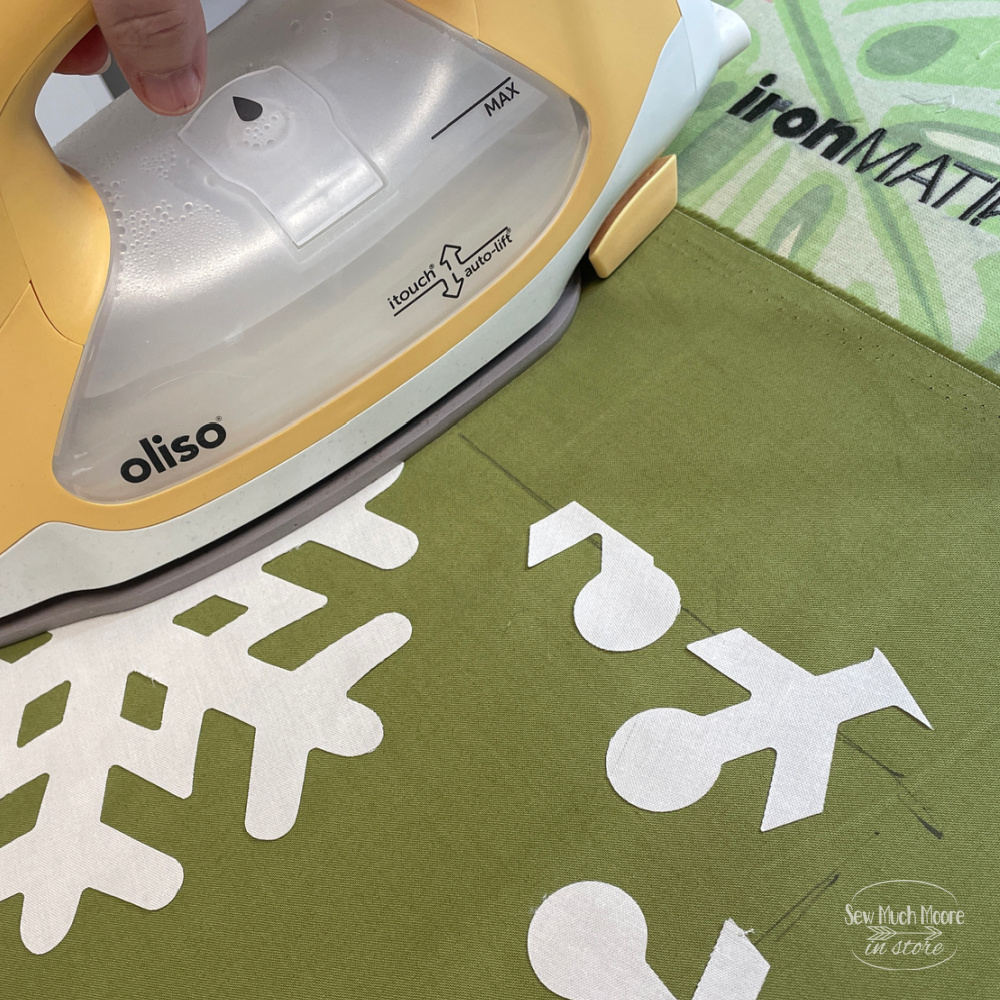
Arranging the snowflakes on the background fabric requires some planning. I aimed for a balanced yet dynamic look, positioning the snowflakes so they seemed to cascade across the fabric. This step is about experimenting until you find a layout you like.
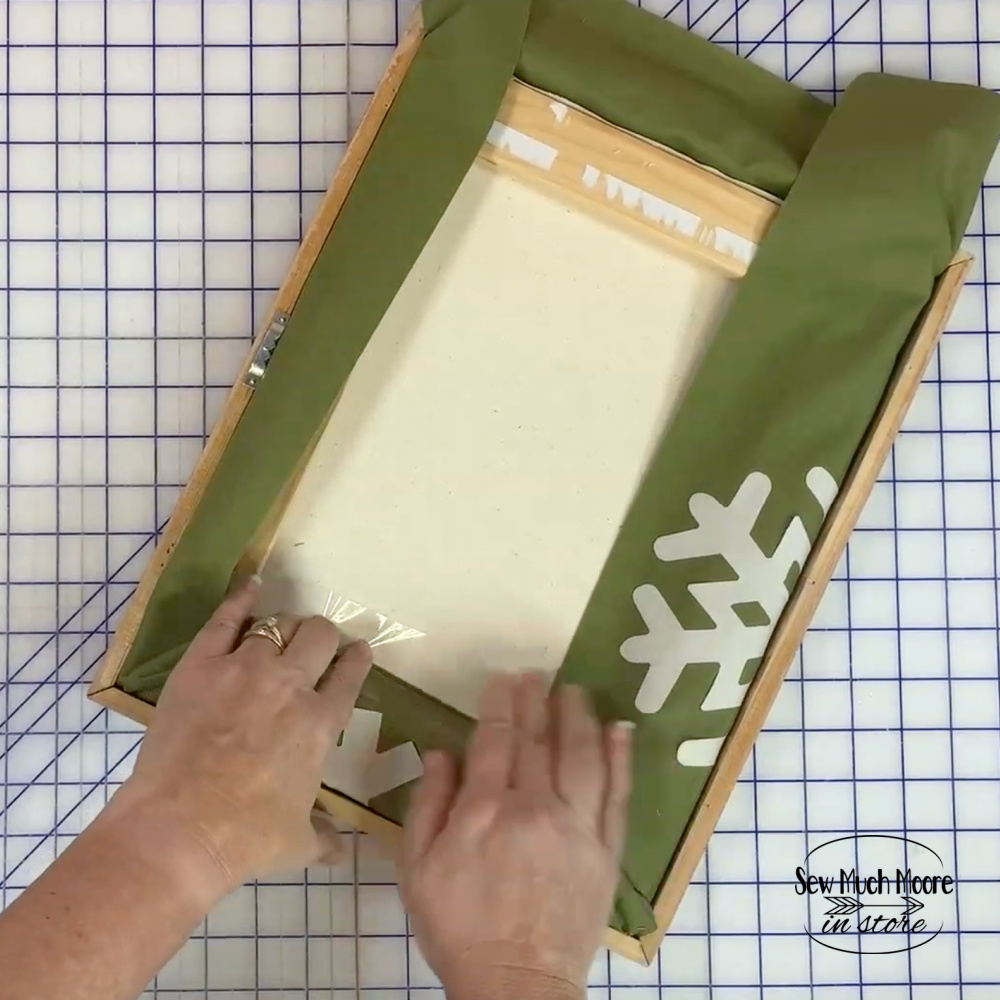
Framing the Snowflake Wall Art
Once the snowflakes are ironed on, wrap the fabric around the canvas and secure it with the frame. I used packing tape for its ease and speed, considering the short duration these decorations are on display. It’s a practical solution that works well for seasonal decor.

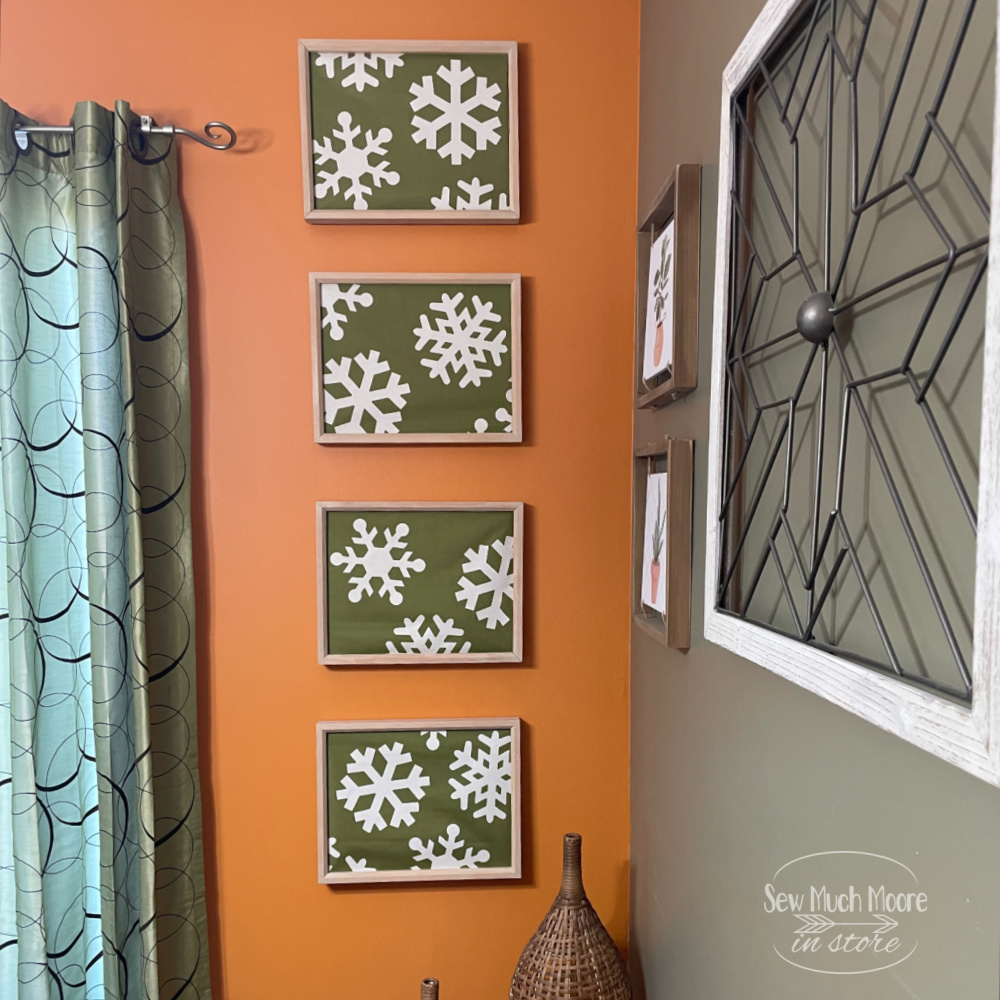
The Finished Product
I’m pleased with how the snowflake wall art turned out. It was a quick project, taking just a couple of hours, and the result is a set of unique, custom decorations that fit perfectly with my home’s color scheme.
Try it Today!
You can use any frames for this project, including standard blank canvases. The important part is the fabric wrapping and securing, which can be done effectively with staples for a more permanent setup. This project is an easy way to add a personal touch to your holiday decorations, especially if your home doesn’t fit the traditional Christmas color palette. Give it a try and see how it transforms your space. I’d love to hear your feedback, so please leave a comment with your thoughts and experiences.

“Those are so adorable! I hope I can make them before Christmas!” – Amber.
Great idea! This AccuQuilt die is so versatile! I have so many other ideas that I’m not sure I have time for this year! Luckily, this AccuQuilt die will be in my ‘tool kit’ and I can refer back to it at any time.
Those are cute, however we do not all have accu quilt cutting system.
So we would like a pattern we can cut out ourselves.
Thanks for your interest in the Snowflake Wall Art! While this pattern is tailored for the AccuQuilt system, they often offer discounts to make it more accessible. Stay tuned for more versatile patterns in the future!
What a great DIY idea! The snowflakes look simple to make but still so beautiful and festive, perfect for the winter season.