AccuQuilt Halloween Coaster
Halloween has always been one of my go-to holidays for sprucing up my home. This year, I decided to take my Halloween décor to the next level with an AccuQuilt Halloween Coaster.
Teaming up with AccuQuilt, I managed to create some fantastic coasters that are not just eye-catching but also super easy to make. Keep reading, and I’ll walk you through the whole process, step-by-step to make an AccuQuilt Halloween Coaster.
The AccuQuilt Collaboration
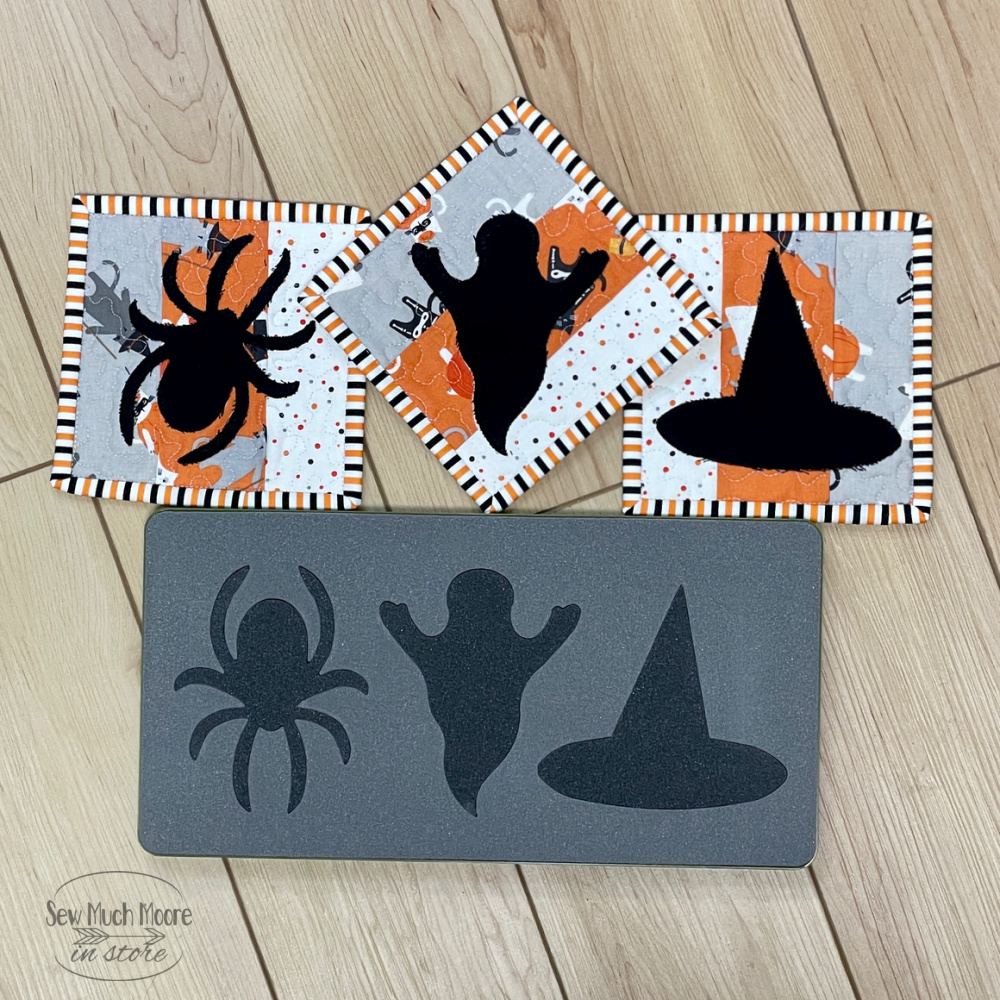
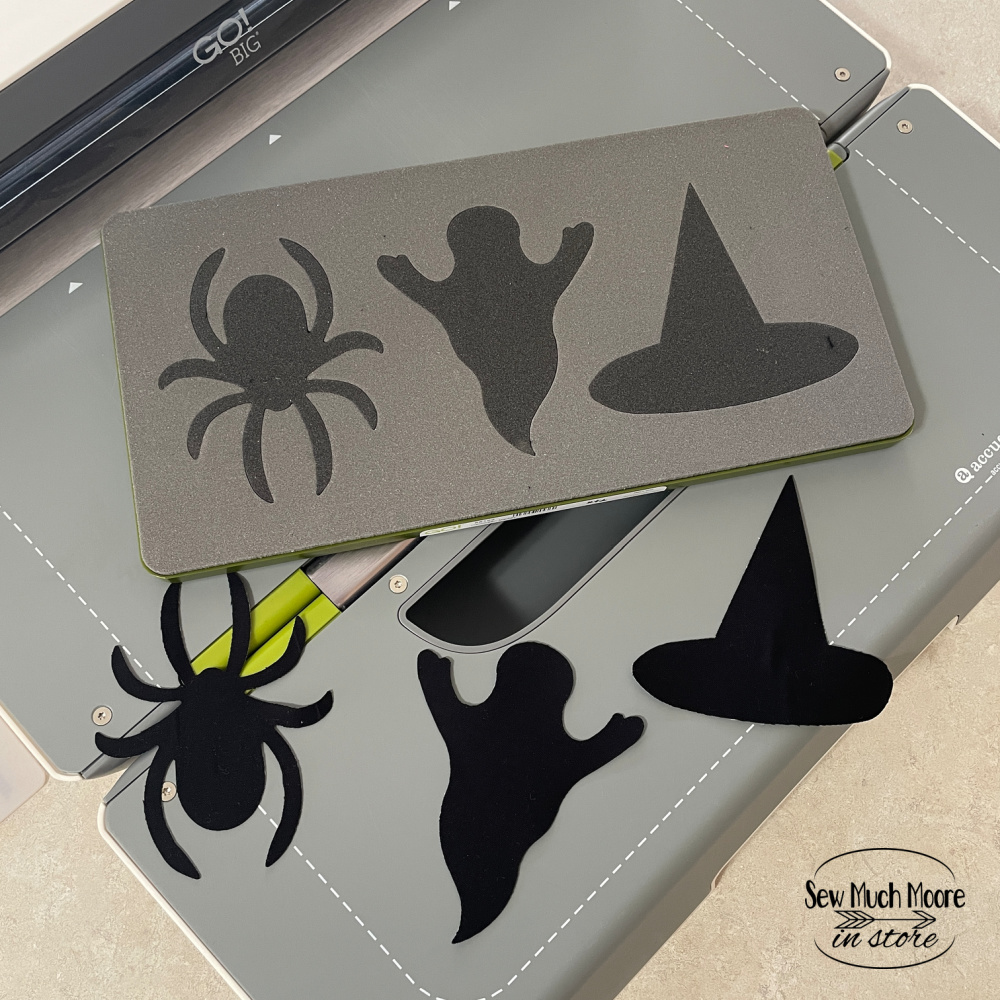
My partnership with AccuQuilt isn’t new; we’ve been working together for a while now. They were generous enough to provide me with their (affiliate link) Halloween Medley die set (#55192) for this project. I used the Accuquilt Go BIG! cutting system to expertly cut these shapes.
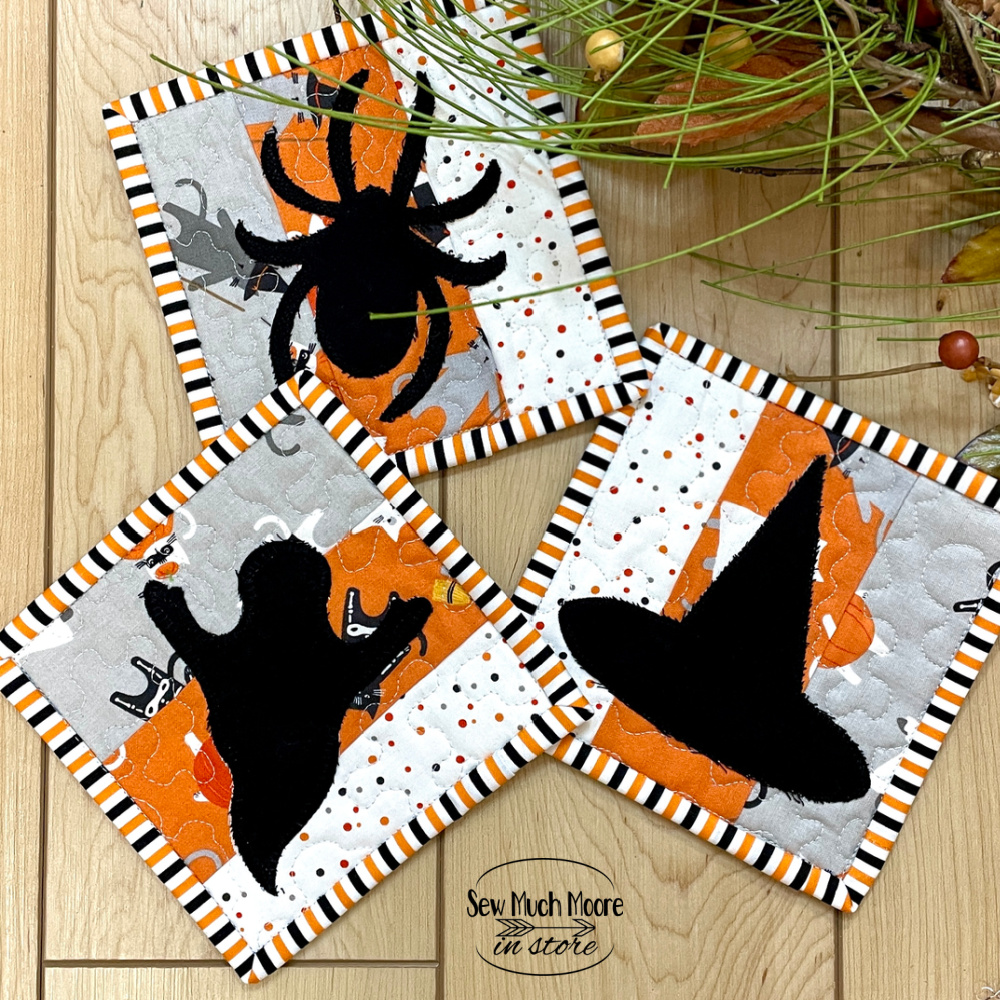
This set is loaded with fun shapes—think spiders, ghosts, and witch’s hats. It’s an all-in-one package for anyone looking to create seasonal items, whether it’s for your own home or to give as gifts. I’m actually going to give my AccuQuilt Halloween Coaster to friends that always host a Halloween party. It’s the perfect gift!
Picking the Right Fabric
For this project, I chose the BOOtiful fabric line by My Mind’s Eye for Riley Blake. Their pre-cut rolls offer a great selection, making it easier for me to pick what I needed.
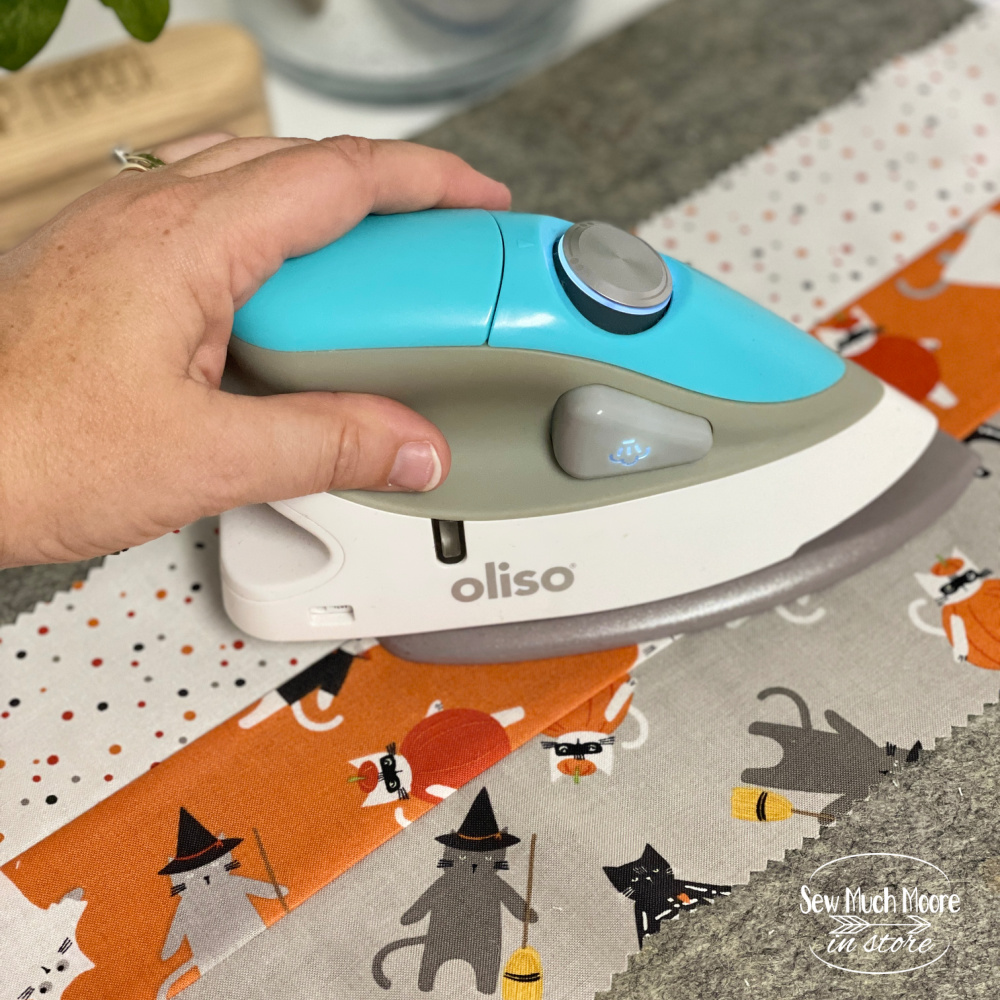
I selected a few strips and sewed them together, face-to-face along their long sides. Nothing like a good press with my (affiliate) Oliso Project Iron! This three-strip piece offers a nice variety and adds a dynamic look to the coasters.
Adding a Sturdy Touch
The shapes were cut out of a solid black (Ebony) fabric, but I wanted them to hold up well.
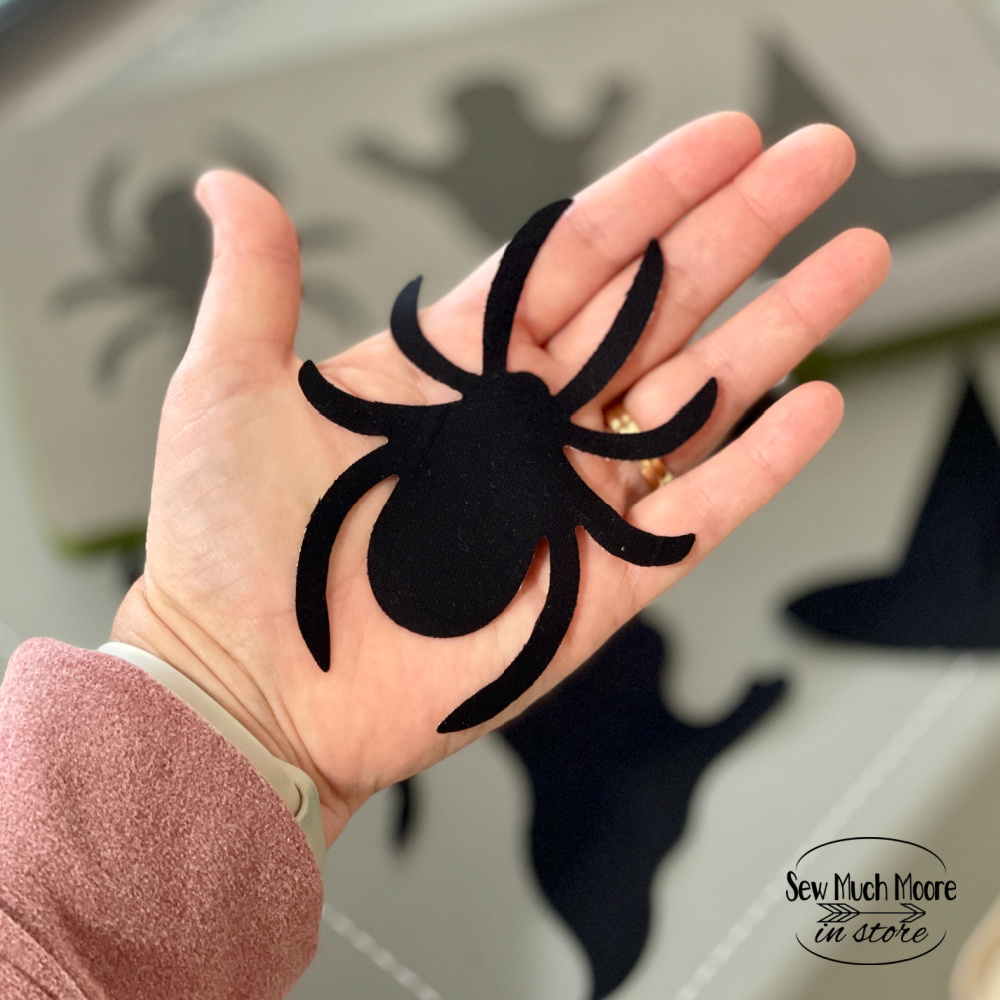
That’s where Pellon SF101 interfacing comes into play. It adds just the right amount of stiffness without making the fabric difficult to work with. Interfacing the shapes before cutting them turned out to be a great decision.
Assembling the Coasters
The base of each coaster is simple but effective. I took three 2.5-inch wide strips, sewed them together, and then cut them into approximately 6-inch squares.
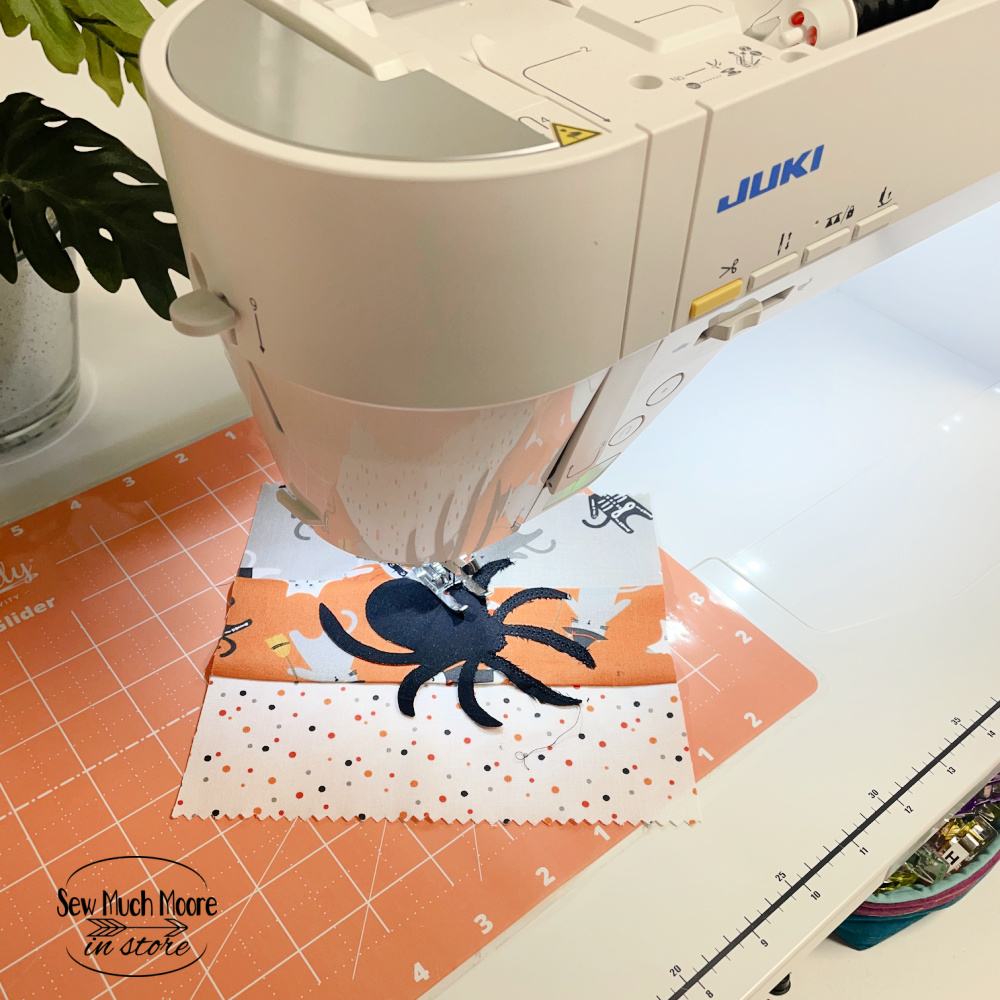
Once that was done, I took each cut shape and centered it on the base. A blanket stitch was all it took to secure the shapes firmly in place. My Juki DX-4000 QVP has tons of stitching options!
Finishing Touches
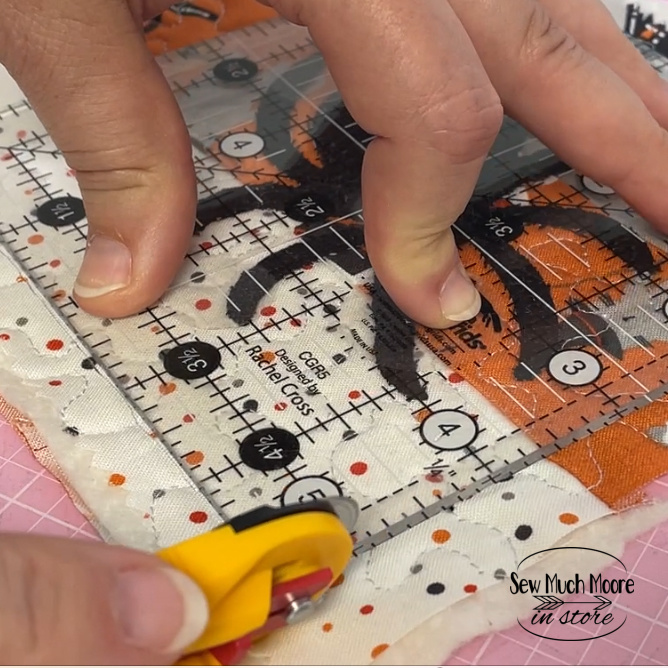
After attaching the shapes, it was time to make everything neat and uniform. I squared up each coaster using a handy ruler. Next, I used some batting scraps from a previous project to add a bit of cushioning to the coasters.
For the backs, I went back to my three-strip fabric piece and cut what I needed. A bit of free-motion quilting later, and voila! The coasters were nearly complete.
Binding and Wrapping Up
A project isn’t truly finished without some great binding.
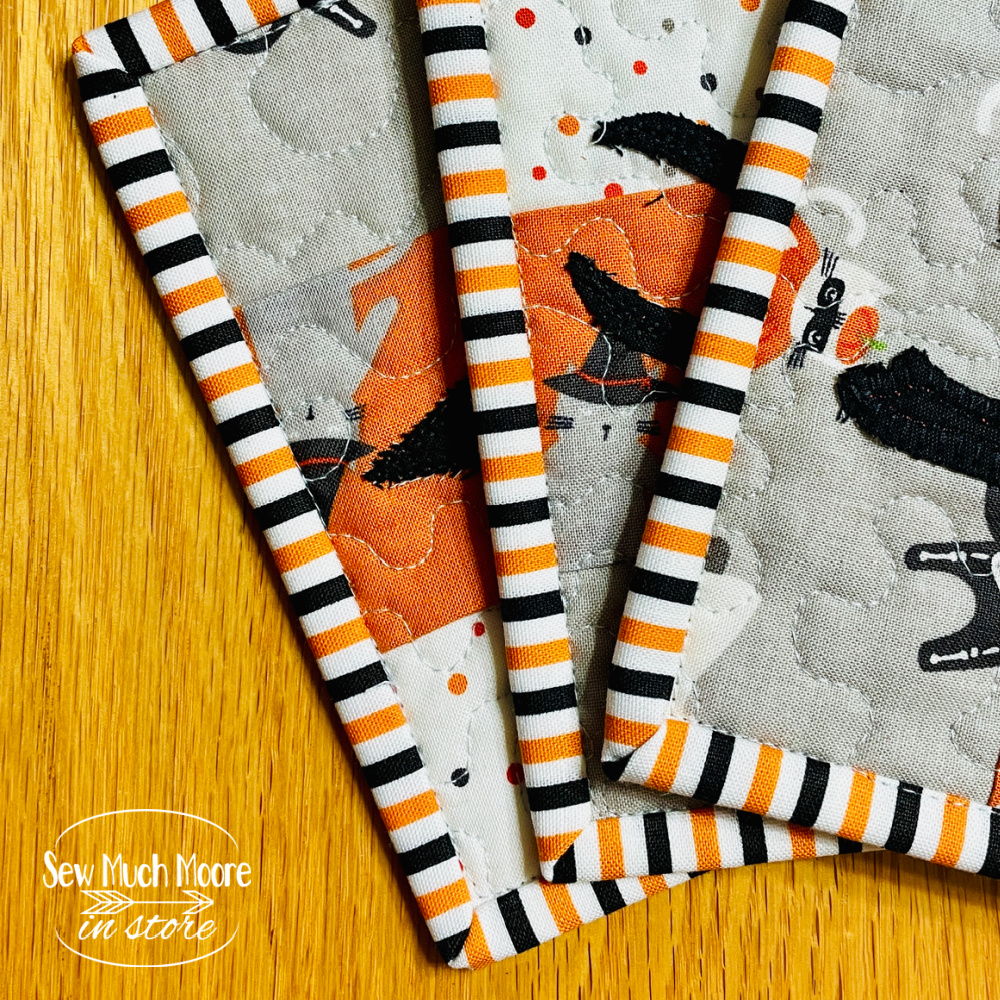
I used a Halloween stripe fabric for the binding, which is also available in my online shop, to add the final touch. Striped binding always adds that extra bit of pizzazz, don’t you think?
Why You Should Try This
So if you’re feeling the Halloween spirit and want to amp up your seasonal décor, this project is for you. Grab yourself a roll of BOOtiful fabric and the (affiliate) AccuQuilt Halloween Medley Die set. While fabric collections come and go, investing in a versatile AccuQuilt Halloween Medley Die set is a move you won’t regret. Trust me, you’ll find yourself reaching for it year after year.
Let me know in the comments what else you might make with this super fun die set from AccuQuilt! Be sure to also check out my Four Patch Pumpkins quilt pattern! This is a must for the season!
