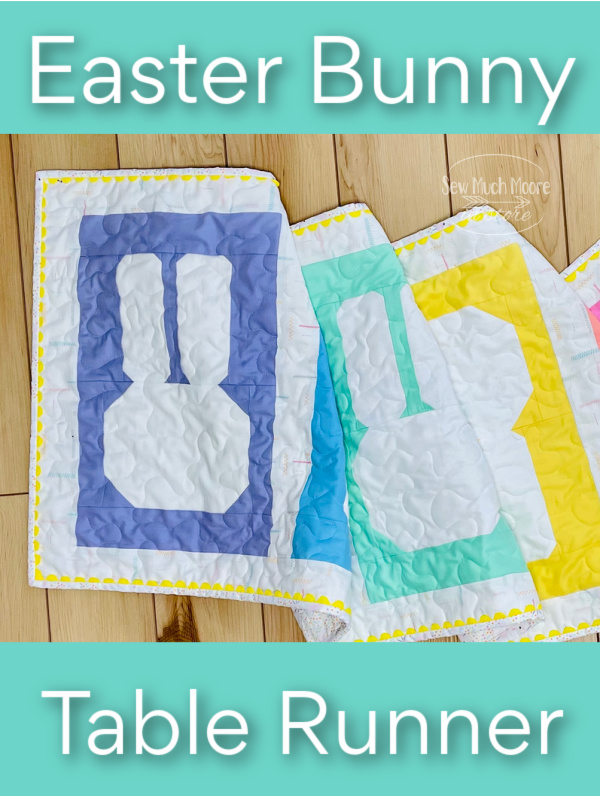
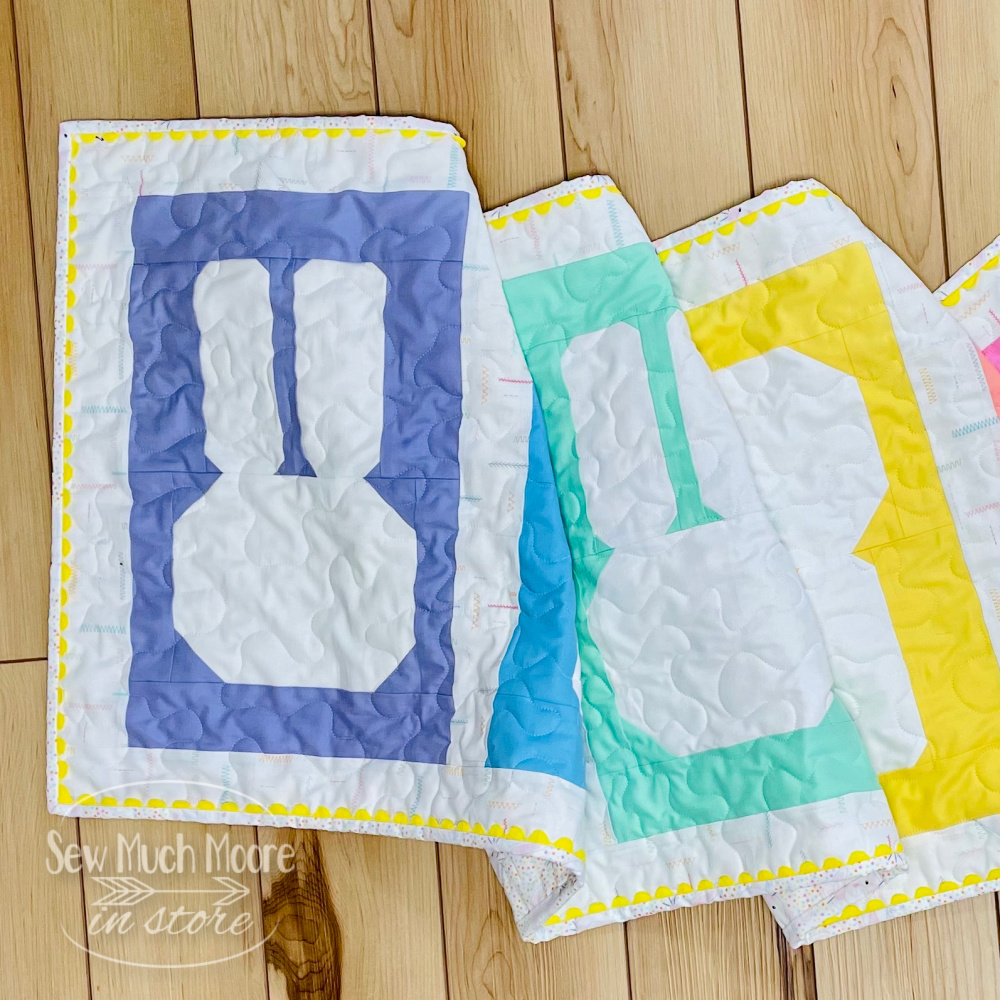
Easter Bunny Table Runner
It has been a tradition of ours to host my husbands family for holiday meals. Each year, for Easter Sunday, we all gather and share a meal. We all slow down and share this special time to celebrate traditions and enjoy the holiday together. Dressing up my dinner table with a festive table runner is always a great idea. I used my Bunny Block and added a really fantastic finish that I know you will want to see. I love how my Easter Bunny Table Runner turned out! There is even a new video to show you how I quilted this on my LongArm and then showcased my special finish. Check for the video at the bottom of this post!
Materials List
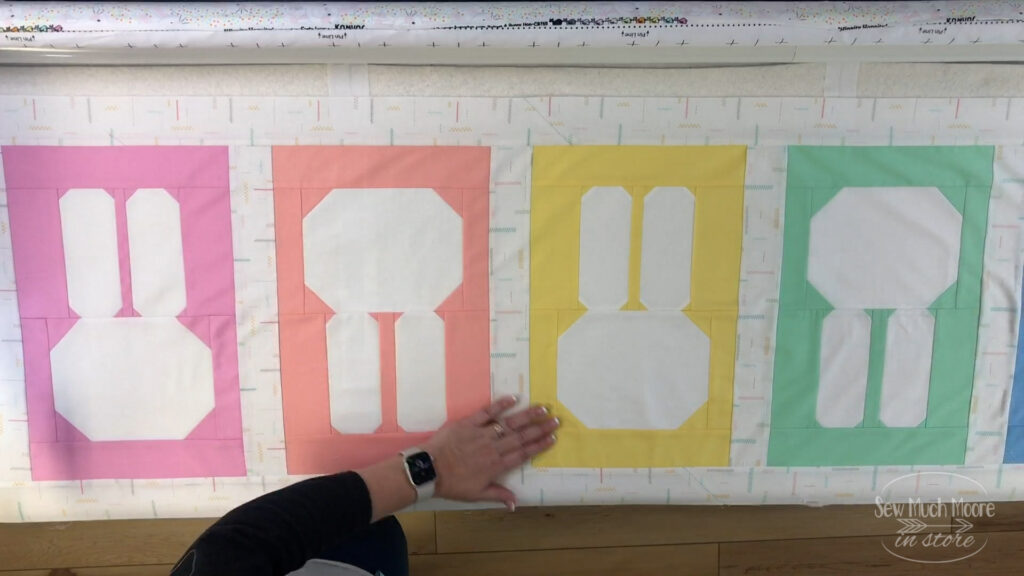
- Bunny Quilt Block Pattern
- Precious Pastels Fat Quarter Bundle for Bunny Blocks
- Your choice of low volume fabric for sashing, border, backing & binding
- Coordinating Rick-Rack Trim
- Batting (I just pieced some scraps together)
Tools and Supplies Used
- Sewing Machine (I used my Juki TL2010Q)
- Quilting Machine (I used my Juki J-350 QVP)
- Ruler and Rotary Cutter
- Oliso Iron and IronMatik Ironing Board
- Thread – 50 wt
- Daylight Slimeline 3 Lamp (my favorite light source)
- Grid Glider on top of my Versa Extension Table
- Scissors for trimming
Quilting the Easter Bunny Table Runner
Once you assemble the Bunny Quilt Blocks, add your sashing and borders – you can load your table runner onto your Long Arm. If you don’t have a LongArm, you can always sandwich your project and baste in the method of your choice.
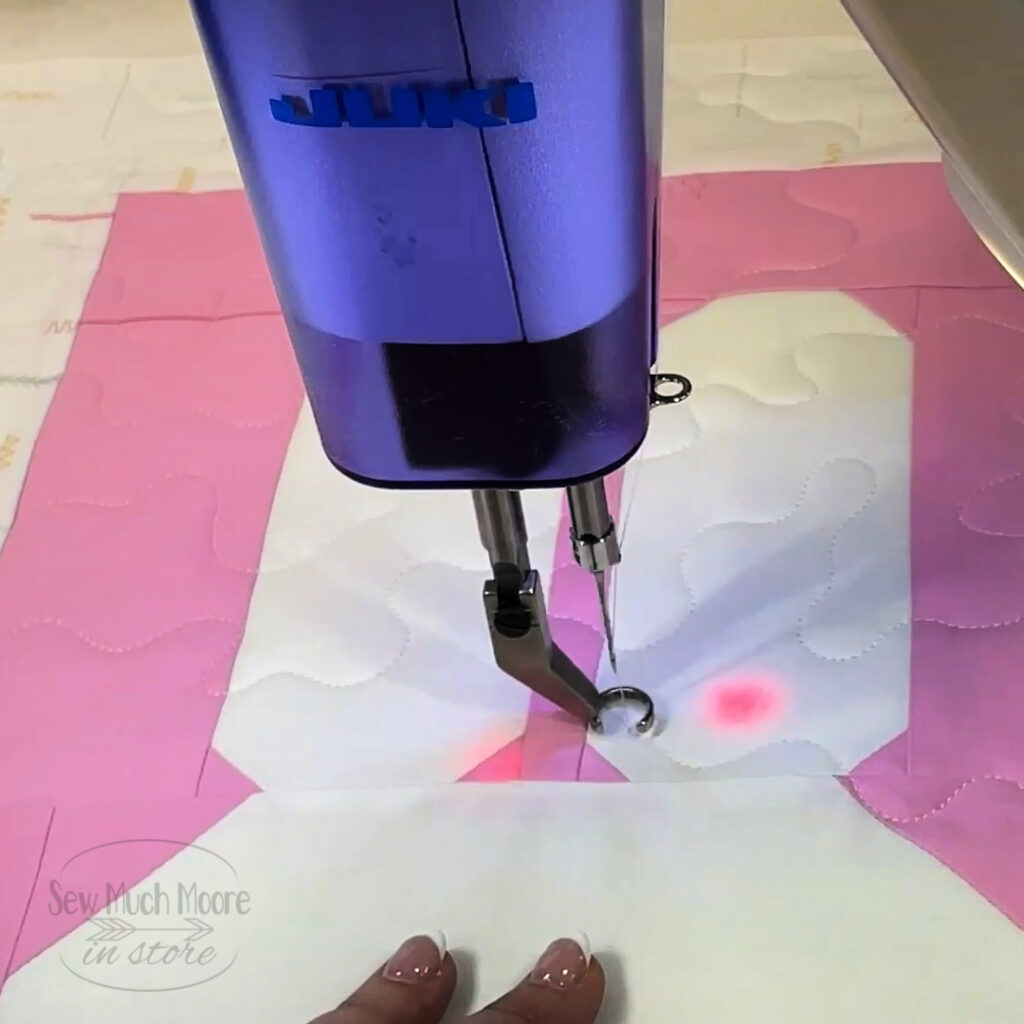
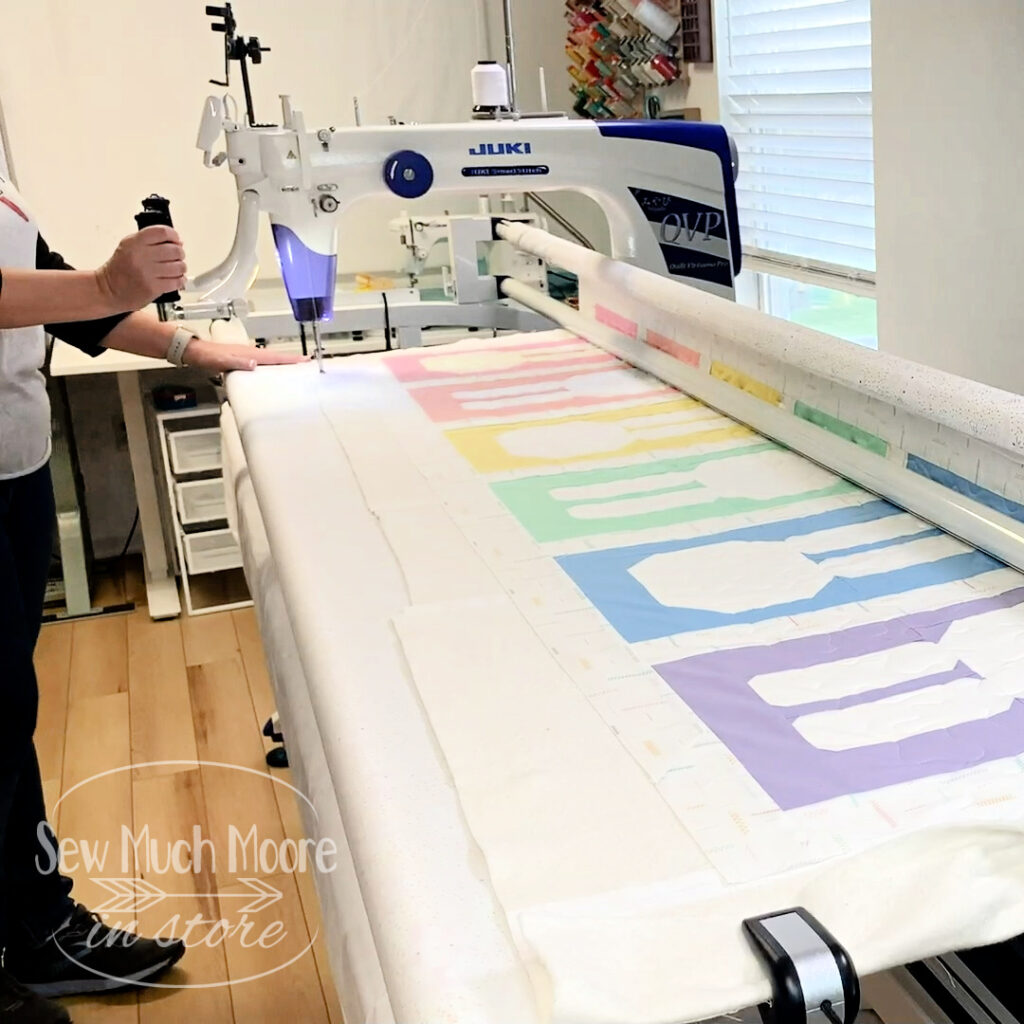
I used a simple meandering quilt design to quilt my Easter Bunny Table Runner. This was easy to do because of the regulated stitch that my Juki J-350 QVP provides. The overall measurement of the table runner was approximately 20″ x 72″. It seems like kind of a long table runner, but I have a very large table. We usually have at least 10-12 seated at our family gatherings. This size table runner fits perfectly when I have all the leaves of the table installed.
It only took two passes in my LongArm to finish quilting. I am able to quilt my projects (large or small) with my LongArm Quilting System very quickly!
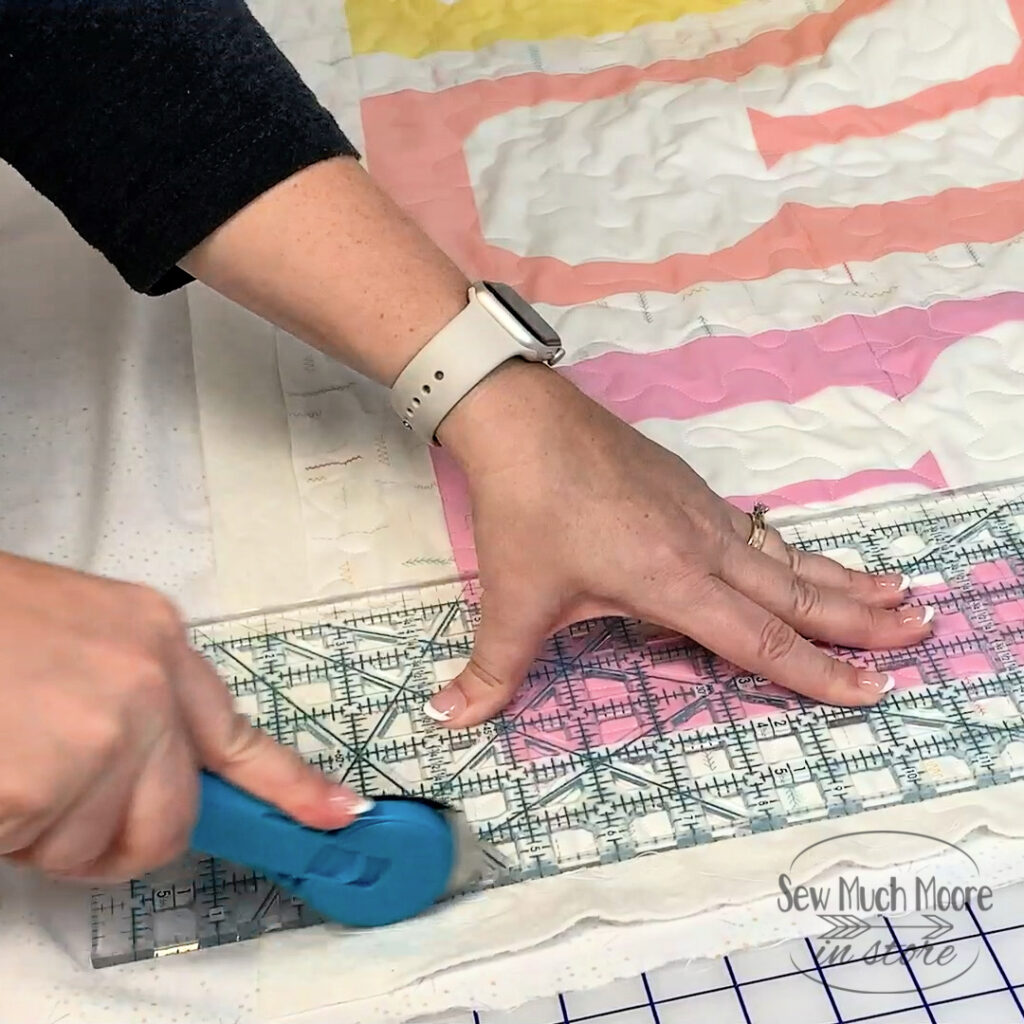
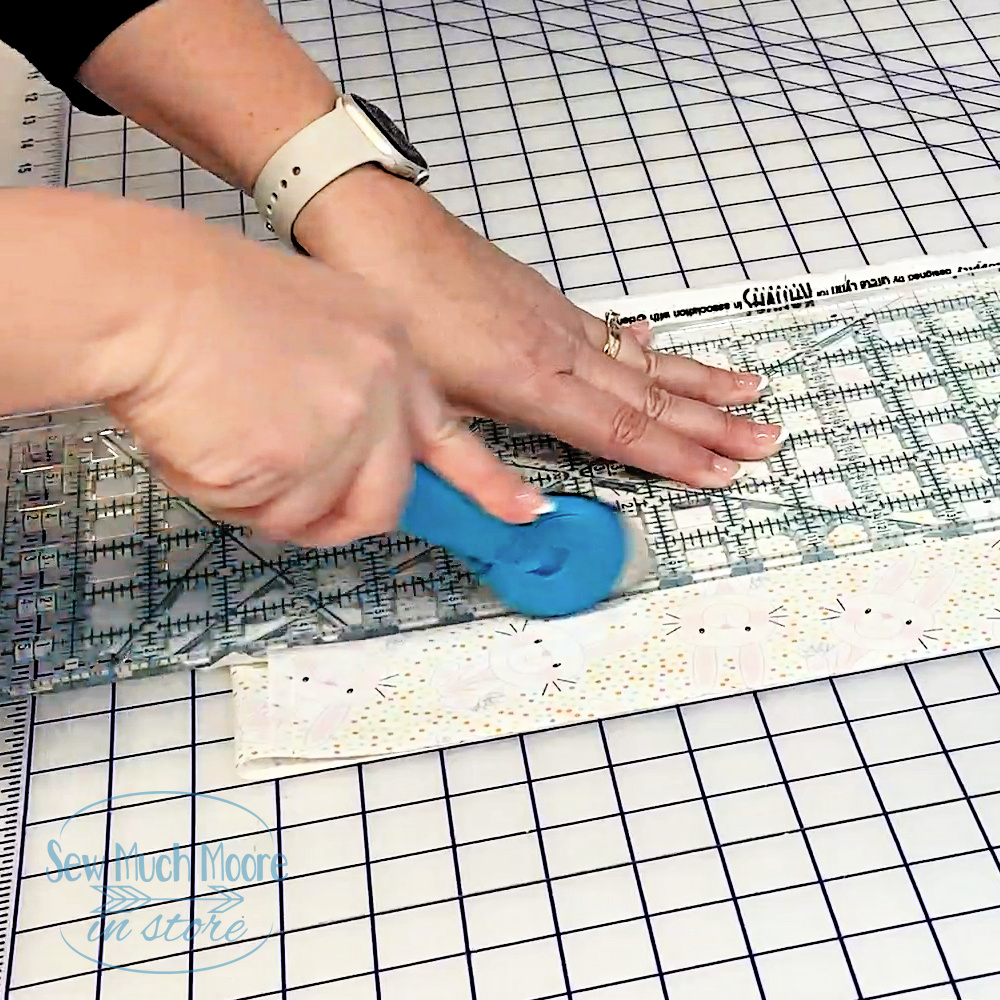
Trimming the Quilt & Cutting the Binding
Once I finished the quilting, it was time to trim everything up and cut the binding strips. Using my Ruler and My Rotary Cutter, I was able to cut accurately and safely each time.
I had enough backing left over that I decided to use this as my binding. I love it when that happens! Normally, I would try to make my binding stand out a little more by using a coordinating/contrasting fabric, but I wanted my rick-rack to the the star of my Easter Bunny Table Runner, so this solution was perfect!
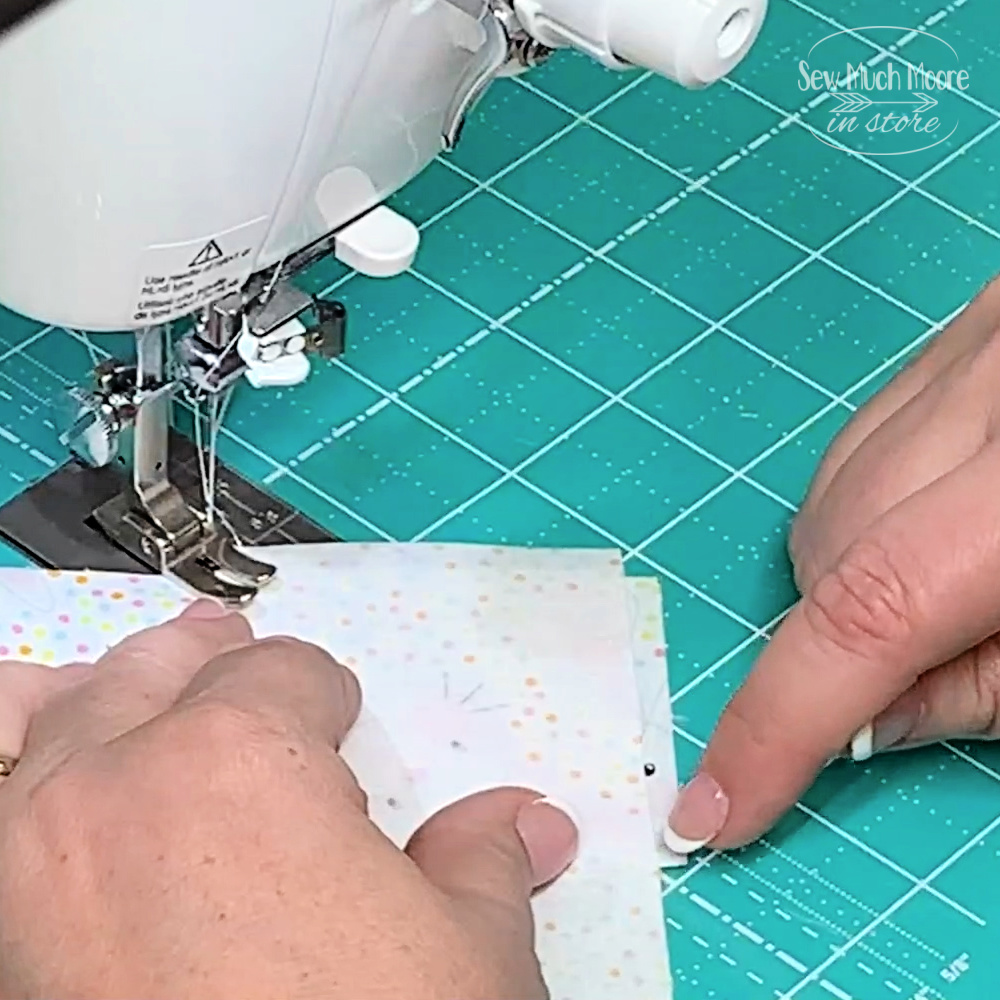
Finishing the Easter Bunny Table Runner
My Juki TL2010Q was used to piece the top of my table runner and also to sew the binding strips together. I purchased a special extension table called the Versa Table, by Sew Steady. This comes with a Grid Glider, which is one of my favorite ‘must haves’ on my sewing machine. The Grid Glider has markings that help me piece my binding strips without the need to draw a diagonal line. Quick and easy is my favorite way to make things and my Grid Glider is perfect for this step as well as helping me maintain my seam allowance and snowballing. To learn more about using a Grid Glider, visit this post. There is also a video included.
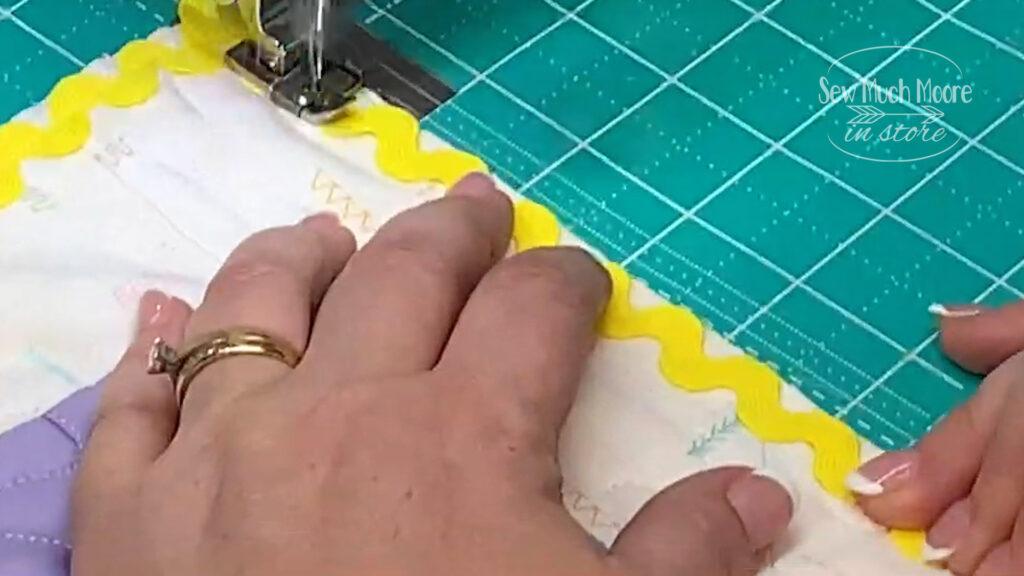
To add the rick-rack, simply align the edge of the trim against each raw edge of your Easter Bunny Table Runner. Sew this in place, using a quarter inch seam allowance.


Using my Oliso TG1600 Pro+ Smart Iron, I pressed my binding strips (wrong sides together) and attached the binding on top of the already placed rick rack. Once I finished attaching my binding and joining the seams, I pressed my binding out and decided that hand binding would give me the best results for this finish. I love how the rick-rack just peeks out of the edge of my Easter Bunny Table Runner! What do you think? Will you try this fun and easy technique?
Be sure to grab your Bunny Block Quilt Block pattern and a Precious Pastels Fat Quarter Bundle and make an Easter Bunny Table Runner for yourself! You will love it! Be sure to watch my video below for all the steps I explained in the article above.
Let me know if you have questions or suggestions! I would love to hear from you! Happy Quilting!
