Scrappy Nine Patch Throw Pillow
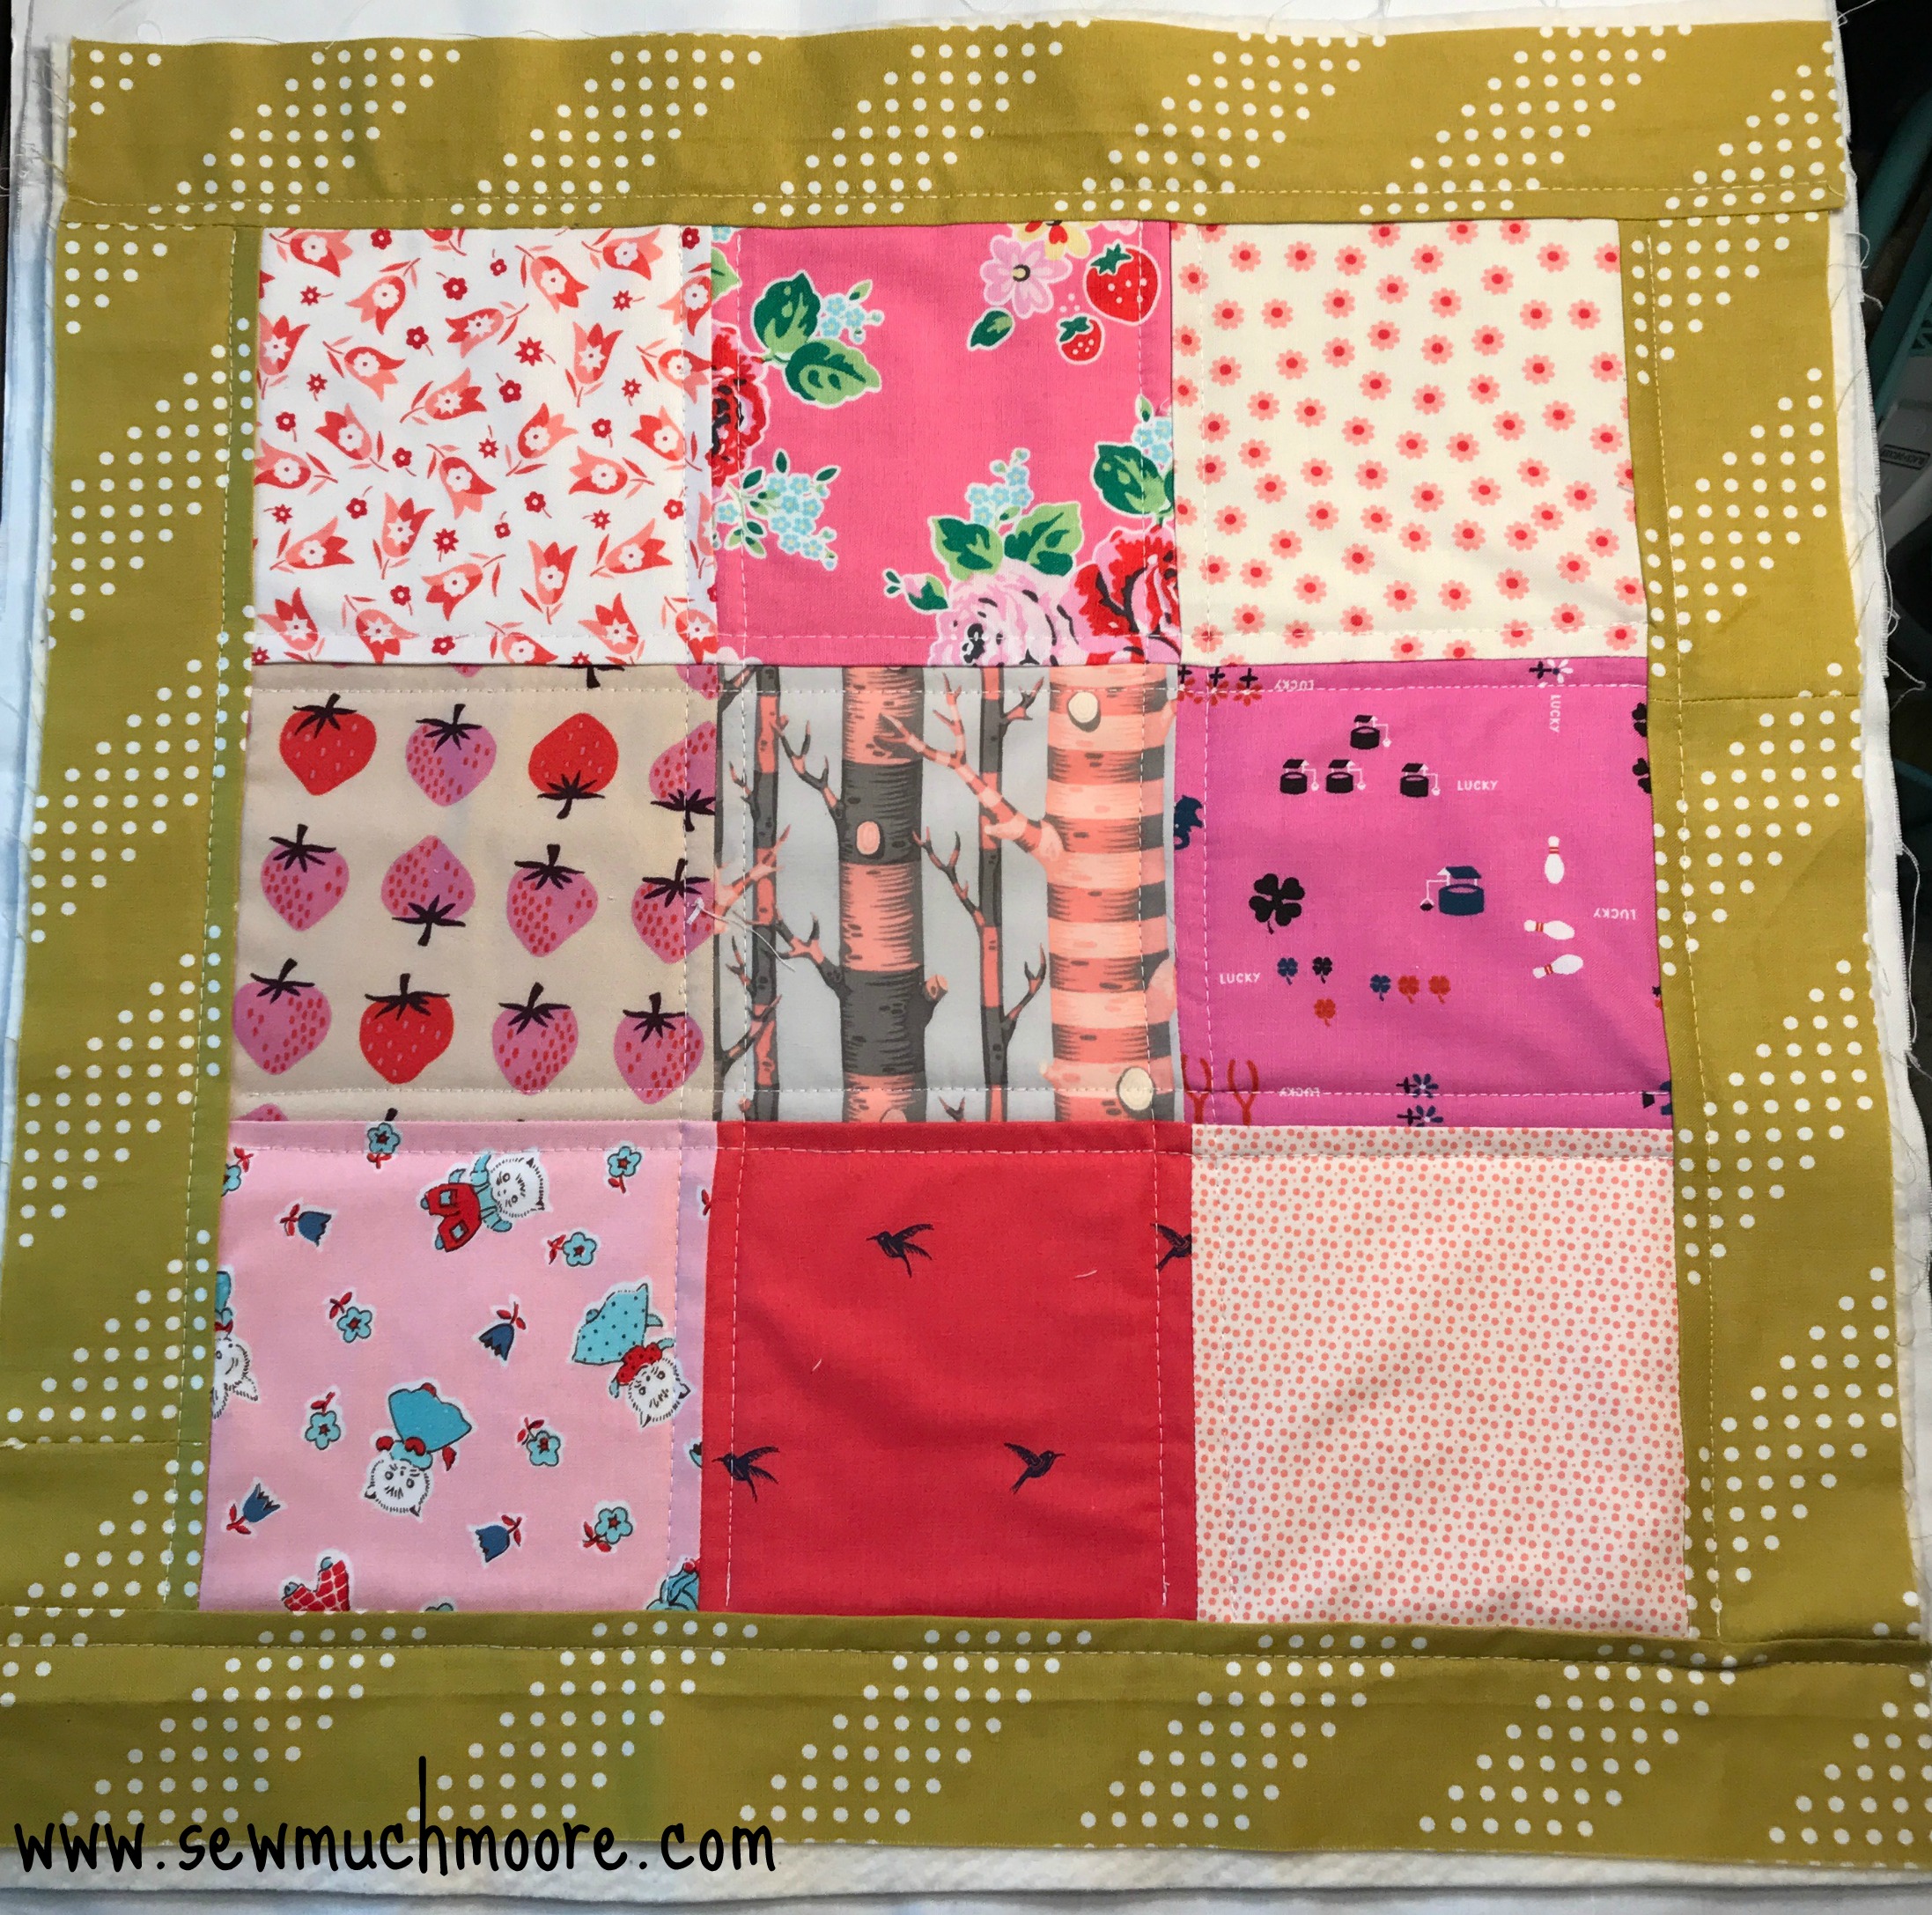
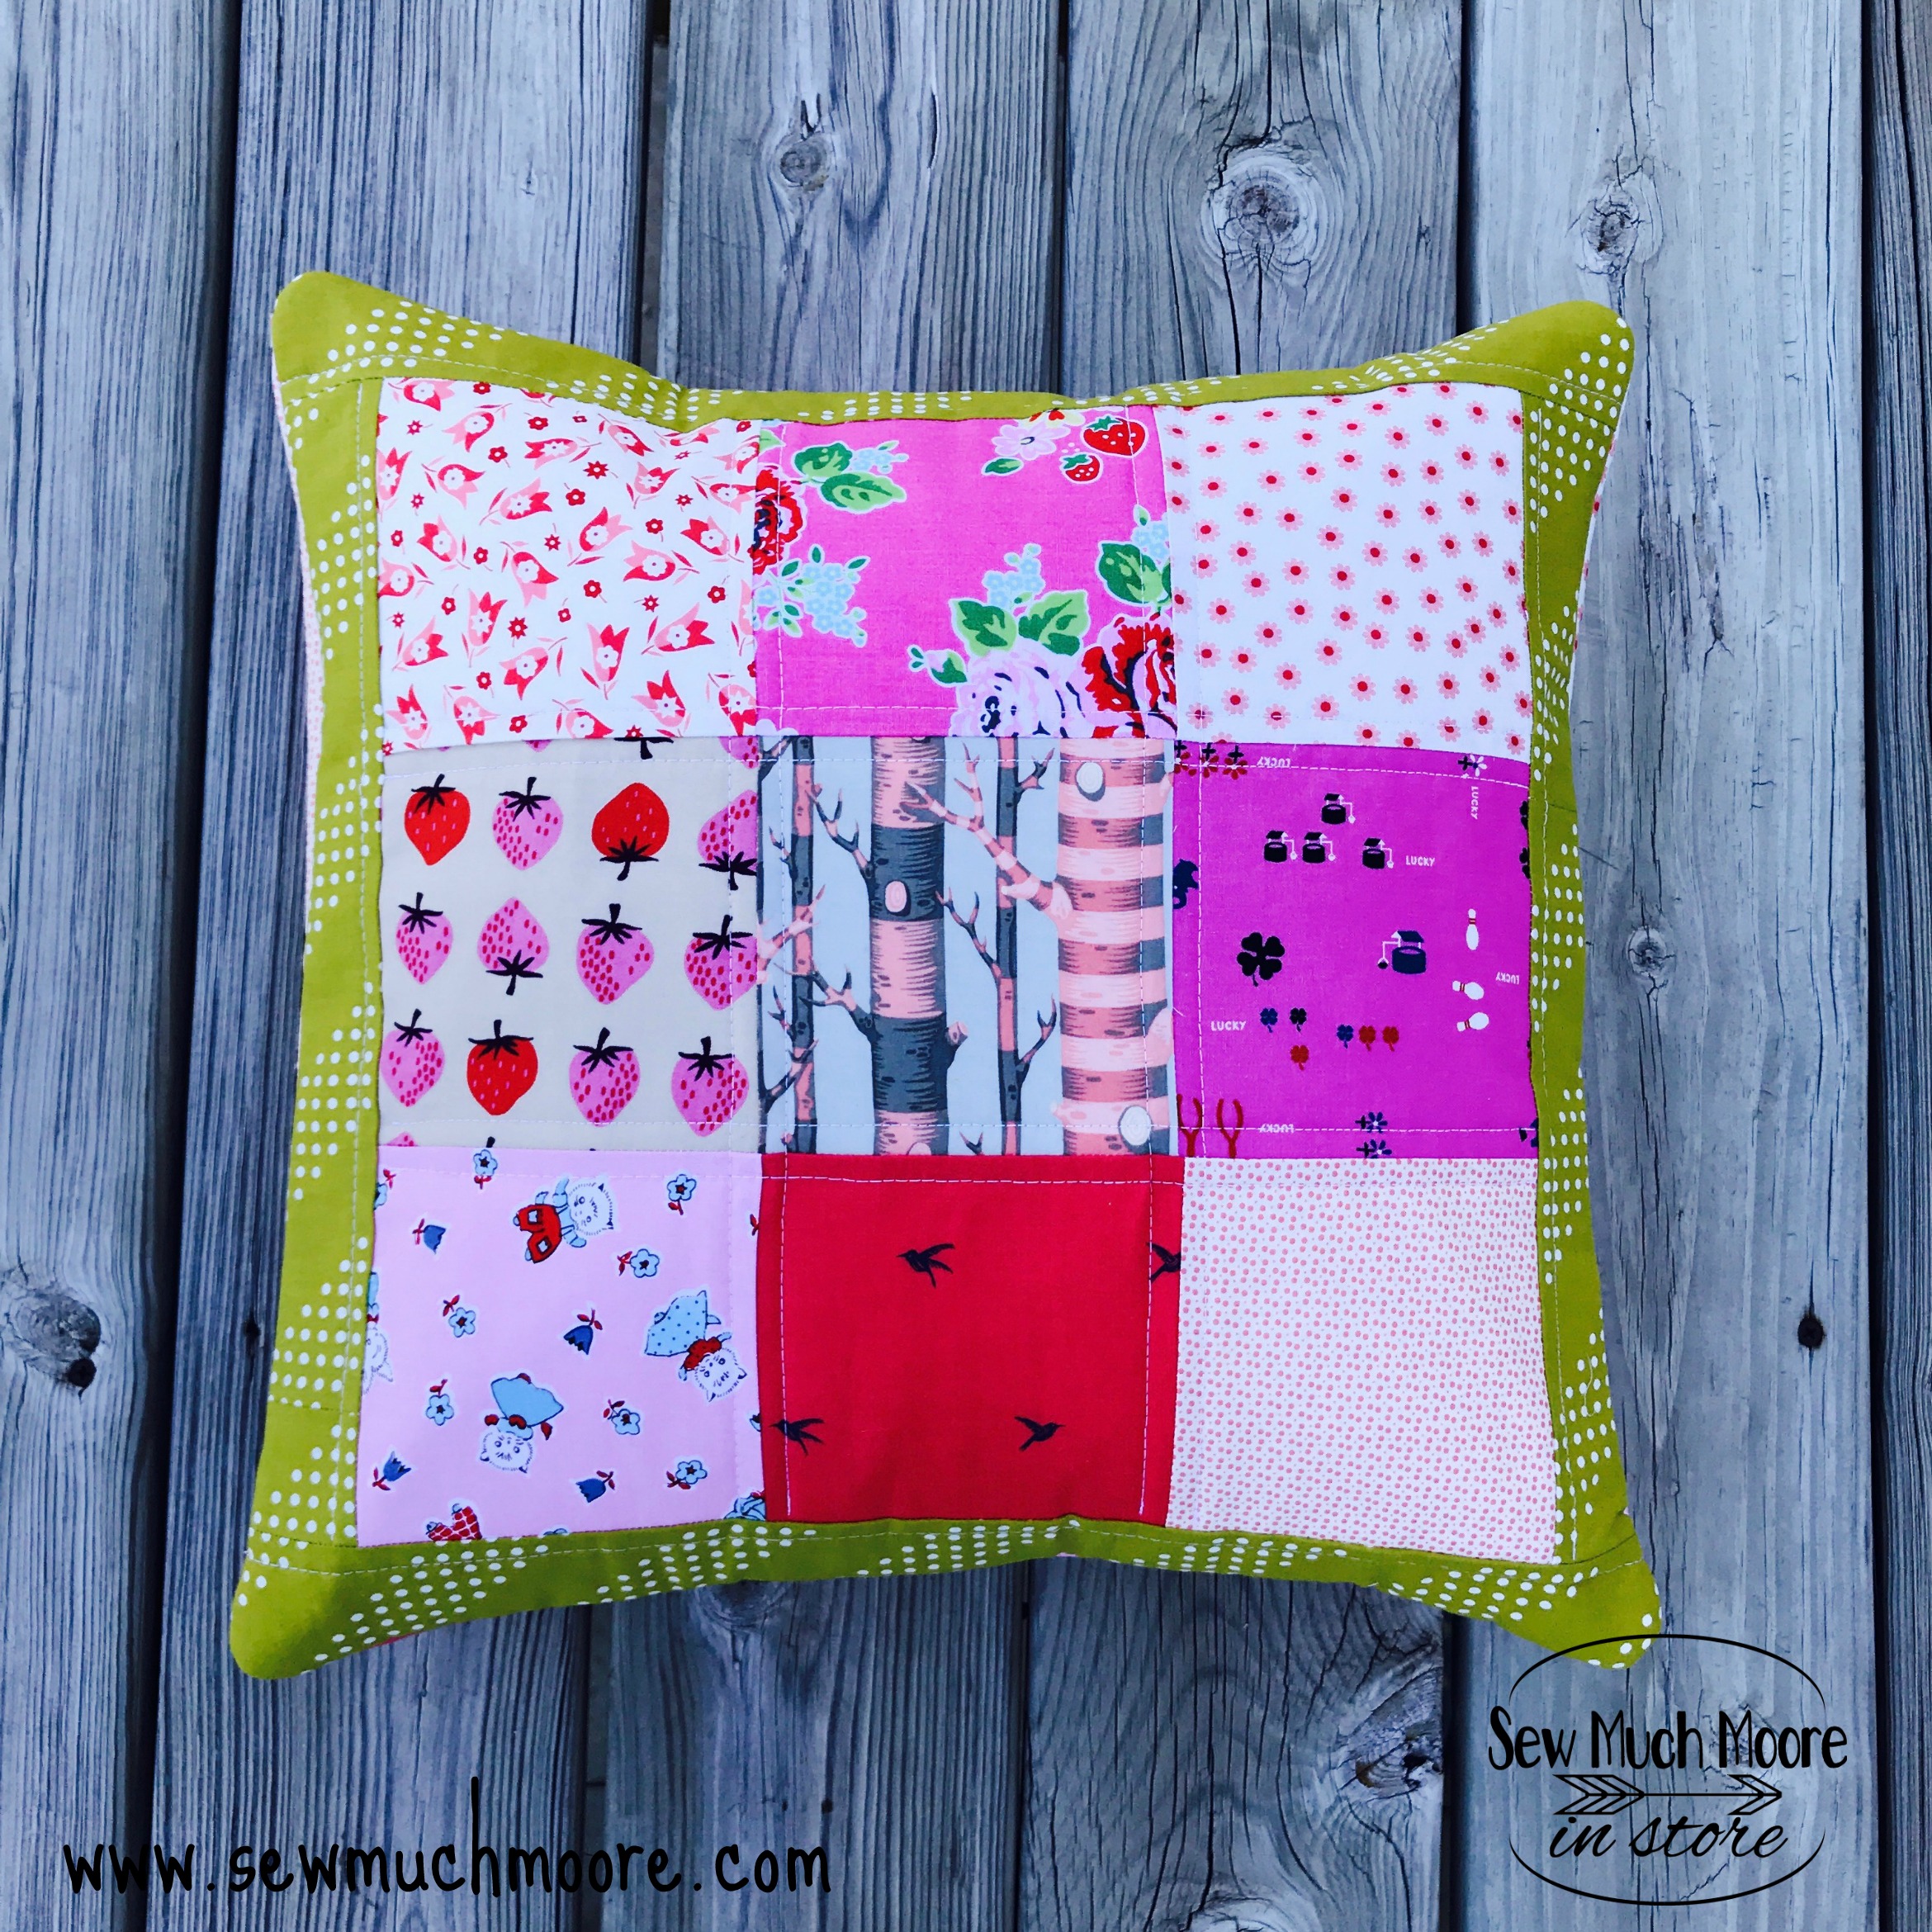
Have you ever used your fabric scraps to make something new? I made a scrappy nine patch throw pillow with some of fabric scraps. It was fun and easy to do. Along the way, I was re-introduced to some of the fabric bits that I kept.
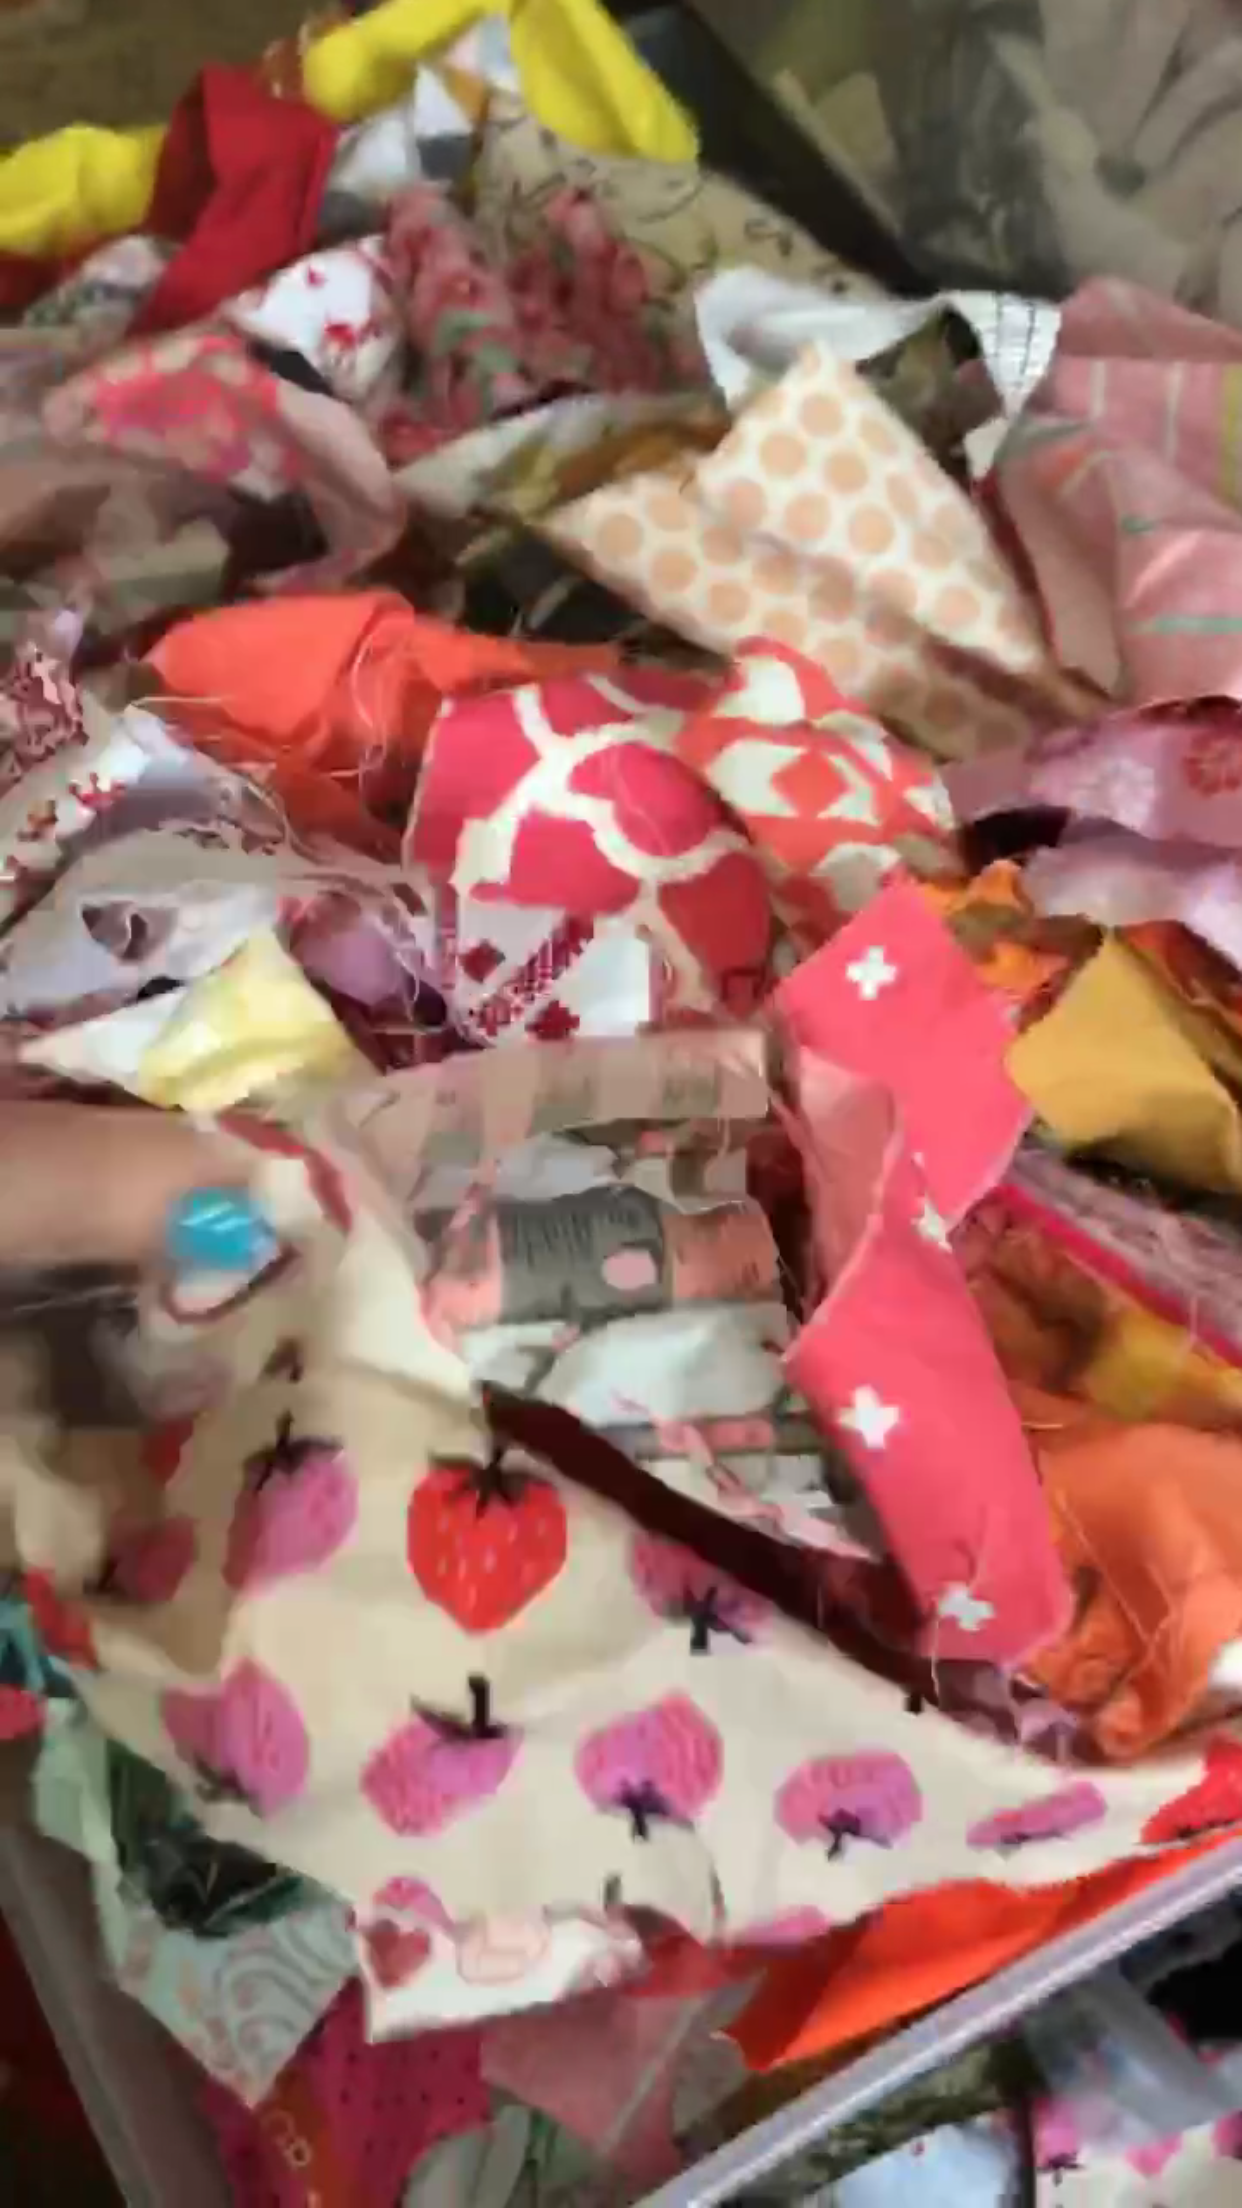
I have sooooooo many fabric scraps! I try not to keep EVERYTHING, but I also don’t like to waste much either! At one point, I told myself that I was not going to keep a scrap unless it measures at least 5″ x 5″. While that was a noble thought and worked for a little bit, but eventually I found myself keeping smaller pieces more and more. That leads to my next thought….. How large do you consider a ‘scrap’ piece of fabric? Some folks buy yardage, while others prefer Fat Quarters and pre-cuts. Ever since I started organizing my fabric on comic book boards, I consider items to be ‘scrap’ if it will not completely cover the front and back of a comic book board (with a little bit of overlap for pinning).
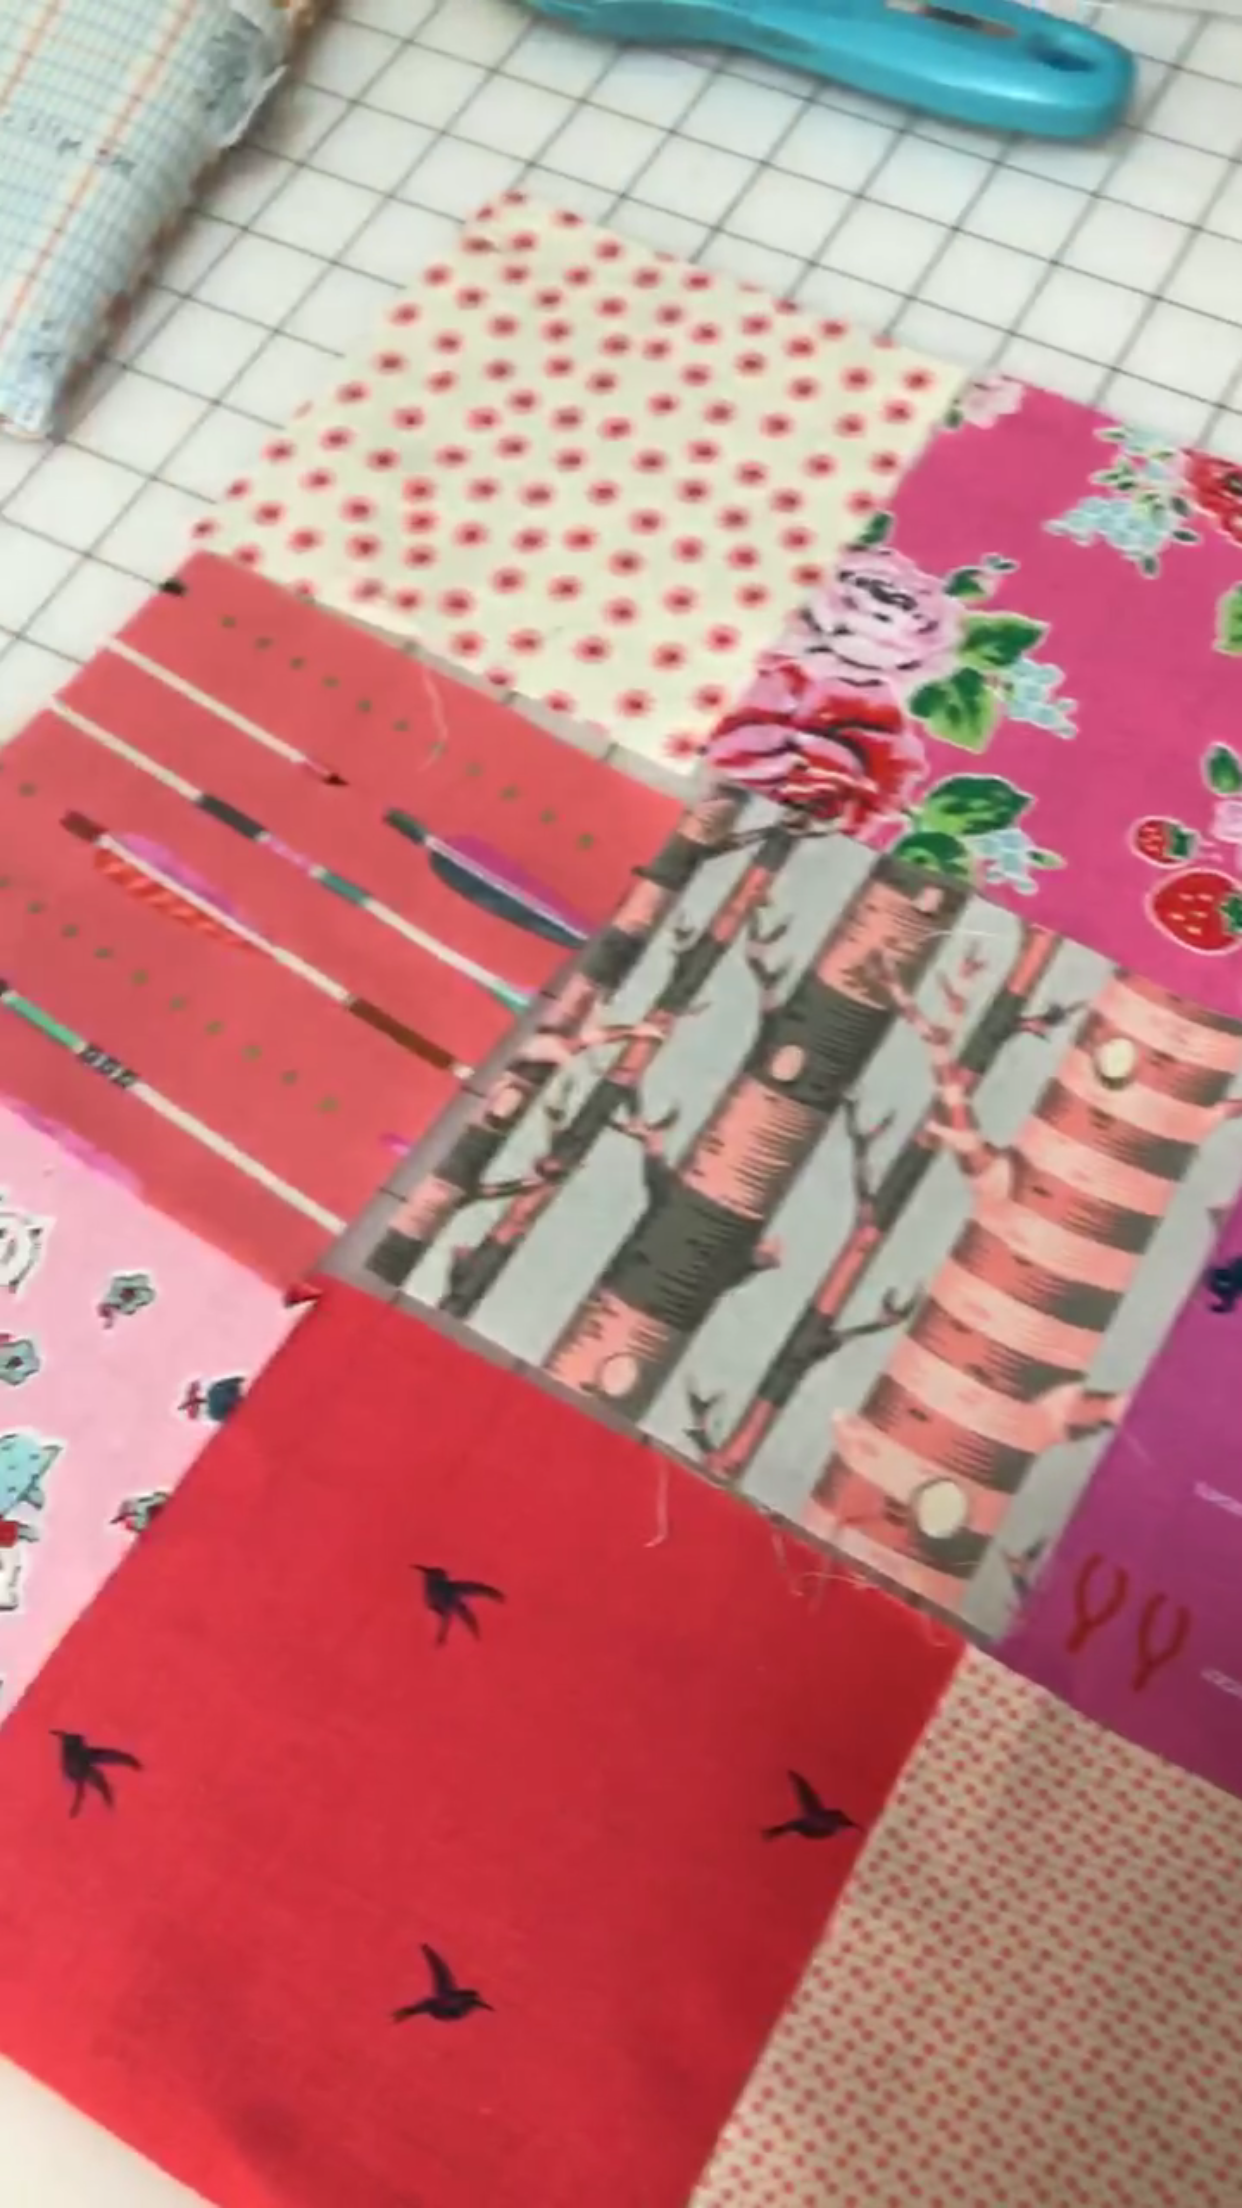
Needless to say, I had several scraps to choose from! After auditioning several choices, I decided on a few of my favorites for my scrappy nine patch throw pillow! I have a fair assortment of Cotton & Steel, Tula Pink, & Elea Lutz plus several others as well. I was only pulling from my Red, Orange and Yellow scrap bin, so most of the scraps seemed to play well together.
MATERIALS LIST
-
- Qty (9) Fabric Scrap Assortment
- Cut into 5″ x 5″ squares
- Muslin yardage
- Border Fabric
- Scraps for fabric for the backing
- Quilter’s Dream Supreme Batting (because it’s the best and I love it so much)
- Pillow Insert
- Qty (9) Fabric Scrap Assortment
SUPPLY LIST
- Sewing Machine with a quarter inch presser foot
- Cotton Thread (I recommend Aurifil 50 wt)
- Rotary Cutter with sharp blade (no kidding about a sharp blade)
- Cutting Mat (I love my rotating mat for this project)
- Iron & Wool Pressing Mat (if you don’t have one – get one!)
- Sewing Pins or Wonder Clips
Be sure to check out my Amazon Shop to get all your Quilty supplies!
I made some minor changes in the final layout of the pillow front. I tried to balance the lights and darks, but in the end – I think this random layout worked out just fine! I added a contrasting border to make the pillow top the correct size for a 20″ x 20″ pillow form. I sandwiched this all between some really great batting (I love Quilter’s Dream Supreme) and backed it with some muslin I had left over from a mock costume I made a couple years ago. I added some simple straight line quilting. Such a cute and simple pillow top!
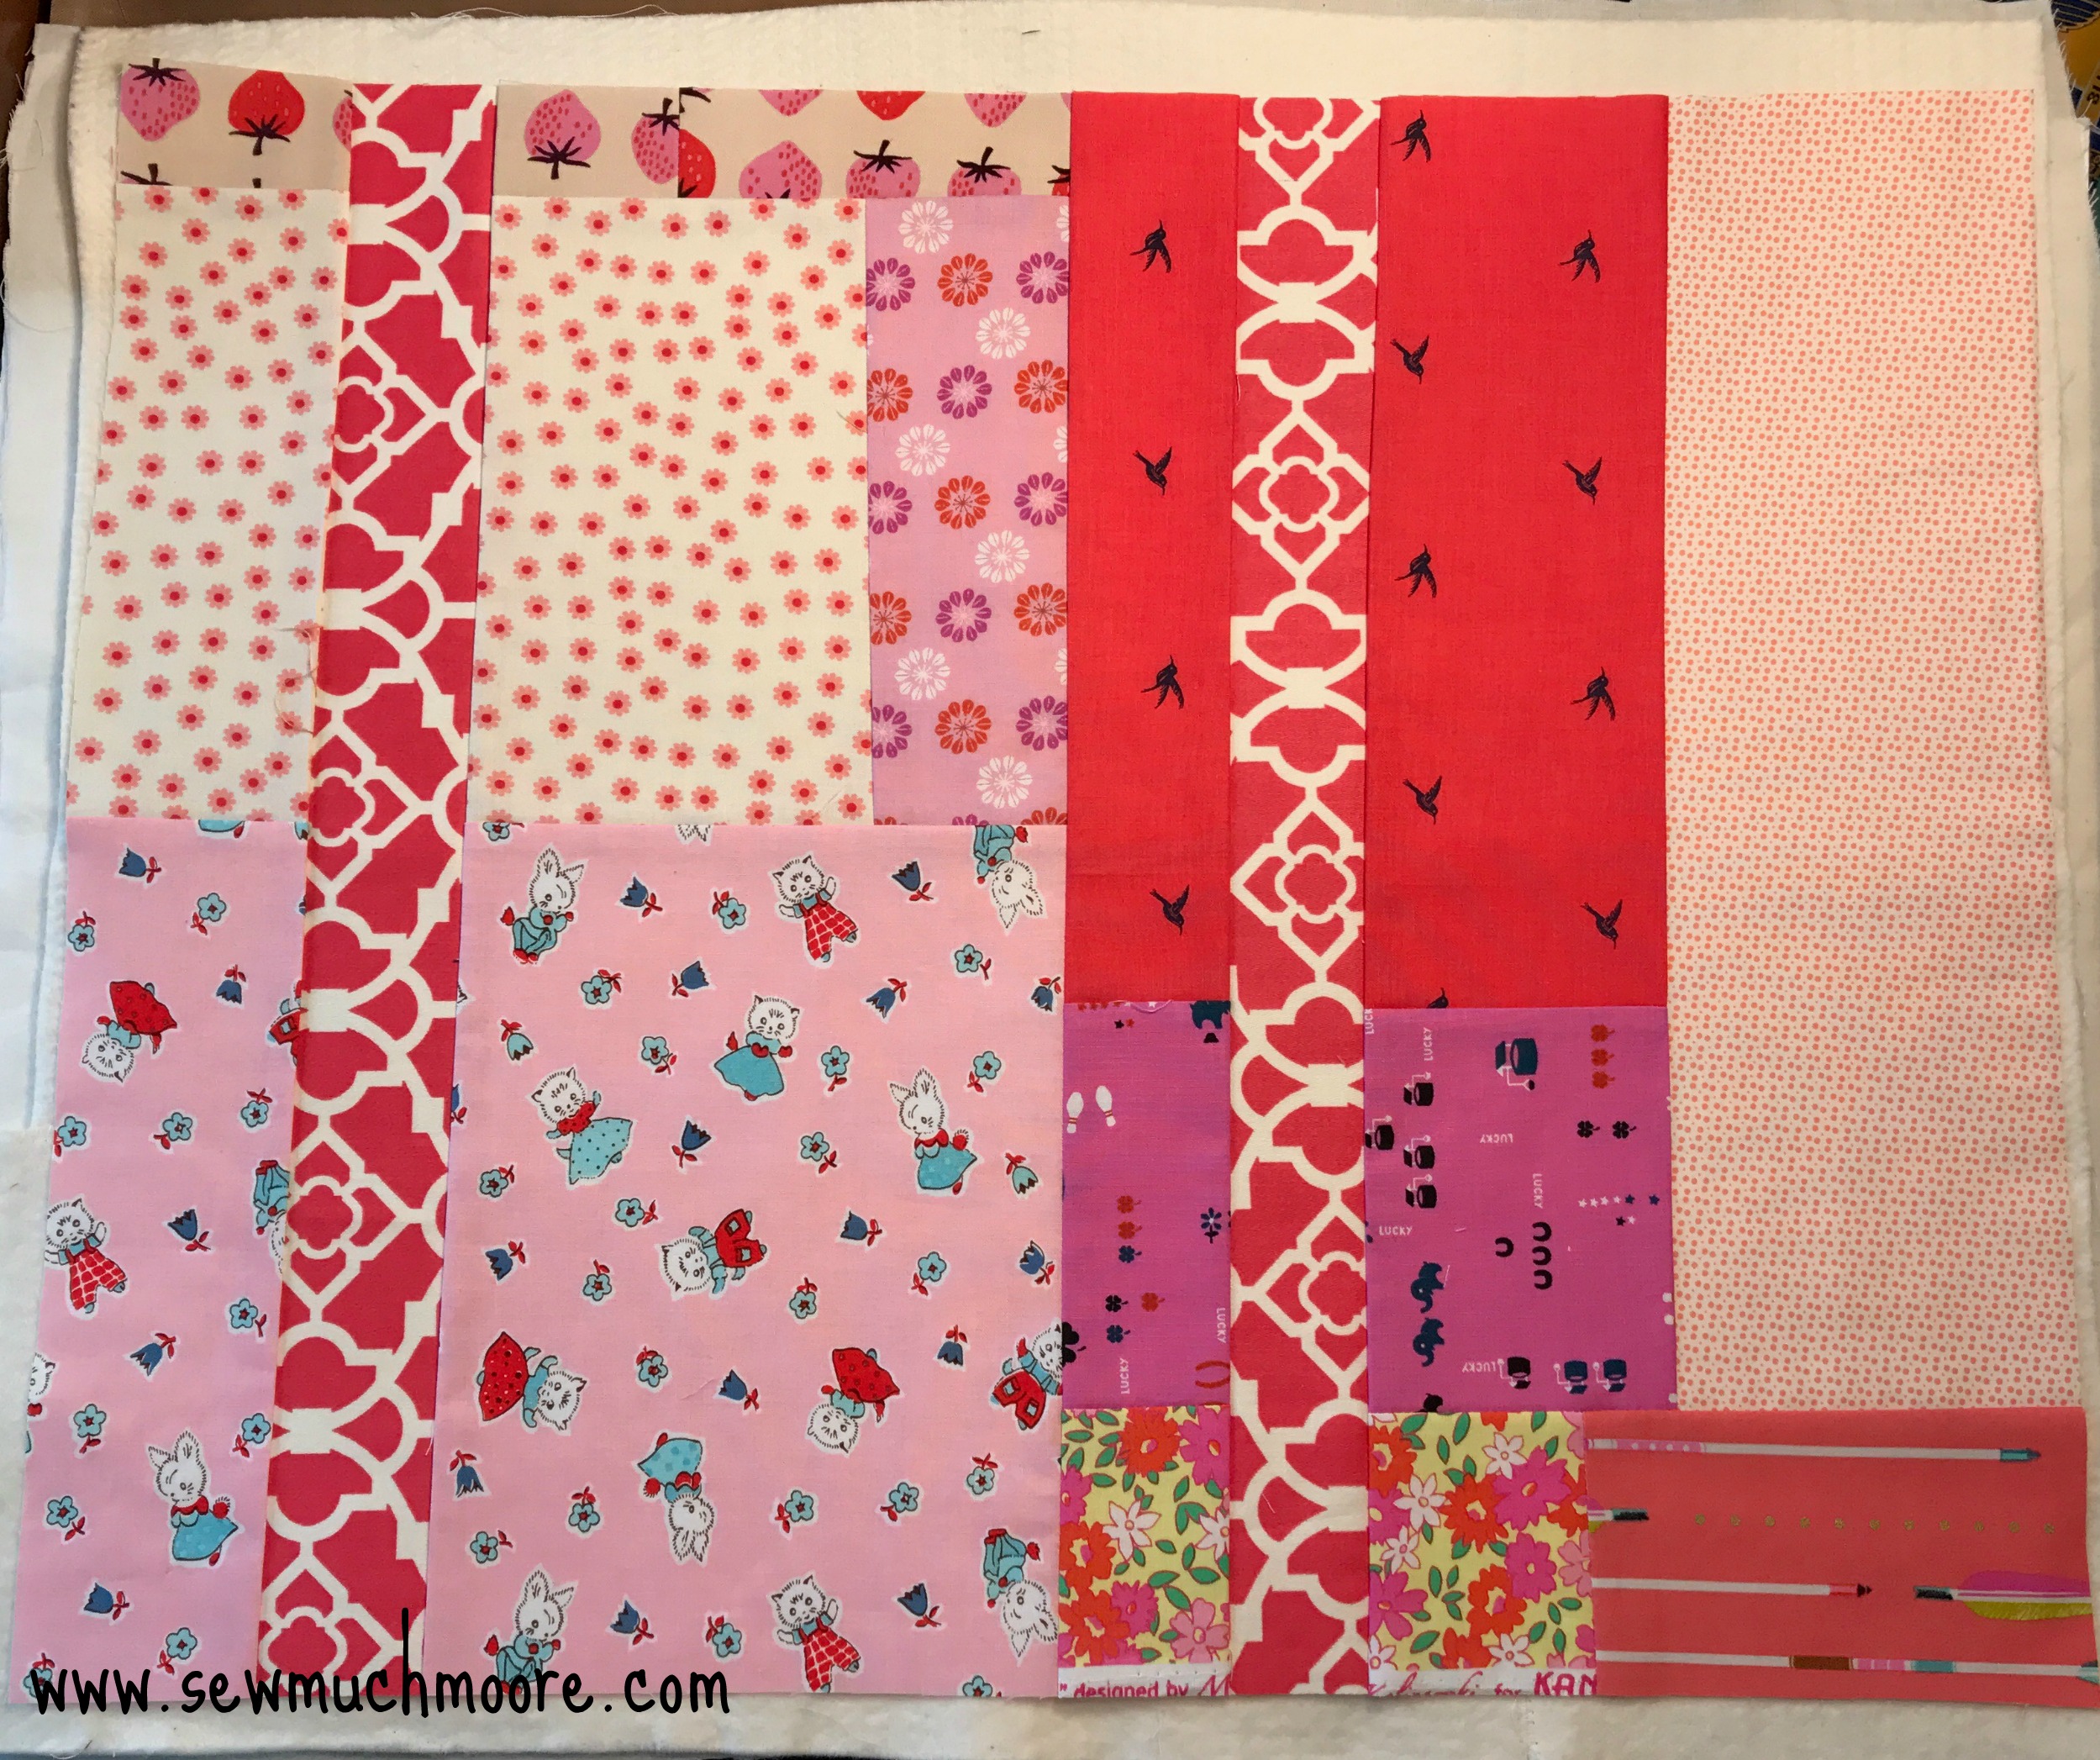
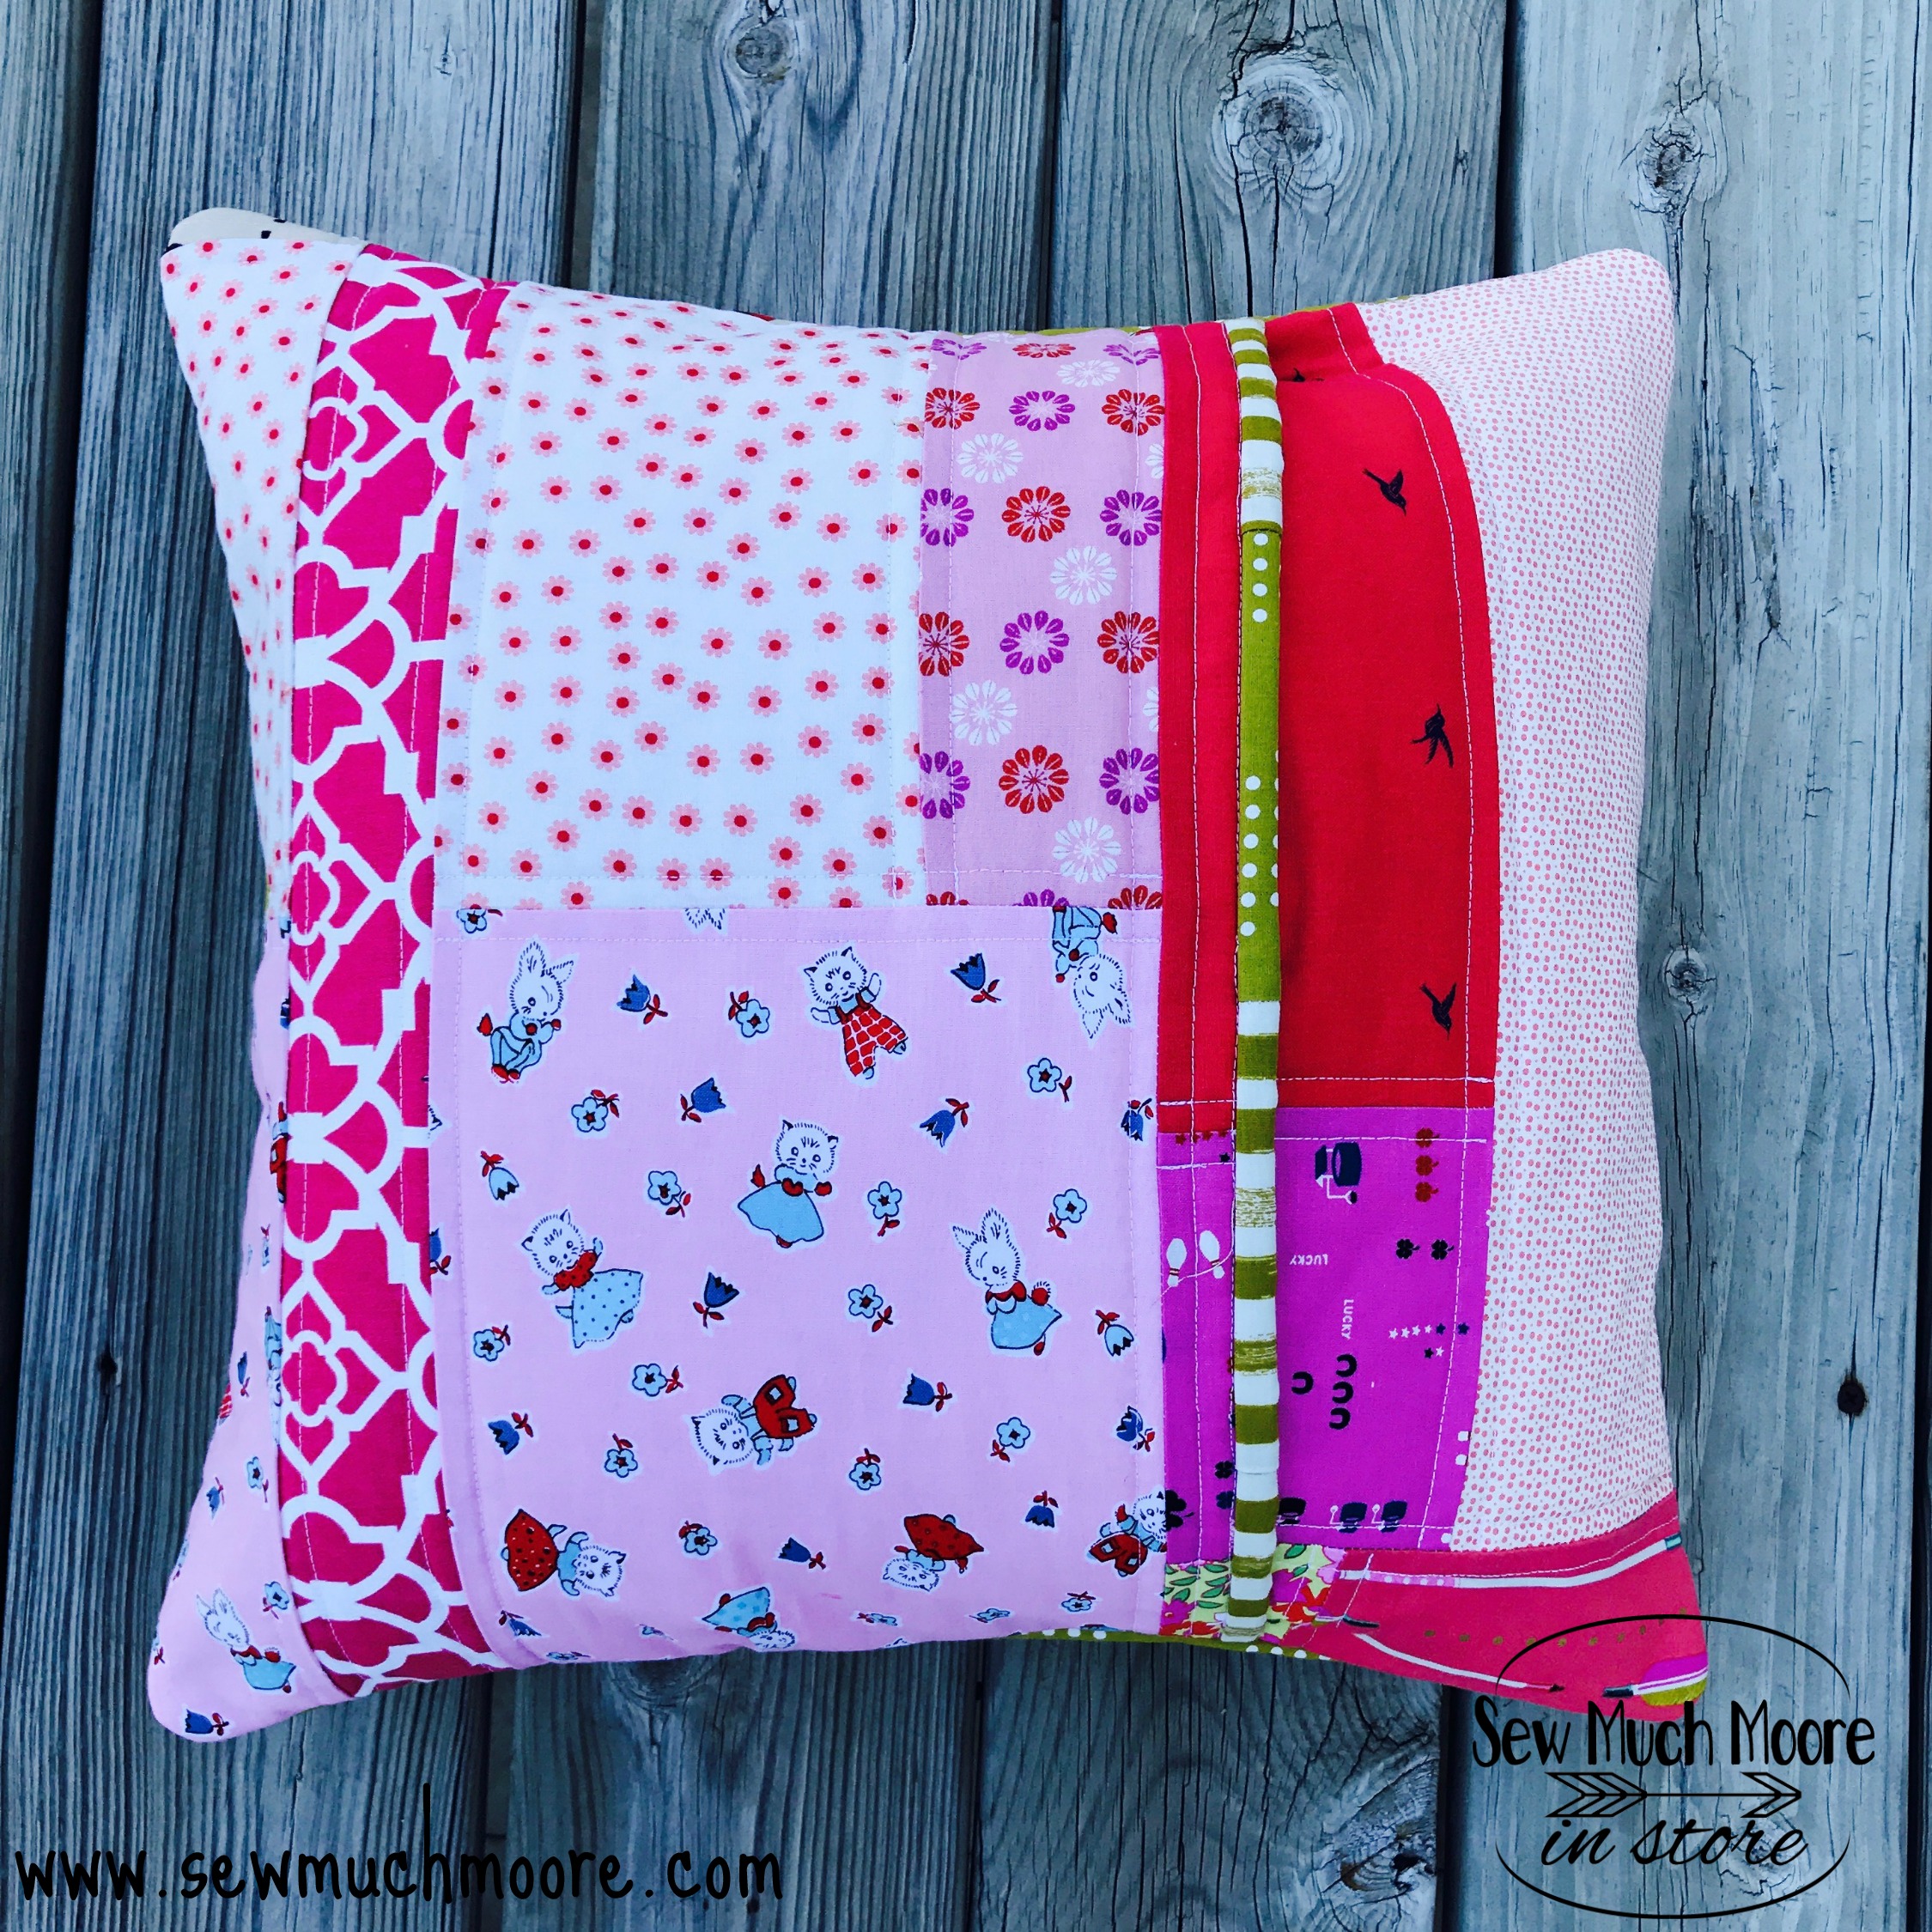
I wanted the pillow back to have an envelope closure (which is probably the simplest type of closure you can make). I pulled more of my fabric scraps to make an oversized panel. I trimmed and sewed and got everything to fit just right.
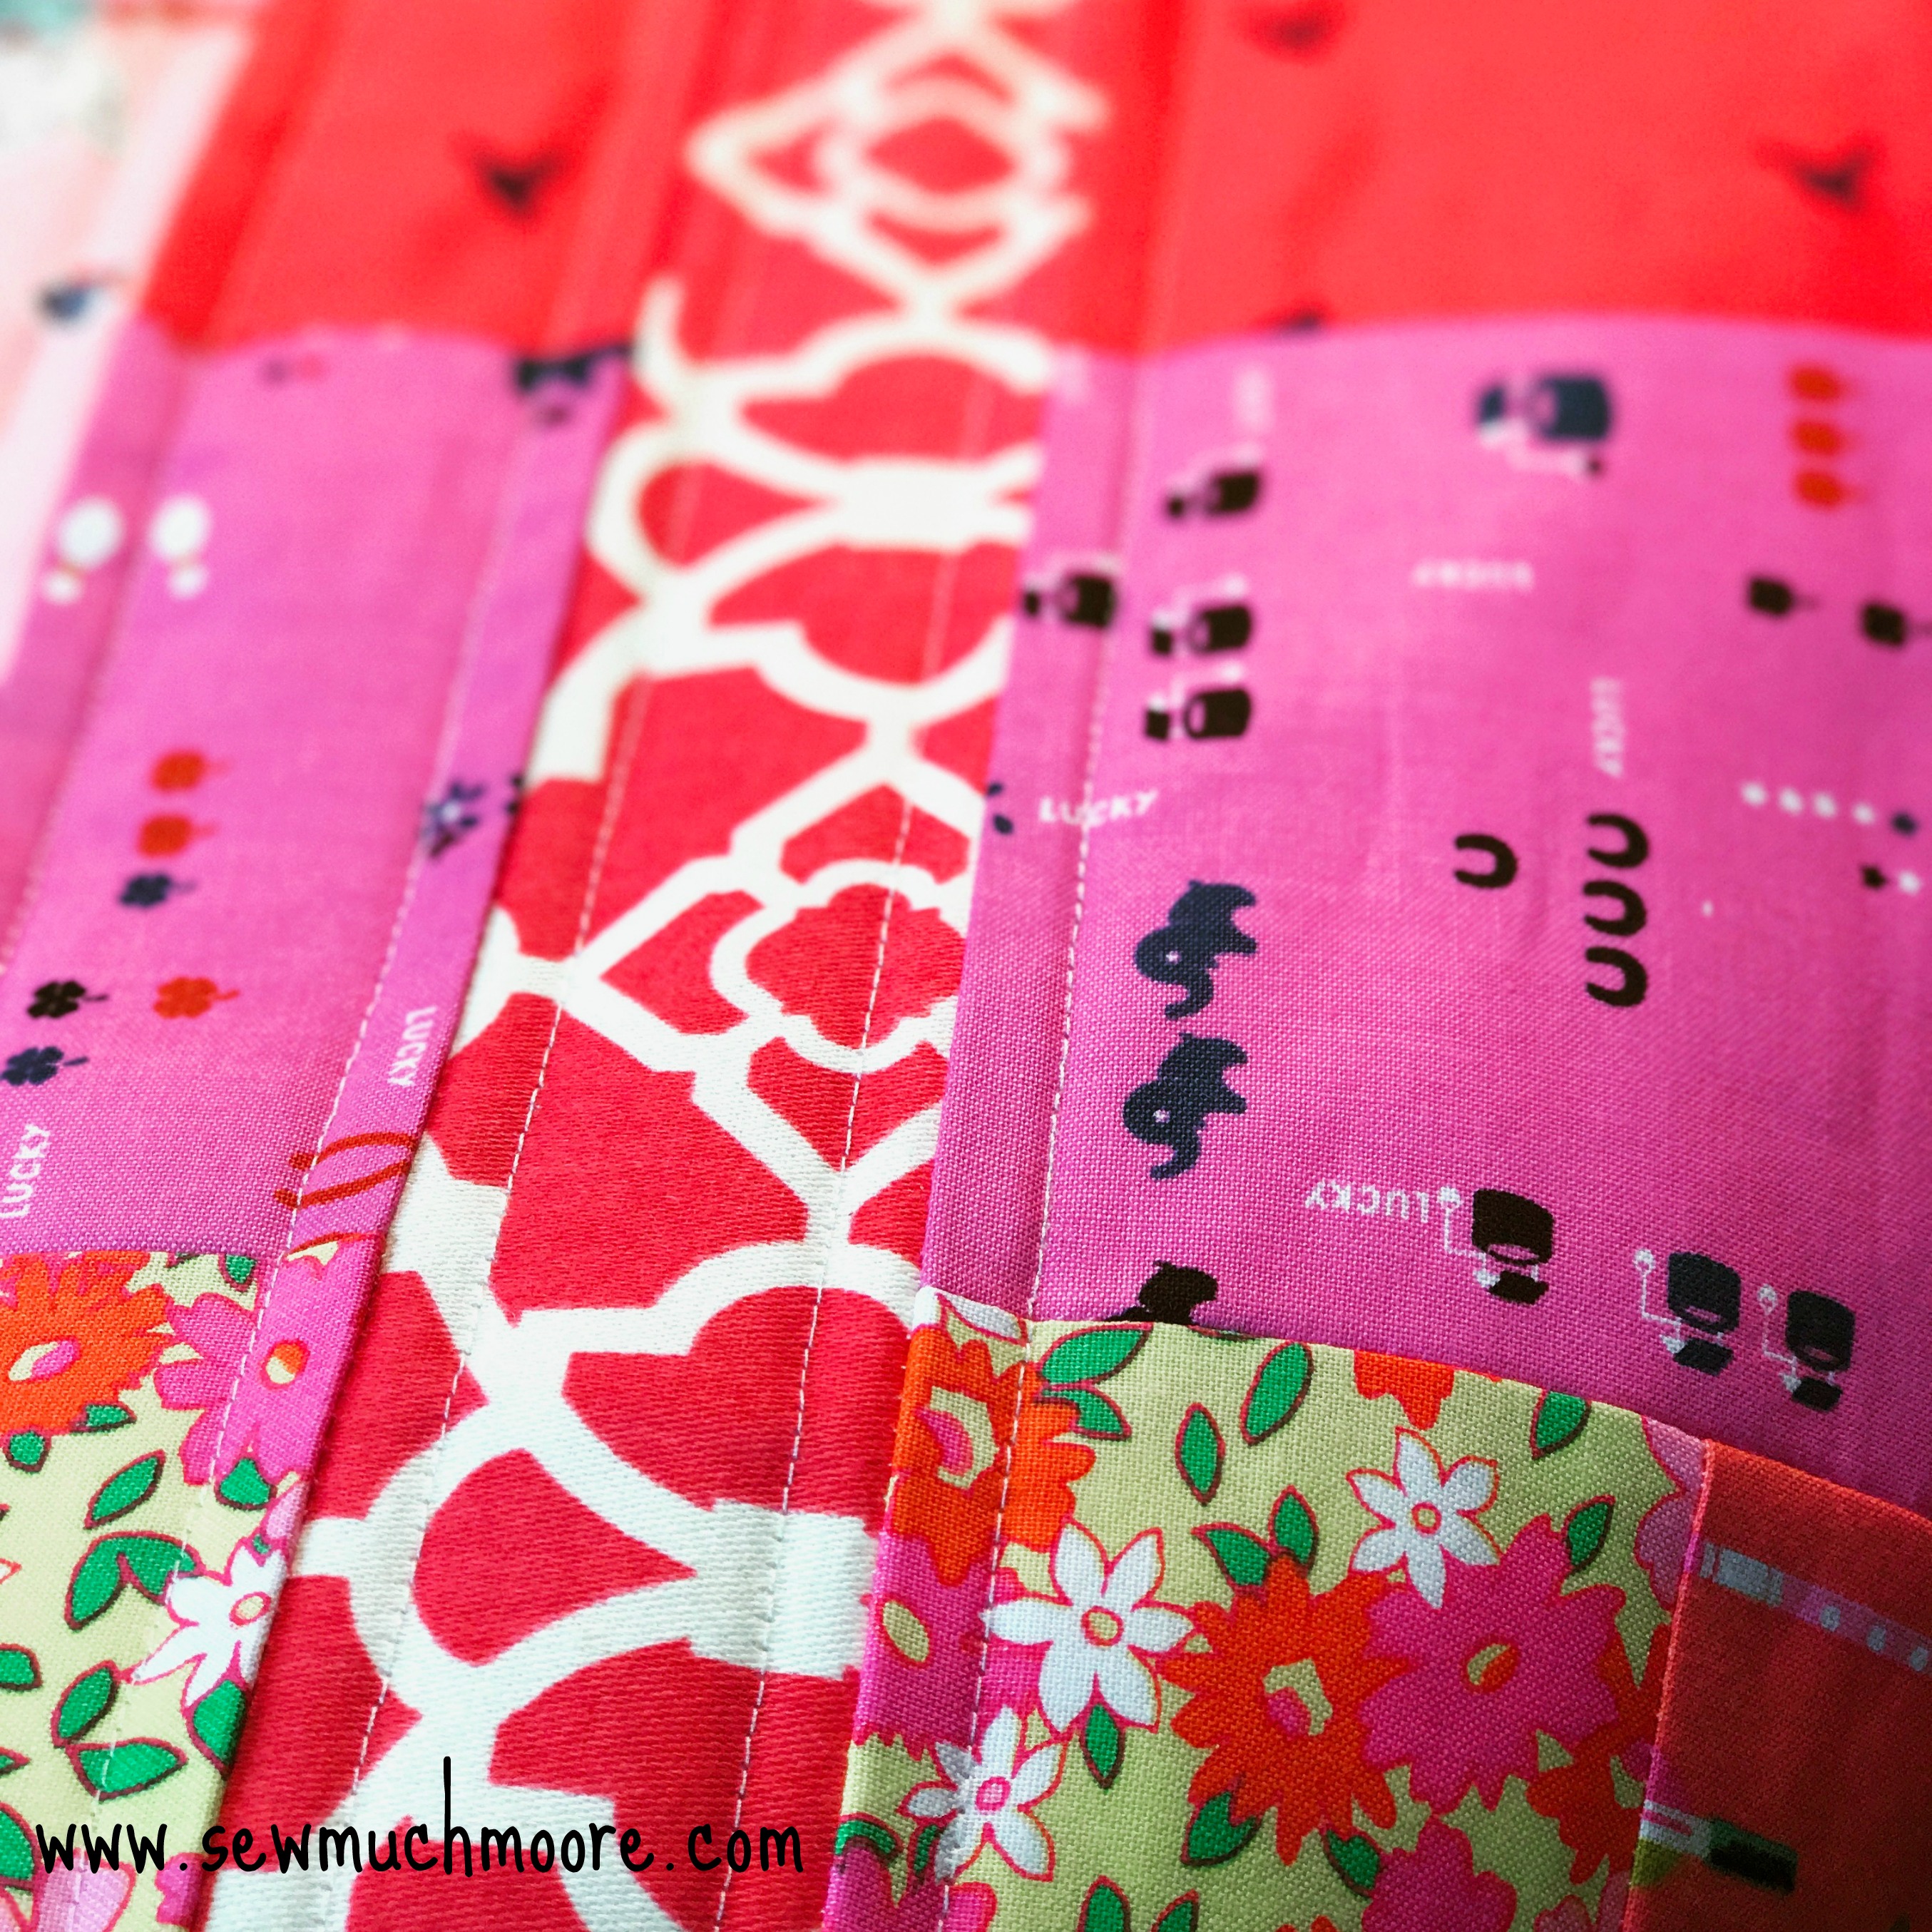
I sandwiched this panel with more Quilter’s Dream Supreme batting and the rest of the left over muslin on the back. I added more simple straight line quilting which was basically some stitches placed 1/4″ away from each seam. Really fun and easy!
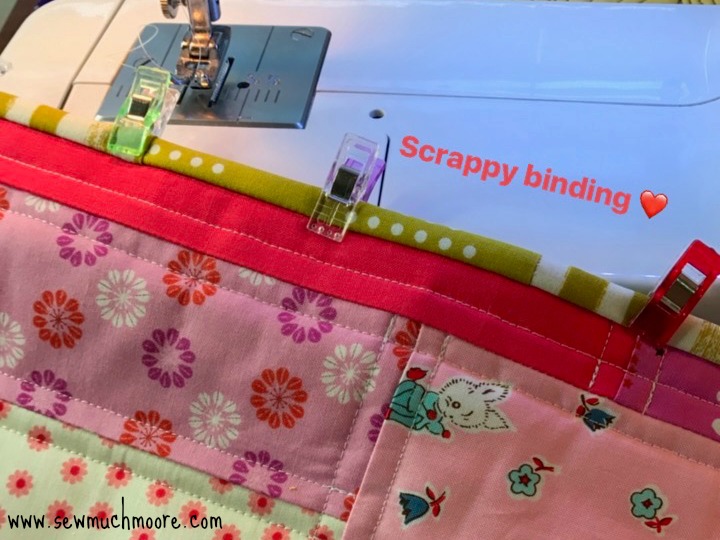
For the envelope closure, I cut the back panel in half and added a scrappy contrasting binding to the cut edges. I used the same Mustard Colored fabric and some similar Striped Mustard Fabric for the binding which played nicely with the front of the pillow cover trim border fabric.
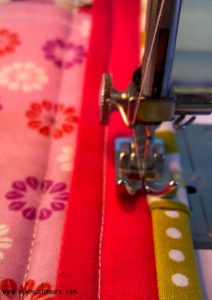
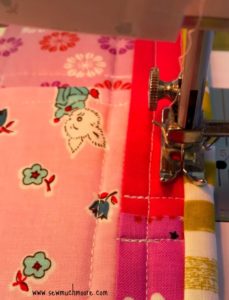
After installing the binding, I lined up the front and the back panels. Placing them right sides together, I sewed them up using a 1/4″ seam allowance and returning with a tight zig zap all the way around the perimeter of the pillow cover. I gave the envelope opening points a few more passes with the needle and thread to ensure the pillow would stay together nicely.
I am really pleased with how fun and easy this project turned out! It was a great way to be creative and use up some of my fabric scraps as well! I think I will make a blue/green pillow cover next!
I hope you try this fun project and use up some of your fabric scraps! ?
Happy Sewing
~Nicole
DON’T MISS OUT – SIGNUP FOR MY WEEKLY EMAILS
CHECK OUT MY MOST POPULAR POSTS!


I had the privilege of seeing the 9 patch throw pillow in person…ABSOLUTELY BEAUTIFUL!! Thank you for always being willing to share your talent, knowledge, and patience with everyone so graciously!
Thank you so much for your kind words, Melanie! Addison needs to make one of these soon!
These are so cute! I love this idea! I have had the idea of learning how to sew on my mind recently, but I’m pretty sure that my husband would veto the idea of buying a sewing machine given that we’ve taken up knitting, crocheting, and woodworking within the last year. Once I convince him though I’ll be sure to stop by here to get some ideas!