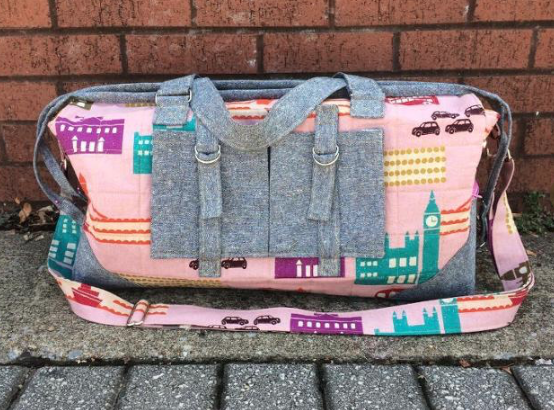
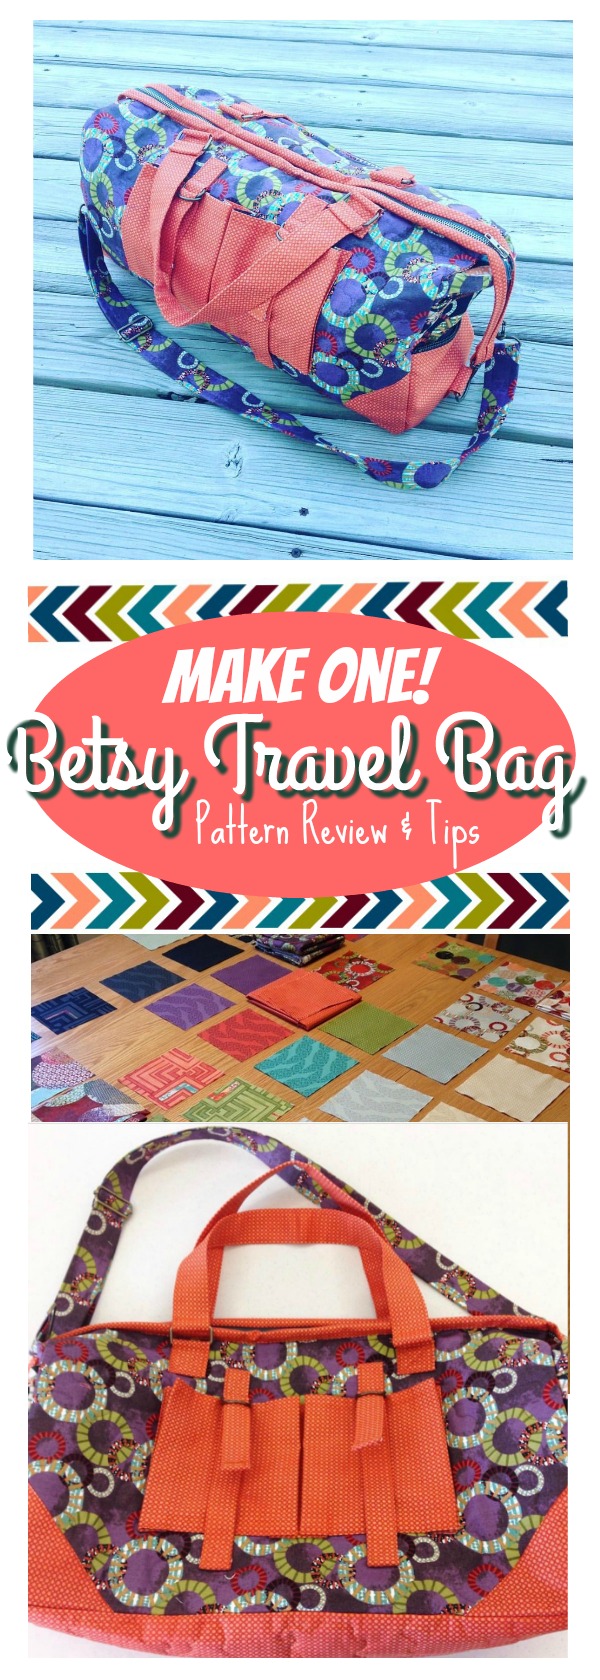
The Betsy Travel Bag
There are so many duffle bag patterns out there. It is difficult to know which pattern to try and which to save for another day. I found a wide selection of free duffle bag patterns, but none really gave me all the things I was looking for in a duffle bag. You see, I like to take little weekend get-away trips and needed a bag for a couple days change of clothes. Nothing major. I wanted my duffle bag to have lots of separate compartments and options for putting my items in order. I finally found a great pattern and started gathering the necessary materials to make this pattern into a reality! I decided upon the Betsy Travel bag, by Kristi McDonough with Schnitzel & Boo.
This post contains affiliate links for your convenience. ? Read my full disclosure policy here.
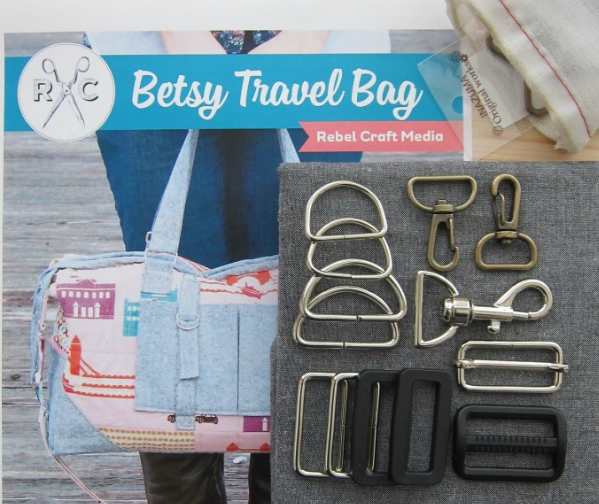
Betsy Travel Bag – Materials List
- Betsy Travel Bag pattern
- 1/2 yard Pocket Lining
- 1 1/4 yards Main Accent fabric
- 1 yard Main Fabric
- 1 1/4 yards Main Lining
- 3/4 yard neutral-colored cotton canvas (also called “Duck Cloth“)
- 3/4 yard Secondary Accent Fabric
- 4 yards 20″ wide lightweight fusible interfacing, such as Pellon SF101
- 1 1/2″ piece of 1″ wide Velcro
- 20″x40″ piece of cotton batting, or large scraps
- (1) 20″ zipper
- (2) 6″ zippers
- (1) 9″ zipper
- (1) 22″ separating zipper
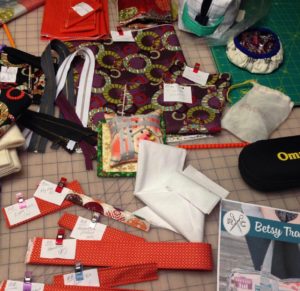
Now, I know what you are thinking – That’s a lot of materials! Yeah, it is! I have pulled together some links to help you find your hardware. There is a bunch you will need for this pattern. Getting the right stuff is important!
- (2) 1″ leash clips (snap hooks)
- (2) 1 1/2″ D-Rings
- (2) 1 1/2″ leash clips (snap hooks)
- (1) 1 1/2″ metal slide buckle
- (1) 3/4″ leash clip (snap hook)
- (6) 1 1/2″ rectangle rings
- (4) 1″ D-Rings
Betsy Travel Bag – Tips & Tricks
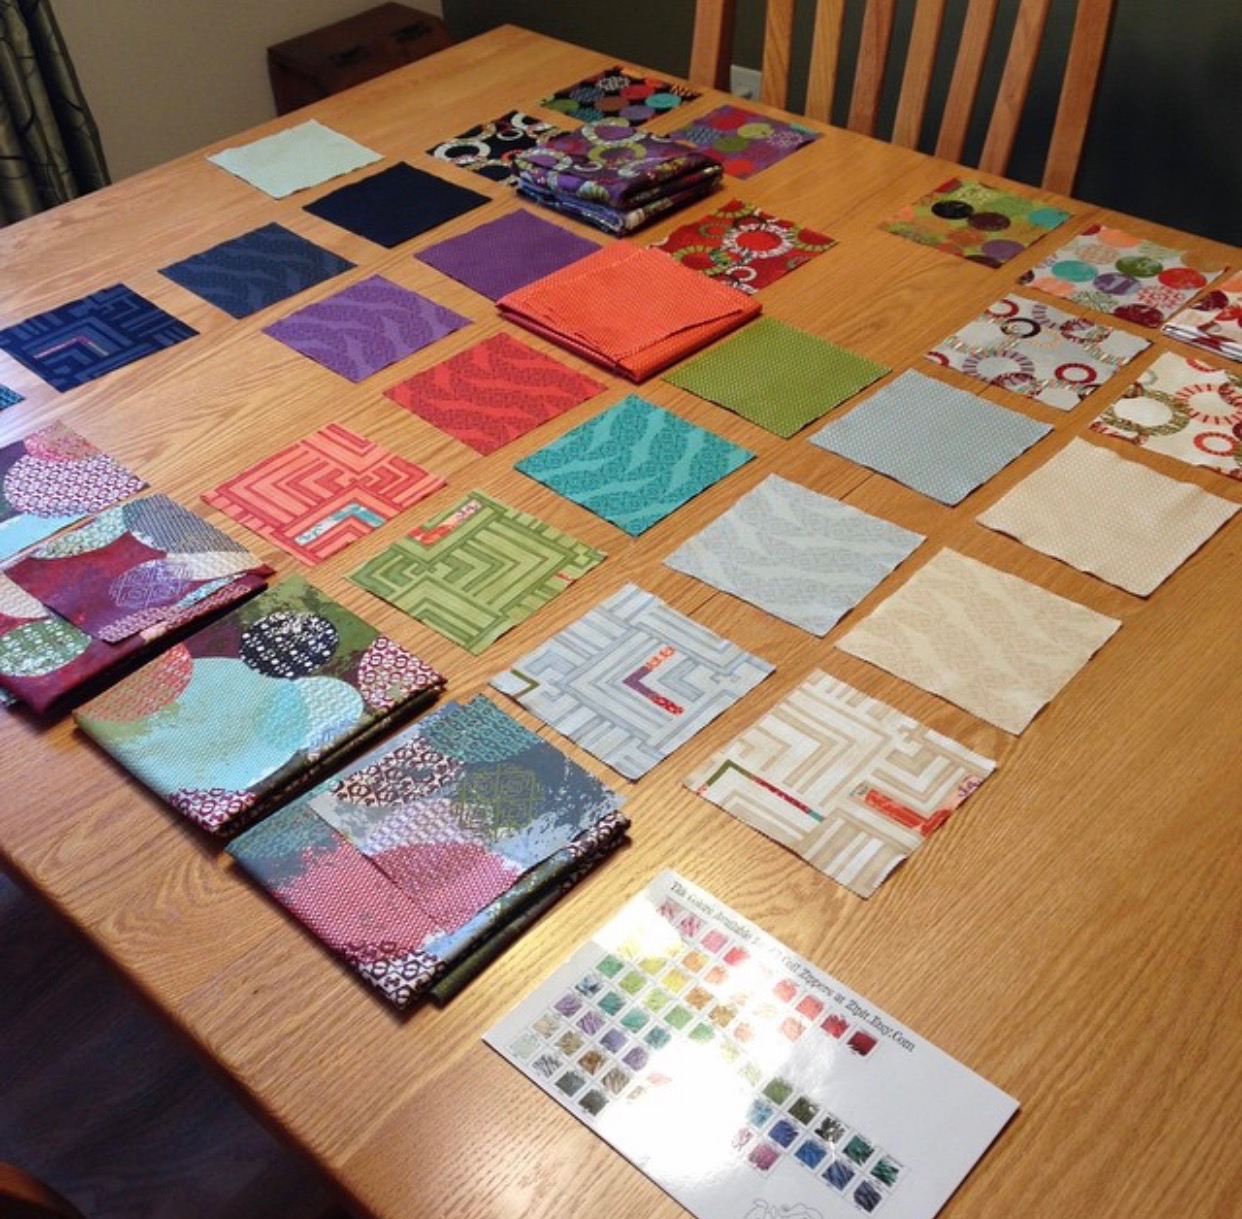
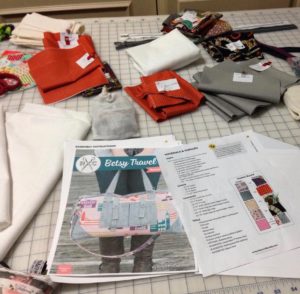
After I acquired my materials and supplies, I started sorting and labeling my fabrics. The below picture is just me sorting thru all the fabric that I had (of this particular line). I bought some bits of yardage a while back and (at the time) did not know what I would be using it for. It was at this particular project that I learned how fabric prints are retired (oh no!). I ended up scrounging around Etsy and Instagram for some missing bits, but finally pulled all the fabrics together. In the end – I pulled together all the fabrics I needed for the project. The fabric line I chose is called Juggling Summer by Zen Chic for Moda fabrics. They may have a TINY bit left right HERE.
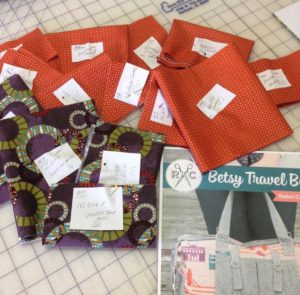
I did my cutting in stages (because there was so much to cut and keep track of). I made sure that I labeled everything as I cut. This was a HUGE time savings when I got ready to start sewing things together.
The best advise I have for you, when putting this bag together is to take it slow and don’t expect to finish this in one day. In fact, I gave myself an entire weekend to assemble the bag (I had already had it all cut out and prepped ahead of time). I am really happy with the results! I also found that talking to myself helped with the construction of this bag. Do you do that too?
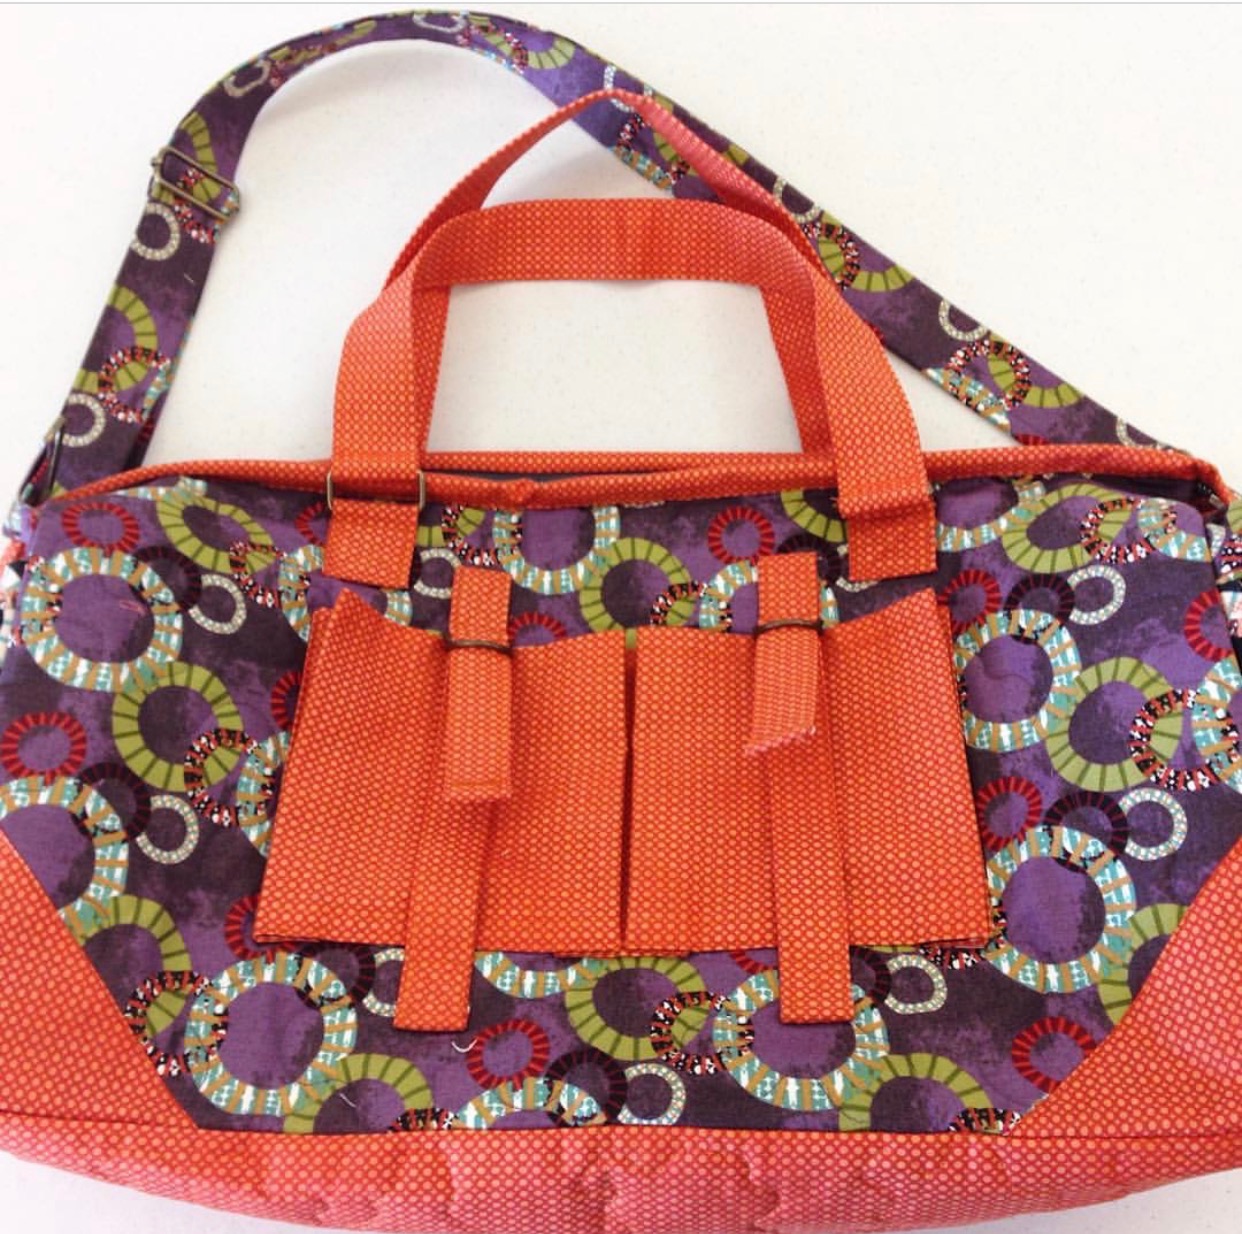
I use this bag for every quilting retreat, when I make a quick trip to visit family or any other time I need a bag for the weekend.
Have you made this bag? I would love to hear from you! What was your favorite part or some things that you would have done differently or changed? Let us know in the comments section below!
Happy Sewing!

BE SURE TO CHECK OUT MY MOST POPULAR POSTS!
OK, now I need to find mine and get working on it again. I got so frustrated because my machine wasn’t sturdy enough to deal with the thick seams. I finally used someone else’s machine to get through that part and then went back to making quilts. Ha ha! I think the pattern was written very well, and it does help to cut and organize ahead of time!!