Goosed Up about Rainbows
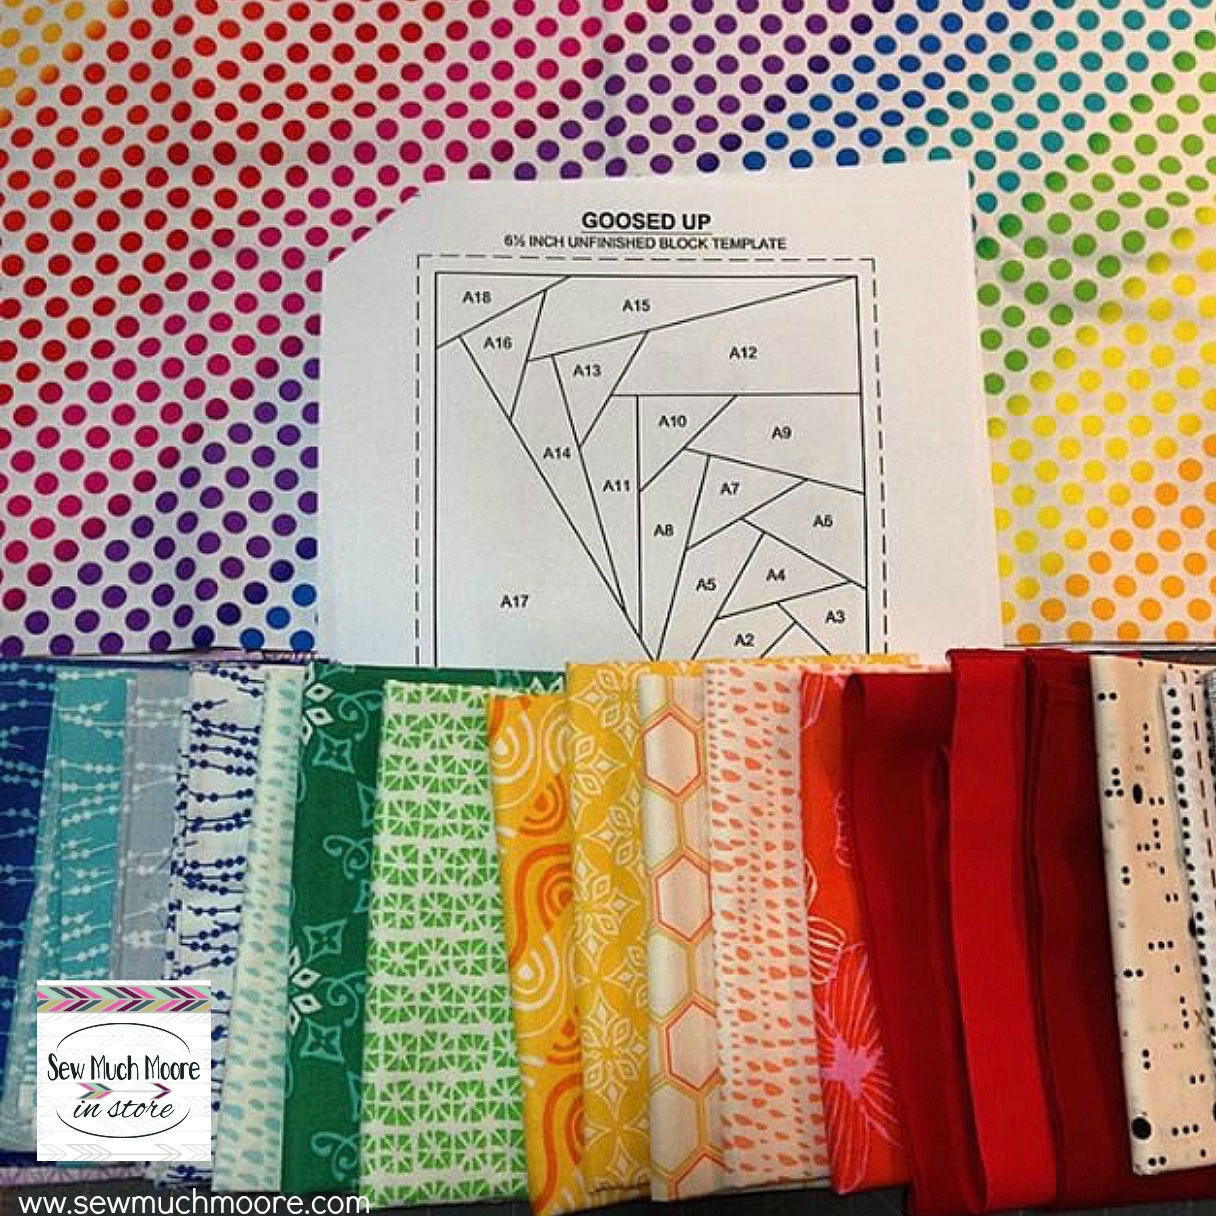
I found out about an Instagram Mini Quilt Swap that was themed on rainbows. I just had to join! The Mini Quilt swap that I joined was called #RainbowMiniQuiltSwap. This swap was hosted by Kate Basti. I immediately started trolling my partner’s Instagram feed. My secret partner was an accomplished quilter. Her Instagram feed was full of lovely creations. She posted a mosaic, which I used as inspiration for choosing the pattern and fabric for her Mini Quilt. In her mosaic, I spied the Goosed Up foundation paper pieced pattern by Jeli Quilts. I was definitely goosed up about rainbows! Making this project was a no-brainer! I later learned that this designer is no longer offering her patterns for sale. Not to worry – I have an alternative for you!
This post contains affiliate links for your convenience. 
Goosed Up – Material List
- Goosed Up pattern by Jeli Quilts (sorry her patterns are no longer available)
- Fabric from your stash
- If you need rainbow fabric eye candy – check out this selection!
- Foundation Paper for your printer (I used this paper – It’s my favorite)
- Add A Quarter Ruler – this is a MUST have for foundation paper piecing!
- Seam Roller (this is especially handy if you want to skip all that ironing)
Goosed Up – Basic Supply List
- Sewing Machine with a regular presser foot
- Thread (I use this thread to keep the seams from being too bulky)
- Fabric scissors or dressmaker’s shears (these are my FAV scissors)
- Iron and ironing board
- Pins & wonder clips (for joining the sections)
- Rotary cutter and mat (I love this little cutting mat that sits next to my sewing machine)
- Thread snips (I have these and LOVE them)
Making a sample first
I decided it would be a good idea to make a practice block. I used my scraps and made this trial block, which is about the size of a coffee cup coaster. The block was easy to make and my practice piece turned out great!
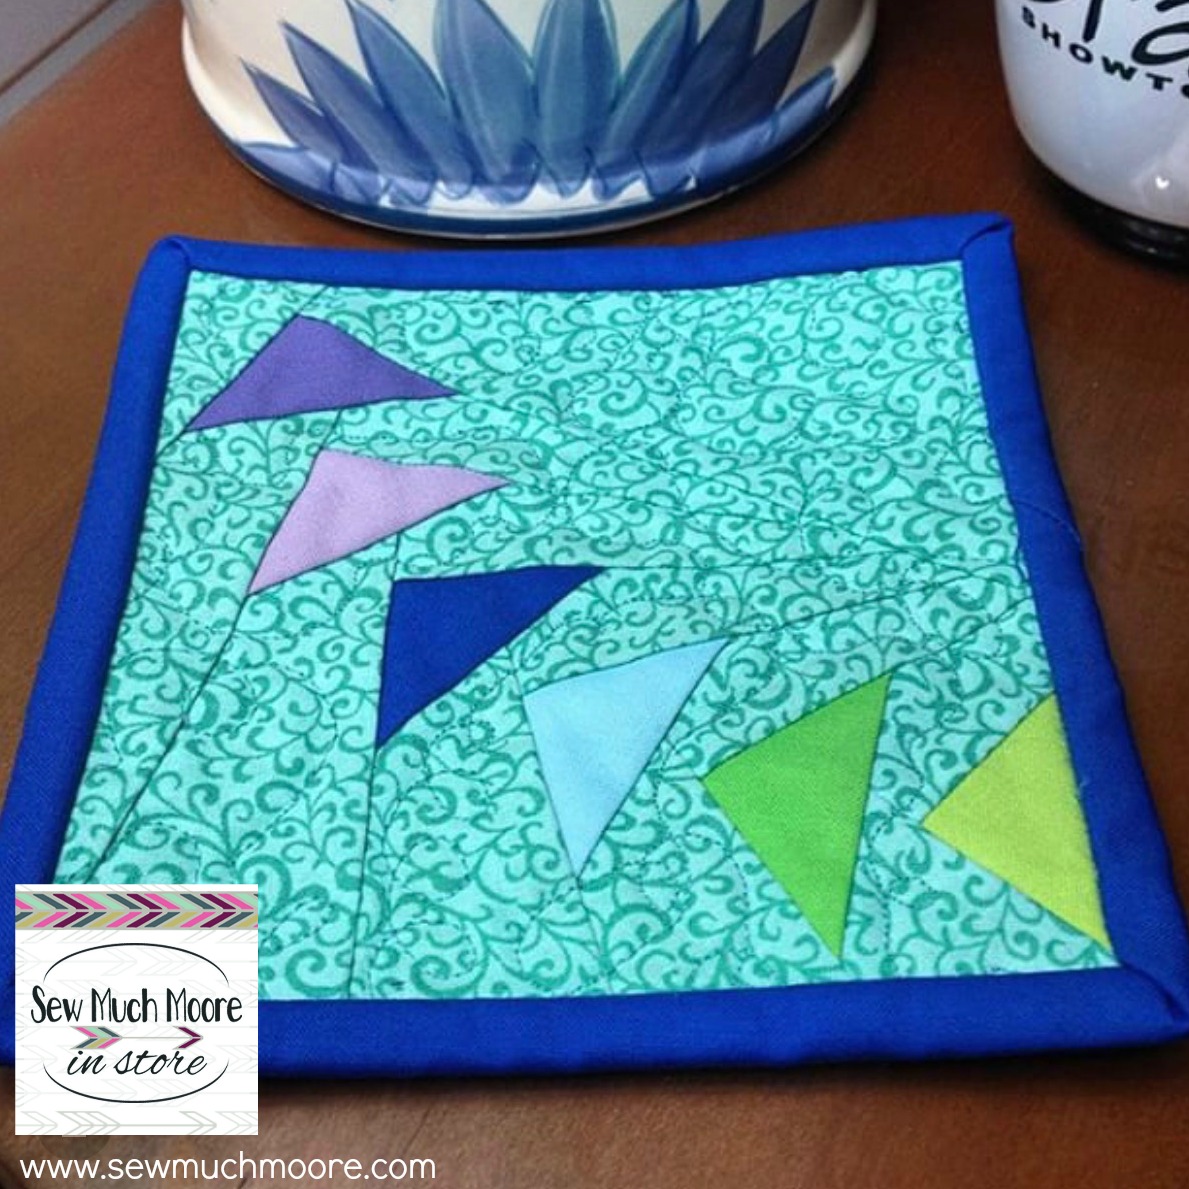
Finding all the right fabrics was my favorite part! I already had many in my own stash to choose from. For some reason, I was low on yellow and red choices. I had an abundance of teal and blue (no surprise there)! I got all my final selections organized and in ROYGBIV order!
It’s gets easier with practice
This one was a lot easier to put together, after I had practiced on the sample. It was exciting to watch the mini quilt take shape! I decided to make the small geese shapes with the darker color and have the shadow of that color be a lower volume of the base. What a great effect!
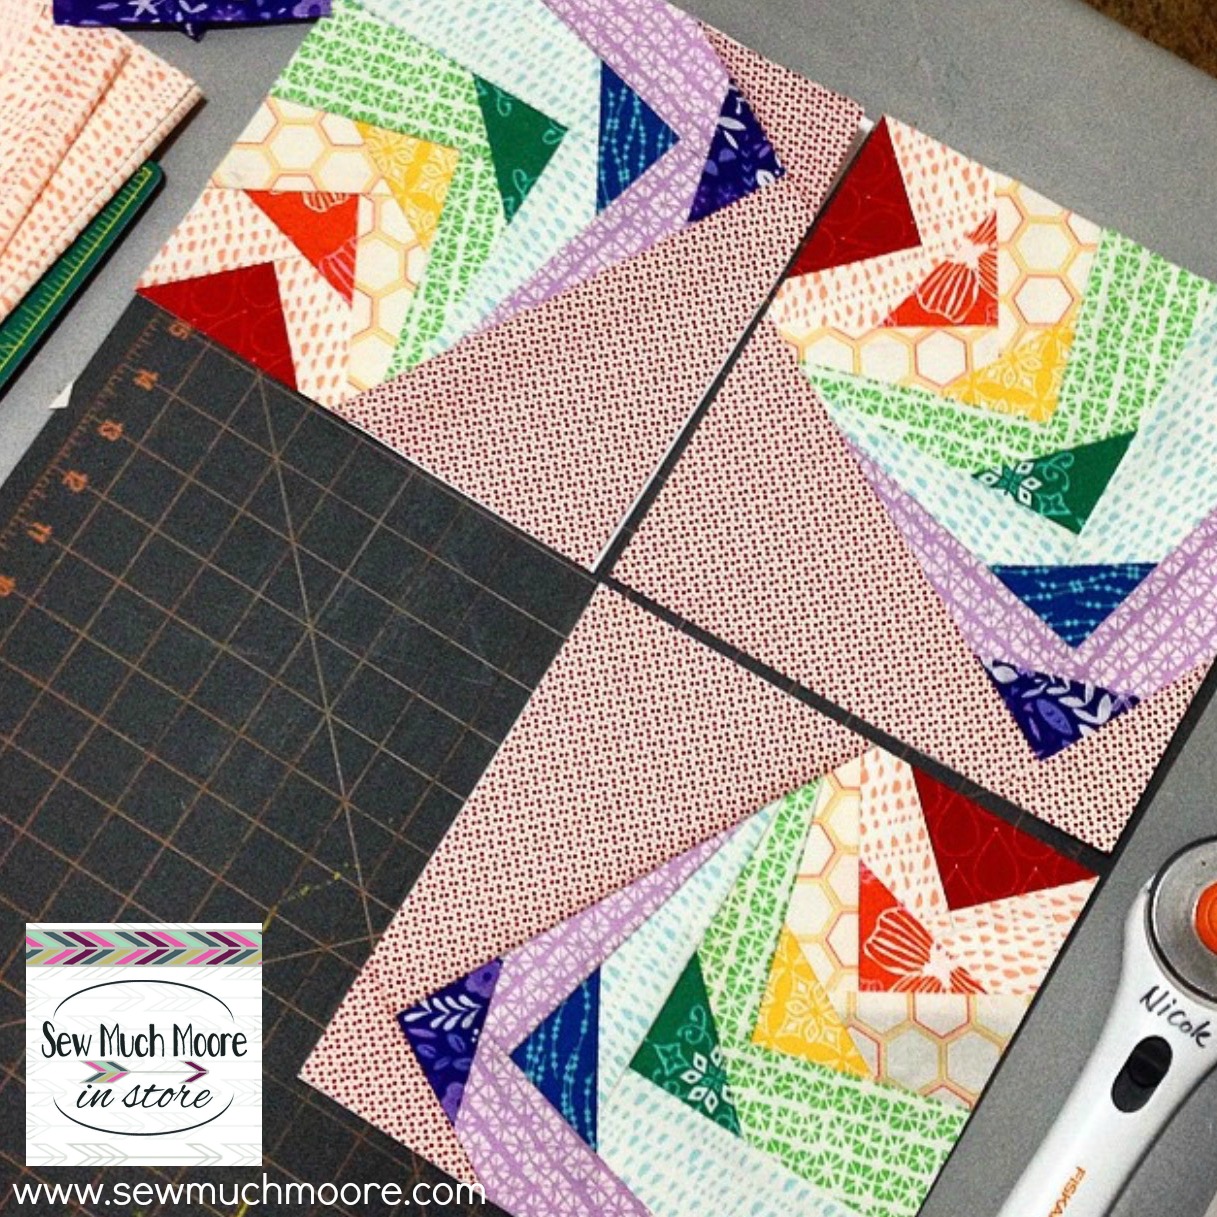
I wanted to make this one a little differently. I decided against a plain white background. This low volume red fabric added a note of interest to the rest of the fabrics! I sandwiched this all together and did some very intentional straight line quilting. I was extremely pleased with the finished mini quilt!
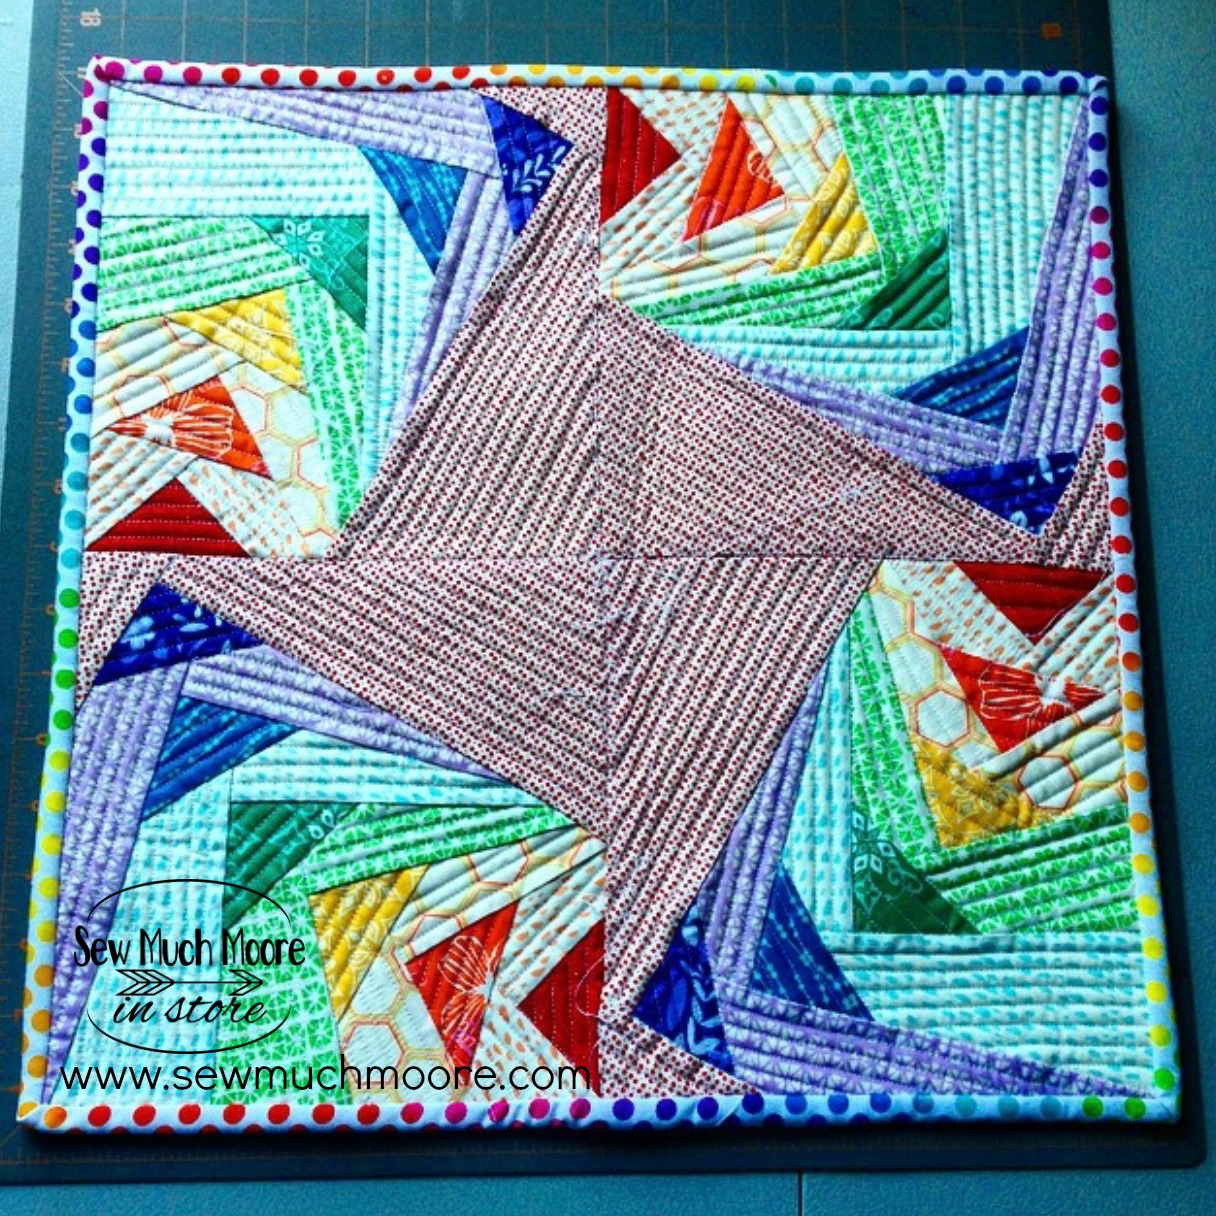
For the backing, I used a fun rainbow dot fabric. I stumbled upon this at my LQS (local quilt shop). I had to scoop it up and it turned out PERFECT!
All the goodies and extras!
As with all my swap packages, I love to send extras! I just love rainbows. Who doesn’t love handmade goodies! Check out my partner’s swap package! She loved it! She loved all of it!!!
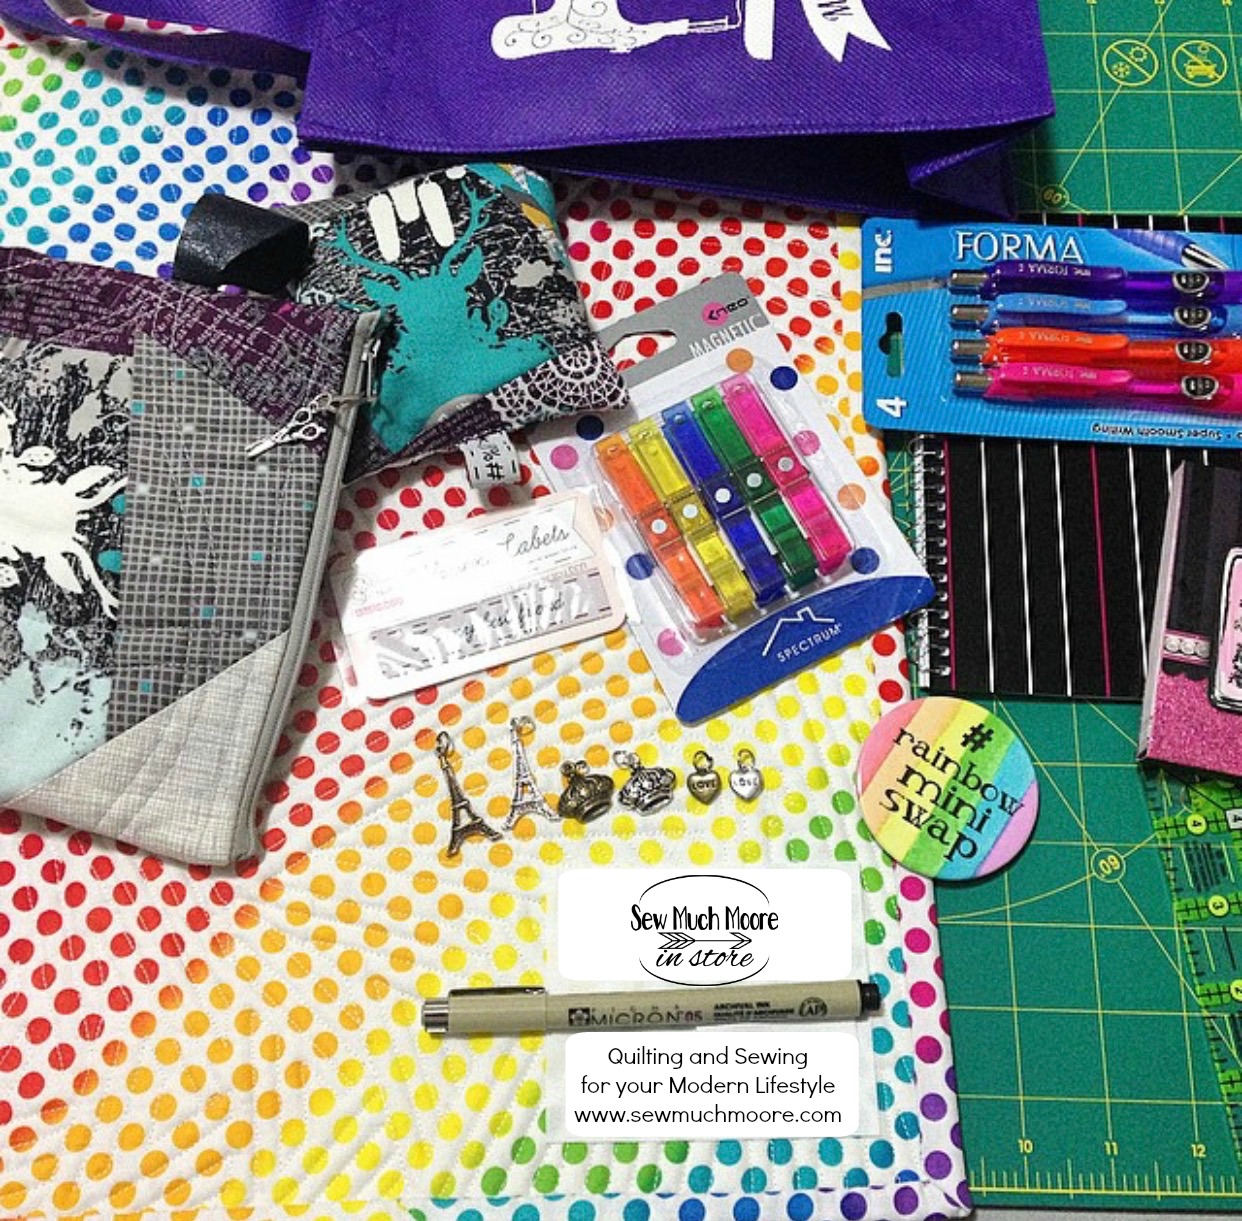
I hope you decide to try this fun pattern. One day, I would love to make an entire quilt from it – it is sooooo good!
Try Foundation Paper Piecing!
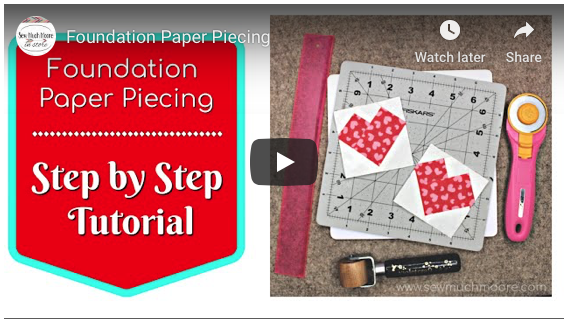
If you would like to learn the Foundation Paper Piecing technique, I recommend you reach out to your local quilt shop. I hope someone there would be able to offer this in a class for you. If this is not available for you, or if you would like to learn at your own pace – Check out my YouTube Video on Foundation Paper Piecing!
I would love to see some of your paper pieced projects! You can share your creations on my Facebook page, or tag me on Instagram!
Happy Stitching!



Wow, Nicole, you did a great job, once again!
This is inspiring me to attempt some modern paper piecing!
You had me at RAINBOW! Your version of this pattern is really great! I purchased this pattern and used the little pattern to make a pin cushion. Love it! Thanks for the ideas. Keep them coming!