Studio Renovation
I recently renovated my quilting & sewing space! Over the years, I have moved my sewing space from 3 different spaces. Let me show you how I was able to knock out a wall and join 2 rooms to create my new sewing studio. Follow along in the sewing studio renovation! Be sure to watch the video at the end, which takes you every step of the way!
Starting my Studio Renovation
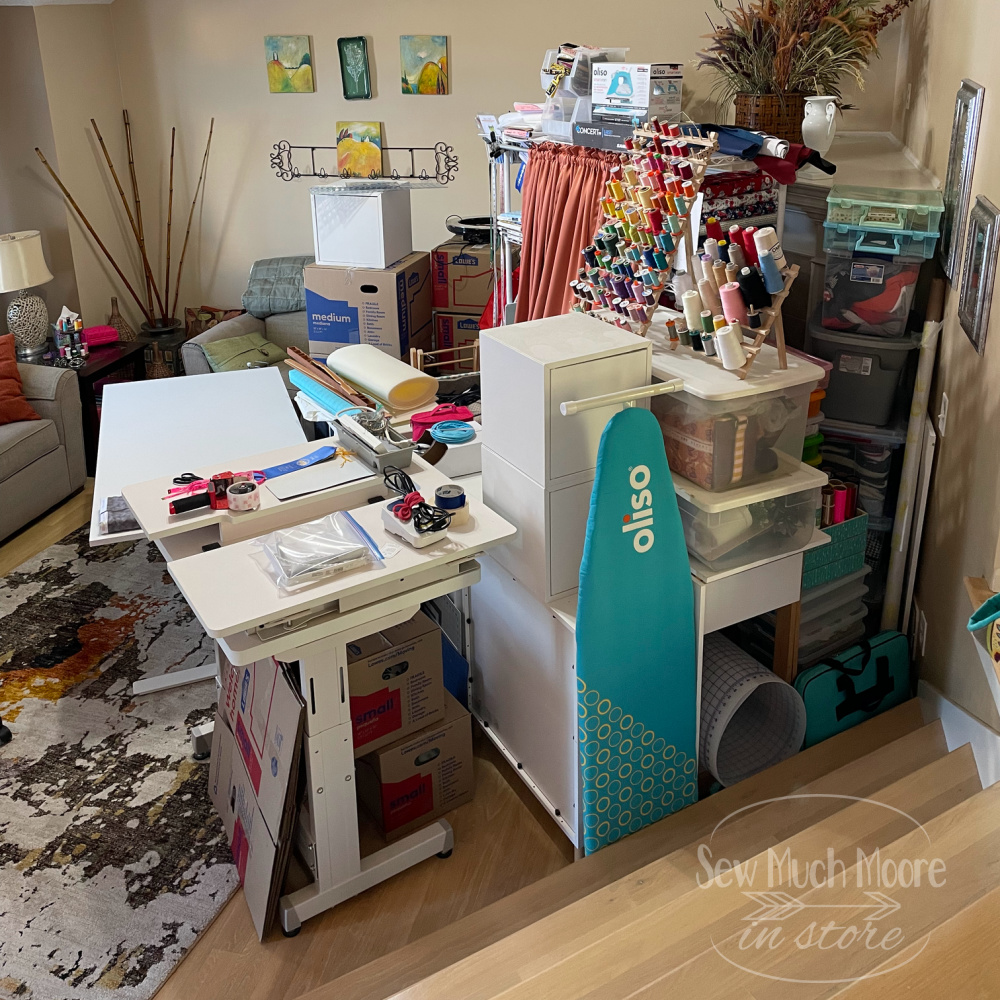
The first order of business in my studio renovation was to remove EVERYTHING from it’s current space! It was amazing to see how much stuff I was able to accumulate and actually fit inside a 10′ x 12′ room. My husband and eldest son helped move all the heavy things. I boxed up everything else, labeled it and placed it into my living room. It was not fun or easy to have this mass of equipment and supplies in our living room for over 2 weeks!
Tearing Down the Wall
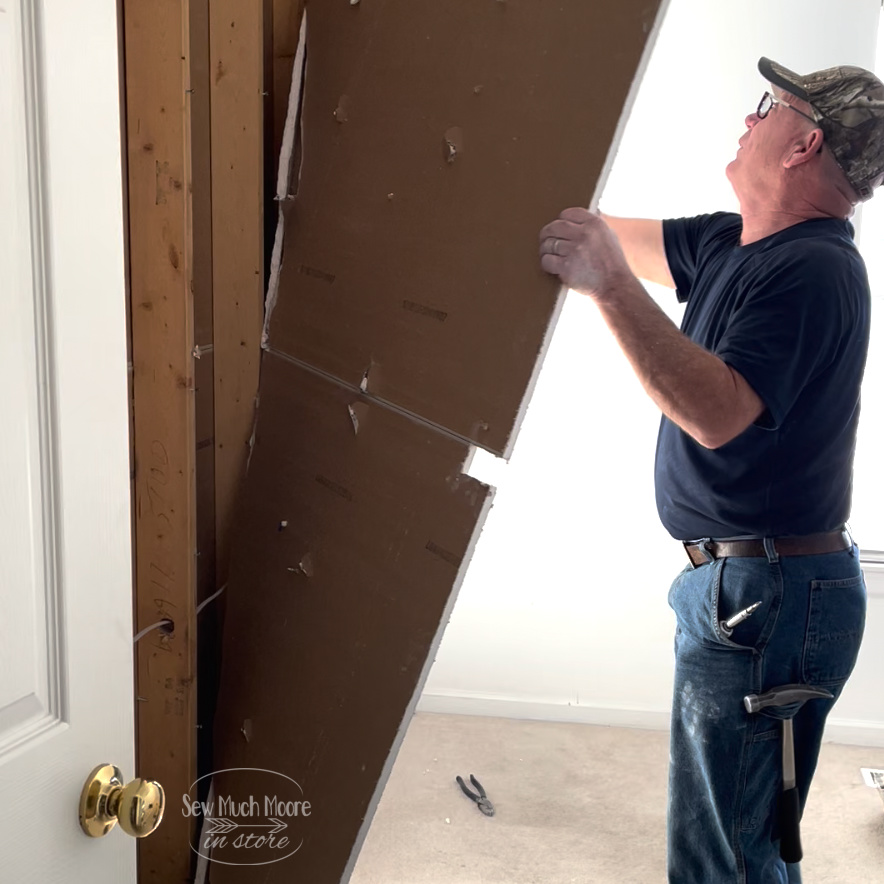
I have always needed (wanted) a bigger studio. The only way I knew to get this (without renting retail space) was to tear down a wall. You see, my eldest son who was occupying our basement bedroom, recently moved into his first apartment. My youngest son was occupying another upstairs bedroom and my studio shared a wall with this bedroom. Well, when the eldest moved out – my youngest immediately laid claim to the basement bedroom. This left an available space for me to expand! We planned this several months in advance. During late 2021, it was not easy to find contractors! We were very fortunate to secure our favorite hometown handyman, who has always been so great to work with!
Taking out the Carpet
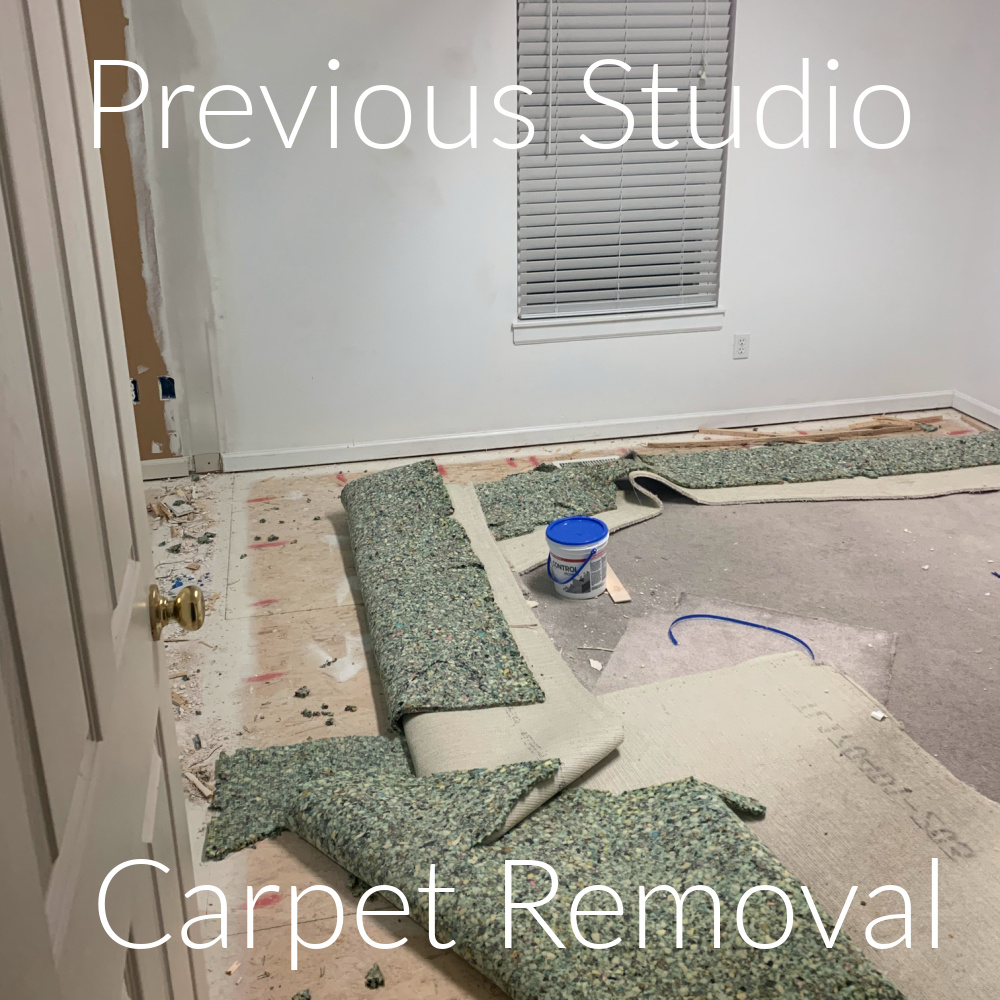
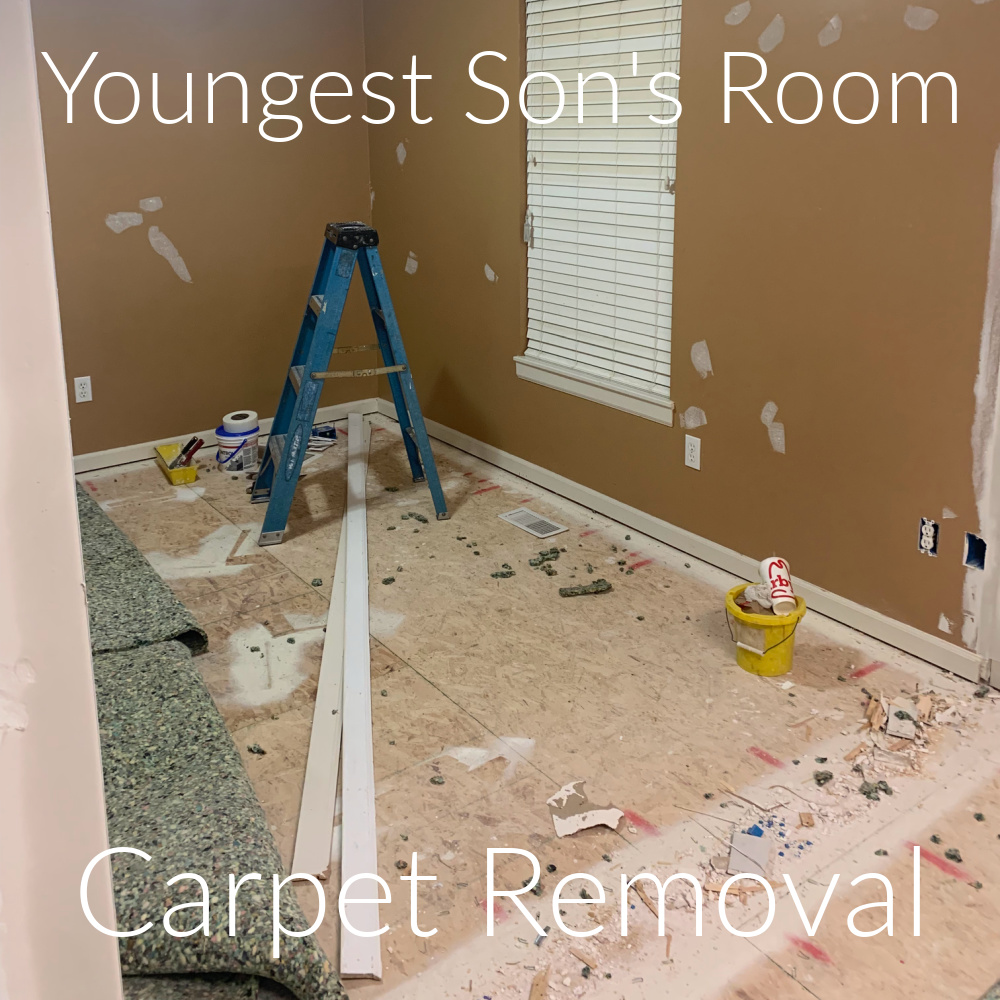
Once we had the wall down, it was time to tear out the carpet. This carpet was long over-due to come out. We built this house in 2004 and it was the original (builders grade) carpet. It was seen more action than any other carpet in this house!
Studio Renovation – Painting the Walls
Only one of the rooms needed several coats of paint. That didn’t stop us from putting several coats on all the walls! I have enjoyed having white walls in my old studio. This just make for better photography and it really brightens up the space. To learn more about how to brighten your sewing space, check out this article. My youngest son, and his friend Ava, helped with most of the painting. I am very blessed to have kids that want to help! My husband also did most of the finish and trim work. You can see his handi-work in the video linked below!

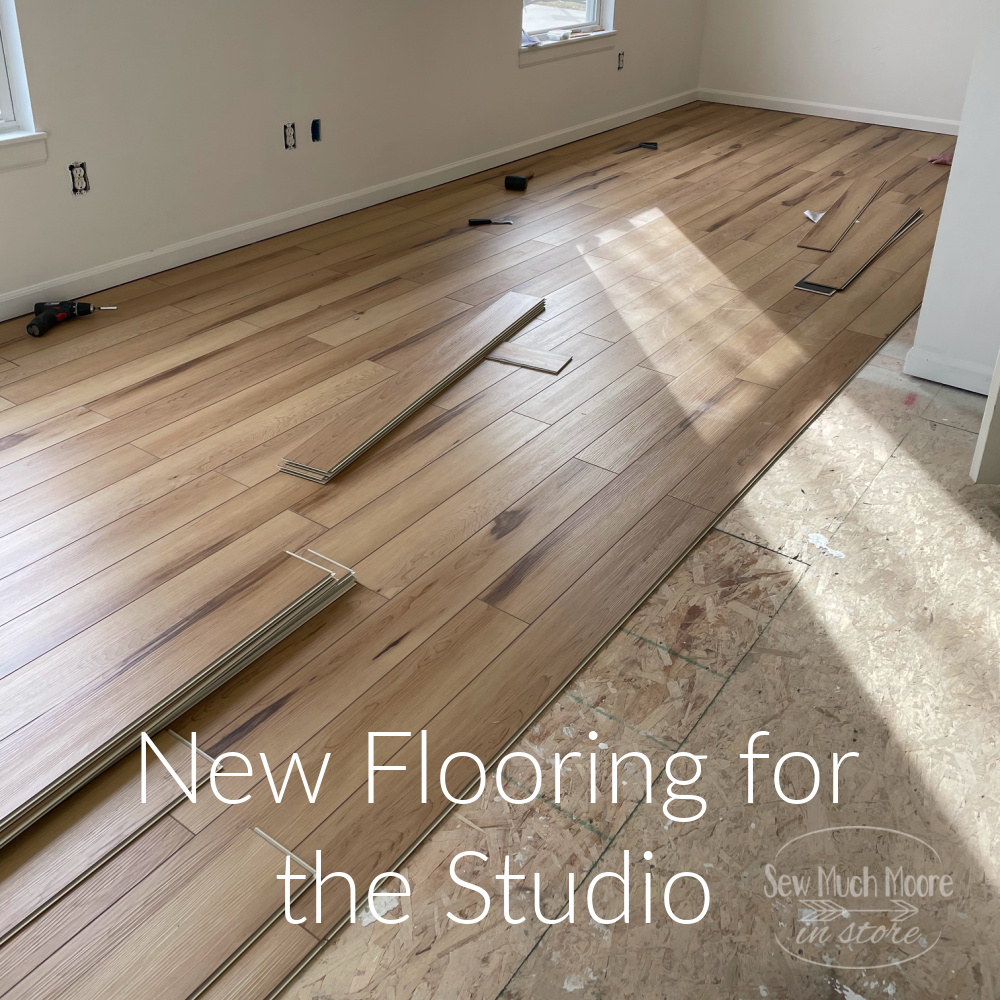
New Flooring!
Over the years, we replaced most of the carpet in our house. The rest of our house has hardwood floors. The only exception to this has been our bedrooms. Because the price of hardwood is kinda outrageous in 2021/22, and finding a contractor to install (only a small amount) was nearly impossible as well, we decided to get LVP (Luxury Vinyl Planks). My contractor had a worker assist him and the install of the flooring only took them one day! I am so pleased with the results and now we want to do the same to our Master Bedroom!
IKEA to the rescue
I have always loved IKEA furniture. The quality may not be the very best, but it is fairly affordable and will last a decent amount of time. Just about every piece of furniture in my studio (as of right now) is IKEA furniture. For this studio renovation, I added several more pieces to help me better organize all my stuff! And believe me – after going through my entire studio – I have a bunch of stuff!


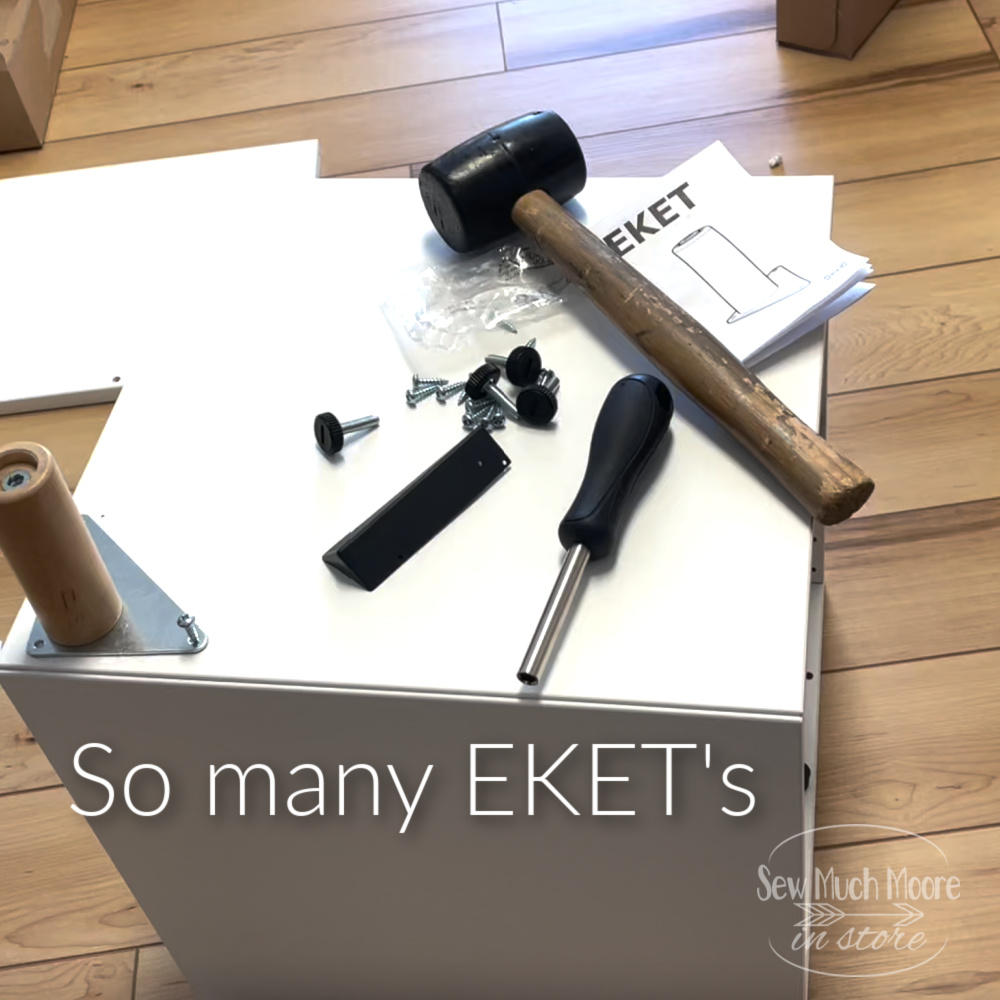
Believe it or not, I am an IKEA assembly expert! In fact, if there is anything in my house that needs assembled – that’s my job. I think I get that from my Dad. I love to read instructions and love it even more when there is a video tutorial! That might explain a lot about why I have a blog and YouTube Channel! Ha! If you would like to see a linking list of all my studio IKEA furniture, as well as all my machines and misc wall quilts, click the blue button below!
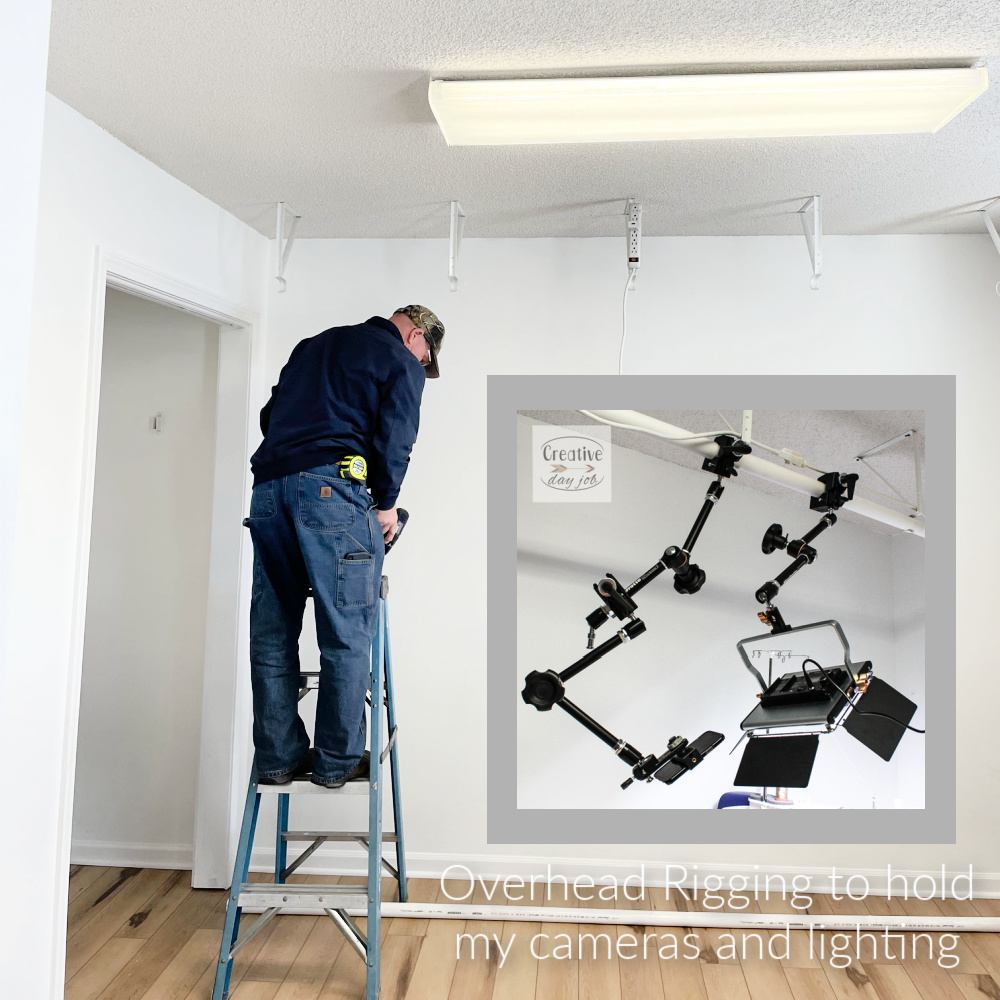
Don’t forget the rigging!
You may have noticed that I have a bunch of equipment attached to the ceiling of my studio. You see, I create and produce a bunch of video content for YouTube, Social Media and a variety of contract work. Because of my work, I have a bunch of lighting and cameras that tend to get in the way of making! I had my handyman attach rigging to my ceiling to keep this video equipment off my floor and over the surfaces that I film. This makes for easier video creation and gives me more space to move around my studio. If you want to learn more about this rigging, be sure to check out this blog post.
Move it all back in!
Now that all the major items are taken care of….. Wall removal, carpet removal, walls painted, rigging installed and we even added more electrical outlets and CAT-6 data ports – the next thing to do is to move back in! Check out each station to see how this came together. Be sure to watch the video below and grab your renovation list too!


I put together this video, which is a better demonstration of my renovated studio. I hope you enjoy it! Be sure to subscribe to my YouTube Channel, so you never miss a thing!
I hope you enjoyed this tour of my studio renovation! Be sure to grab your renovation list so you can track down anything of interest in my studio tour!
Happy Stitching!

If I give you my address can you wave your magic wand here too? This is an amazing studio! What a great team too! Thanks for sharing this.
Hello Joan and thanks for your kind words! I wish I had a magic wand!!!!
do you like your sewing chair and where did you purchase it
Hello and thanks for your question. I like my chair, however, I would prefer different wheels. I have a tremendous amount of thread that gets caught up in the wheels. I think I need to upgrade the wheels.
I purchased this chair from IKEA.
We use replacement rollerblade-style wheels on our chairs, including the ones in my quilt studio. Highly recommend! 🙂
Thanks! I will check it out!
What brand is the sewing table your industrial machine is on?
Hello Becky, The table came with my machine, so I’m not sure the brand.
Hi Nicole,
I love your New Sewing room! Mine is too small. I thought it would be large enough… 8 years ago… but I am sooo wrong. I’m going to have to put some real thinking into it!
I am new to your store and am so grateful- you have great ideas!
Sewing since I was 12…53. years ago. he he
Sincerely,
Diane
I thought my room was too small also. My first thought was to knock a wall out. Got a big NO vote. Went to Plan B which was eliminate items taking up too much space. The first item was the office chair I replaced it with a stool on wheels. Then I moved a few things. I was able to put a 3’x5′ drop leaf table in, my old cutting table was 18″x30″! I set the 3’x5′ table up for designing, cutting and a large ironing board (made a hot pad cover for the table). Sometimes if Plan A doesn’t work go to Plan B!
I also collect thimbles and yes….they are getting so hard to find.
Amazing, Nicole!!! I’m glad you had helpers and y’all did great!
Amber
I love the lighting system in your studio, genius! Are your lights mounted slightly behind your longarm, or right over the top of the frame?
I used to have the lighting set up directly over the long arm, but it kept getting caught up on my thread stand, which is on top of my machine.
For that reason, I moved my lighting just in front of it, so that it would not impede the progress of my machine along the quilt.
This is an amazing transformation. You managed to package a great deal of equipment into your space. I also have several IKEA pieces in my quilting space. They work well! My eye caught the display of multiple irons……….is there a reason for so many?
Hi Debby – I am an affiliate for Oliso and they sent me all the colors so I could use whichever color I wanted. I feel like the luckiest maker in the world!
When I decided to reorganize my sewing / quilting studio, I moved everything into our kitchen. It took me a couple of weeks to complete the reorganization of my space and my poor husband couldn’t even reach his coffee pot. LOL
I love the changes. In my home, there is a bathroom between the two spare bedrooms so I cannot take down the wall; however, I replaced the queen bed with a trundle/day bed and I was able to fit an 8 foot long arm. The other bedroom houses my sewing and embroidery machines. I am an empty nester. It’s only a few steps between both rooms and it is working nicely. I have gotten rid of all my “work” clothes and shoes (now retired). It freed up an entire walk in closet where I installed lots of shelves. I also got rid of extra linens and that freed up space in the linen closet.
What a transformation- thanks for sharing, Nicole! Great video also. I also love IKEA and the Container Store for organization. We are retired and my husband has great organization skills especially for small spaces. My sewing room is 8×15 so it needs to stay organized. One of my favorite IKEA finds: red table legs. My husband re-purposed an old long door from the Habitat Store, put glass over part of the top (under my sewing machine and serger) and created a very cool sewing table for me. I also like the Container Store for organization bins & containers, but IKEA prices can’t be beat.