
BEST Photographs & Video
Creating and producing picture-perfect photographs and high-quality videos can be a challenge. When you’re presenting your work, in the online space, we all know how important quality images and videos can be. It took me a long time to figure out the best set up for Quality photographs and video. I want to share how I utilize my size limited, working Studio to create a functional space for Top-Quality photographs and video productions.

This post will contain affiliate links for your convenience. ? Read my full disclosure policy here.
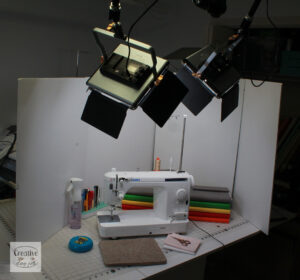
A view from above
As I mentioned before – my Sewing and Quilting Studio is very small. Before my Studio makeover, I had multiple tripods and stands all over the place. My old setup caused a problem with my video process and made the production times about double to where they are now. I decided that I needed to utilize my overhead space to mount my camera and lighting.

I decided to attach mounts to my ceiling. These mounts are made up of closet rod brackets and PVC pipe. Because some of my camera equipment can be heavy, I wanted to make sure that my ceiling mounting system was stable. The brackets are mounted on the joists in my ceiling. I especially love the PVC tubes because I can run my extra-long extension cords through the center of each tube. I added power strips to each side as well. This helps me to manage all of the cables that come along the lighting equipment. I use zip-ties to manage excess cables.
Mounting for photographs and video
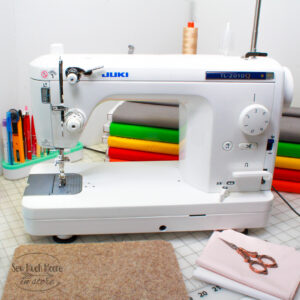
I have about five different workstations in my Studio. I have my Juki J350 QVP Long Arm, a Juki 1181n Industrial Sewing Machine, and I also have my domestic machine which is a Juki TL- 2010Q. Of course, I have an ironing station and a large cutting table as well. All of these workstations create different filming positions. Luckily, I can easily move my ironing station (I love my wool pressing mat) and my domestic machine to my cutting table. I do this quite often for photographs and videos. I obviously can’t move my Industrial Machine or my Long Arm.

Because I have a variety of photographs and video positions, I needed the ability to move my lighting and camera equipment around my room. I found a Clamp and Magic Arm system that work really well for me. The Magic Arms have variable friction control for accurate adjustment. The set that I bought also came with some camera mounting attachments. The Magic Arms are simply amazing!

These things can be positioned in almost every imaginable position. Once you find the position that you like, simply turn the knob to tighten it and the position stays in place. These Magic Arms are really strong too! They can hold my DSLR camera, my Light Panels, and even a second Magic Arm (when you need more reach).
Lighting is very important
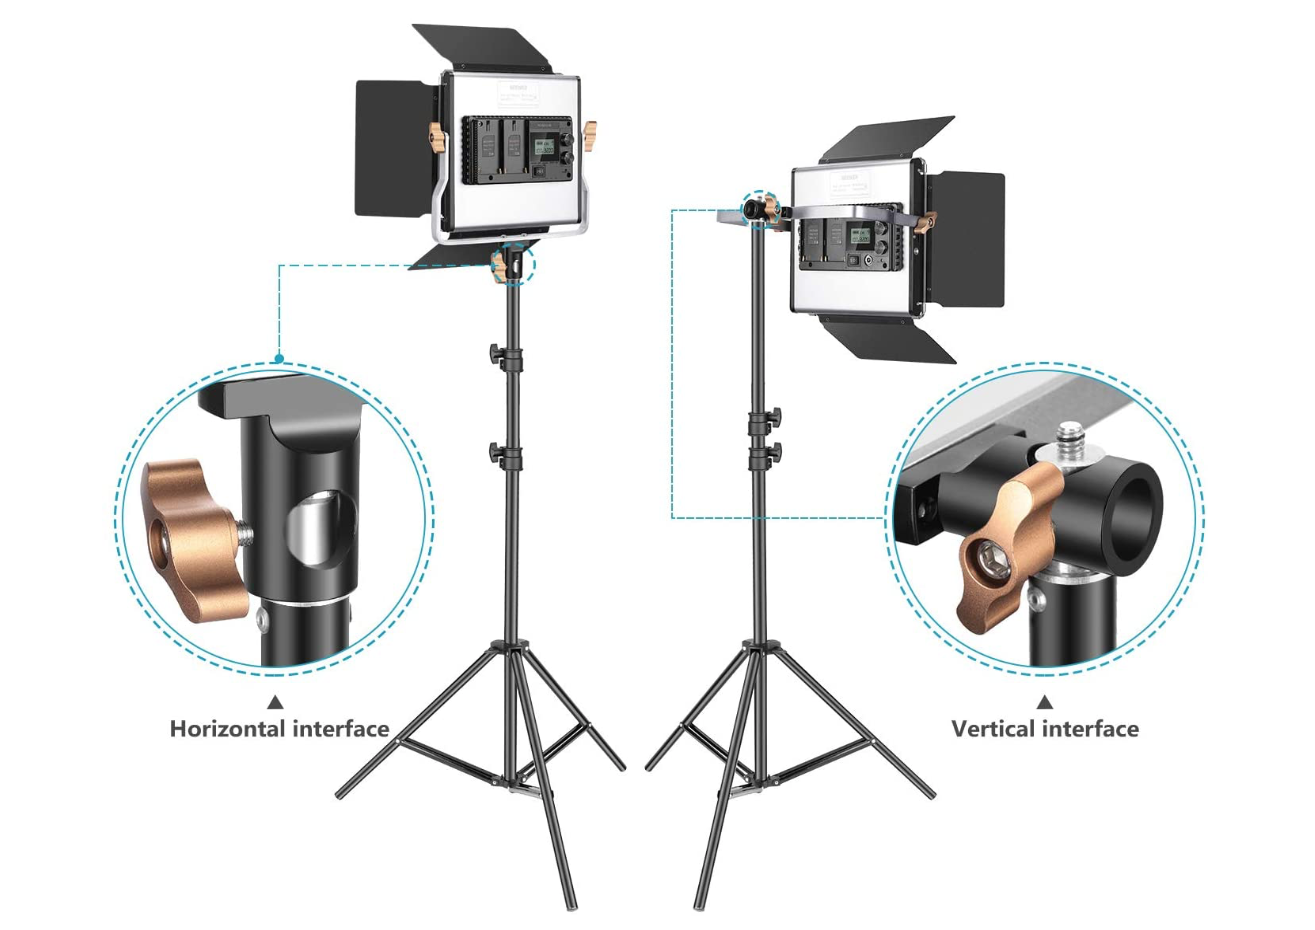
While it’s very important to either have really great natural lighting or sufficient artificial lighting, it’s also important to utilize your DSLR camera to the best of its ability. I was fortunate to take a continuing education course on basic photography and learned how to take pictures in Manual Mode. This helped me learn how to manipulate exposure and aperture. Even if you don’t have a DSLR camera (an iPhone 7 or newer is also great), there are other ways to attain great photographs and video. For starters, I highly recommend that you get a couple of Light Panels. I purchased this set of light panels and really love the results. I put the stands in storage since I can easily mount the panels to the Magic Arms and suspend these above my subject matter.
Not only do I use artificial lighting on all of my photographs and video, but I also edit the exposure, highlights, and sometimes the aperture with photo editing software. I’m a huge fan of the Adobe Products suite. For photographs, I import my images into Lightroom for cropping and basic highlight and exposure adjustments. Next, I import my photos into Photoshop to make any final edits and save my file in the sizes and file types that I like. For video editing, I import all my video into Premiere Pro. I haven’t always used Adobe Suite, as the learning curve is quite steep. In fact, when I was first starting out, I used PicMonkey and iMovie for several years and that worked just fine.
You can see what a difference that lighting and photo editing can make! You can also see that I haven’t invested a lot of money in my backdrops. In this photo set, I am using a foam core poster board. I keep them attached (and standing upright) by using sewing pins! If I have a blemish in one of the boards – I simply edit that out with Photoshop. See if you can find my posterboard corrections in the photo on the right. Shhh! It can be our little secret! 🤫
It has taken me several years to be proud of my photos and video productions. It certainly was not an overnight process! There is always something to learn.
Please comment below or send me a direct message if you have any questions or need advice.
If you are looking for more Creative Business tips and tricks – be sure to sign up for my Creative Day Job courses!
Keep on Creating!
Thanks for all the great info! Love your set up–especially that it’s up and out of the way!
Thanks, Karen! Having limited space can be a challenge, but when this equipment is up and out of the way – it gives me room to continue with my work and not feel cluttered.
Wow, so helpful, you’re the best and so generous. Jill
AMAZING! What lighting do you use? Does it get hot? Do you have a video of setting up your creative space?
Thanks! I have the lighting linked in my post. The lights are LED, so there is no heat. I love your idea of making a video of my setup!
This is so cool! I wish I would have seen this about 10 years ago – I had a small photo studio set up in my garage and I feel your pain about tripods and light stands. Not only did they take up room but they were always in the way of each other… “I want to place this light right here, but I can’t because that tripod is right in the way…” I’ve bookmarked this page just in case I ever get started doing that studio again.
I’m glad you found this helpful!