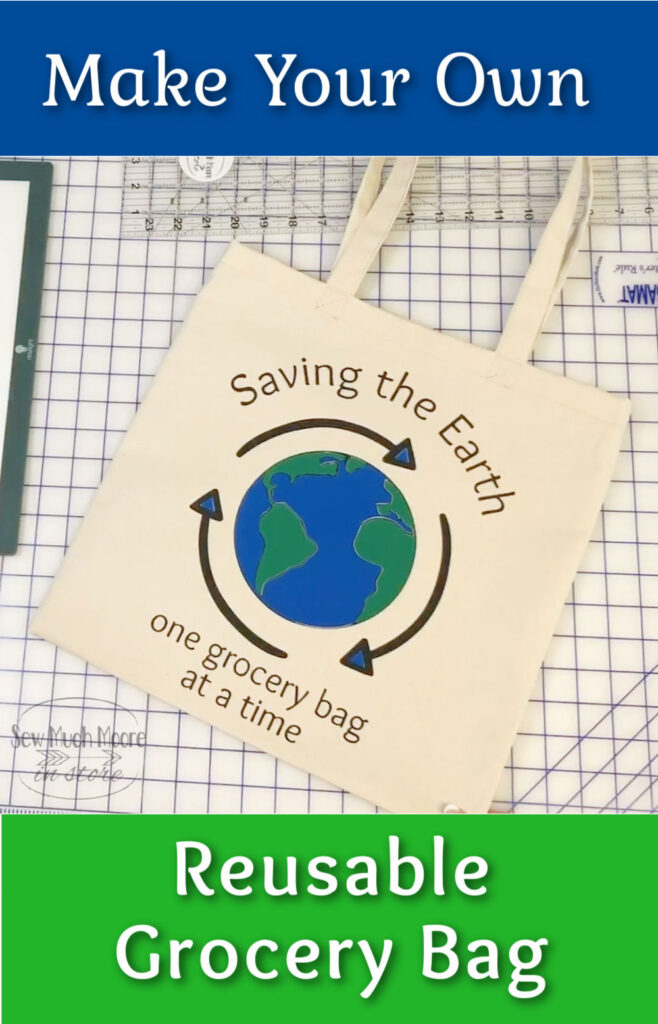
Make a Reusable Grocery Bag
Do you want to make a positive difference for the earth? Try using a reusable grocery bag! Making a reusable grocery bag is fun and easy! You may never use the plastic store bags again! Let me show you how you can make your own reusable grocery bag. Let’s get started!
Reusable Grocery Bag Supply List
- Reusable Grocery Bag Pattern
- Canvas Fabric (3/4 yard)
Supplies and Tools
- Sewing Machine (I use this machine for almost everything)
- Thread (I used this color)
- Acrylic Ruler
- Rotary Cutter & Rotary Blade
- Self healing cutting mat
- Iron (I just love these irons)
- Wool Pressing Mat and Spray Starch
- Clover Wonder Clips
- Magnetic Seam Guide
- Seam Gauge
Making your straps
Following the cutting measurements, cut your tote straps and tote body. Trim those to size.
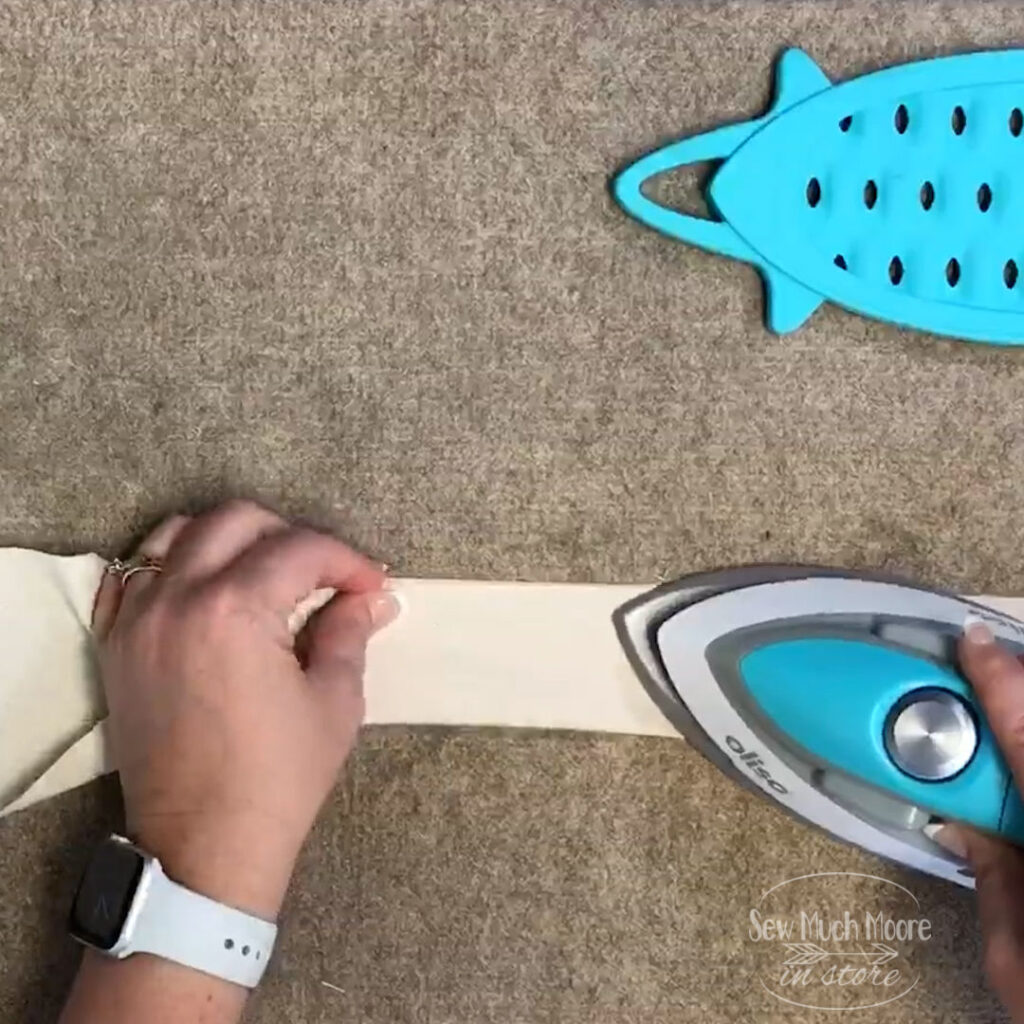
Take your straps to the ironing board and press out any wrinkles. Next, fold your straps in half, lengthwise. Open this back up and then take each long side and fold towards the middle. turn and press each short end in at a 1/4 inch. Fold in both long sides and clip at the ends to secure.
Sew each strap closed being sure that you back stitch at the beginning and the end.
Make the body of your bag
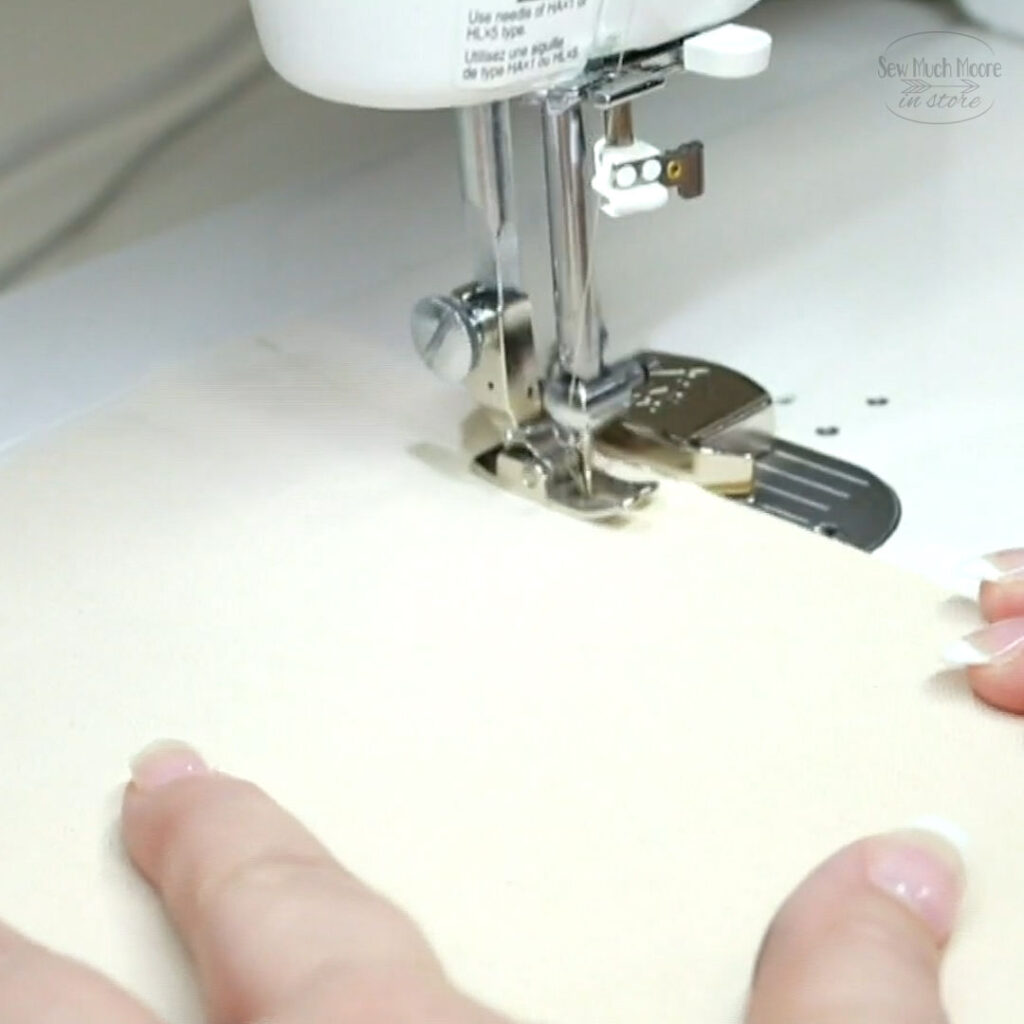
Now that we have our straps done, we can set those aside and work on the body of the tote bag. Give it a nice pressing and then take each end and pin or clip together. We’re going to use a 1/2 inch seam allowance and the easiest way to do this is to use a magnetic seam guide. Sew both ends together, leaving the top open. Press the seams open and then with your seam guage, fold the top edge down by 1 inch and press then clip. Fold a second time so that your raw edge is enclosed. Press and clip and sew this down. Remove your magnetic seam guide and sew the top edge just 1/8 of an inch away from the bottom fold.
Assemble your bag
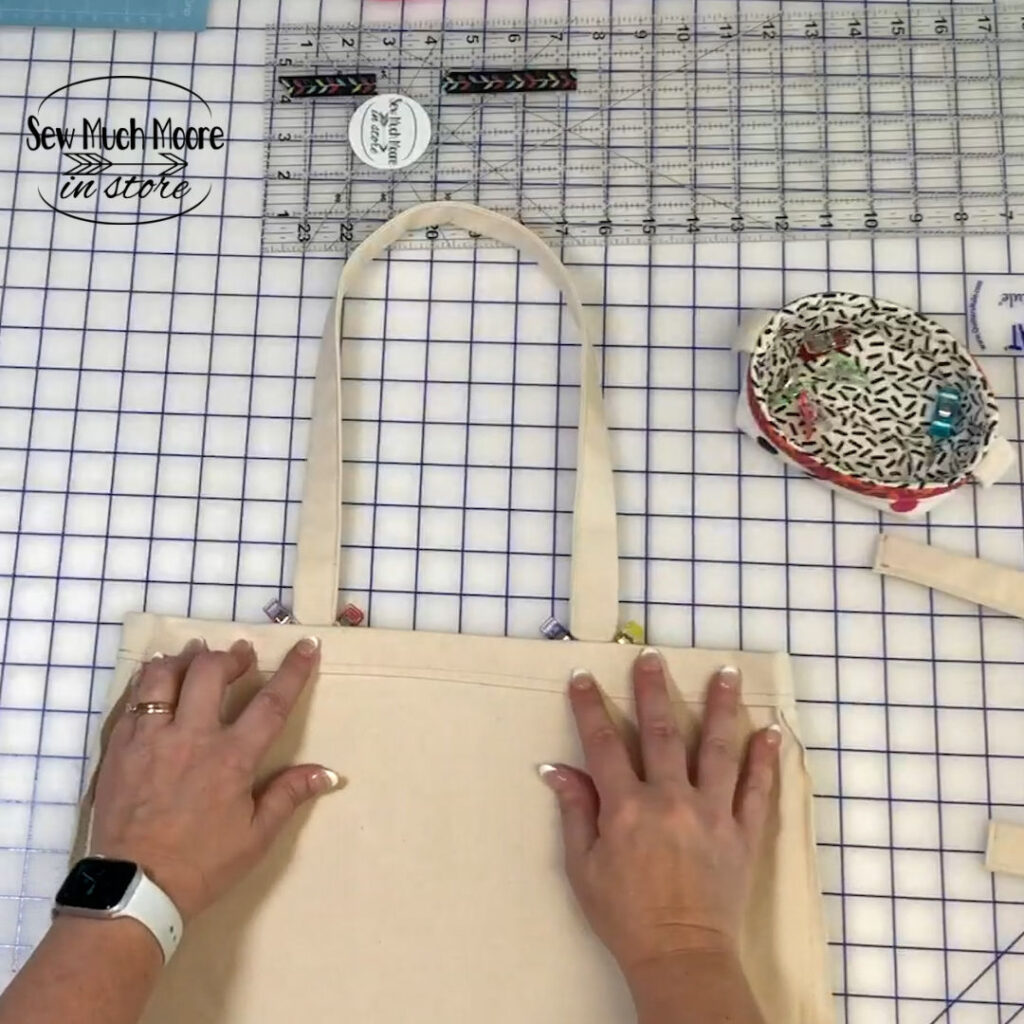
Now it’s time to add the straps. Our tote body is still inside out. Reference your Reusable Grocery Bag Pattern to determine the placement of your straps. Align the bottom of the strap with the bottom fold and clip in place. Be careful that your strap is not twisted. Let’s take this to the sewing machine and sew a boxed pattern to help secure each strap.
Sewing a boxed pattern is easy. First, you will begin by back stitching and then sew a square. Once you’ve reached the corner of your origin then you will make diagonal stitching to the opposite corner. Stitch your way to the next side and make another diagonal stitch. Be sure to backstitch when you’re finished. Do this boxed pattern stitch for each strap end. Turn your bag right side out and set it aside.
Add a design to your bag
Design Supply List
- Grocery Tote Design SVG File
- Cricut Maker
- Knife Blade
- Cricut Everyday Iron-On Vinyl (Black)
- Everyday Iron-On Vinyl (Cornflower)
- Everyday Iron-On Vinyl (Kelly)
- Wafer One Lightbox
- Cricut Weeding Tools
- Pressing Sheet
Positioning and Placing the design
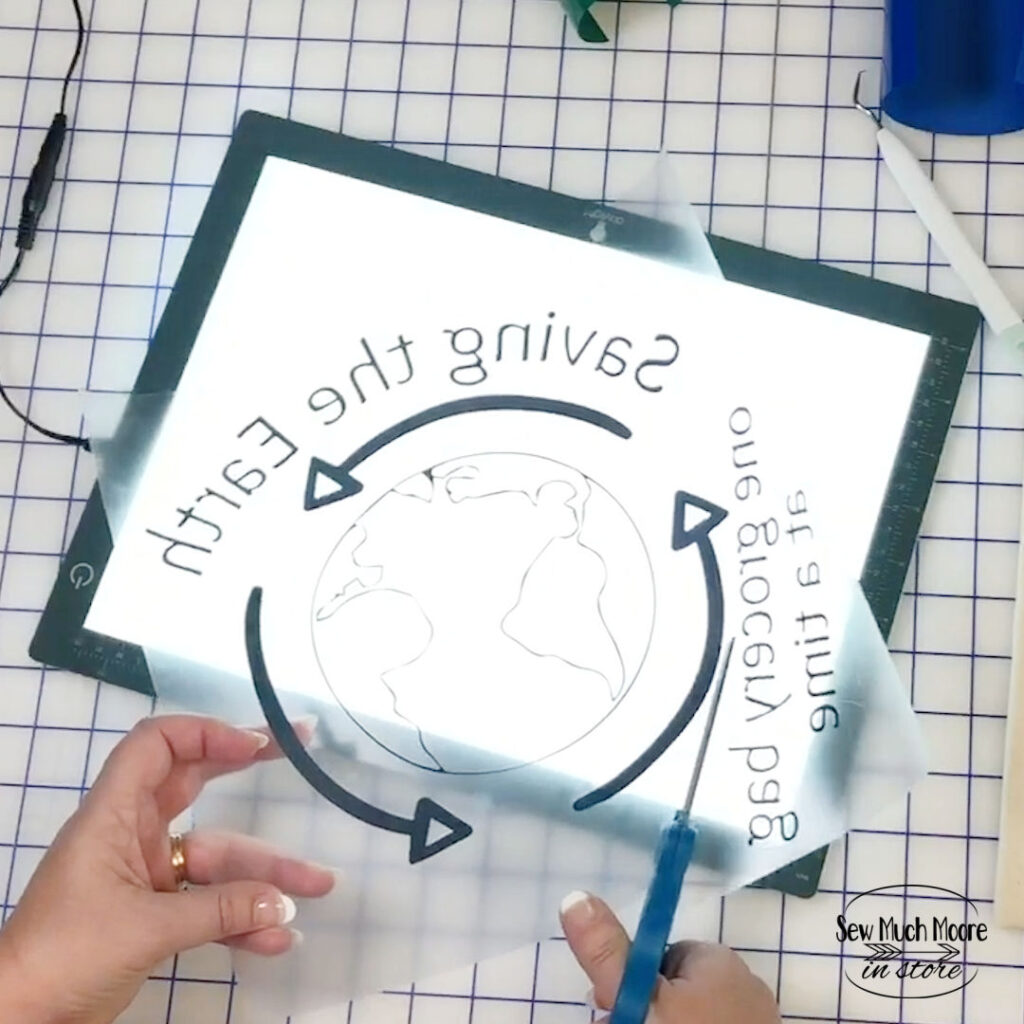
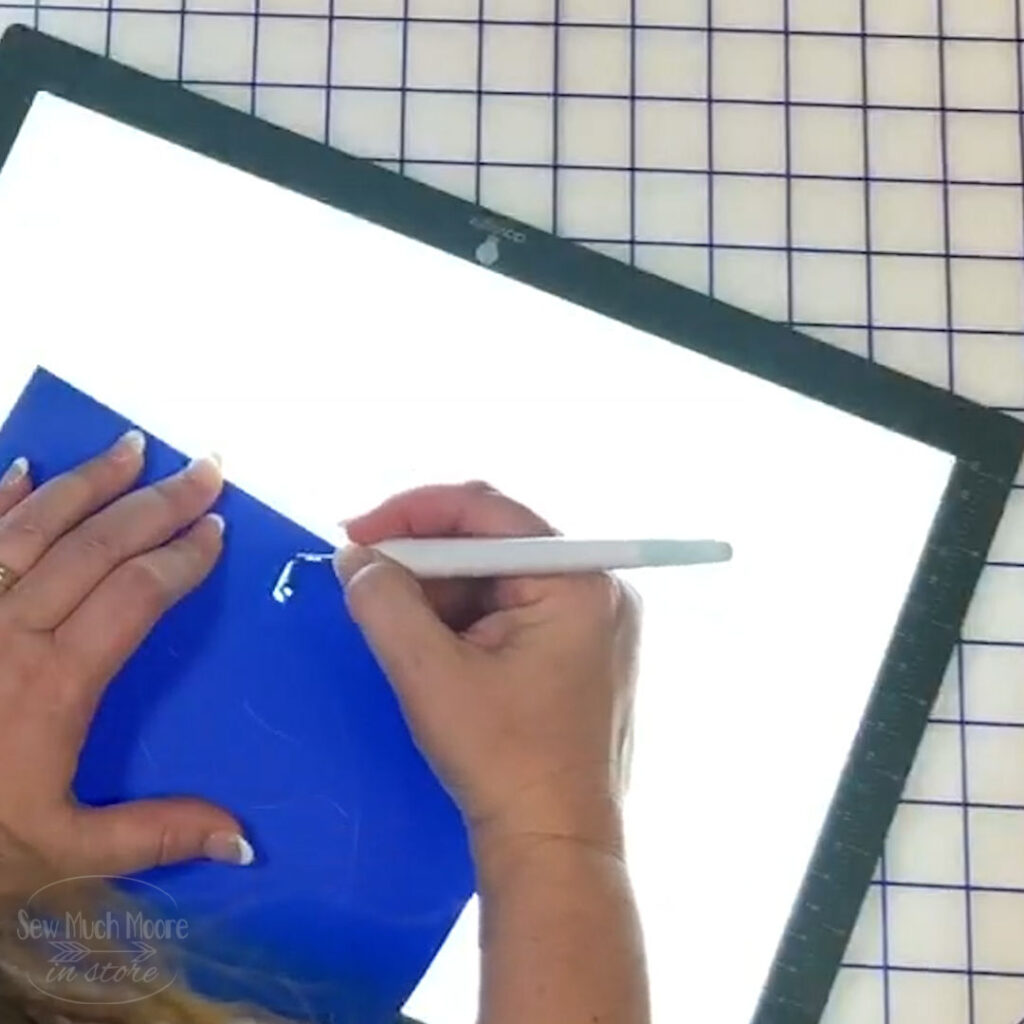
I’ve added this cute design to my online shop you can download those to import into your cutting system. I’m going to use iron on vinyl and my Cricut Maker. Once I have my artwork imported, I will go through the motions of welding items so that they don’t end up in random places on my cutting mat. Since we have text on this particular design, it’s super important that you select the mirror option. You should select that option on all of the mats because they will interact and fit into each other for this particular design. Once you have the images how you’d like them on your mat, will select the every day iron on material option and I always like to set the pressure to more. Now that all the vinyl has been cut, it’s time to do a little weeding. I like to use my Daylight Company Wafer One Light Box whenever I weed my vinyl. The lightbox helps me see exactly where I need to begin weeding. After I’ve weeded all of the vinyl, I’m going to cut apart this first piece because there are several layers that need to be positioned on the project.
Finishing the Reusable Grocery Bag
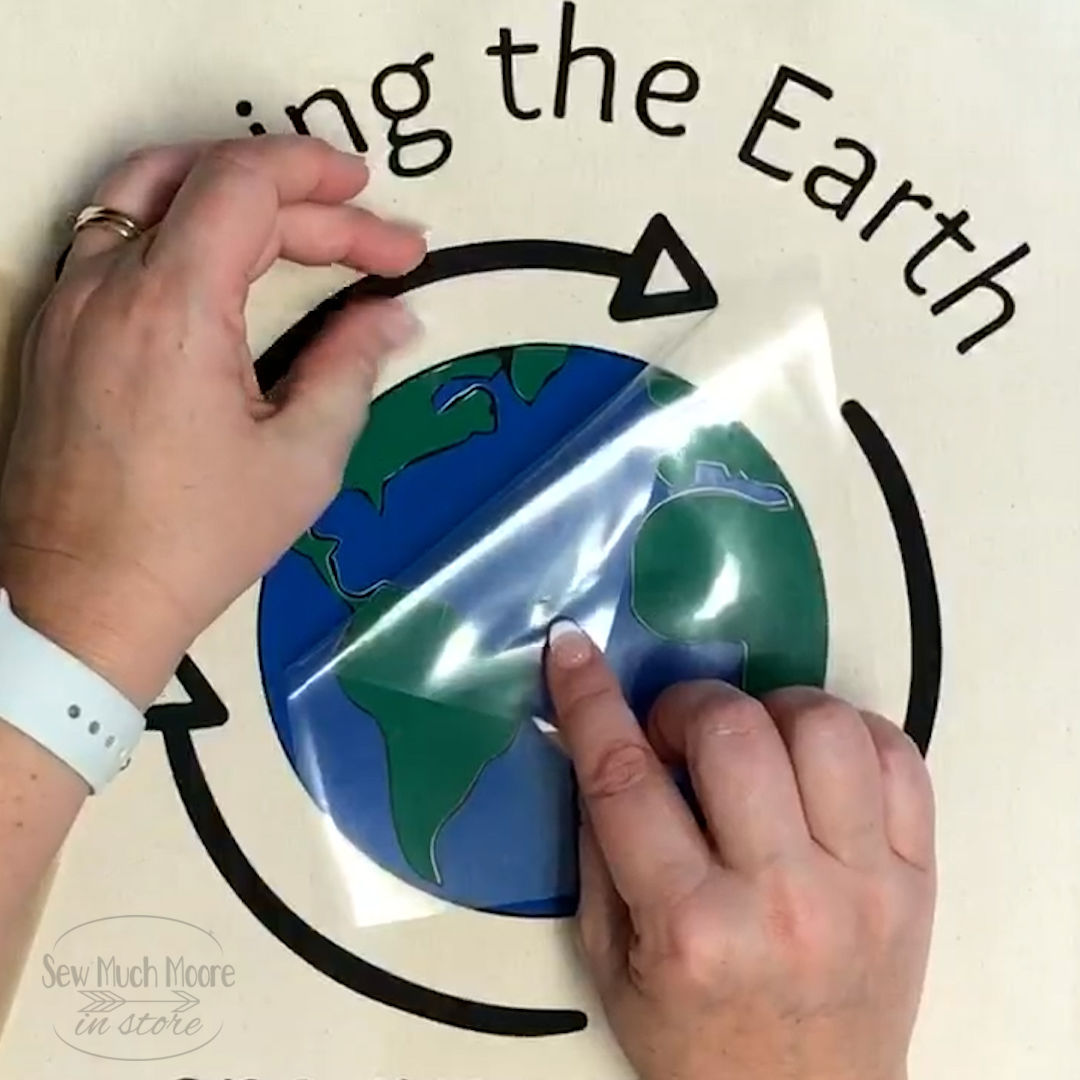
This design has three layers of vinyl. Now that I have my base layer in place, I can add the ocean and the land which is part of the globe design. There is also a couple fill our spots for the arrows that circle the globe. Adding the second and third layers is quite simple. You just need to take your time and align everything. It’s kind of like working on a puzzle. The last pieces are the blue arrows that circle the globe. I am attaching those one at a time. I’m pressing everything again with my pressing sheet for good measure.
Watch the Video Tutorial
I hope you have fun making your own reusable grocery bag! If you shop as much as my family, you will need quite a few of these! Be sure to share your bags in my Bag Makers Facebook Group! I can’t wait to see what you make!
Happy Sewing!
