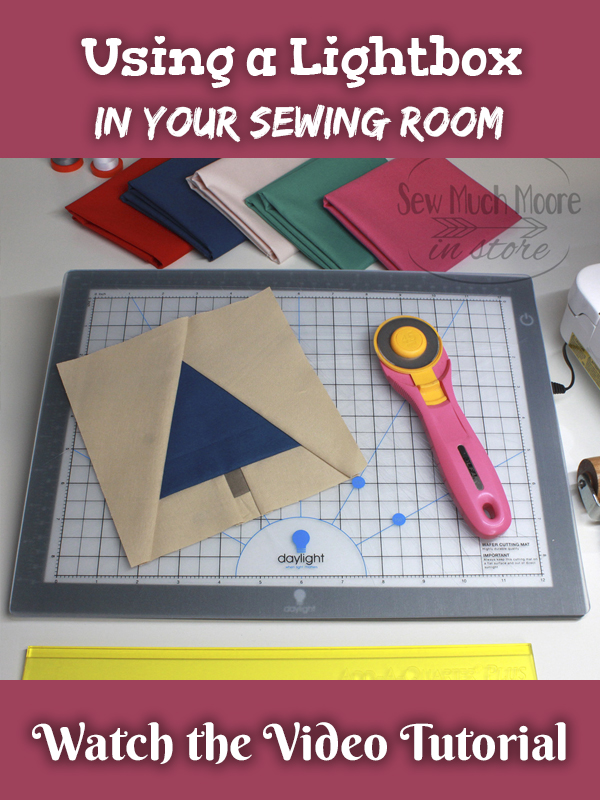
Daylight Wafer Lightbox
Ever since I started using the Daylight Company Wafer One Lightbox, my Foundation Paper Piecing projects have elevated to the next level. The Lightbox is sleek, modern, compact and brilliantly bright. This is not your Grandma’s Lightbox. You know the one I’m talking about! The old lightbox that is big, bulky and emits yellow light. Let me show you all the smart and useful ways to incorporate the Lightbox into your sewing studio.
Using the Best Daylight Wafer Lightbox
Tracing Images using Lightbox
I recently used my Lightbox to trace an image for a Holiday quilting project. I needed the image to be reversed and the only way to do this was to turn the paper over and trace the outline.
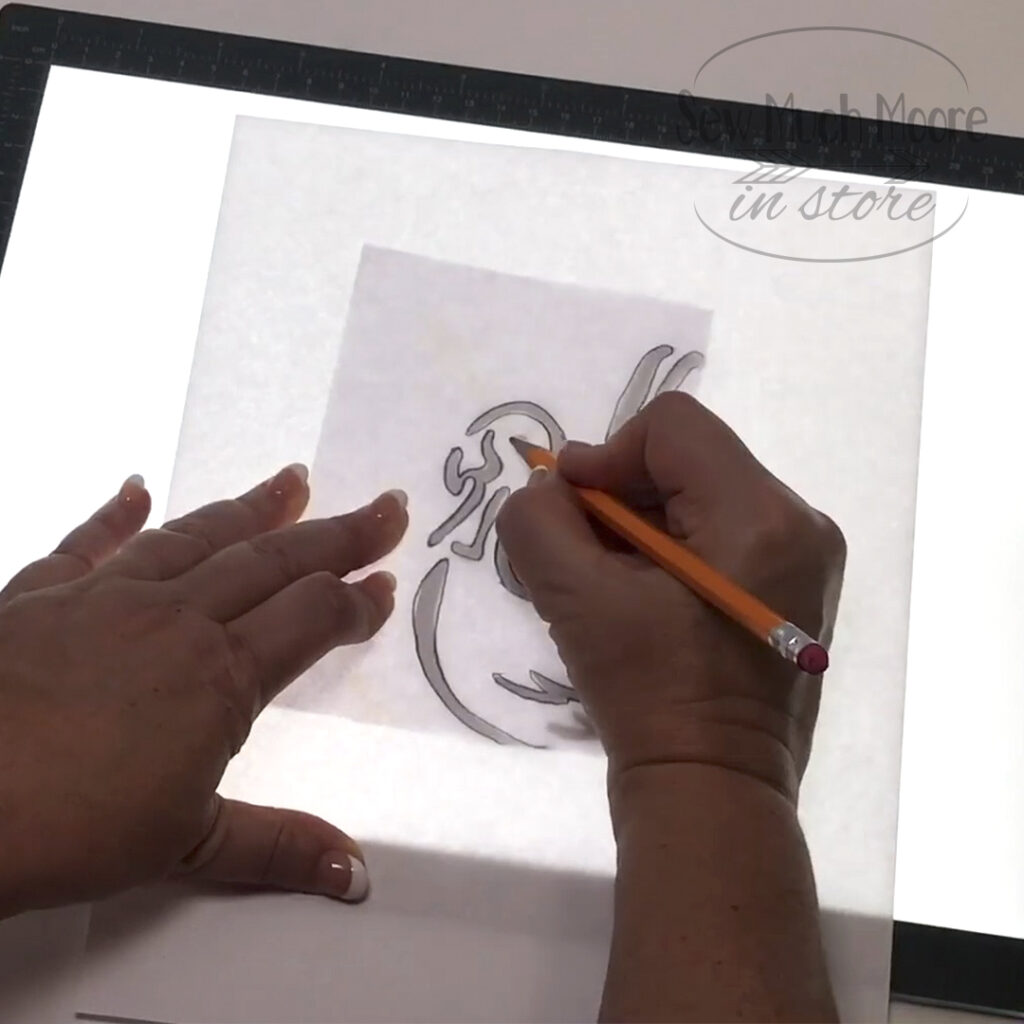
Thanks goodness I had my Lightbox. With the lowest ultra light setting, I was able to easily trace the outline for a transposed image and finish designing my masterpiece.
Foundation Paper Piecing
Before I had my Lightbox, I had to make sure I had adequate natural sunlight in order to see through the pattern paper. This isn’t always possible if you are a night owl, like me. Using the Daylight Lightbox, in conjunction with my Perfect Piecing Paper, Add-A-Quarter Ruler and Seam Roller, made quick work of an otherwise tricky project!
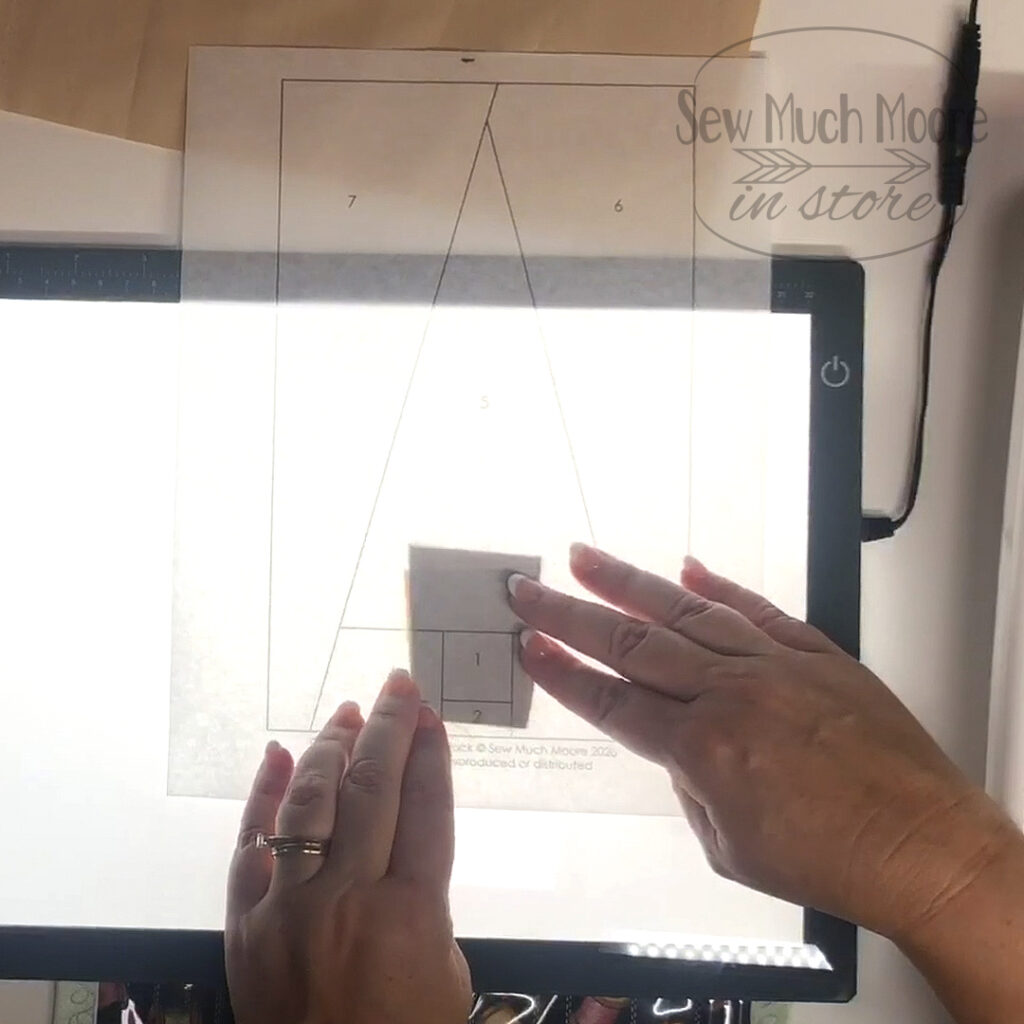
I love being able to see the lines of my pattern and the designs of the fabric at the same time. It was a bonus to also have the Daylight Wafer 1 self healing cutting mat as well.
Weeding Vinyl for Cricut projects
An unexpected bonus was when I discovered I could very easily use my Lightbox to help with weeding the vinyl I had cut with my Cricut Maker. If you are a Cricut user, you know how tiresome weeding vinyl can be on your eyes.
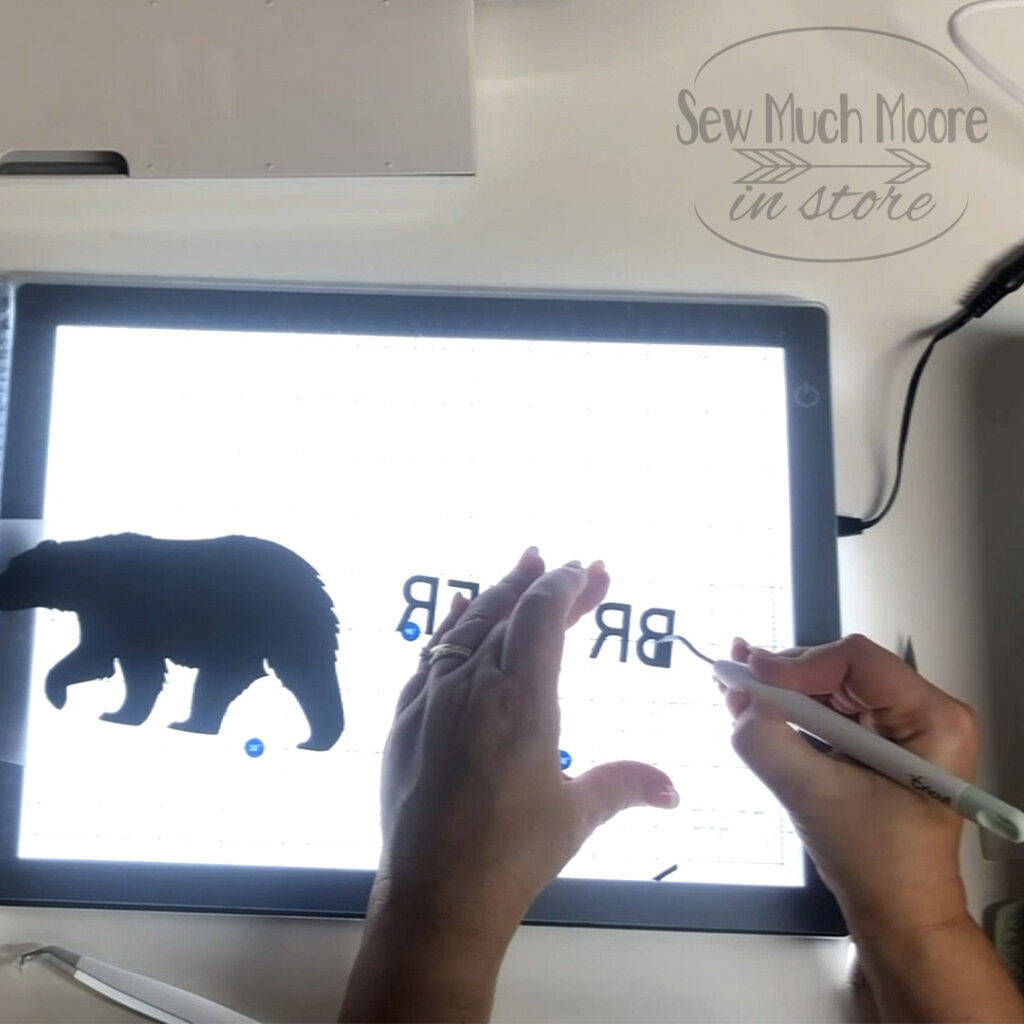
When I place my cut Vinyl sheet on top of my Ultra Illuminated Daylight Wafer 1 Lightbox – it was like the angels in heaven were shining through the project and showing me where to lift and peel. Talk about a game changer! In this picture, I was adding a quick and simple name and design to my niece’s bag. You can learn more about making a simple bag right HERE.
Just take a look at this video and see how much easier your life can be when you add a Daylight Wafer 1 Lightbox to your Sewing Space!
These Lightboxes come in 3 different sizes and each size also has an optional cutting mat, which can be added separately. I am using the Daylight Wafer 1 Lightbox and Daylight Wafer 1 Cutting Mat in this video. This size is perfect for my small sewing space and provides a nice size for fussy cutting. If you need a larger size, not to worry. These also come in 2 bigger sizes.
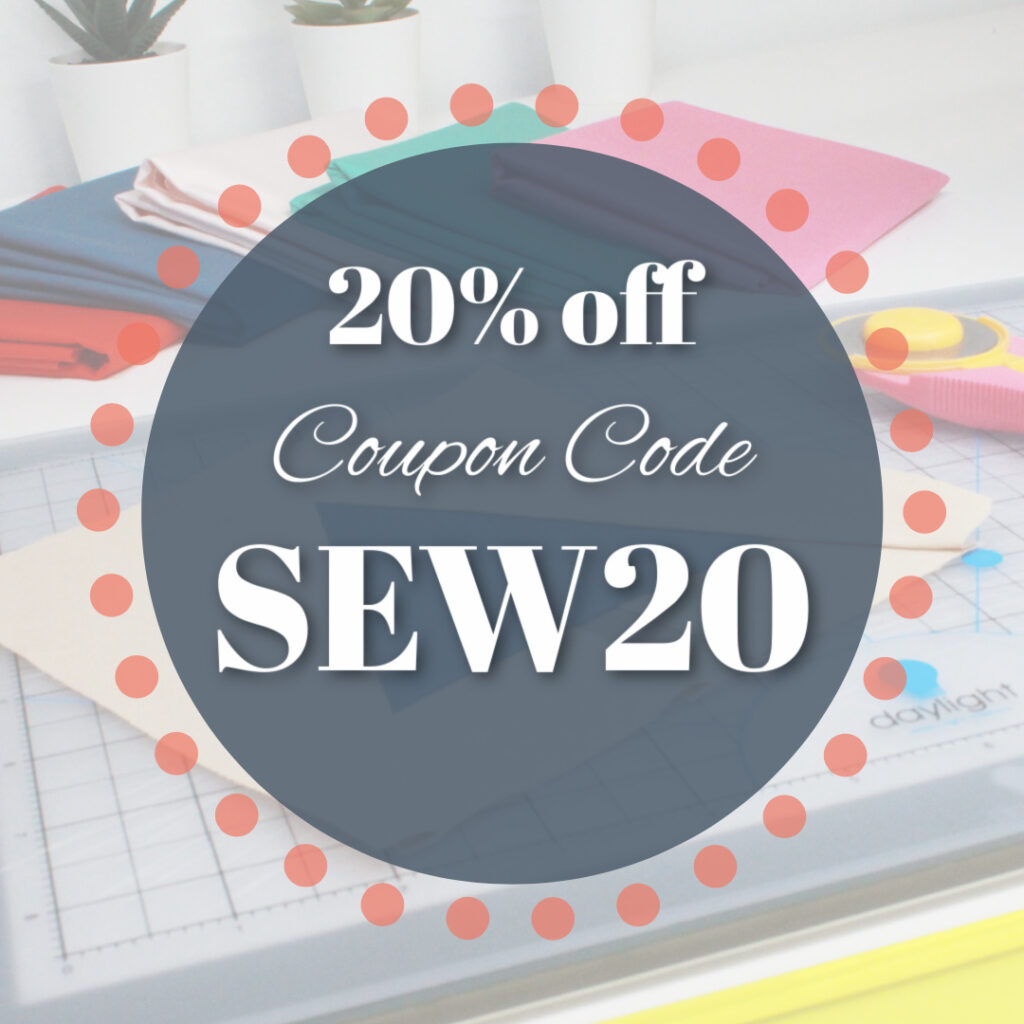
Checkout the Daylight Wafer 1 Lightbox and be sure to use my special coupon code to receive 20% off your order!
Let me know in the comments how you would use a Daylight Wafer 1 Lightbox and Daylight Wafer 1 Cutting Mat in your next sewing project. I would love to hear from you!
Just Keep Sewing!

Thanks for showing how to use the light board. I’ve seen these online and wondered about them.
I was wondering about a carry case for the Lightbox. I need it for class on occasion.
Any thought where I could purchase one?
I was thinking about the same thing! Maybe we should make one because I don’t see one for sale!