Ohio Star Quilt Block Tutorial
The Ohio Star Quilt block has an interesting history. During the Civil War, we don’t know what they called this quilt block. Since then, this block has been called many names. Other published names include Variable Star, Eastern Star and Western Star. Carrie Hall gave it several names in her 1935 index to patterns, The Romance of the Patchwork Quilt, among them Texas Star and Ohio Star. One of the things I love about this quilt block is it’s simplicity and how it can easily make a beautiful statement! Let me show you how it’s done!
This post contains affiliate links for your convenience. ? Read my full disclosure policy here.
Ohio Star Quilt Block Supply List
- Quilt Block Cutting Measurements (fill out form below)
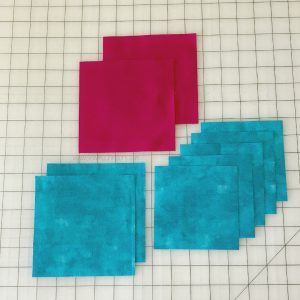
- Qty (2) Fat Quarter of Contrasting Fabrics
- Marking pen
Basic Sewing Supplies Needed
- Sewing Machine
- Cotton Thread (this is what I use)
- Rotary Cutter with sharp blade
- Acrylic Ruler
- Rotary Cutting Mat
- Iron & Ironing Board
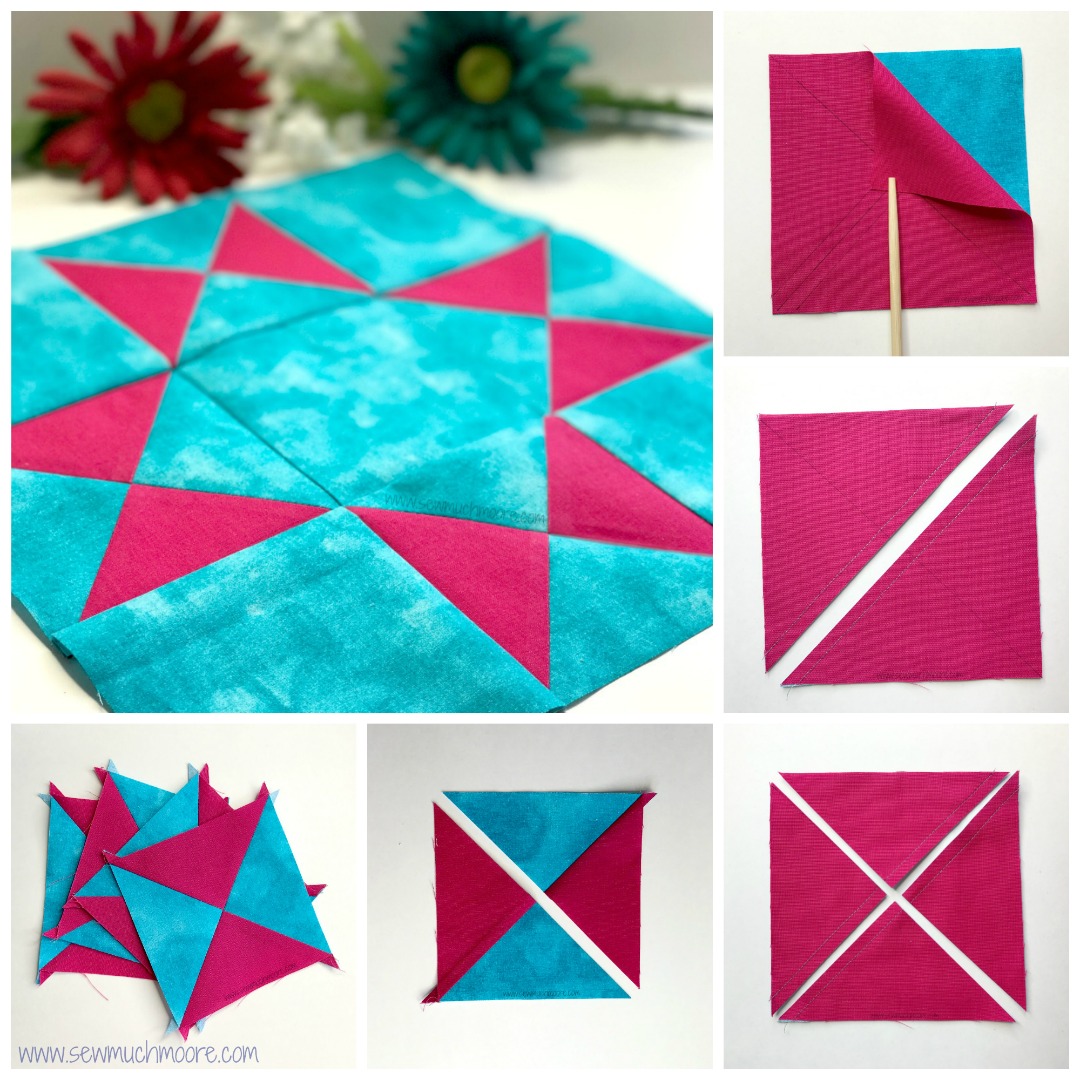
Ohio Star Quilt Block Tutorial
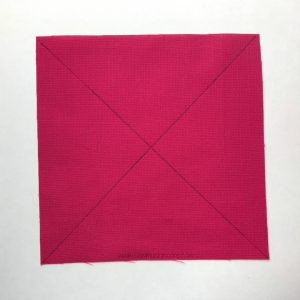
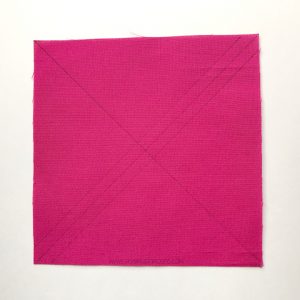
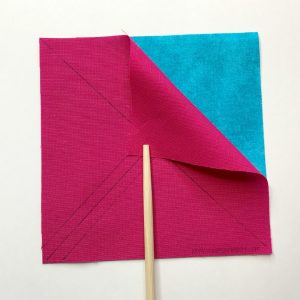
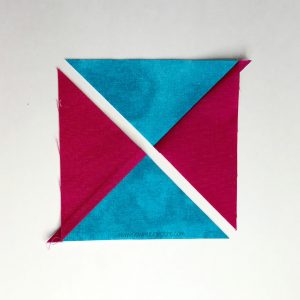
Iron your fabrics nice and flat to remove any and all wrinkles. Sometimes, I like to spray my fabrics with my favorite spray starch to make it easier to manage. Use your cutting measurements to get your pieces all cut and in order. Using your Marking Pen, mark two diagonal lines on each Dark Pink square. Draw a second line on either side of just one of the lines, exactly 1/4 inch from the first line. These will be your sewing lines. Take both Dark Pink and Teal Blue fabrics and place them right sides together. Sew along the sewing line and cut at the cutting line for both units.
 |  |
 |  |
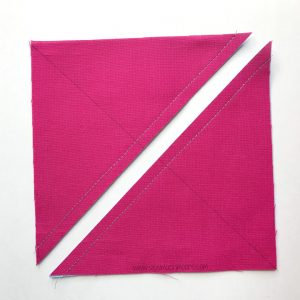 |  |
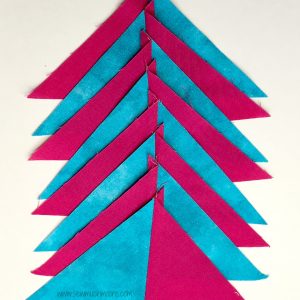
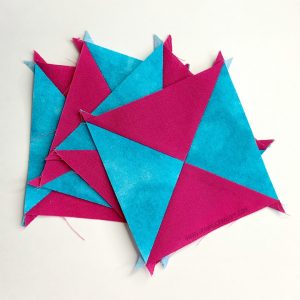
Open each sewn unit and iron to the Dark Pink side. You will have a total of 8 sewn units. Next you will sew these units together, making sure that touching colors are contrasting.
 |  |  |
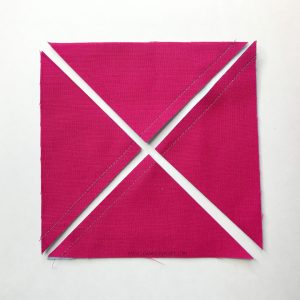
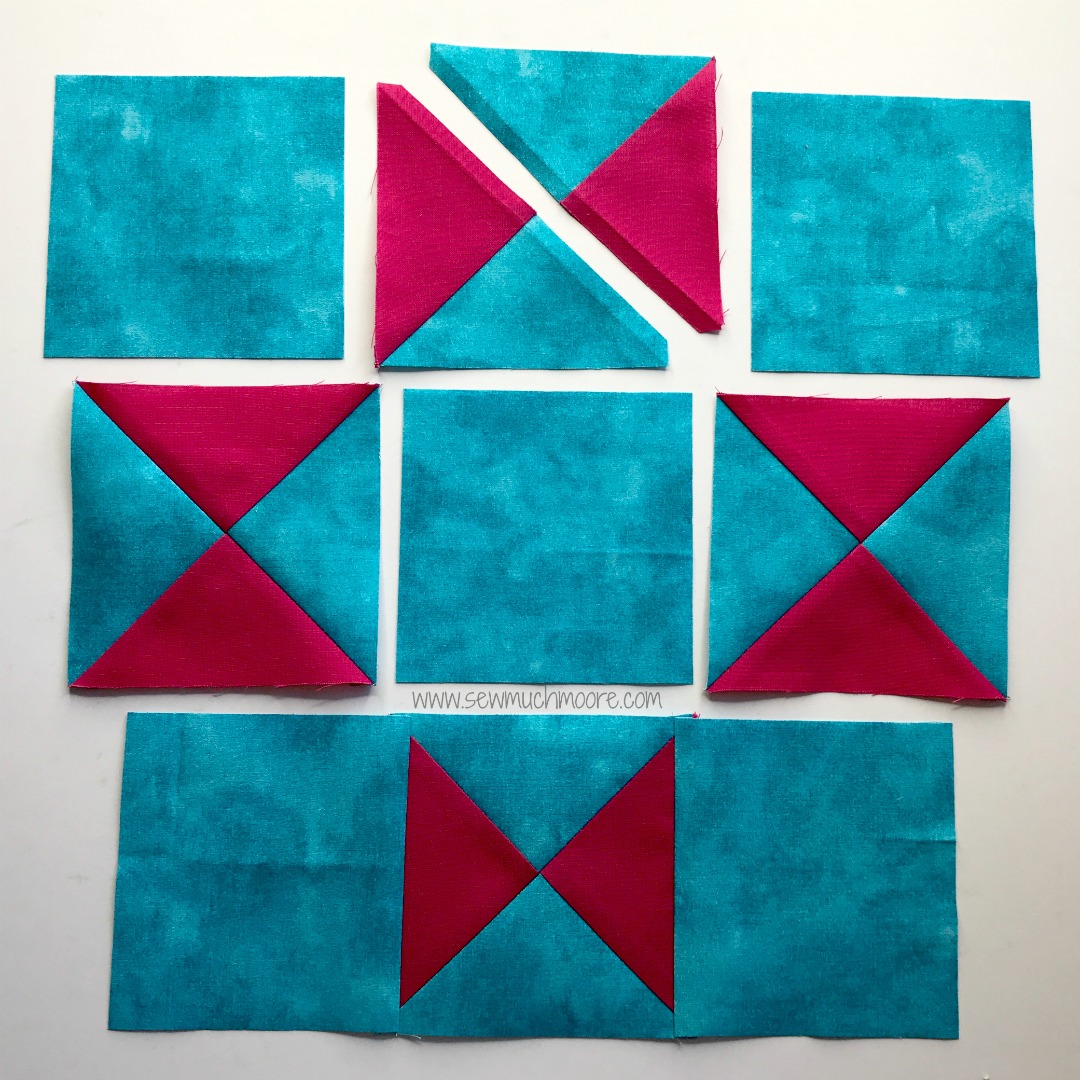
Now you have four sewn units that should measure 4.5 inches. Double check your measurements and trim down if necessary. Now is also a good time to trim off those pesky dog ears! Once you have everything measuring correctly, you can lay out your quilt block to prepare for assembly.
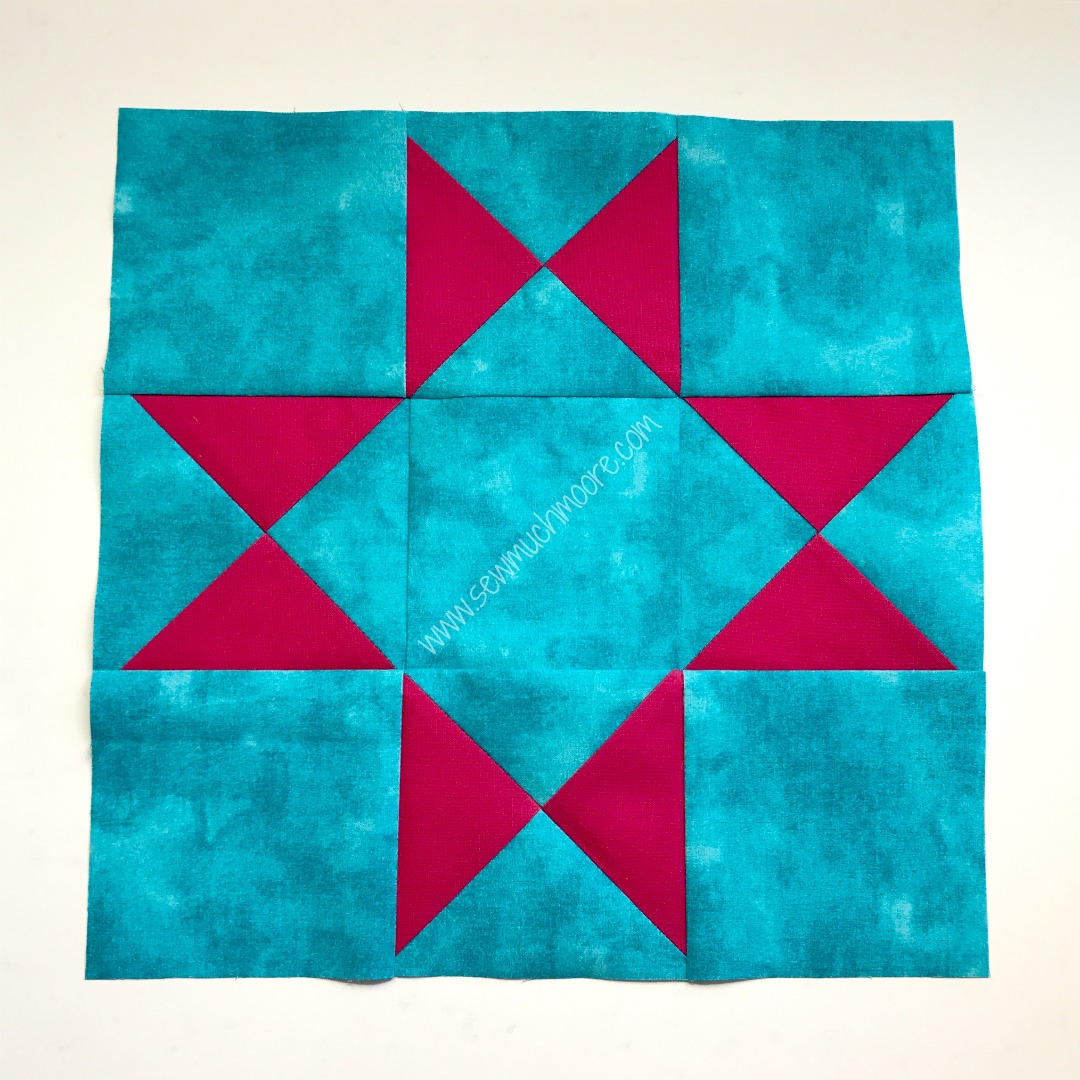
The block comes together easily! Don’t you just love it!
Make lots and lots of these to create an entire quilt! Here is a FREE Quilt Pattern for the Ohio Star quilt block by AccuQuilt!

Until next time, Happy Quilting!

Thanks for the tutorial and measurements… I love this block! Th colours you chose are amazing together!
Thanks for shOwing us how to do it!
Thank you