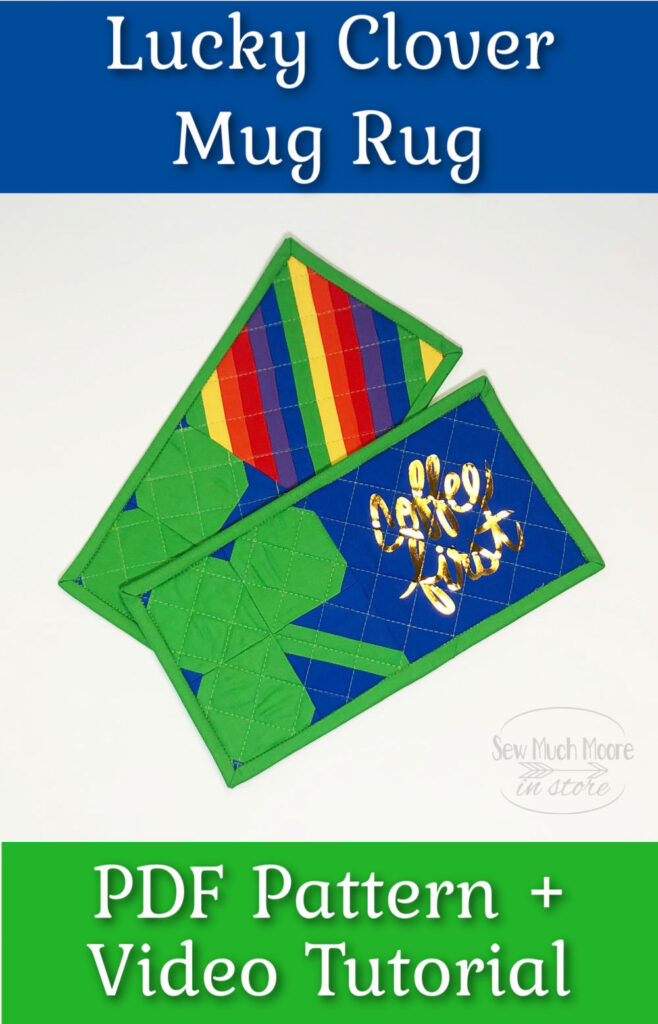
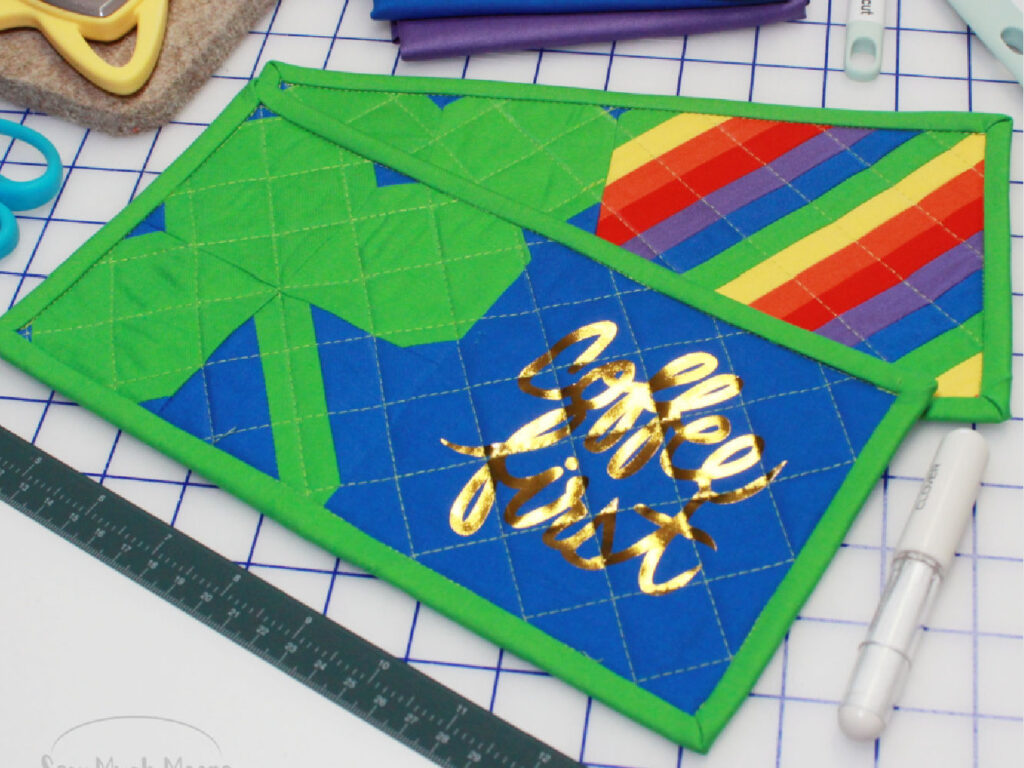
Lucky Clover Mug Rug
Making a Lucky Clover Mug Rug is fun and easy! These mug rugs are the perfect project for St. Patrick’s Day. In this tutorial, I show you a couple different designs you can make. The first is with the Cricut Machine and the second is by utilizing a solid fabrics to make a rainbow design. I will also share how to quilt and attach your binding. Be sure to check out the bottom of this article where I link my video tutorial. Let’s get started making a Lucky Clover Mug Rug!
Supply List
- Lucky Clover Quilt Block Pattern
- Green Fabric
- Blue Fabric
- Rainbow Fabric Bundle
- Batting (I just used scraps from a quilt project)
- Gold Foil Iron-on vinyl (if you are doing the Circuit project)
Material List
- Sewing Machine (I use this machine for almost everything)
- Don’t forget your 1/4″ presser foot
- Thread (this is my go-to color and weight)
- Acrylic Ruler
- Rotary Cutter & Rotary Blade
- Iron (I just love these irons)
- Wool Pressing Mat and Spray Starch
- Cricut Machine, Cutting Mat, Weeding & misc Cricut tools
- Lightbox (optional)
- Medium – Large Acrylic Ruler with 45* marking
- Small Acrylic Ruler
- Fabric Scissors
- Fabric Adhesive Spray
- Chalk Marker
- Sewing Pins
- Teflon Sheets
- Sewing Stiletto
- Seam Roller
- Frixion Pen
- Wonder Clips
Using the Cricut Machine
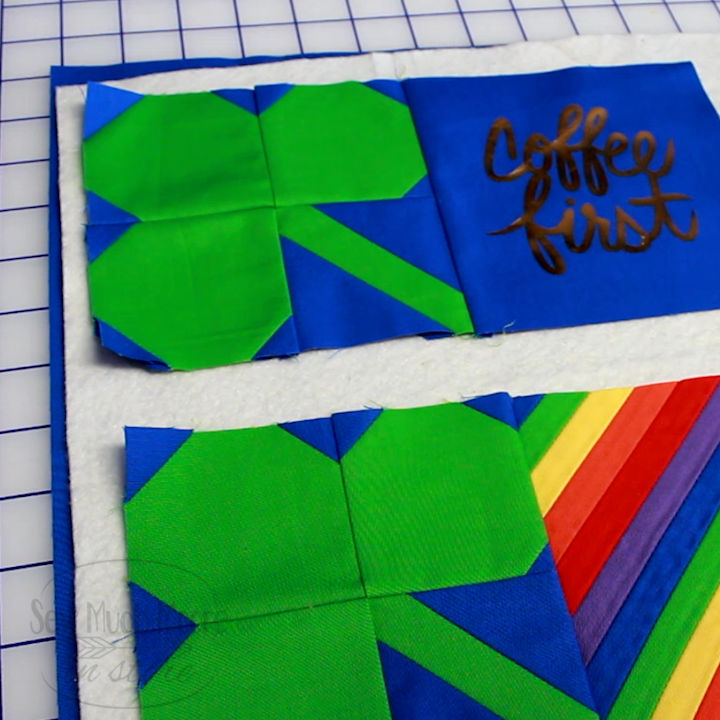
For our first Lucky Clover Mug Rug, we will use the Cricut Machine to add this fun text design to our Lucky Clover Mug Rug.
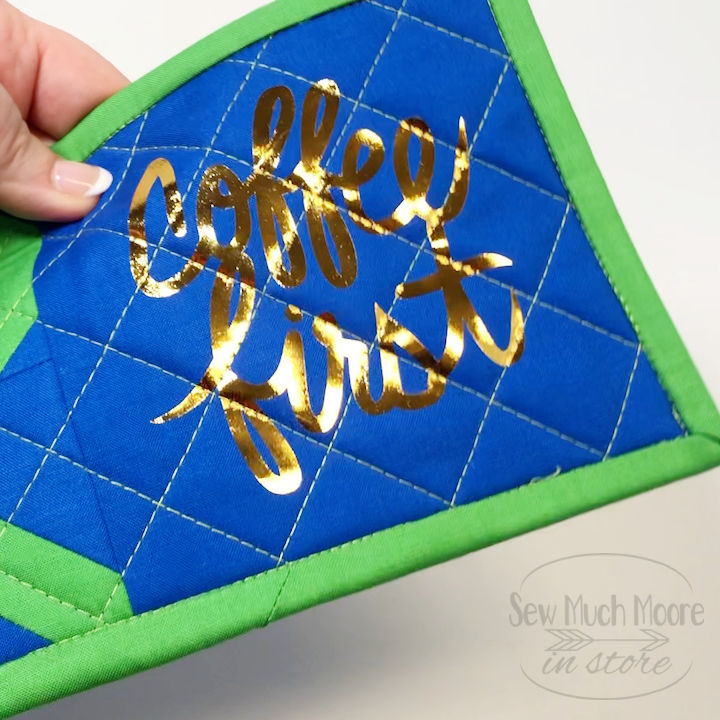
I found this text design on the Cricut Design Space. This was a free pattern and I think it’s just perfect for this mug rug. Re-size the size of the design so it will fit nicely on the square piece of fabric. Adjust the pressure to ‘more’, even though you are only using the iron on vinyl. We don’t want to forget to mirror my image so that it will appear the correct way at the end of the process. Load up your mat and let the cutting begin.
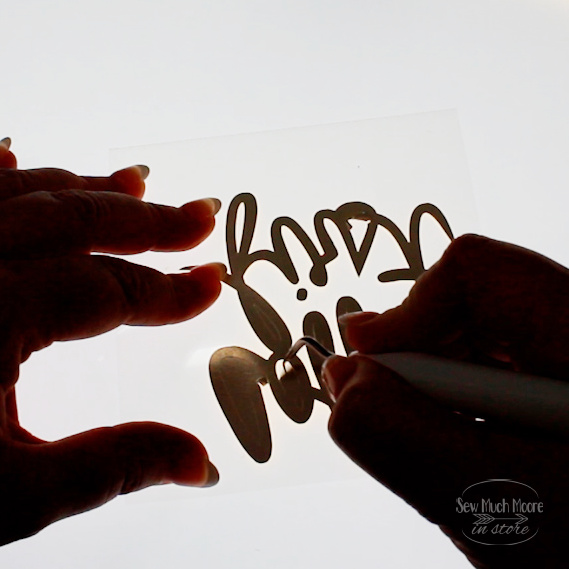
Using my Cricut weeding tool, I removed the excess vinyl from the carrier sheet. This design has quite a few areas that need weeding so I like to use my Daylight Company Lightbox to help me see the microscopic cut lines. I love my lightbox for a variety of things in my sewing room and weeding is just one of them.
Take your vinyl text design and center it on your project. I like to use a small Teflon sheet to cover the project before I apply the heat from my iron. Carefully peel the carrier sheet away from the lettering.
Making a rainbow panel design
This rainbow design is super simple to achieve. Just grab some rainbow fabrics, like the ones I have in my online fabric shop.

I’ve cut these into 1 inch strips and sew them together in rainbow order. Altogether, I made three sets of these strips and sewed them together to make a rainbow panel. After I sewed them all together, I used my Oliso Mini Iron to press the seams open. I can get my seams really flat when I use a hot iron, a Wool Pressing Mat, and I also like to use the Best Press Spray Starch as well.
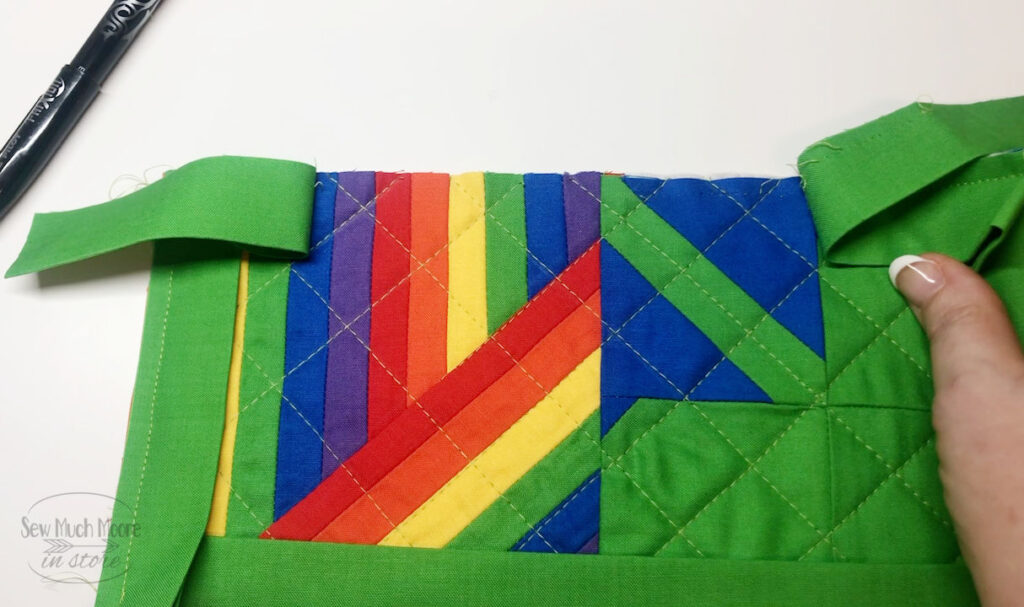
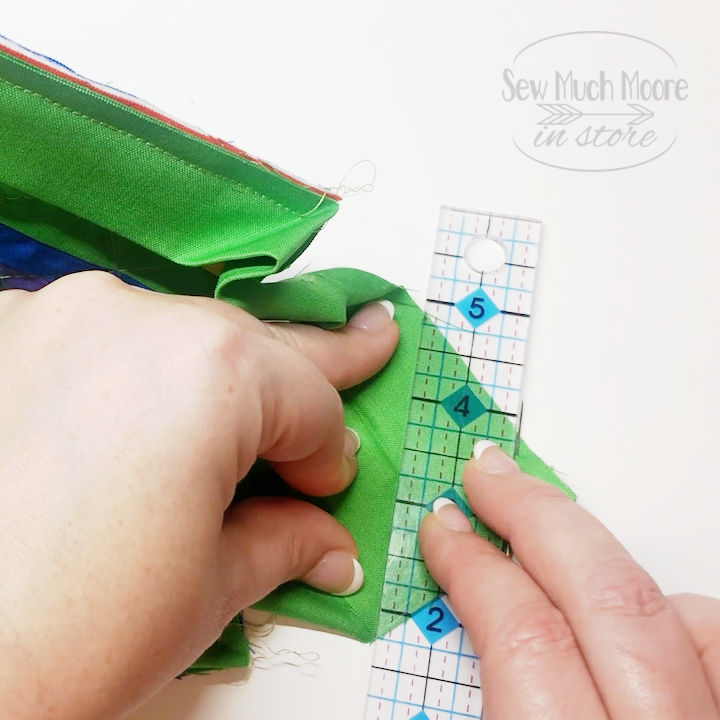
Laying out the rainbows at a diagonal (instead of a horizontal or vertical layout) was a fun design choice. In order to get an easy diagonal layout, get a ruler that has a 45° mark and lay that against the bottom edge of your rainbow panel.
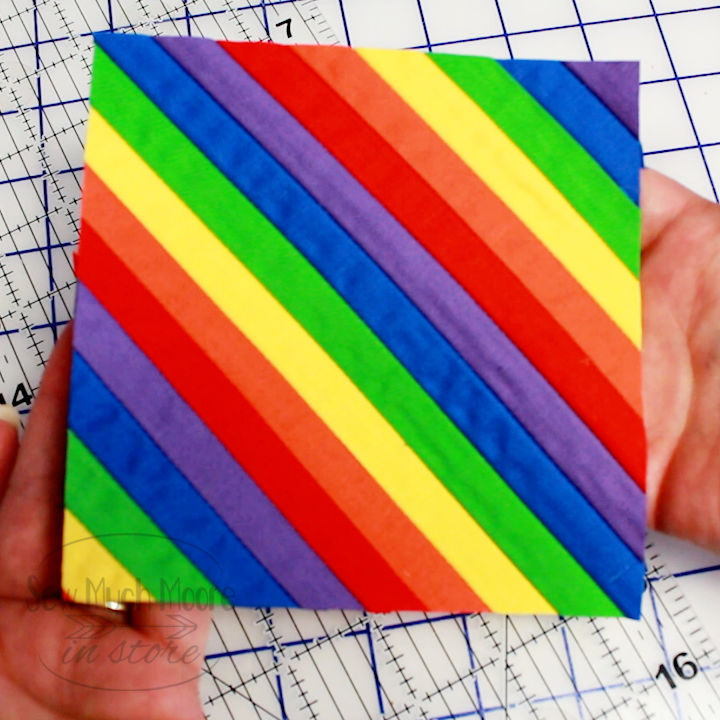
Make the first cut at a 45° angle and then measure your next cut 5 1/2 inches perpendicular to that. You’ll be basically making a 5 1/2 inch, square to match the size of your unfinished Lucky Clover Quilt Block. Now sew your cut rainbow panel design to your quilt block.
Quilting your Mug Rug
Now it’s time to quilt your mug rugs. Lay your backing fabric wrong side up and cover this with some batting. I’m using some leftover batting from a quilt I had recently finished. Since I’ve made several mug rugs I’m going to be laying these all out at the same time. This helps me to eliminate waste. Next I’m going to spray some fabric adhesive to help keep my mug rug in place while I prepare to quilt them.
Once I have these in place, I’ll take my acrylic ruler and rotary cutter and separate these into single units. When I’m cutting these out, I’m careful to leave an a small excess of fabric around the perimeter of each mug rug. I’d say about an inch or so will do just fine.
Straight-line Quilting on the Grid
Now you can quilt this mug rugs anyway that you’d like, but I think an easy solution is to draw a 1 inch grid with a chalk marker. These refillable chalk pens are super handy and come in a variety of chalk colors.
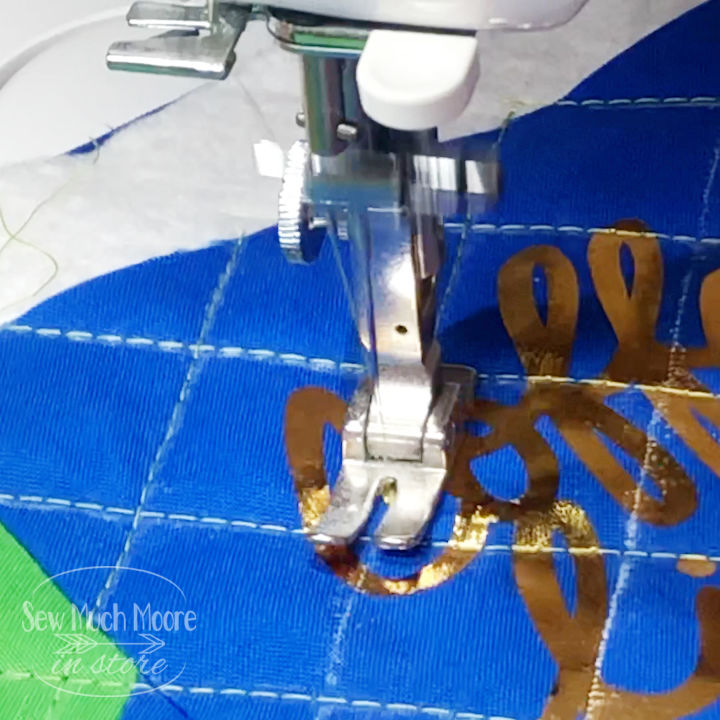
Quilting along the chalk marks is super easy. I use a 3 inch stitch length and a 50 weight cotton thread. Since the lines are already marked, you can quilt these up in no time. Take your acrylic ruler and rotary cutter to trim off the excess batting and backing.
Attaching the Binding
For the binding, I simply cut a width of the fabric by 2 1/4 and then folded and pressed in half. Leaving about a 6 inch tail at the beginning, I stitched the binding to the perimeter of the mug rug being sure to miter each corner as demonstrated. I like using my quarter inch presser foot for attaching the binding. I also like using a stiletto to help manage the thread when it comes to the corners.
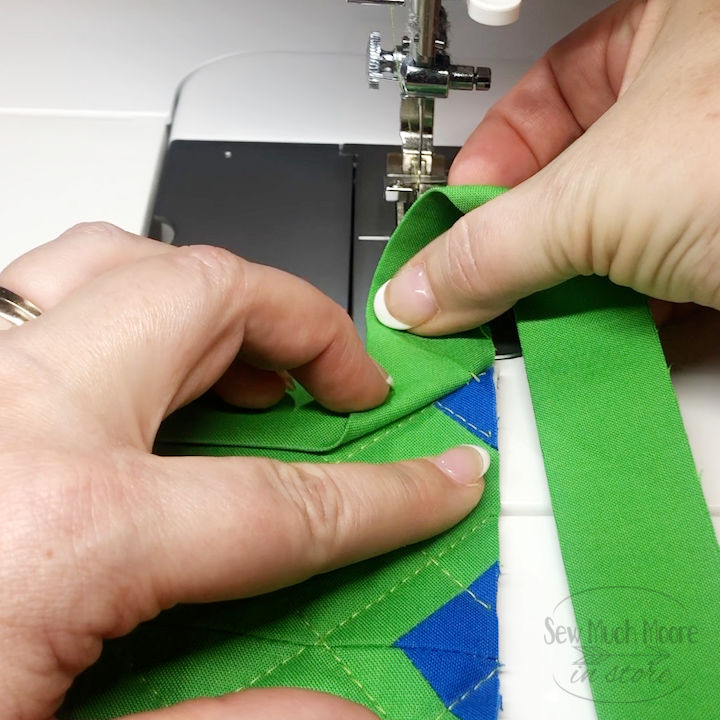
When we come to about 6 inches from where we started, simply stop sewing and connect the two ends of your binding strip.
Bring your longest binding strip and nest it next to the beginning seam of the shortest strip. Using a frixion pen, make a mark at this nesting point and cut the longest strip at the mark. Now, measure the opposite strip to your original binding width. Remember, mine was 2 1/4 inches. Mark this and trim the strip. Start removing stitches from your shortest binding strip until both strips are unsewn evenly. Fold your project, right sides together and place a clip about an inch back from the starting seams. Open and align your seams as demonstrated in my video below.
I like to make a mark to help determine where my sewing line needs to be. I’m using a 1″ x 6″ acrylic ruler and a frixion pen for this. Use sewing pins to hold your strips in place and stitch the two strips together. Take out your clip and ensure the strip is the right length before your trim off the excess fabric. I am using a seam roller to open this seam. You can also use an iron. Now, stitch the remaining binding to your project. Using your fabric scissors, trim the excess from the corners. Be careful not to cut the binding strips.
Finishing your Mug Rugs
The last thing to do is to finish the binding. You can either do hand binding or machine binding. It’s really up to your personal preference. I have video tutorials on both techniques and have hyperlinked them in the previous sentences.
Watch the Video
Be sure to share your Lucky Clover Mug Rugs in my Facebook Group!
Happy Sewing!
