Hand Binding a Quilt
Binding a quilt by hand can be a very relaxing and therapudic process.
Hand Binding a quilt is the final step in finishing your quilt. Before you bind, you will have quilted your quilt. You can see how I quilted this particular quilt right here. Once your quilt is quilted, you will make your binding and attach the binding to your quilt. I’ve demonstrated this step right here.
Now that your binding is attached, all that is left is to hand stitch the binding to your quilt! Be sure to review the materials that I use to bind a quilt by hand and don’t forget to watch the video tutorial at the end of this article!
- Striped Fabric (I have some in my online shop right here)
- Thread (I use this brand)
Threading the Needle
Once you have your supplies ready you need to thread your needle. This particular needle has a larger eye than most needles. Simply push the thread through the eye of the needle. Give yourself about 18 inches of thread. If you get too much more thread than that you will be doing too much work with your arm and binding will get tiresome.
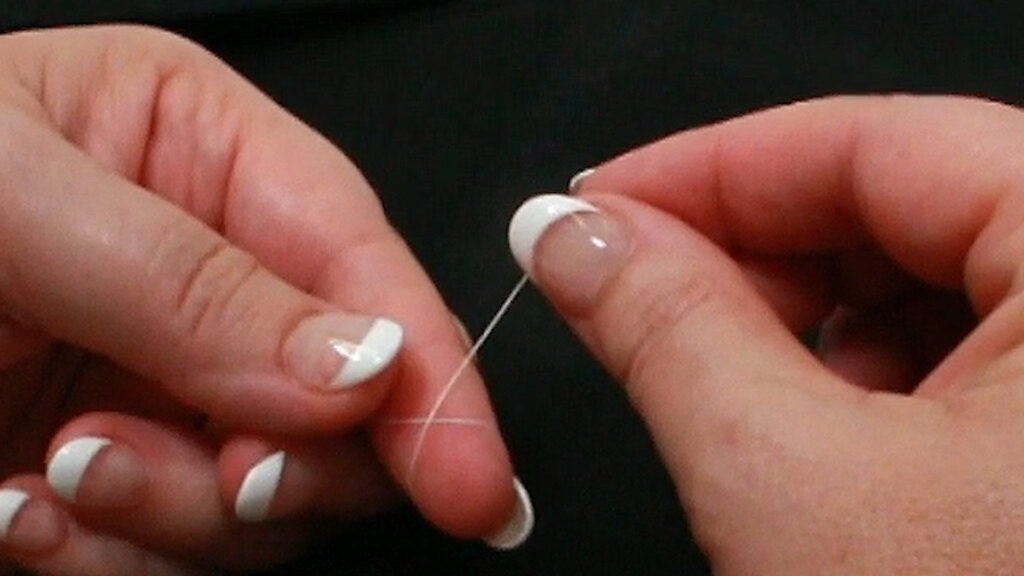
To make a knot, take the end of your thread and twist around your finger like the image above. Move your thumb along your finger, which causes the thread to twist. Pull the thread with your thumb and index finger to form your knot. Magic!
Basic Binding Stitch
To prepare for binding your quilt – take your binding and fold it over, then secure it with clips. You don’t need to clip the whole quilt ( or even a large section) – just a few clips will work just fine. You can move these clips through the progress of your binding.
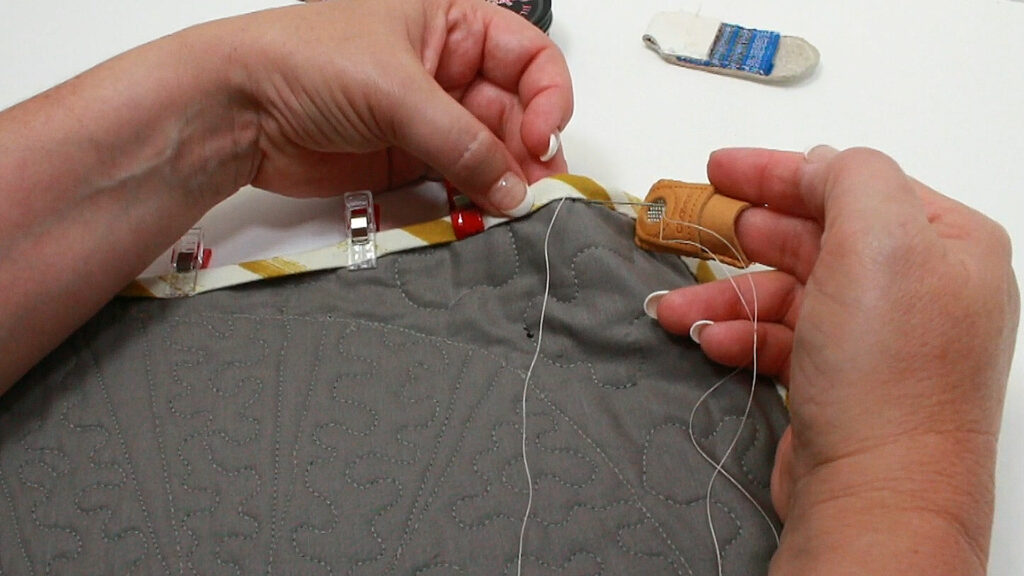
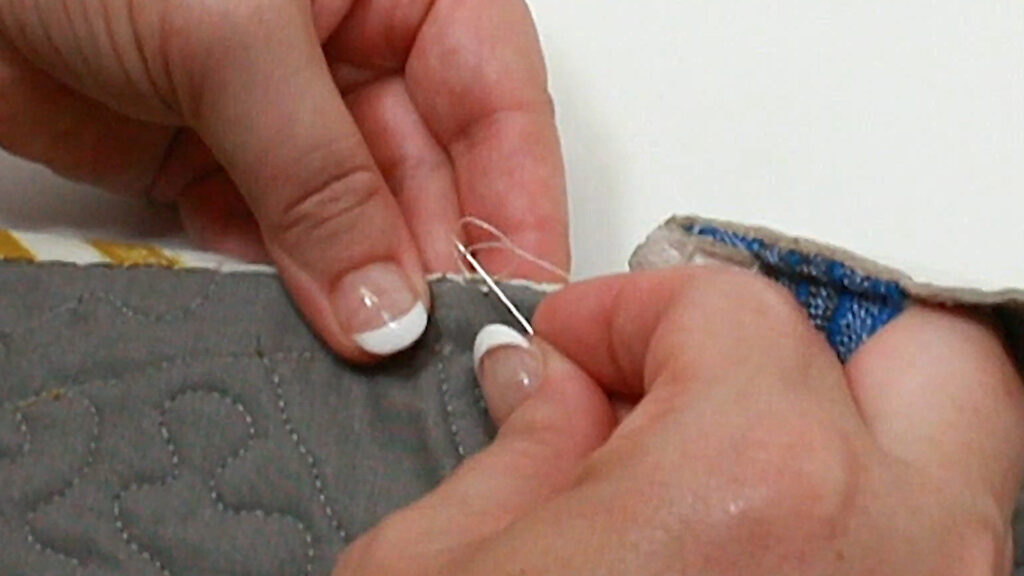
Start your needle next to the raw edge of your quilt and under the binding fold. Make sure you knot is hidden under the folded binding. Next, make a stitch on your quilt and catch the very edge of the folded binding with your needle. Pull your thread all the way through and continue this simple whip stitch until you get to a corner.
Conquering the Corner
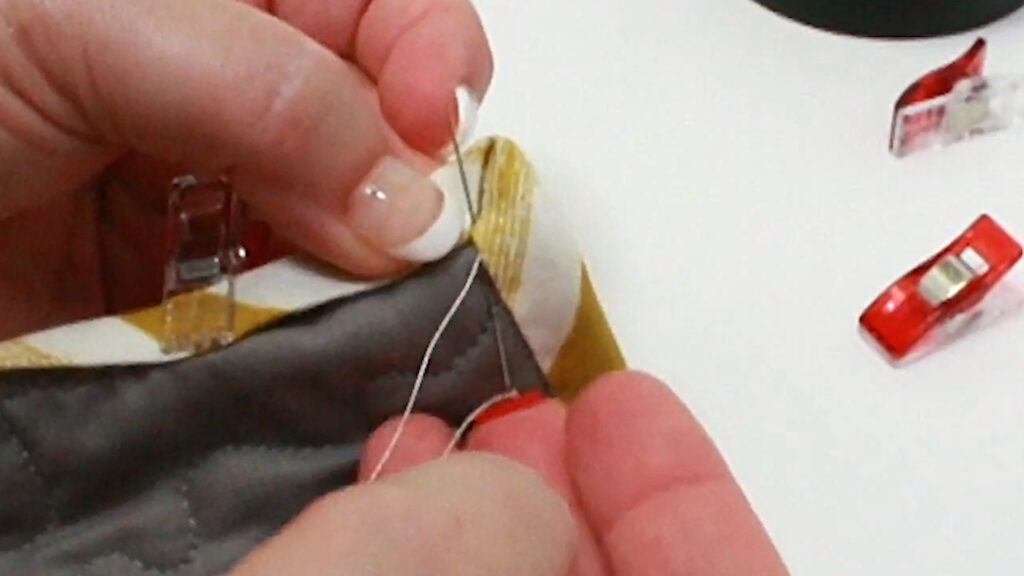
Begin like your basic whip stitch and come out and up through the mitered bottom corner of the top folded binding. Take another stitch from near that same position and come out and up through the corner of the quilt. Make sure that you catch the top binding on your way up and the bottom piece on your way back down. Continue with the basic binding whip stitch through the rest of the side.
The Final Knot
I call this the Loop-de-loop! Simply make a large loop and bring your thread back through that same loop. Take your needle and catch that second thread and pull your needle all the way through until a final knot is formed.
You will need to make this same knot, several times throughout the hand binding process. I mean, 18″ of thread will only take you so far! I think it is much easier to learn this finishing trick and all the other techniques by watching the video.
Hand Binding your Quilt is a very rewarding exercise in creativity! I hope you found this article and video tutorial helpful!
Happy Quilting!
Love your videos and ideas!
Thanks for watching!
A whipstitch shows too much thread on the back of the quilt. My home economics teacher taught me to stitch just slightly below the seam allowance of the quilt and then up through the hem of the fabric then back down below the seam allowance. You never see the thread on the back of the quilt.
I kinda like to see the stitches!
Love the silicone thimble that sticks to end of finger. Where can I purchase some? Thank you.
Hi Leslie, I just sold out in my online shop, but you can get them from Amazon too! Here is my affiliate link: https://amzn.to/3DjJXWO
found it very interesting.
thank you for sharing it helped me to learn to make the corners the binding looked beautiful thank you again 😊