Adding Binding to your Quilt
I love finishing and adding binding to your quilt means we are getting closer to the finish! Let’s dive into the details of adding binding to your quilt and don’t forget to watch the video tutorial at the end!
Materials List
- Binding Strips (see how I made them HERE)
Basic Supply List
- Sewing Machine (here are my recommendations)
- Iron and Wool Pressing Mat (learn more about my favorite ironing products HERE)
- Wonder Clips
- Magnetic Seam Guide or Quarter Inch Presser Foot
- Frixion Pen
- Sewing Pins
- Fabric Scissors (I like these scissors)

Prepare the Binding
Once we have our binding made, we need to prepare to attach it to our quilt.
Take your binding strip and fold it wrong sides together. Give this a good pressing all along the length of the binding strip. I love this brand of iron.
Attach the Binding
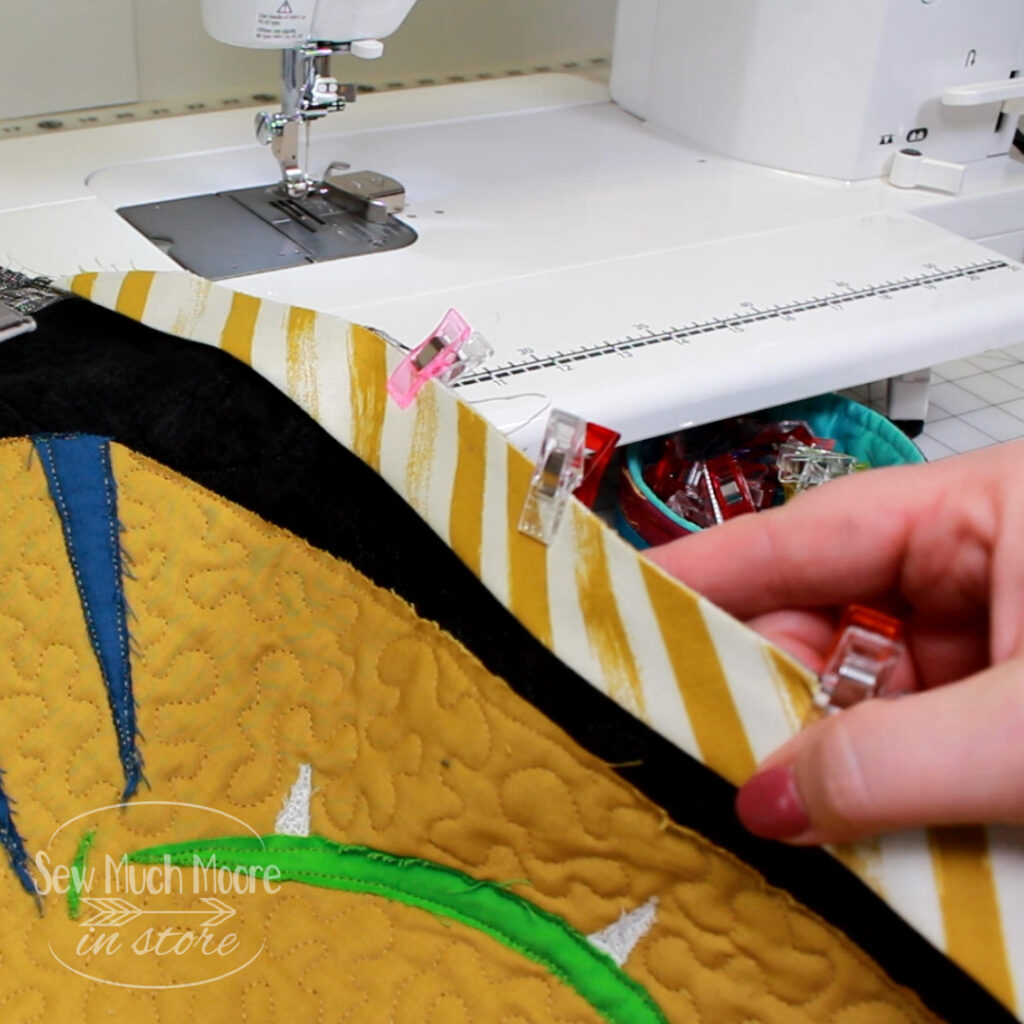
To attach the binding to your quilt take the raw edge of your folded binding and clip it to the raw edge of your trimmed quilt. Use clips to secure this to your quilt.
Measure about 6 inches from the end of your binding strip as your sewing starting point.
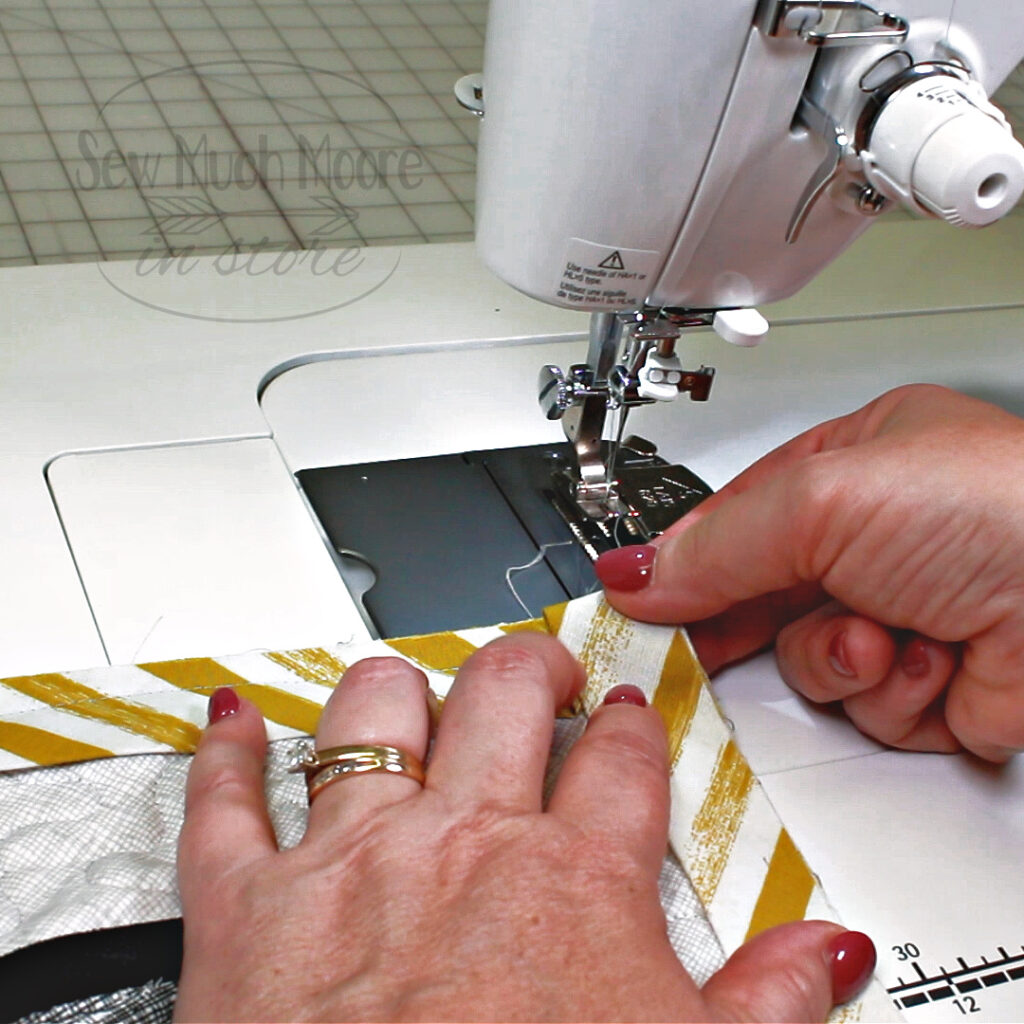
Next, you will sew your binding to your quilt top. I’m using a seam guide to ensure I have the correct seem allowance. I’m using a quarter inch seam allowance.
Sew the binding onto your quilt and stop just before you come to your first corner.
Turning the Corner
Take your binding strip and fold a diagonal line while bringing the fabric strip up into a perpendicular position to the the already attached binding. Bring the binding strip back down (in the opposite direction) while aligning your fabric to the top and side corner of your quilt.
Position the binding strip a long the raw edge and continue sewing until you get to the next corner.
Repeat this process for each corner of your quilt.
Joining the Binding
Once you get close to the place you started attaching your binding, you will leave about a 12 inch gap.
Now we will join our binding ends together. First we will butt each strip together and make a mark on one of the strips. Cut off the excess fabric on the marked strip. Unless you remember the width of your prepared binding strips, you need to measure the width of the binding,
Take the other binding strip and lay it over the strip you just cut. Measure from where the cut strip starts to the measured width of the binding strip and make another mark. Trim off the excess.
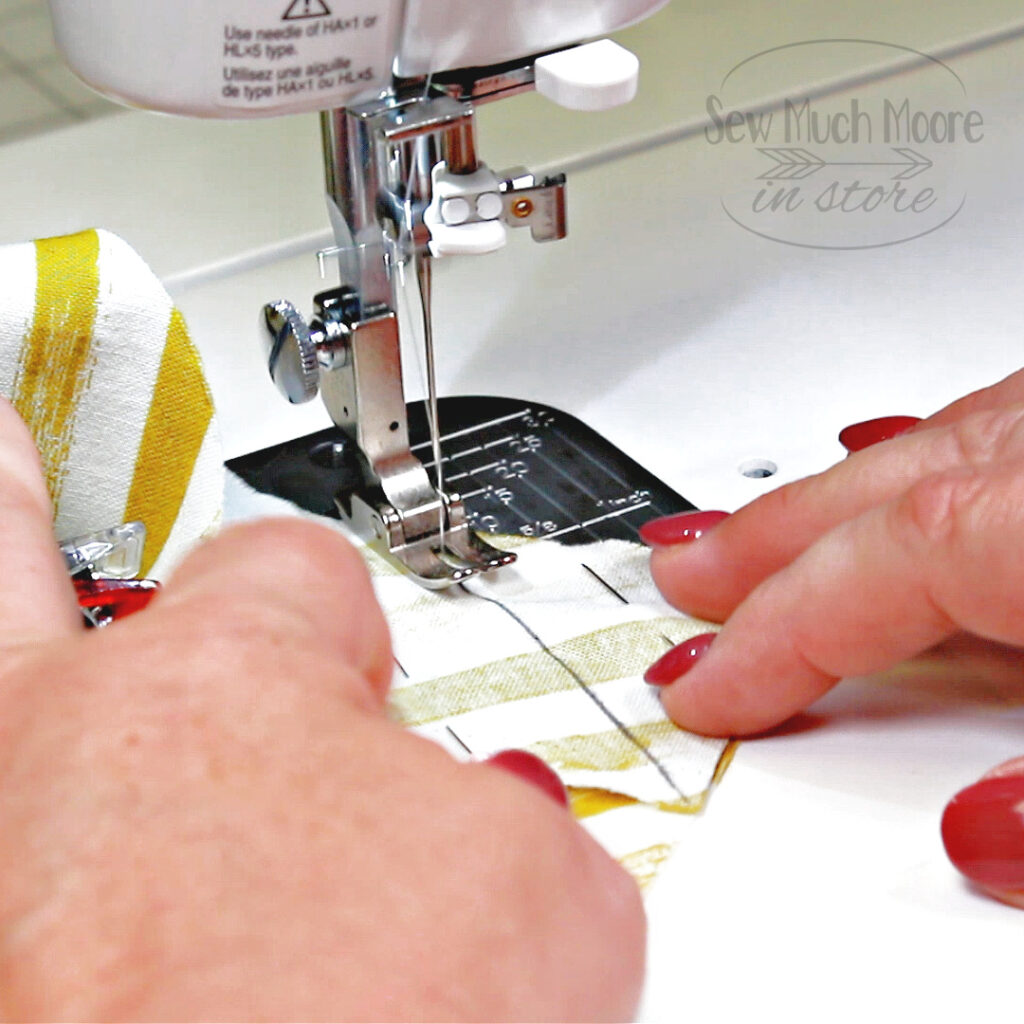
You will want at least 12 inches of un-sewn binding. you’ll take that excess, gather up most of the slack and clip it. Open up your binding strips and pin them together . Take your ruler and mark a sewing line. Sew along the line to join the binding strips.
Remove the clips and pins and lay your joined binding strip against your Quilt top to make sure the length is correct before you cut any excess from your joined a binding.
Open up the seam you just created and then continue attaching the binding to your quilt.
I hope you enjoyed this tutorial and maybe even learned something new!
Until next time! Happy Stitches!

Thank you for the tutorial on corners! Your quilt is beautiful!!
I’m so glad you found it helpful!
I found your video on applying binding very helpful I am definitely going to try your way, thank you, from Jean