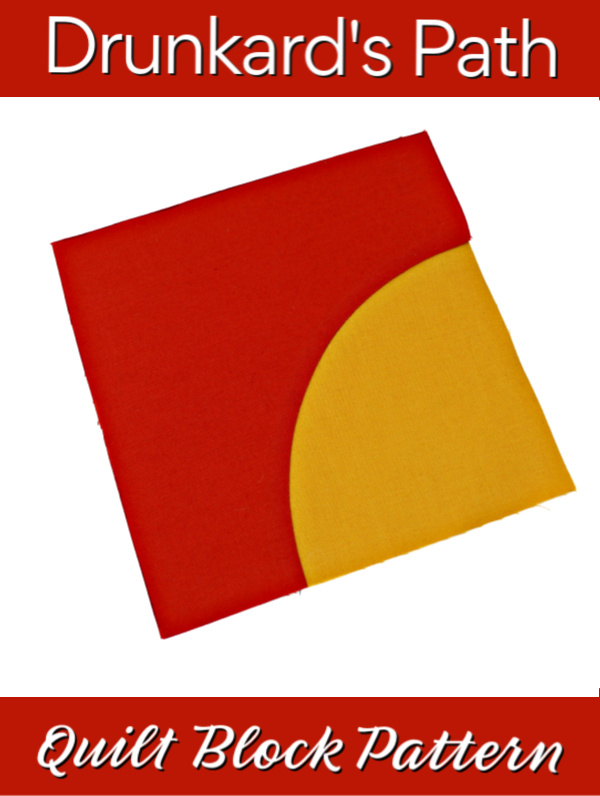
Drunkard’s Path Quilt Block Tutorial
The Drunkard’s Path Quilt block is a fun and versatile quilt block! While the Drunkards Path Quilt Block is a traditional block, you can use it in a variety of ways to make it modern! Many people shy away from the Drunkard’s Path Quilt Block because of the curved seam. Don’t let that prevent you from trying this out yourself. As you will see in my video below, I breakdown the construction and assembly of this quilt block and share some tips and tricks along the way. All you need is a good pattern, a few tips, and some practice and you will be well on your way to loving the Drunkard’s Path Quilt Block.
This post contains affiliate links for your convenience. ? Read my full disclosure policy here.
Materials List
- Drunkard’s Path Quilt Block Pattern
- Qty (2) pieces of Contrasting Fabrics (checkout the fabric in my online shop)
Supply List
- Sewing Machine
- Cotton Thread (this is what I use)
- Rotary Cutter with a sharp blade (I use this brand – 45mm)
- Acrylic Ruler (I like this brand)
- Rotary Cutting Mat (I recommend this rotating mat – it’s amazing!)
- Iron & Ironing Board
- I also recommend a wool pressing mat for the flattest seams!
- Optional spray starch (this is my favorite)
- Sewing Pins
- Optional sewing stiletto
- Paper Scissors (for cutting your pattern and template)
- Fabric Scissors (I love these scissors)
- Marking tool (optional) You can use a pencil or even a frixion pen
- Optional Comic Book Boards for cardstock (in case you want to make a sturdy template)
Assemble Drunkard’s Path Quilt Block
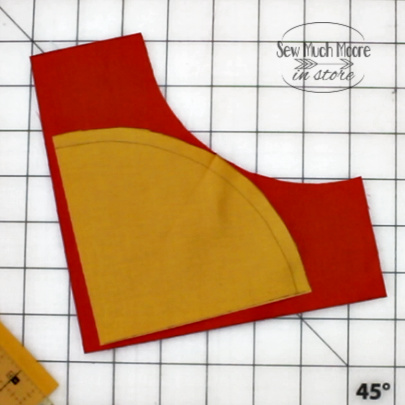
Mark your seam allowance on one of your pieces. I have always found it useful to sew along a marked line. When sewing curves, it is especially helpful! I used a #2 pencil for this marking, but you can use a chalk pen, invisible ink or even a frixion pen if you wanted!
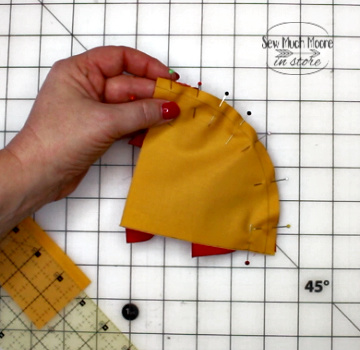
You can never have too many sewing pins when assembling the Drunkard’s Path Quilt Block! Of course, this will force you to slow down as you take them out during the sewing process. Luckily – this isn’t a race. Take your time and do your best to sew around the curve while maintaining your 1/4″ seam allowance.
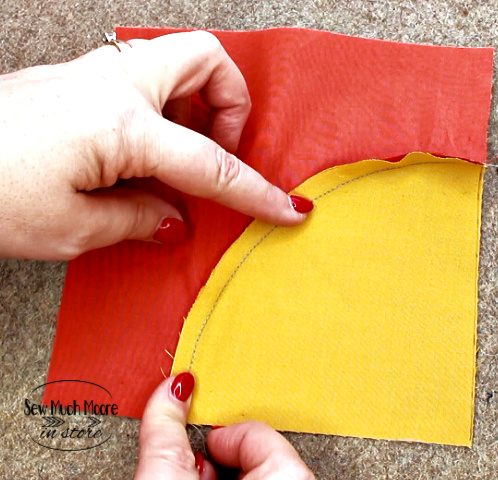
After you’ve sewn your block together, you can decide which way you want to press your seam. I try to look at my next block and how these will come together. Pressing seams so that you can eventually nest your seams should stay in the back of your mind. Use a wool pressing mat and spray starch to help your block lay flat.
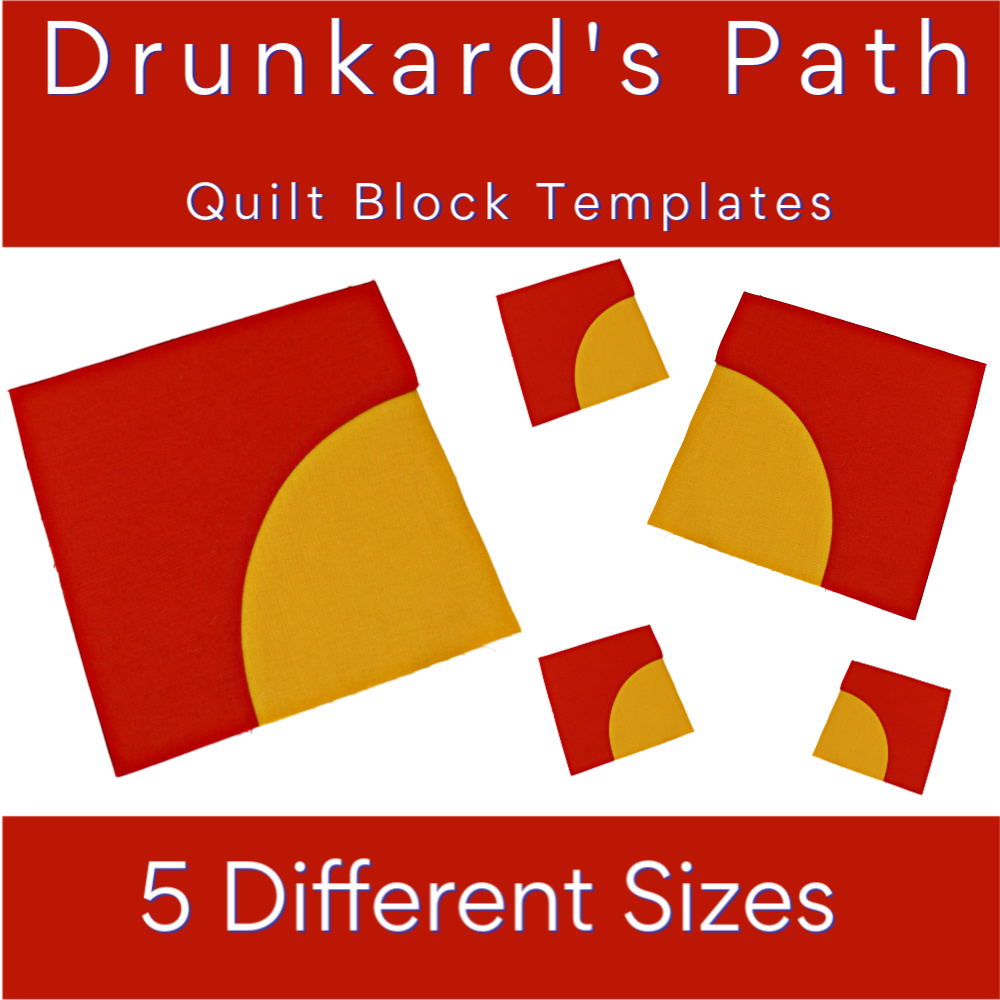
The amount of fabric needed will depend on the number of blocks and the size of blocks you make. This pattern has 5 different sizes to choose from!
Check out this video to give you an idea of how to make the quilt block. You will love how easy it is to make and want to make more!
Be sure to show your completed Drunkard’s Path Quilt Blocks projects in my Facebook Group!
We would love to see your work! Until next time, Happy Quilting!



Directions and pictures were very helpful.
Thanks so much. I hope you watched the video too! Enjoy curved piecing 🥰
This process seems similar to sewing a shoulder piece to a sleeve.
Yes! A garment sewist should have no problem with this quilt block!
It is very much like setting a sleeve! I’m so happy that I sewed clothes for my kids first before I started quilting! Curved piecing is not the scary mystical thing everyone makes it out to be. Love your tip to mark the sewing line. Excellent video!! Thank you!
I agree! Setting a sleeve is done in much of the same way!