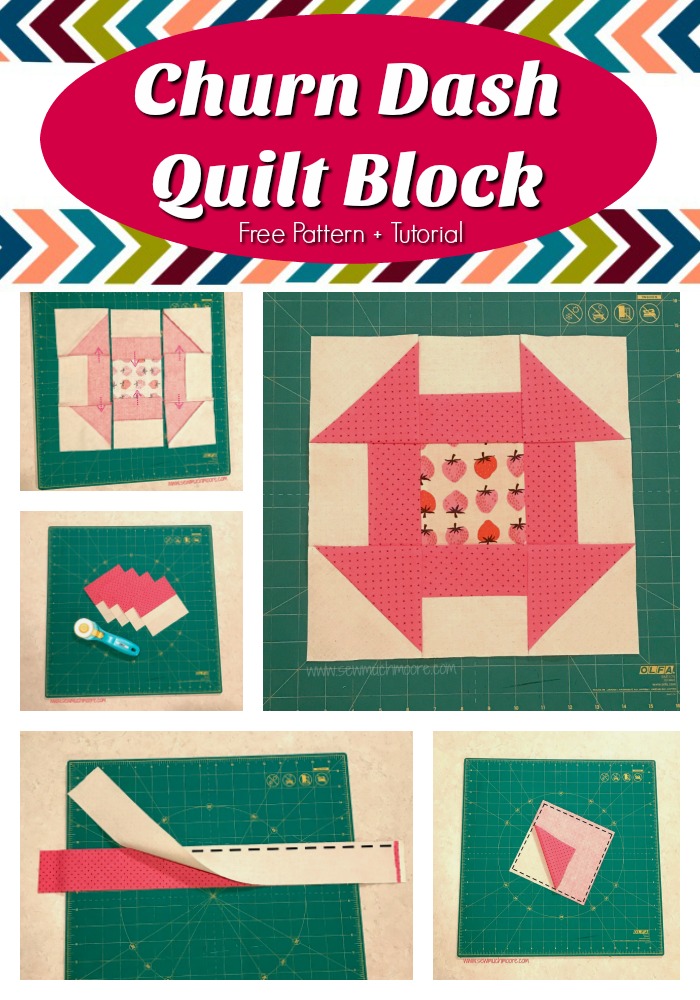
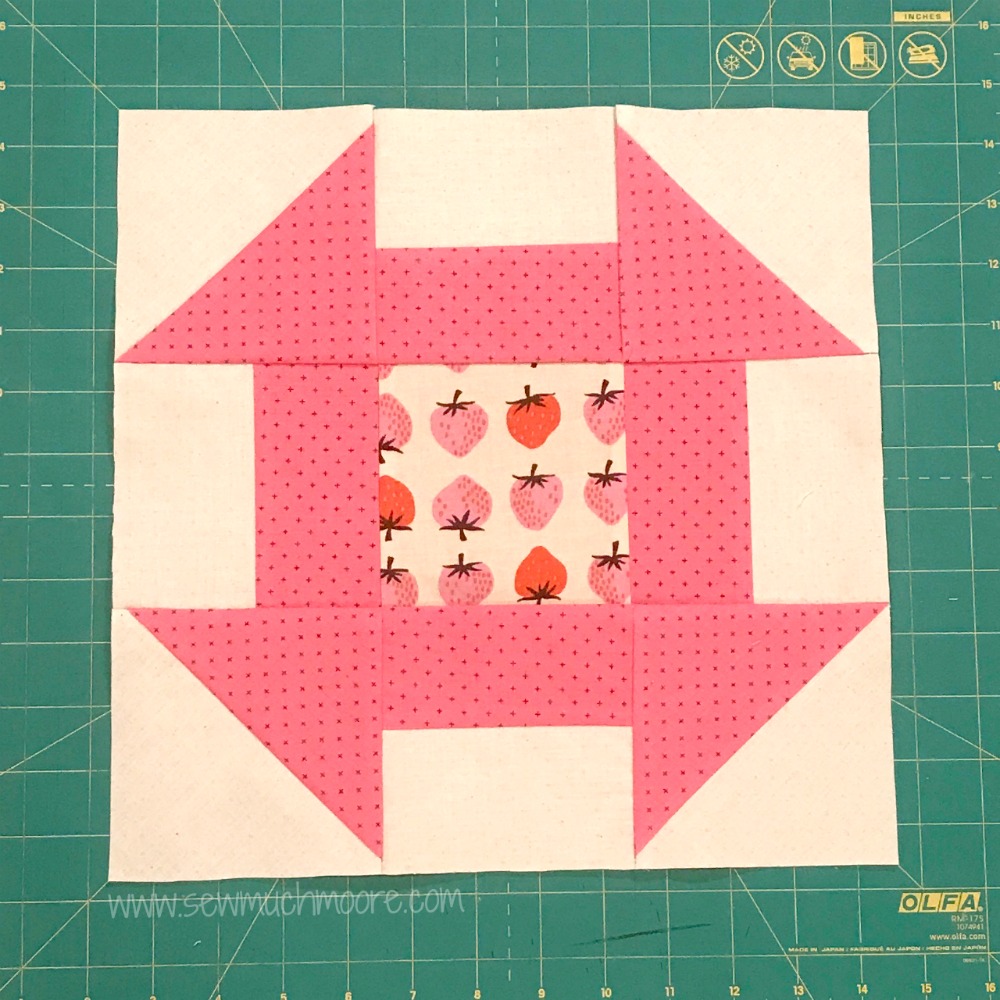
Churn Dash Quilt Block
The Churn Dash Quilt Block is a classic quilt block that has stood the test of time. The Churn Dash is a very old 9-Patch quilt block pattern, originating between 1800 and 1849. Its name is a result of the resemblance of the triangle and rectangle perimeter of the block to a butter churn and the center square to the stick (or “dash”) of the butter churn. In this picture tutorial, I will show you how to put together this fun and easy quilt block. Grab your free pattern and let’s get started with this Churn Dash Quilt Block Tutorial!
This post contains affiliate links for your convenience. ? Read my full disclosure policy here.
Churn Dash Quilt Block Supply List
- Quilt Block Pattern
- Qty (2) Fat Quarter of Contrasting Fabrics
Basic Sewing Supplies needed
- Sewing Machine
- Cotton Thread (my favorite for piecing is THIS BRAND)
- Rotary Cutter
- Acrylic Ruler
- Rotary Cutting Mat
- Iron & Ironing Board or Wool Pressing Mat
Churn Dash quilt block tutorial
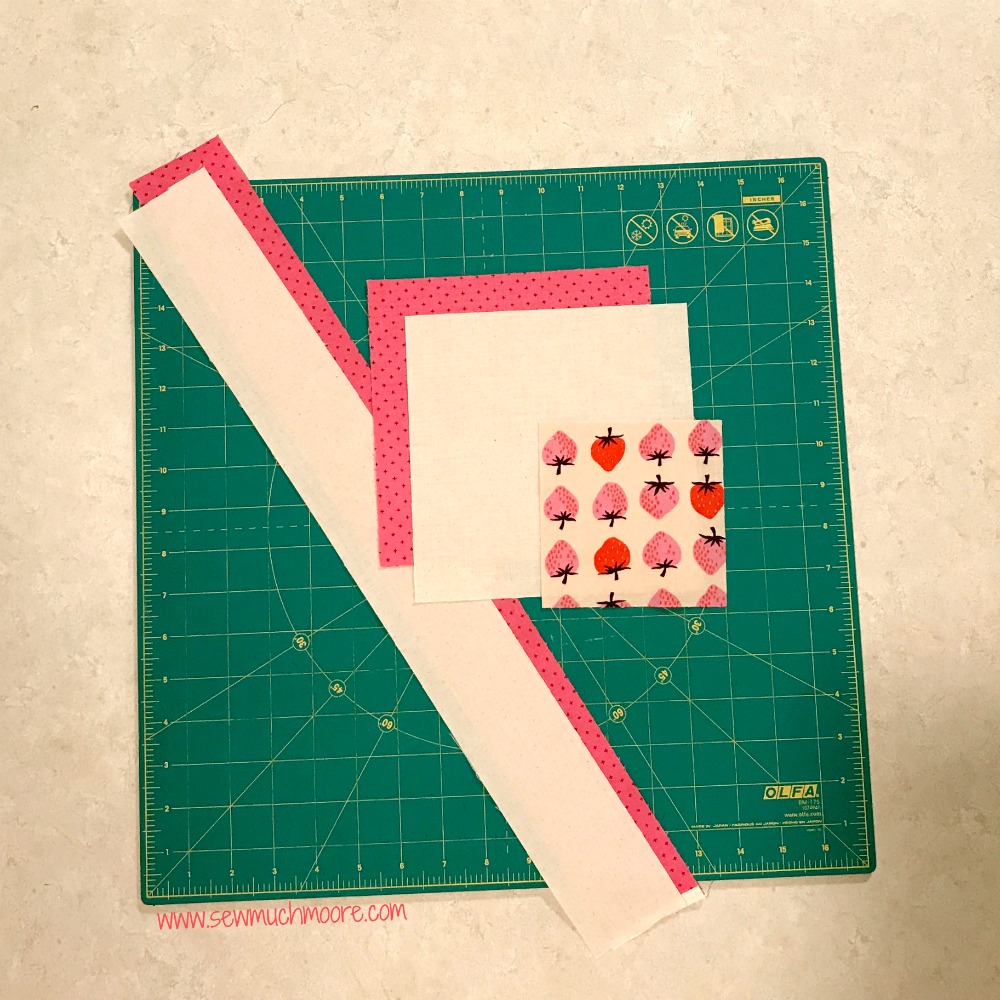
Iron your fabrics nice and flat to remove any and all wrinkles. Sometimes, I like to spray my fabrics with my favorite spray starch to make it easier to manage. Use your cutting measurements to get your pieces all cut and in order.
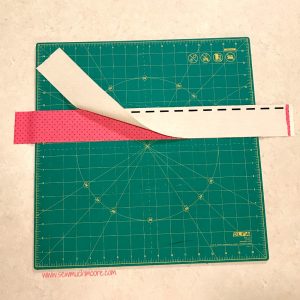
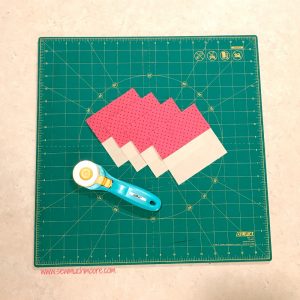
Sew your (2) long strips of fabric together like in the image below (right sides together). Next, cut your sewn strip of fabrics into (4) equal parts. For exact cutting measurements, please reference your pattern. Press open.
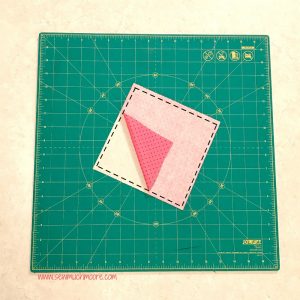
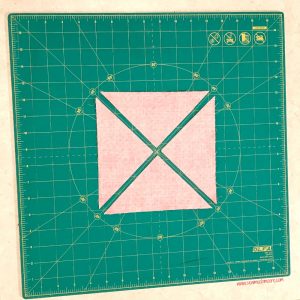
Take your large square fabrics and line up, right sides together. Sew a 1/4″ seam allowance all around the perimeter of the square. Next, make (2) diagonal cuts and press each piece open.
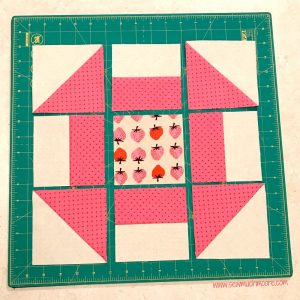
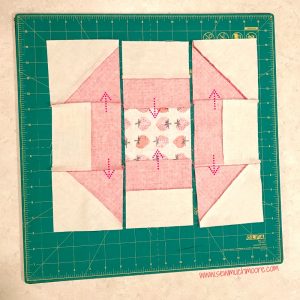
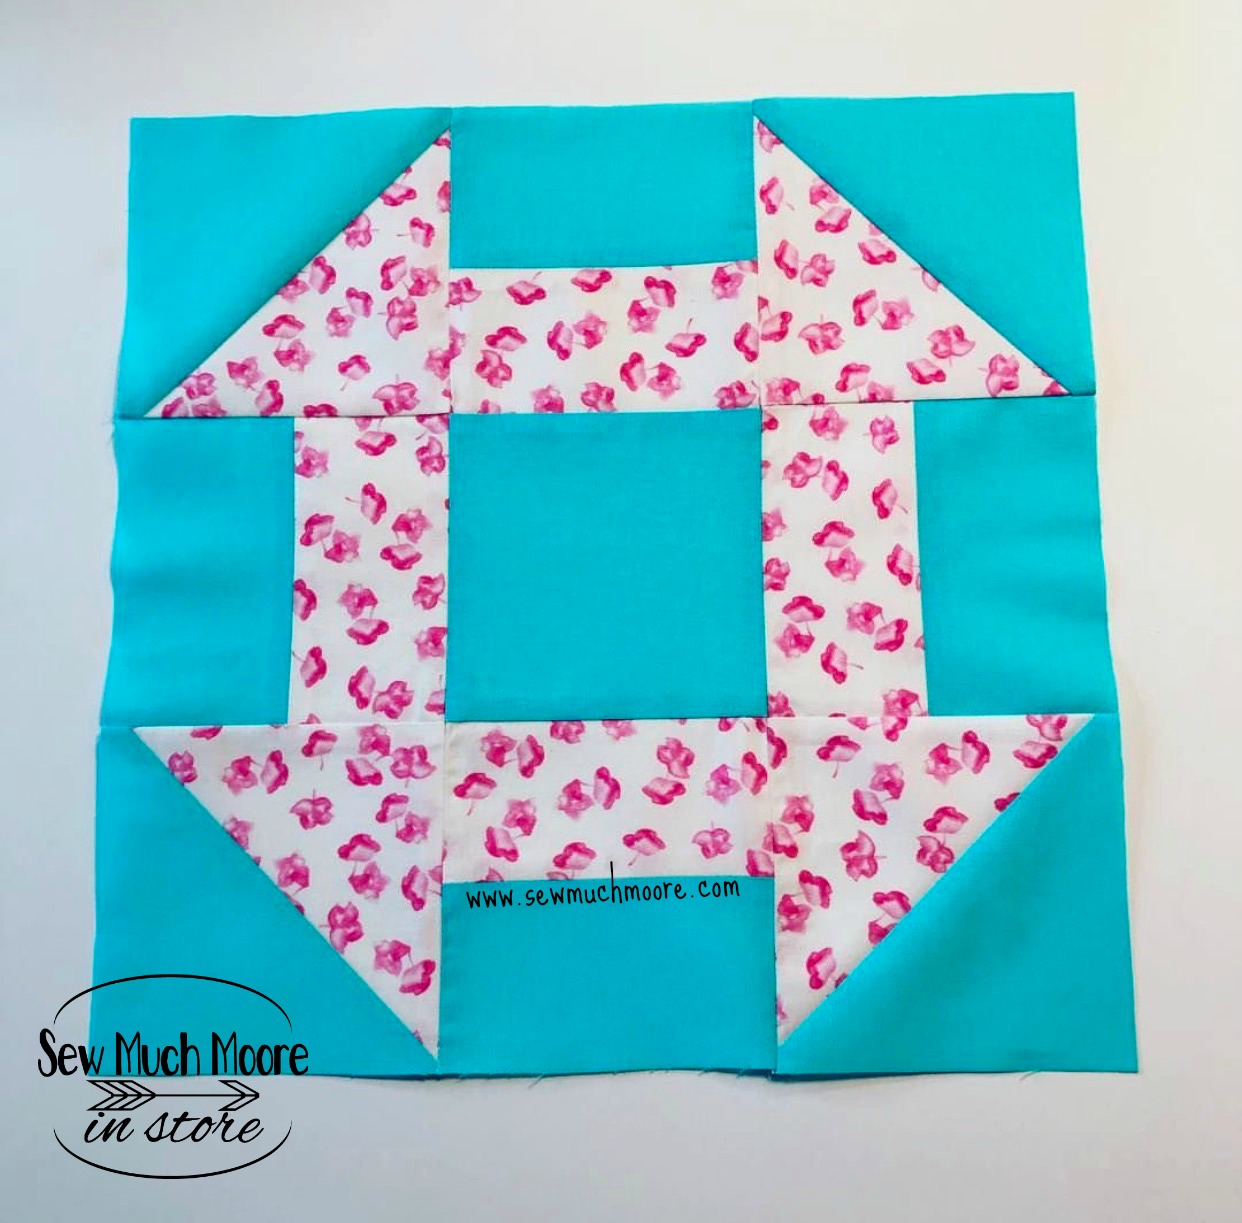
Now it is time to assemble your blocks. I recommend sewing each row together first and then assembling the three rows. I have shown below the recommended pressing direction for optimal assembly.
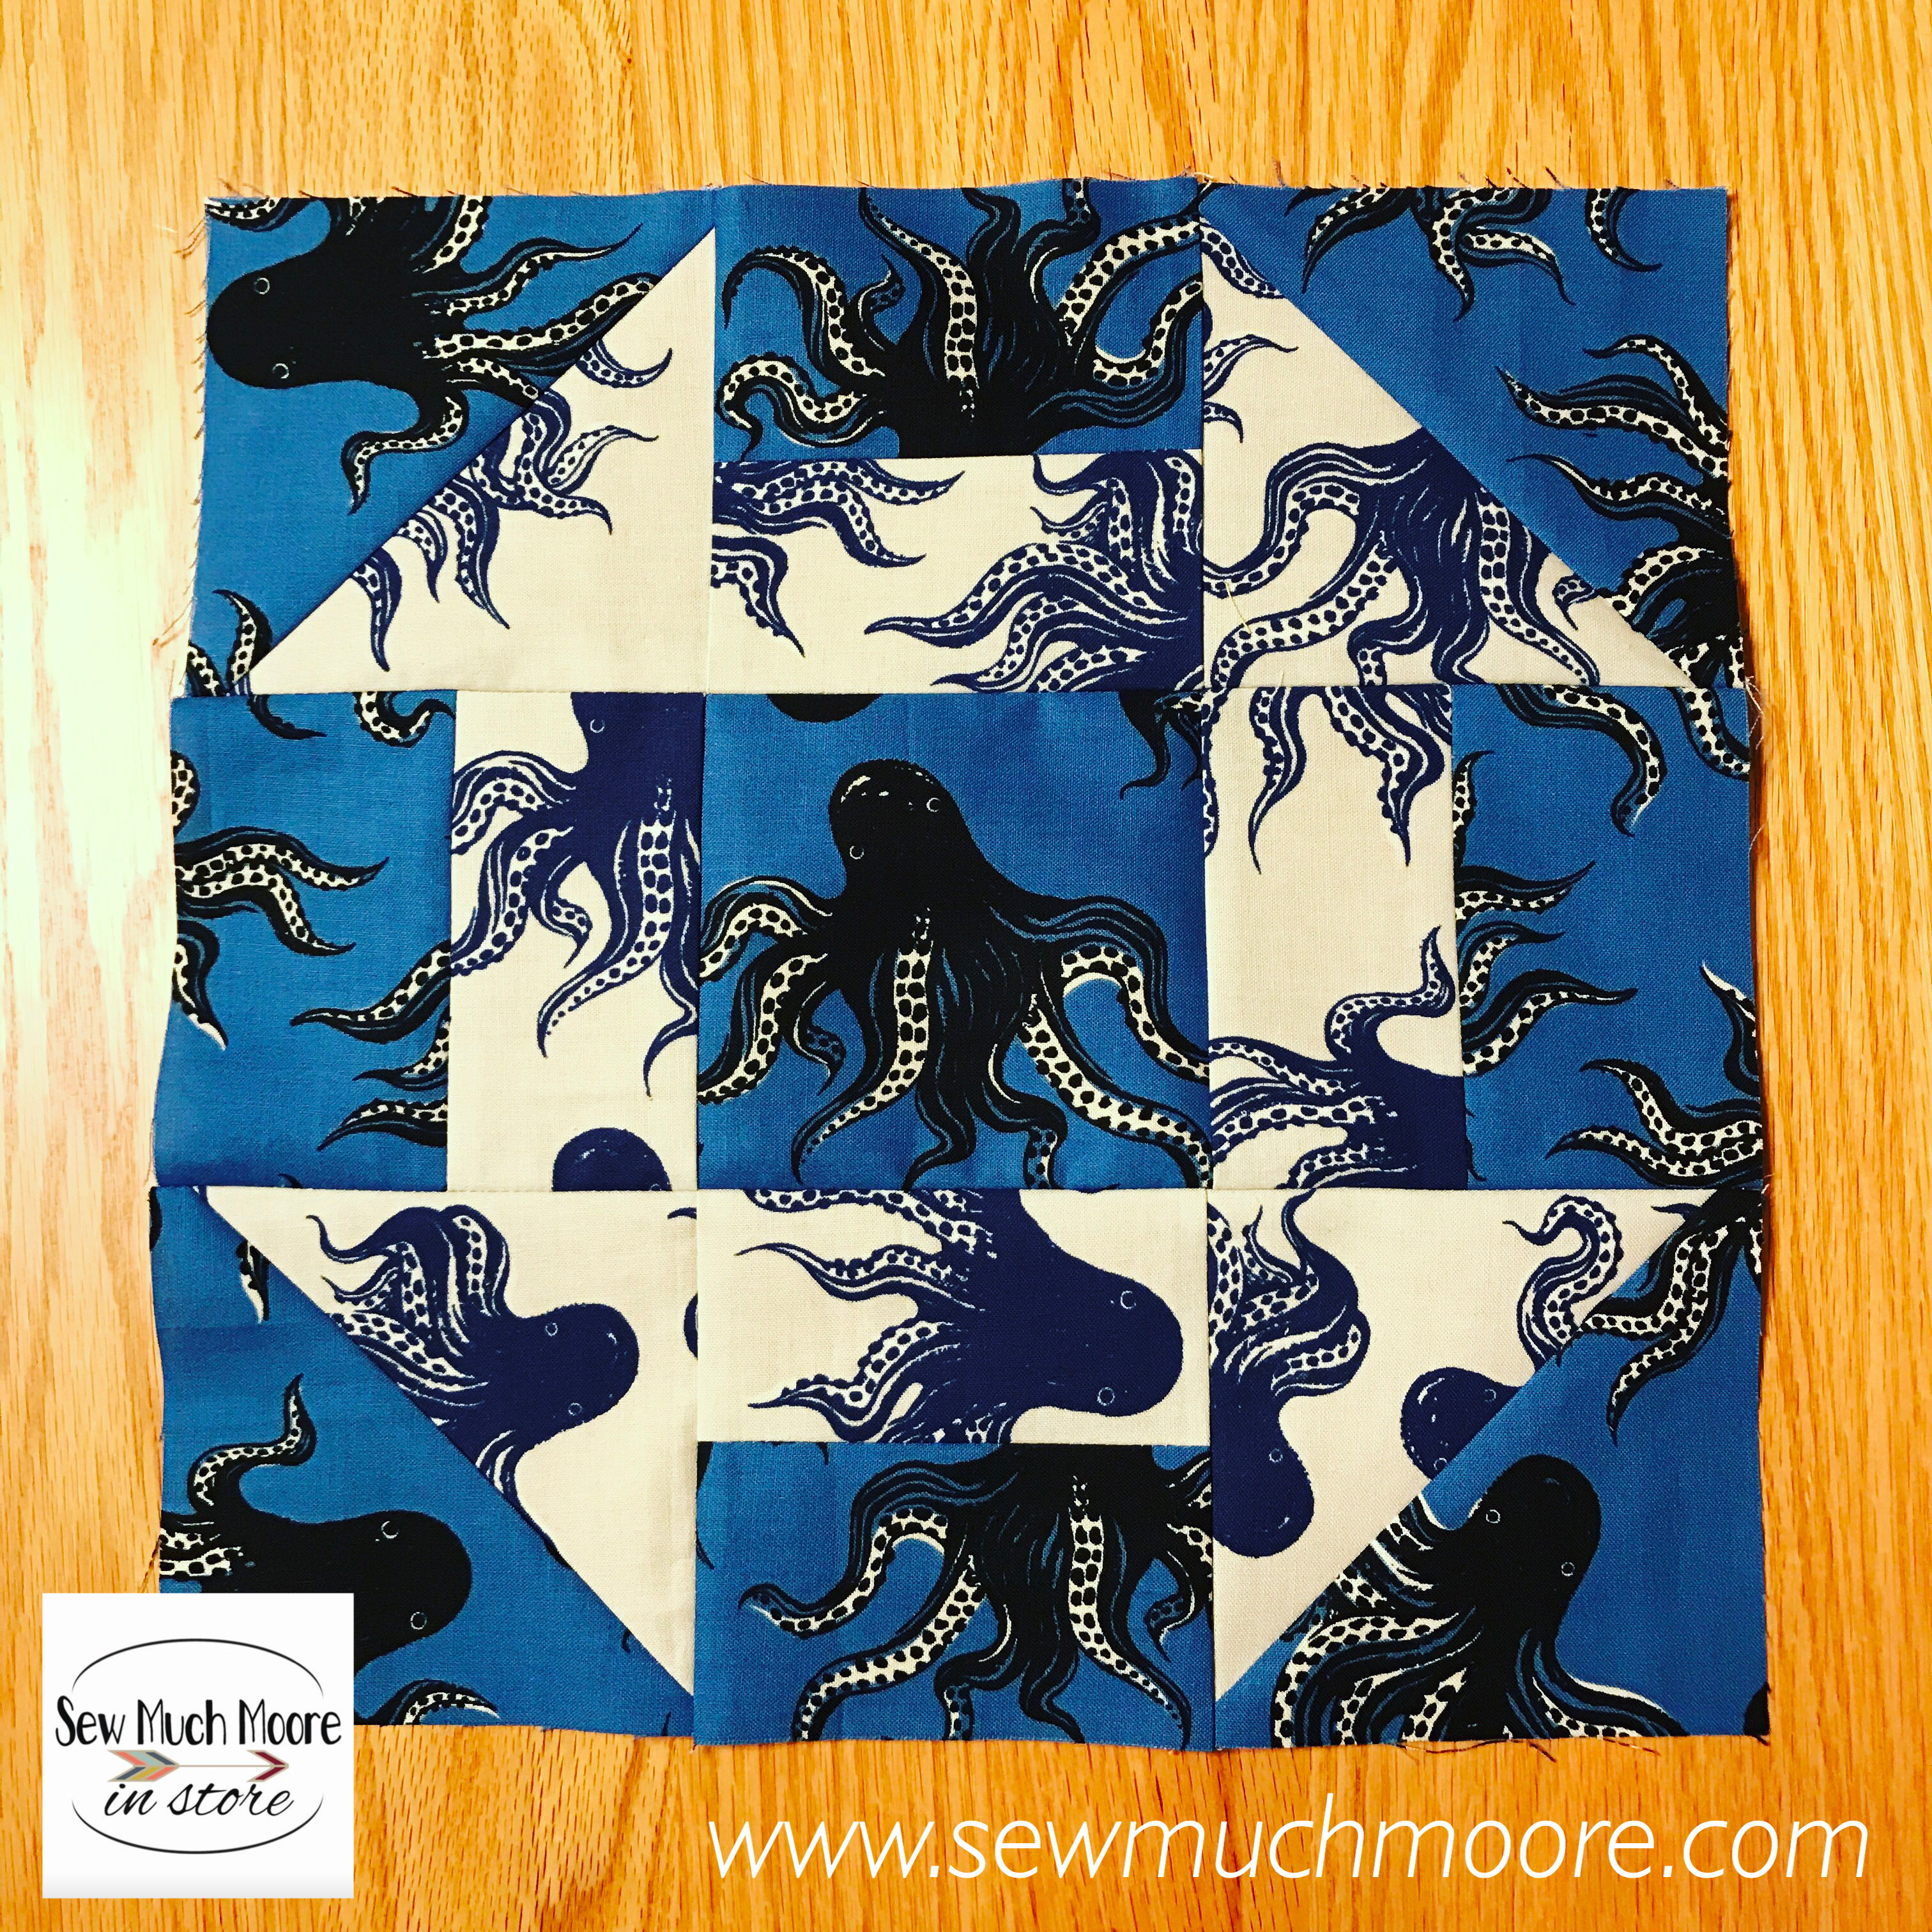
Such a fun and easy quilt block!
Have fun with this block and try all kinds of fabrics!
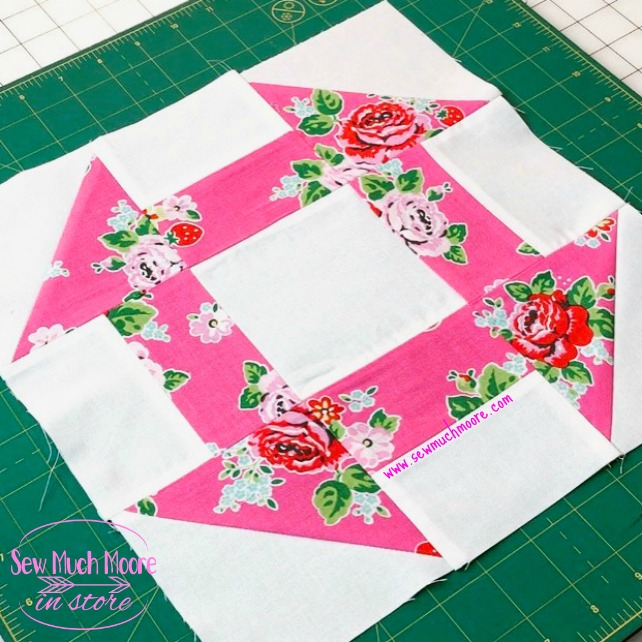
Be sure to show your completed Churn Dash Quilt Block in my FaceBook Group!
We would love to see your work!
Until next time, Happy Quilting!

Such a great quilt block.! Thanks Nicole for another tutorial. My next quilt will have the churn dash block in it.
I’m so fond of this block! Thanks for the tutorial!