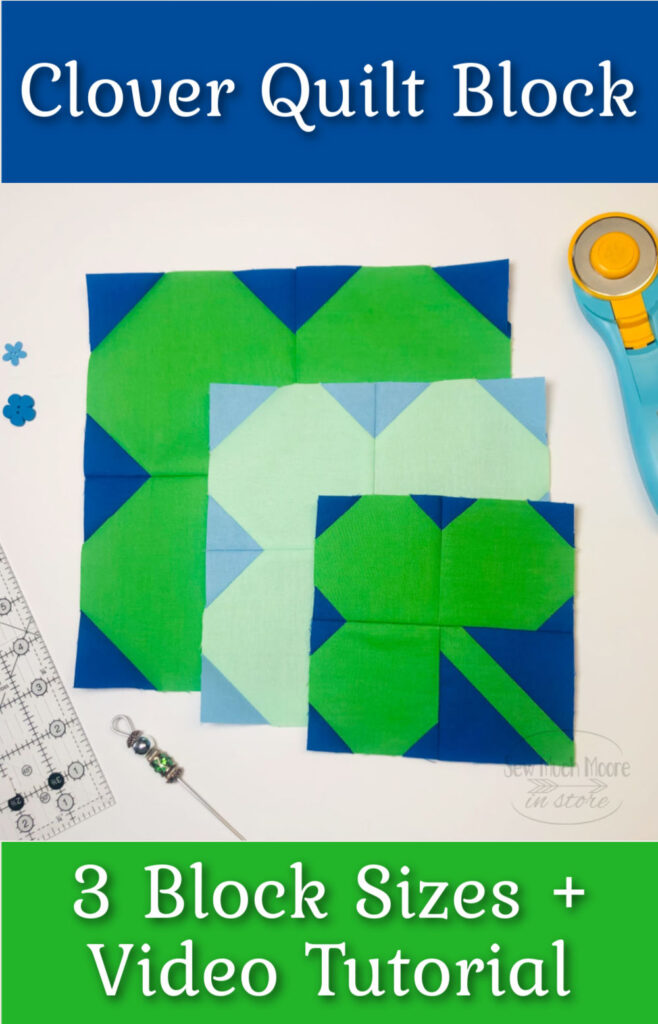
Lucky Clover Quilt Block
The Lucky Clover quilt block is the perfect block for St. Patrick’s Day or any day you are feeling a little lucky. You’ll find that this simple four patch block is easy to cut and assemble. The lucky clover quilt block is made mostly of snowballed sections with a fun little stem. The pattern includes measurements for 3 different sizes so your making options are limitless! Let me show you how it’s done!
Materials List
Supply List
- Sewing Machine (this is the machine I recommend)
- Thread (I use this brand)
- Acrylic Ruler
- Rotary Cutter & Rotary Blade
- Iron
- Wool Pressing Mat
- Glue & Fine Tip Glue Bottle (optional)
Let’s Start Assembly
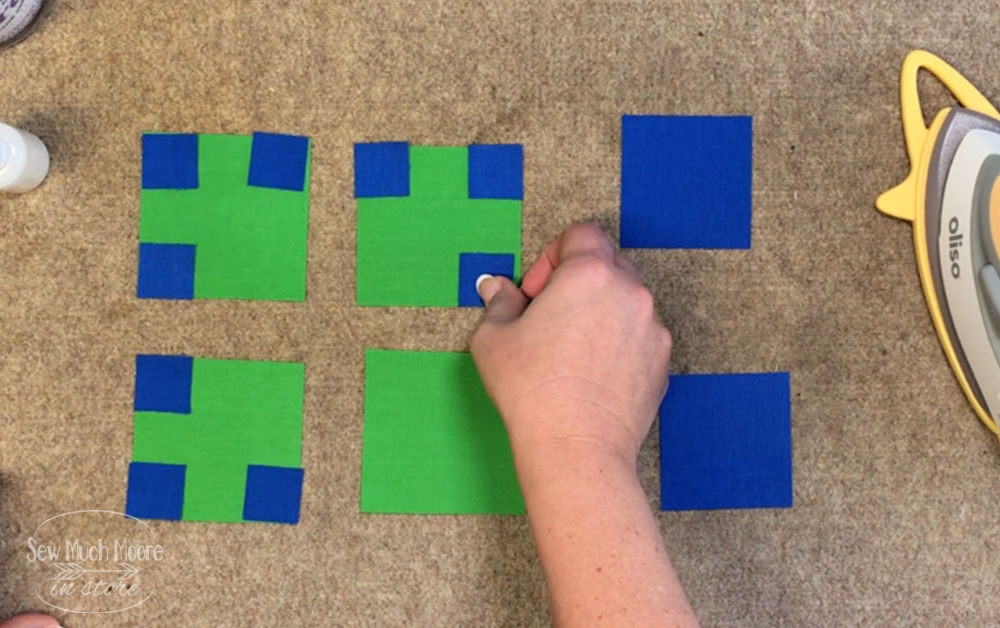
Once you’ve cut your fabrics to size we’re going to first create these snowballed corners. Take your smallest blue pieces and arrange them on top of your green blocks. I like to prepare my blocks for sewing by using Elmers washable school glue. I’m using a micro tipped bottle to add minimal amounts of glue to each piece. Once you have your glue in place you’ll just arrange the blue squares over the glue dots. Take a hot iron to all these glued pieces. This will speed up the glue drying process. You’ll do the same thing for the stem block. I’m using just a little bit more glue because that piece is bigger. If you don’t want to use glue, that’s OK you can always try to keep things stable while sewing or use sewing pins as well.
Sewing your Quilt Block
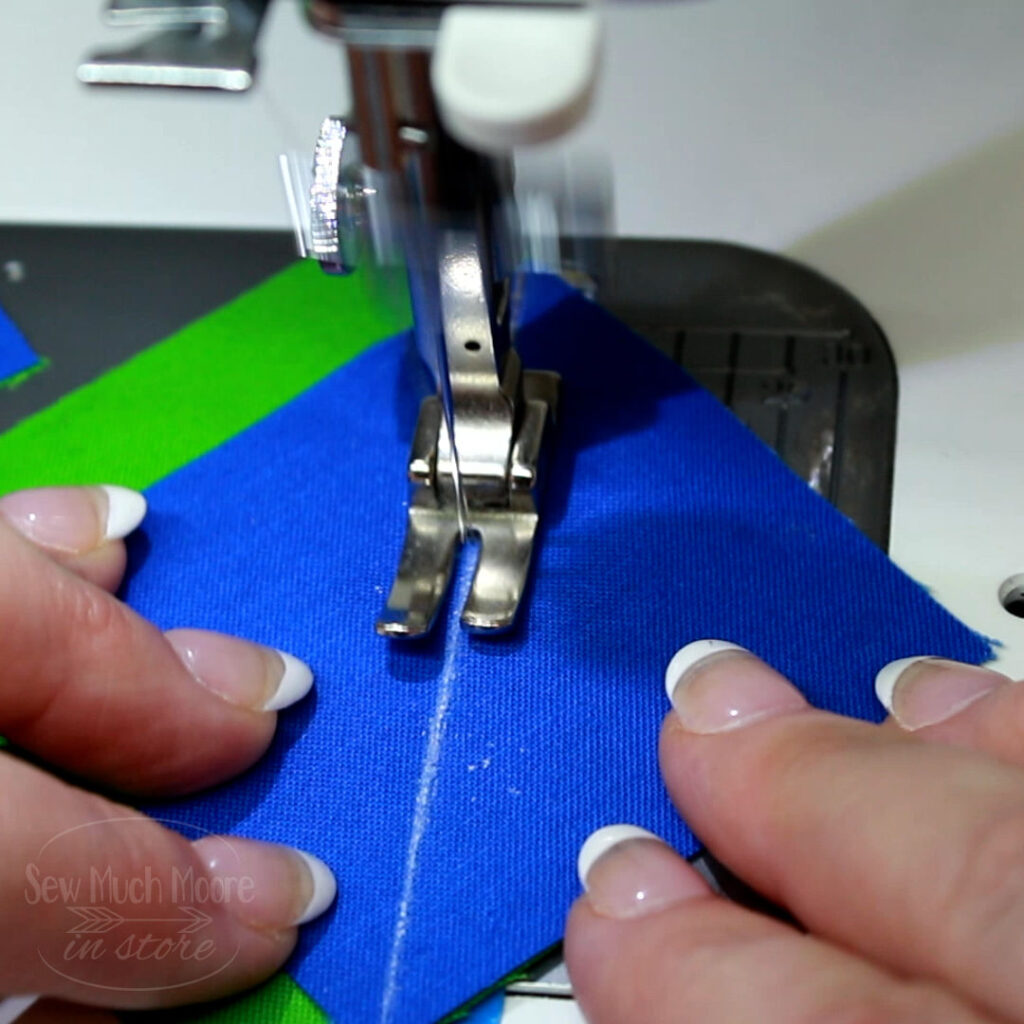
Taking all of these pieces to the sewing machine, we will stitch these corner squares into place on the diagonal. I’ve laid down a piece of blue painters tape with a line down the middle. This helps me to avoid marking each piece. Instead, I’m just keeping the small fabric piece aligned from the top diagonal to the bottom while I’m stitching in place. I’m doing this with some chain piecing, which makes the process go that much faster.
For the larger stem block, I’ve marked my diagonal line with a ruler and a chalk marker. Once I have all of my stitching done, I cut off the excess fabric by using my fabric scissors. For the larger stem Block, I use a small ruler and rotary cutter.
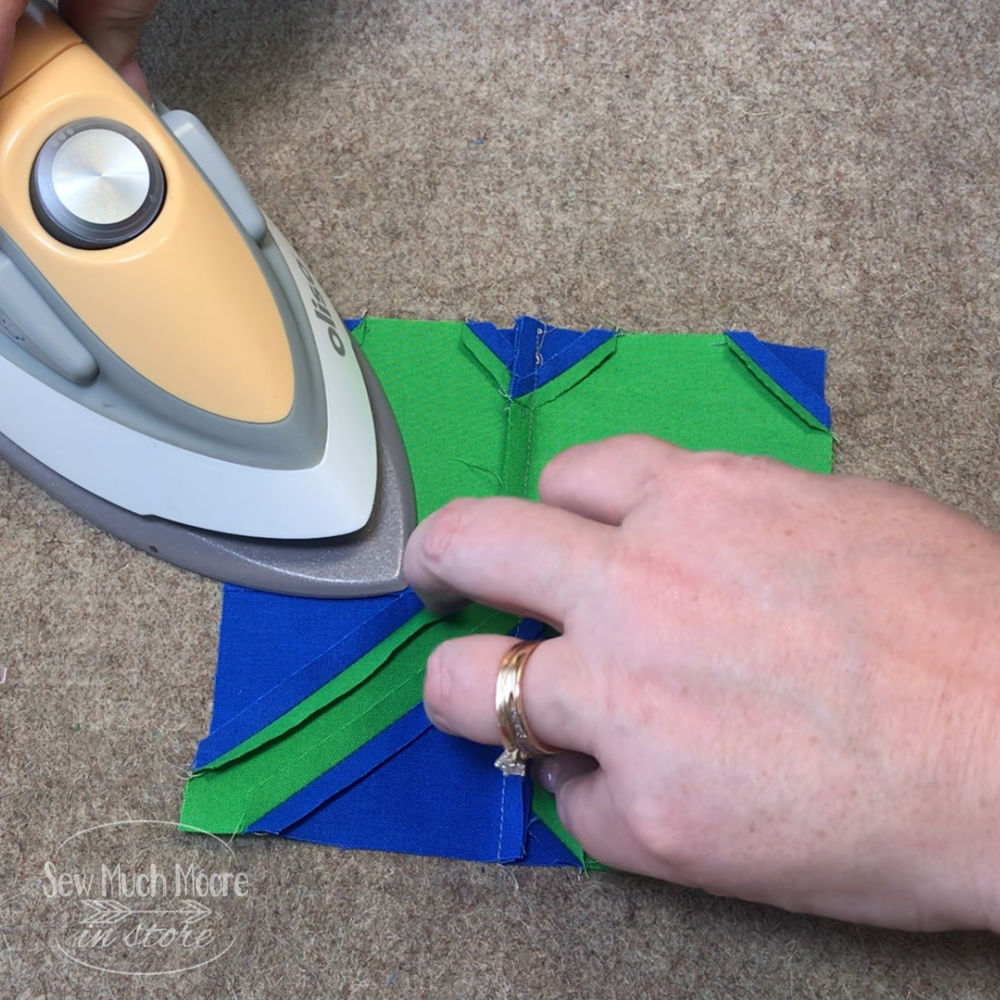
It’s a Pressing Matter
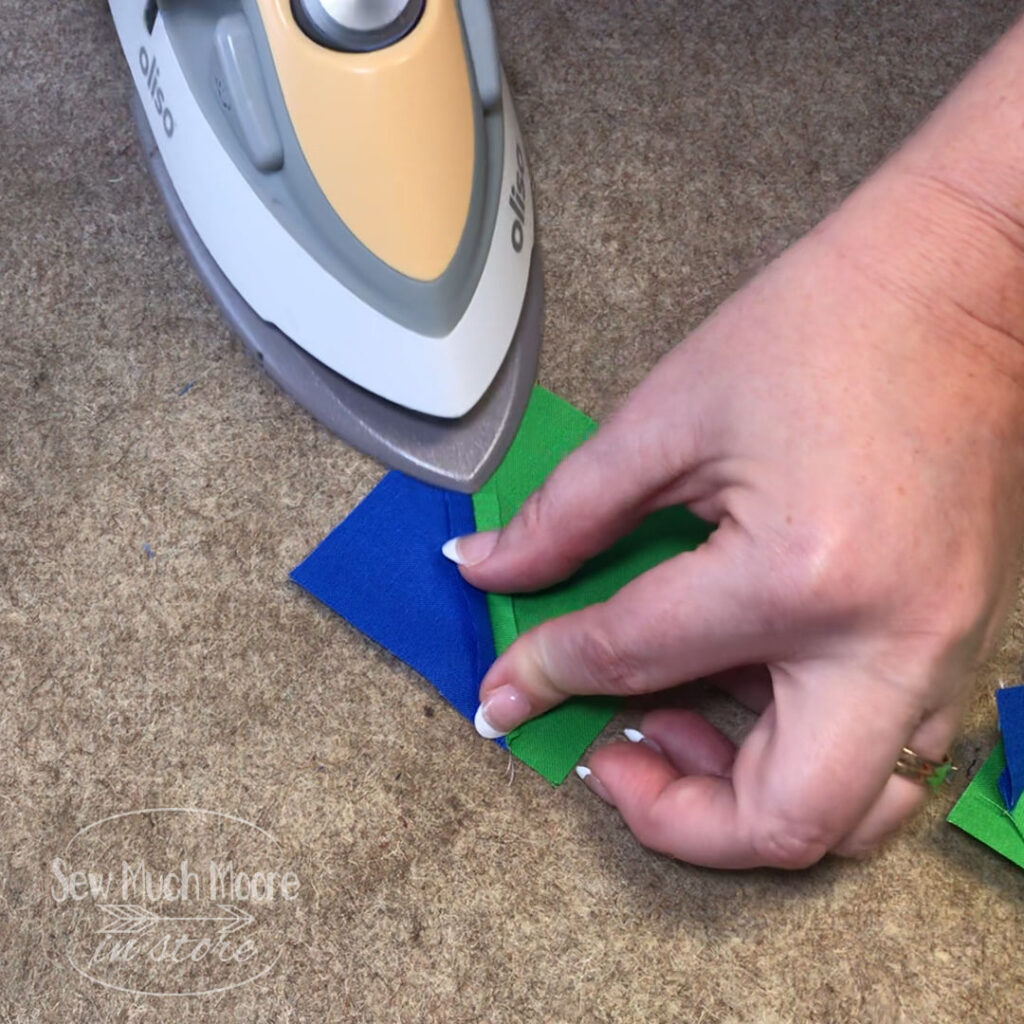
Now it’s time to press our seams open. I love using my wool pressing mat and my Oliso mini iron.
After pressing all of the seams open, you’ll add the other blue piece to the opposite side of your stem block. Draw another chalk line and stitch this into place. Cut off the excess and press those seams open as well.
Combining all the blocks
Now it’s time to assemble our blocks. I changed from a regular presser foot to a quarter inch seam foot. This helps me achieve a perfect 1/4 inch seam allowance. Once you’ve sewn on the top unit and the bottom unit, press your seams in the opposite direction. Next your seams and sew those units together. Press that final seam open and you have yourself a lucky clover quilt block!
Make a few Lucky Clover Quilt Blocks for a small project or make more for a table runner or lap quilt. Remember, this pattern comes in three different sizes. head over to the link in my description to get your pattern and start making these fun Lucky Clover blocks today!
Great piece and help
Have fun making your Lucky Clover Quilt Block!
This is a very cute block for St. Patrick’s day or spring.
Thanks so much for taking part in the block mania! I’ve been enjoying all the beautiful patterns from so many great designers. Blessings!!!
Thank you so much! I am just starting to make quilt blocks and am excited to make this one!
You’re welcome! Enjoy!