Embroidery Sampler
Since Aurifil is my embroidery thread of choice, partnering with them was an easy decision. Next I decided to collaborate with my friend Karen Munger with Studio 21 Market to design an embroidery sampler pattern. The design we landed on is a truly fun sew!
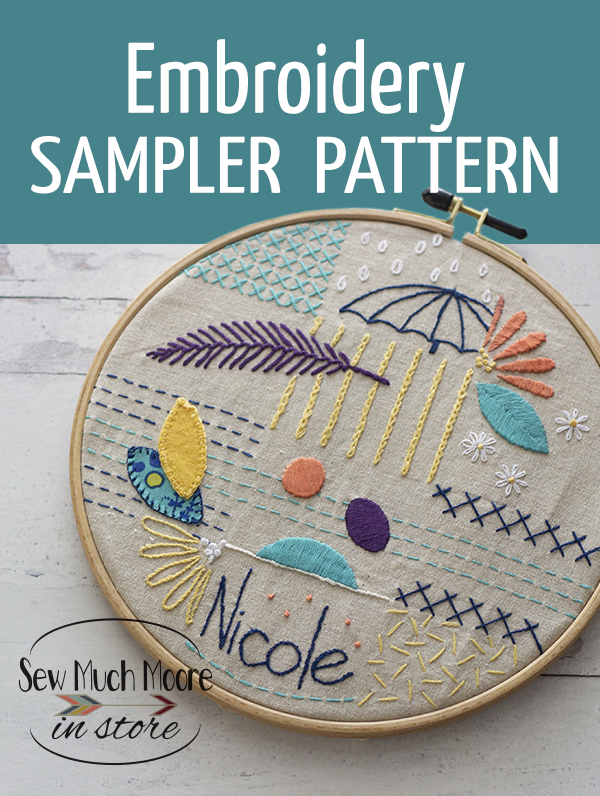
Dividing the 8” embroidery hoop into 12 sections, the simple plan was to do one stitch in each section. However, as a graphic designer, Karen knew those rules were made to be broken. So you’ll see some items crossing the grid lines, such as the feather and the running stitches. These help unify the entire design. Throw in some fun little things like umbrellas and quarter flowers, and the design is ready to share!
Embroidery Sampler Materials List
- Embroidery Sampler Pattern
- Aurifil Aurifloss
- Embroidery Needles
- Thimble of your choice (here are a few to choose from)
- Background Fabric 15″ x 15″
- (linen-cotton blend recommended)
- Backing fabric for finished the back (9”x 9”)
- PVC embroidery frame (recommended)
- Scissors for trimming fabric when complete
- 8” embroidery hoop

To Transfer Design
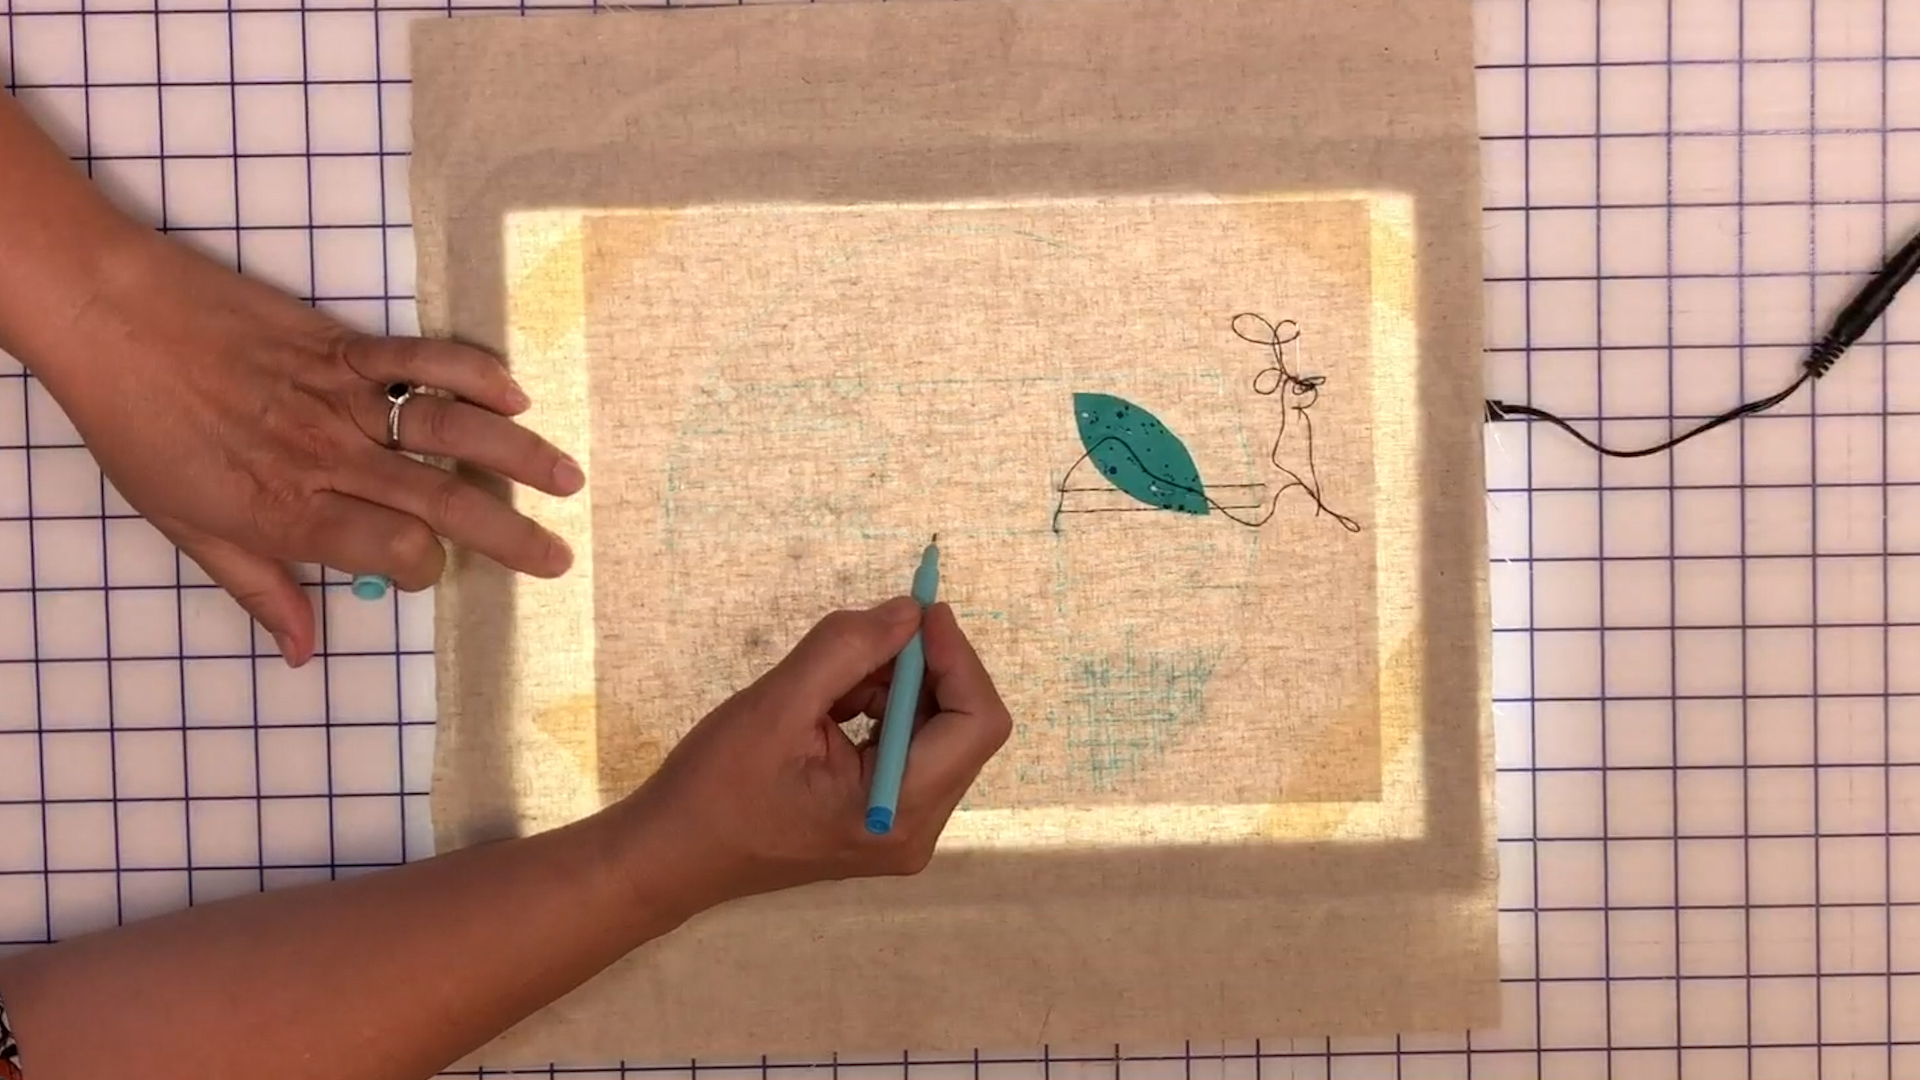
To transfer this Embroidery Sampler Design to your background fabric, you have a couple choices. You can either use a transfer sheet or you can trace with a light box. Both techniques work well. Try both and decide which is best for you!
For Applique Leaves
- Fabric & 2-sided fusible (paper-backed)
- Wool felt
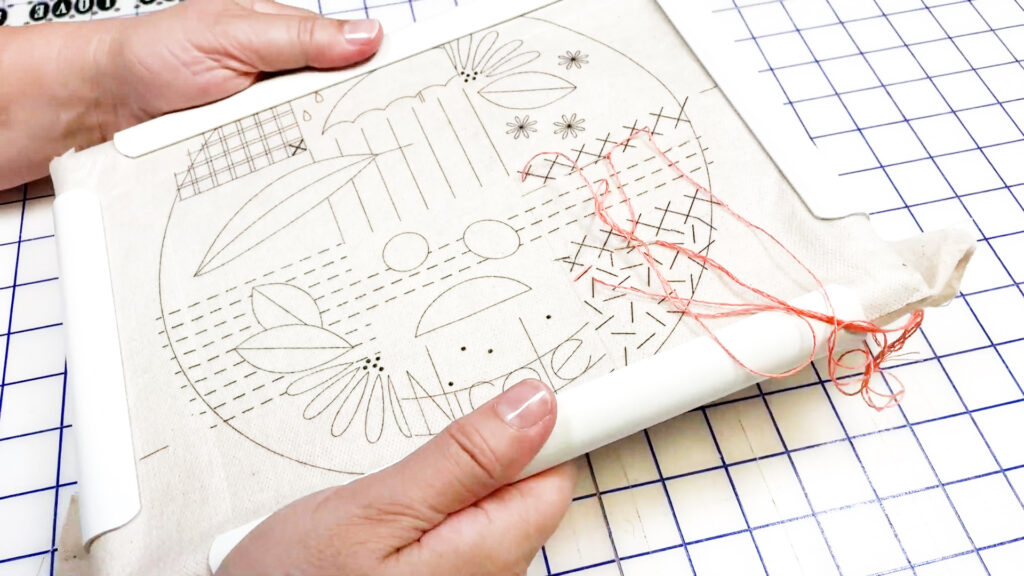
Using a PVC Frame
Although the Embroidery Sampler Design is meant for an 8″ hoop, it is easiest to work with a PVC Frame. Once your are done with your embroidery work, you can transfer your finished project to a hoop. The PVC Frame is easy to hold and also provides easy tension adjustment. You can get your own PVC Frame right HERE.
Preparing the Thread
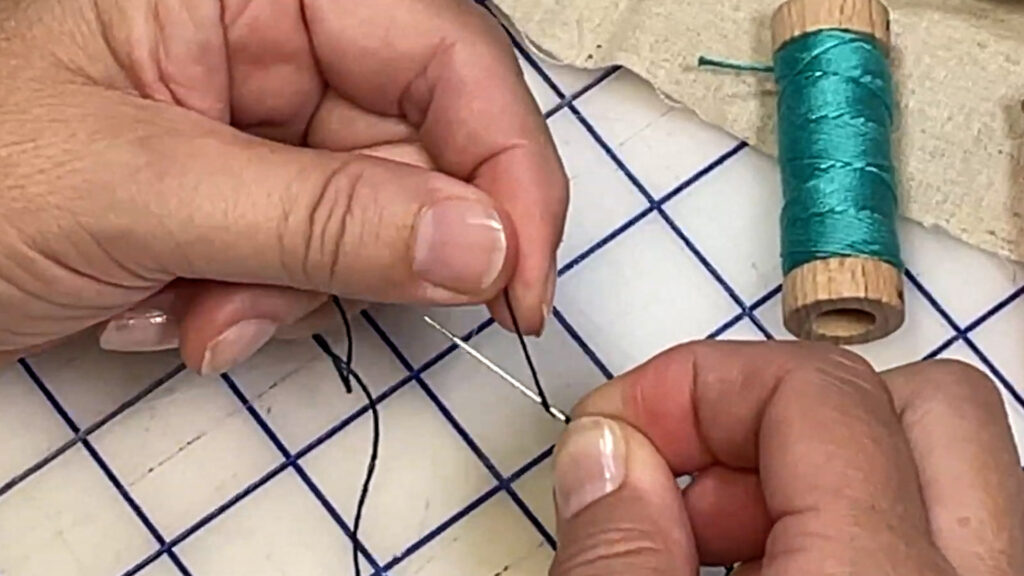
Next, we will prepare our thread for stitching. As I mentioned before, I am using Aurifil Aurifloss, which is the heaviest weight of thread that Aurifil offers. It comes in a variety of colors, some of which I offer on my website. Before we thread our needle, we need to separate and prepare our thread. Take one end of it, and sort of just bounce your finger on top of the thread to create a separation and your strands. Grab three strands and slowly pull these away from the remaining strands. Slowly, keep pulling these threads apart. It may take a little bit of time because embroidery threads will want to not if you try to pull these apart too quickly. Once you have them separated, we can thread the needle
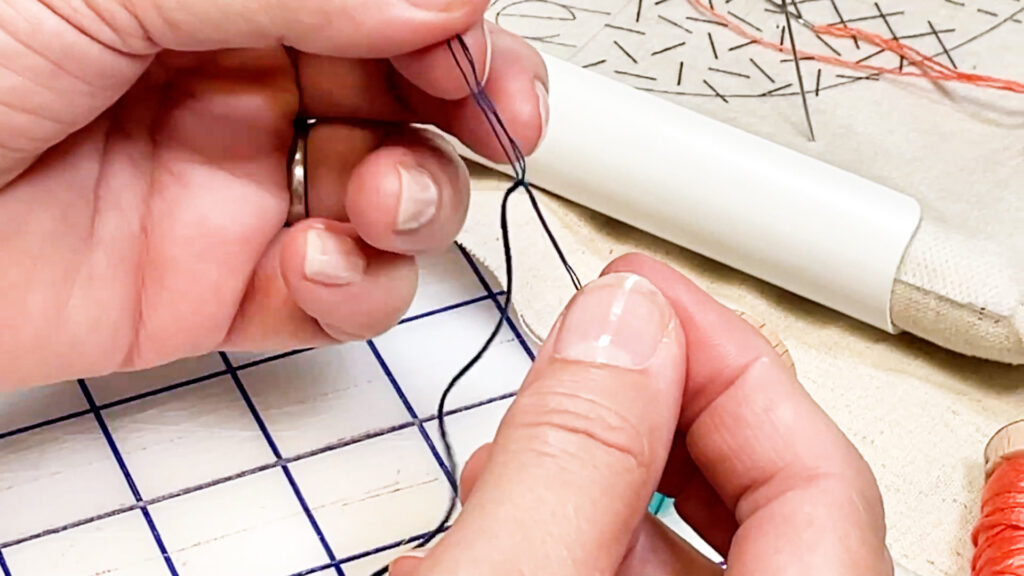
Threading the Needle
Pinch the threads together and insert them through the eye of the needle. You want to get all three strands into the needle at once. Next, to help you prevent tangles, twists and knots, guide your thread back and forth through the eye of your needle. Do this a couple times and then we can show you how to tie your knot.
Tying the Knot
Take the tail end of your thread and hold it in one hand. point it towards the needle. Take your pointer finger and grab the tail. Now you are grasping the needle and thread in one hand. Then you will wrap around your needle a couple, maybe a few times. Next, I will transfer the wrapped thread and the needle to the other hand. Pull the needle, while holding those wrapped threads in place. This will create a knot at the end of your tail.
Get Ready for Stitching!
And this covers just about everything you need to know to get started on this fun embroidery sampler designed by Karen with Studio 21 Market.

Download your pattern from Karen and get your supplies from my online shop.
Stay tuned for the next tutorial and we will cover the six most basic embroidery stitches. Be sure to subscribe to my channel and sign up for notifications. Sign up for my weekly newsletter and never miss a project! Watch the “Getting Started” video below!
Love the embroidery sampler!! Thanks!