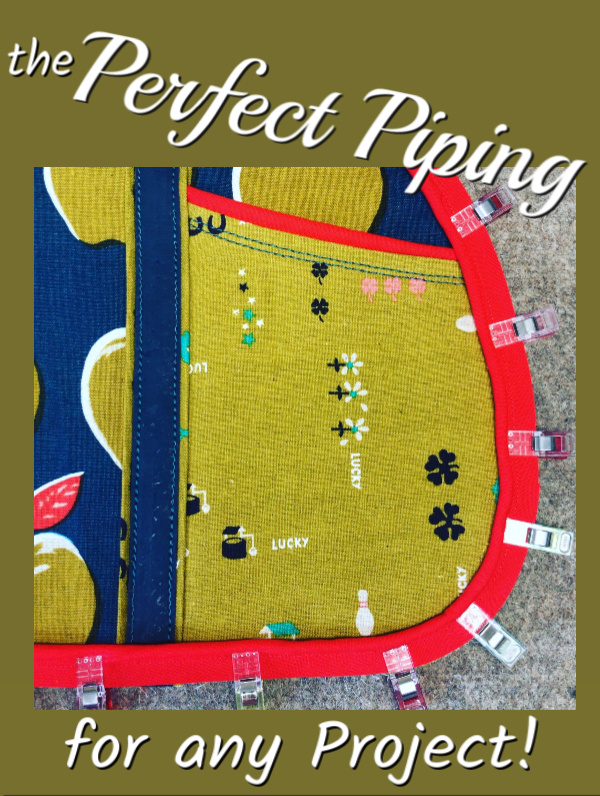
Make your Own Piping
Making your own piping is a great way to enhance many projects. While it is totally possible to purchase premade piping, you can be sure to get the exact color and fabric match when you create your own. In this tutorial, I will show you how to make your own bias tape and then use that bias tape and some cording to make your own piping! Let’s get started and don’t forget to watch the video too!
This post contains affiliate links for your convenience. ? Read my full disclosure policy here.
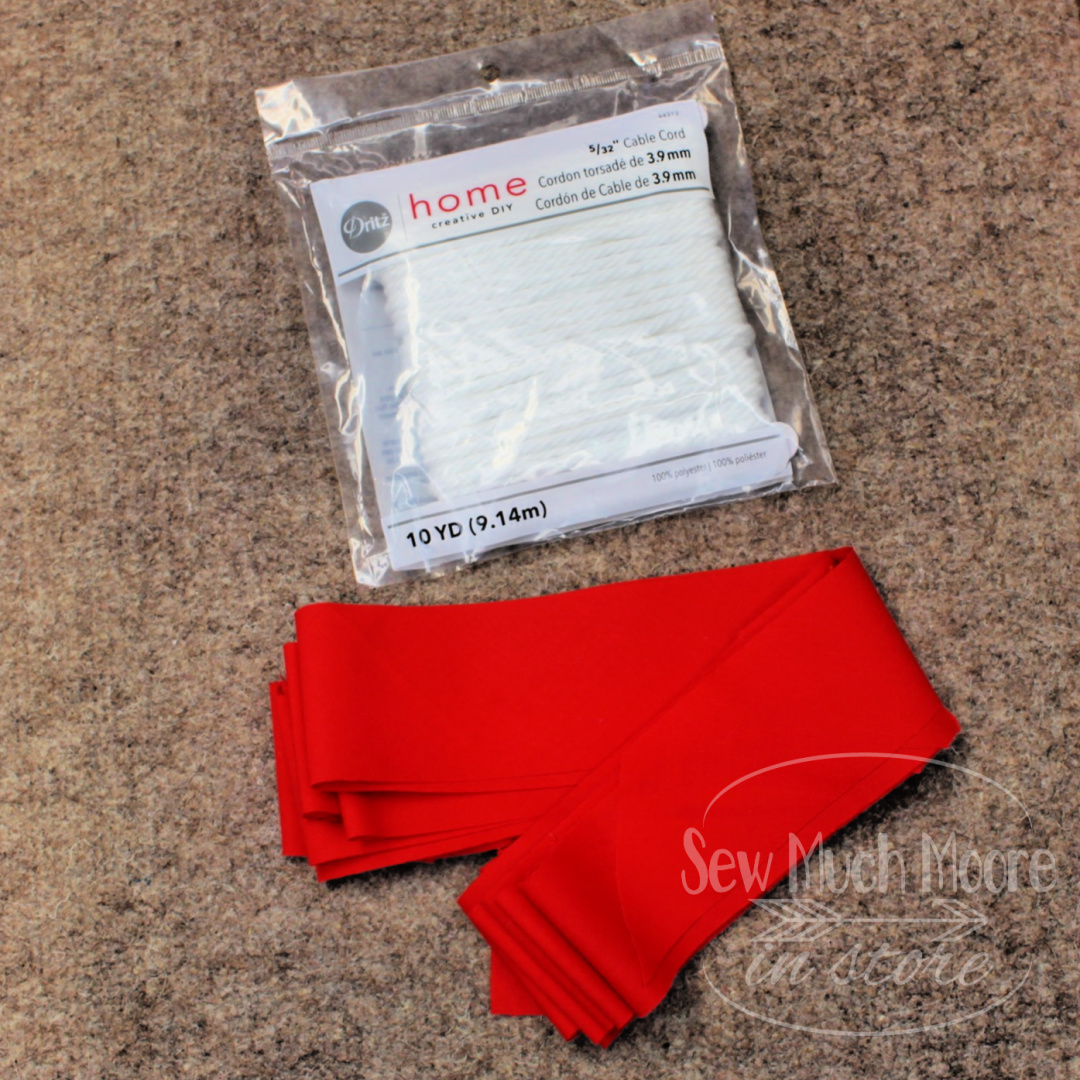
Make your own piping – Materials
- I used a half yard of fabric to make 4.5 yards of 2″ bias tape (with some fabric left over)
- Cording
- Thread (I recommend using a 50 wt thread)
Make your own piping – Tools Needed
- Sewing Machine
- Cutting Mat & Rotary Cutter (I love this Rotary Cutter!)
- Acrylic Ruler (It’s nice to have a ruler that is at least 24″ long)
- Scissors (these are my favorite scissors)
- Seam Roller
- Frixon Pen
- Small Ruler for marking
- Sewing Pins
- Zipper Foot
Sewing instructions
- Cut your fabric into bias strips.
- Sew your bias strips together, until you have one long continuous strip of bias tape.
- Enclose the cording inside the middle of the bias tape and sew closed.
Sewing Tip!
- When sewing your bias tape closed, be sure to leave enough space for a couple more seams. You will more than likely be basting the piping to your project and then applying a final seam when you sew the project closed.
I created a YouTube tutorial to help you learn to make your own Piping. Enjoy!
I hope you learned a lot from this tutorial. Don’t forget to subscribe to my YouTube Channel!
I would love to know how you are going to use this technique in your next project. Let me know in the comments below!
Happy Sewing!

Thanks for the great tutorial! Very helpful
Your welcome! Anytime!