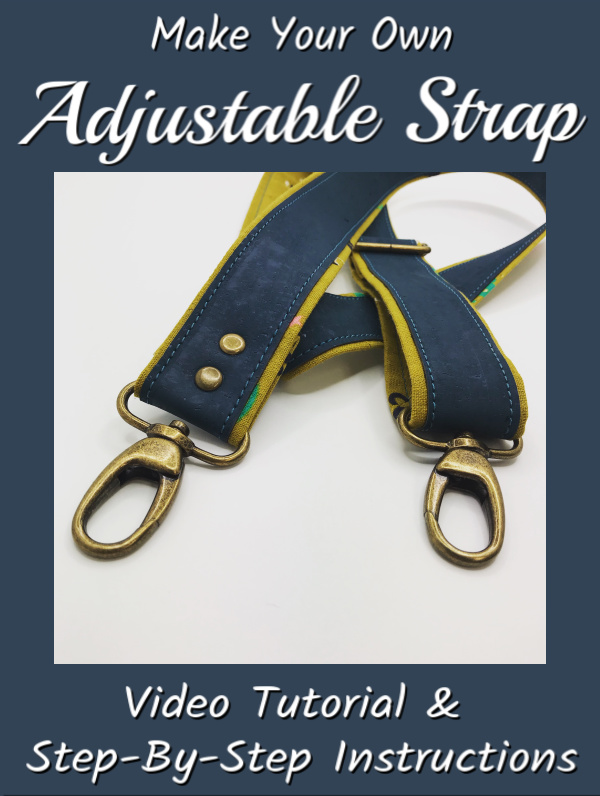
Adjustable Bag Strap Hardware
Adding hardware to make an adjustable strap is fun and simple! In this tutorial, I will show you how to add the necessary hardware to complete your adjustable (and removable) bag strap. Once you have your strap made (link below) then you are ready to add the hardware! Let’s get started and don’t forget to watch the video too!
This post contains affiliate links for your convenience. ? Read my full disclosure policy here.
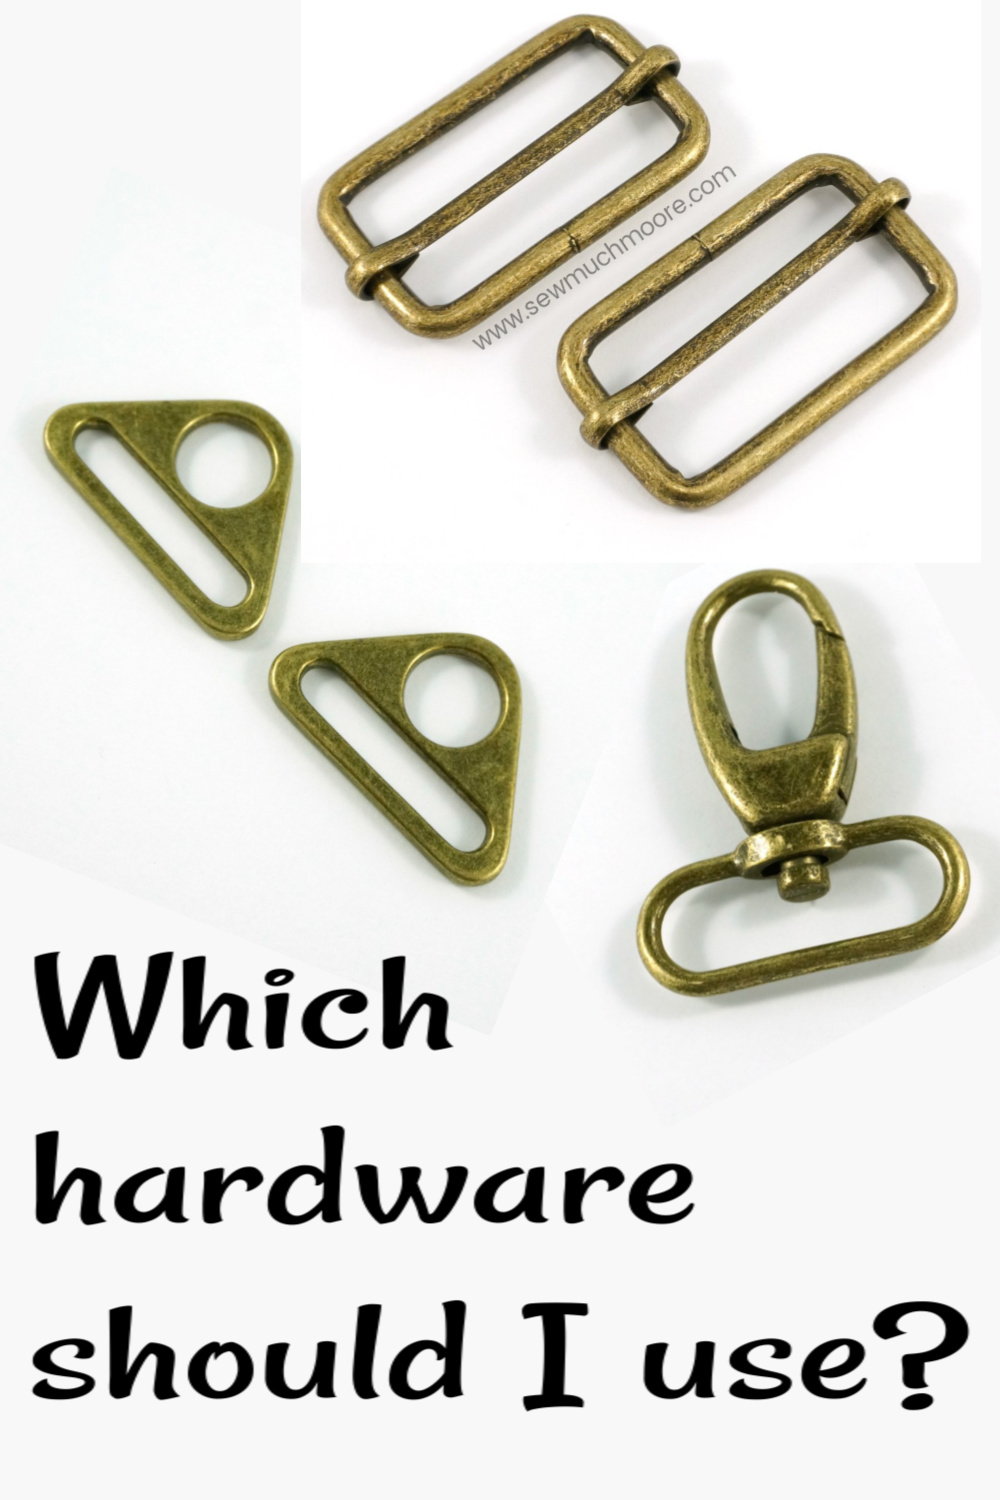
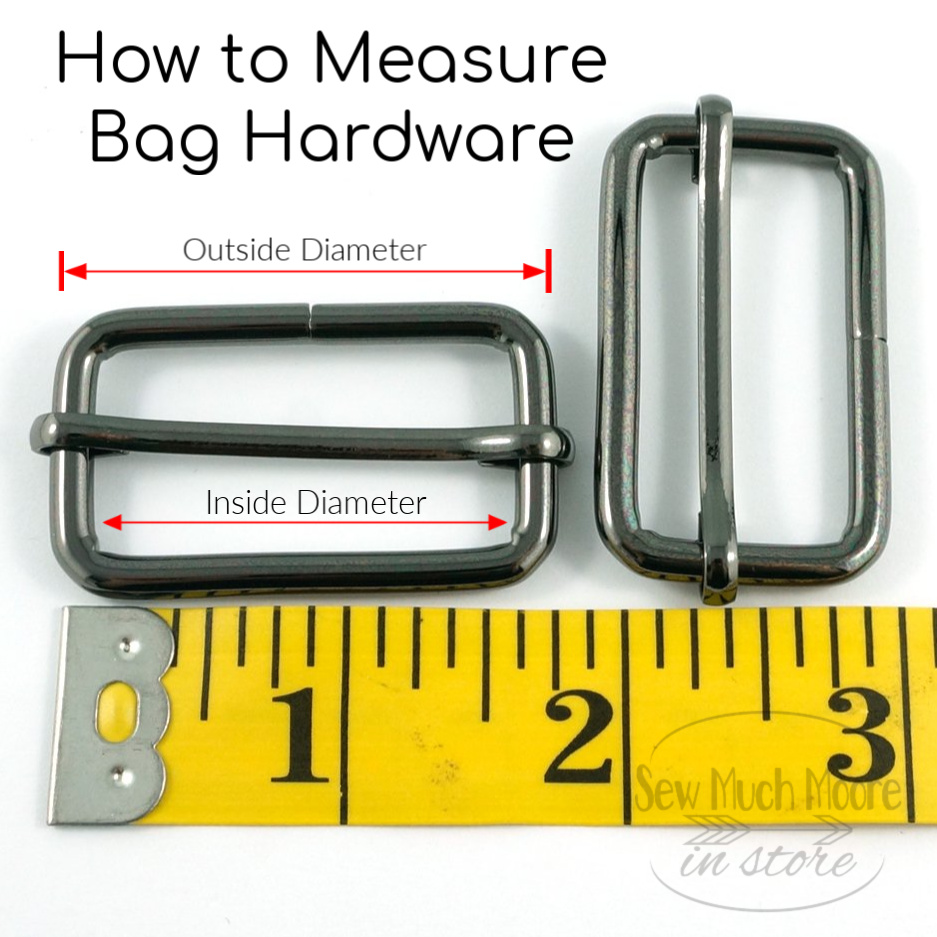
Hardware List
assembly instructions
- With your strap facing right side up, insert your slider up, over, and through the center bar. Move the slider bar about 12 – 18 inches from the end of the strap.
- Then, add one of the Swivel Lobster Clasps (to the same end as your slider bar), ensuring that the clasp is facing the right side of your strap. Move this clasp about 6 – 8 inches from the end of the strap.
- Next, take that same strap end and weave it through the slider bar and fold it securely against the strap. Be sure to include an extra fold, at the strap end, to enclose your raw edge. Secure the scrap in place with a Clover Wonder Clip.
- Finally, add the second Swivel Lobster Clasp to the opposite strap end, ensuring that the clasp end is facing the right side of your strap. Fold the strap end against the wrong side of the strap. Include the hardware in the fold. Be sure to include an extra fold, at the strap end, to enclose your raw edge. Secure the scrap in place with a Clover Wonder Clip.
- Now you can sew your clipped sections to the scrap.
I created a YouTube tutorial to help you learn to assemble your own adjustable strap. I will share an upcoming article and video about adding rivets and using a rivet press. Until then, enjoy this video which shows you how to add the hardware!
I hope you learned a lot from this tutorial. Don’t forget to subscribe to my YouTube Channel!
I would love to know how you are going to use this technique in your next project. Let me know in the comments below!
Happy Sewing!

Thanks for your video tutorial! I can’t wait to learn about using rivets!
Thanks for your help on this! I am always looking up how to do this! I’ve bookmarked this and saved your video on YouTube!
Where did you get your Cork for the strap?
Great tutorial! I find this challenging every time I make one and it’ll be great to be able to go back and reference your tutorial and video. Thanks for all your help and inspiration!