

Make a Reversible Bucket Hat with the AccuQuilt Cutting System
Make a Reversible Bucket Hat with the AccuQuilt Cutting System
Looking for a quick and easy project? Let’s make a reversible bucket hat using the AccuQuilt cutting system! This hat came together faster than expected, and it’s a perfect way to use some fat quarters and scrap fabric. If you’re ready to dive into your stash and create a stylish bucket hat, let me walk you through the process. PS – Don’t forget to watch the video (at the bottom of the article).
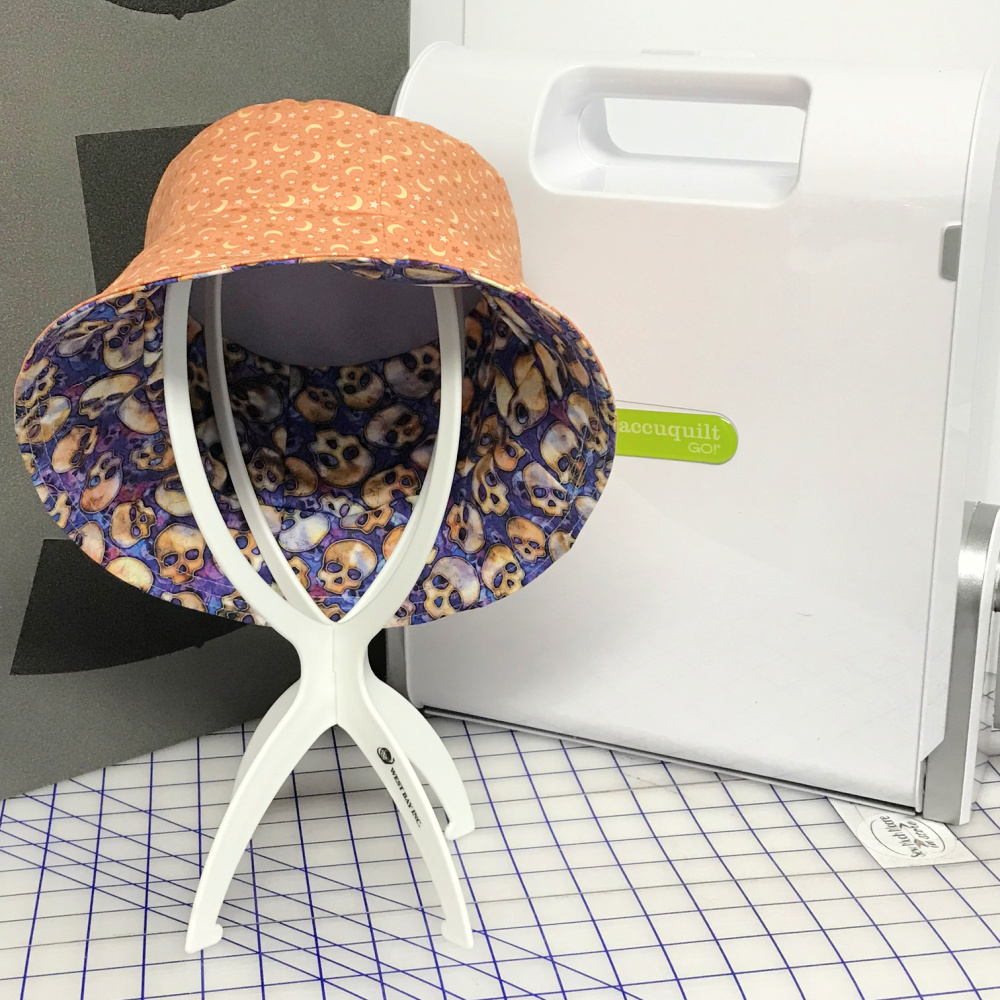
Supplies You’ll Need:
- AccuQuilt Cutting System
- I used my AccuQuilt GO! Big Cutter
- AccuQuilt Bucket Hat Die
- Fabric: The pattern calls for 1/3 yard of fabric for both the main and lining fabric, but I used two fat quarters and some scraps instead.
- Fusible Interfacing
- It’s recommended to use June Tailor T-Shirt Project Fusible Interfacing. I didn’t have any of that, but I had some Pellon SF101 on hand – so I used that instead.
- Sewing Pins
Tools:
- Sewing Machine (A free arm makes it easier to sew this project.)
- I used my Juki DX-4000 QVP. It has a removable extension table, which allowed me to easily use the free arm.
- Iron and Wool Pressing Mat
Step-by-Step Instructions
Step 1: Prepare Your Fabric
Before cutting anything, fuse the fusible interfacing to the wrong side of all your fabric pieces.
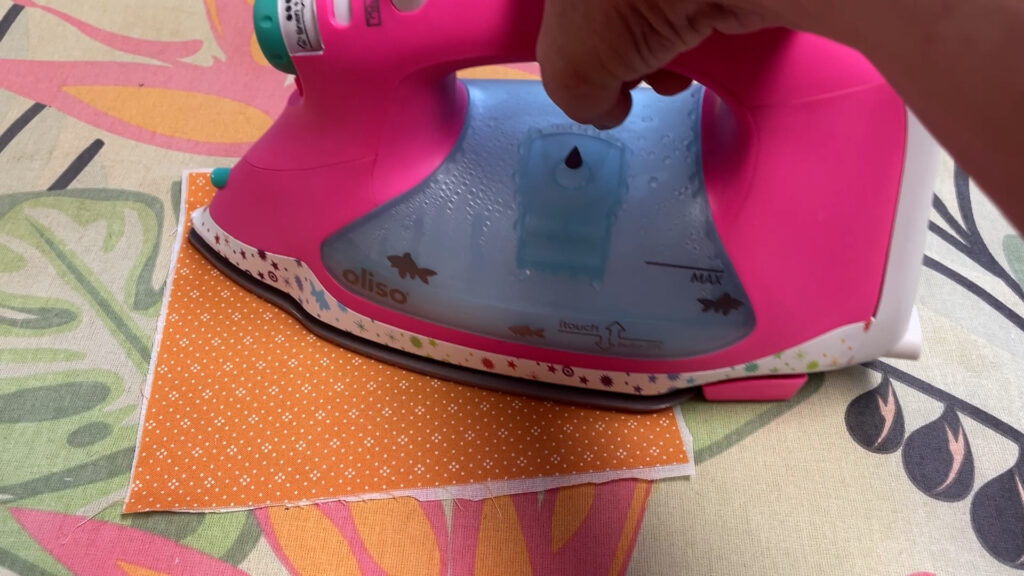
I used my Oliso Iron and fusible interfacing for this step. This step gives your bucket hat more structure, especially for the brim. Once your fabric is prepped, you’re ready to cut.
Step 2: Cut the Pieces with AccuQuilt
Using the AccuQuilt Cutting System and the Bucket Hat Die, cut the necessary pieces. You’ll need:
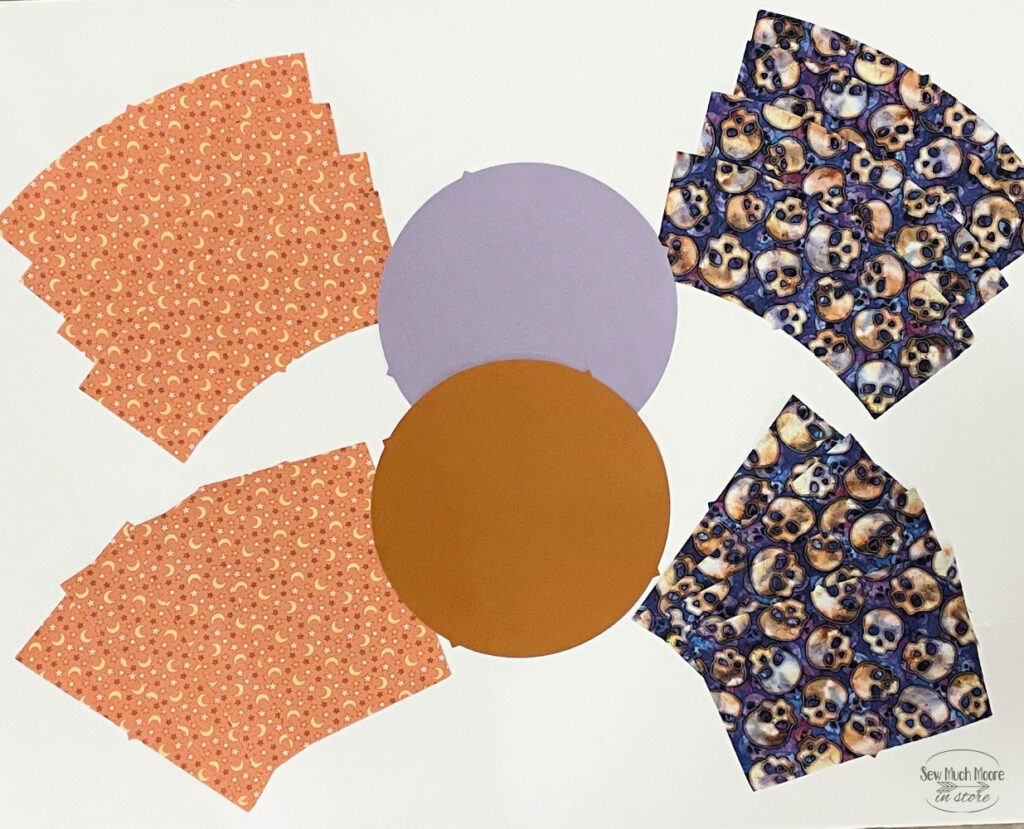
- One top piece
- Four side pieces
- Four brim pieces
Cut these from both the main and lining fabrics. The AccuQuilt makes the cutting process fast and precise, taking the guesswork out of making those perfect shapes. They also have darts, which makes the assembly process a breeze!
Step 3: Sew the Sides and Brim
Start by sewing the four side pieces into a loop with a ¼-inch seam allowance. Be sure to back tack your stitches at the beginning and end of each seam to prevent them from unraveling during assembly. After sewing, press all seams open with your iron.
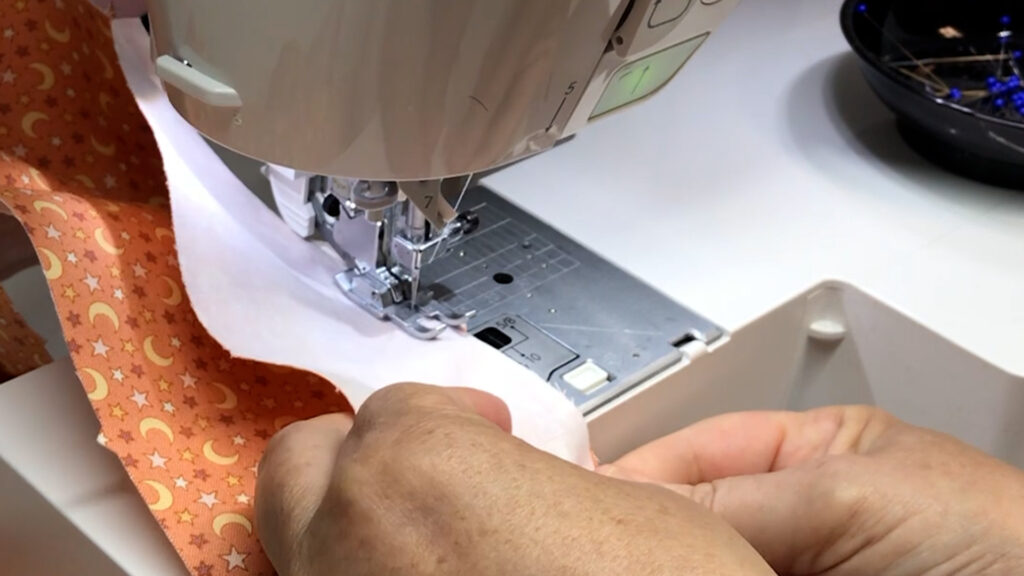
Repeat this process for the brim pieces, forming two separate loops. Again, be careful to back tack and press the seams open.
Step 4: Attach the Top and Sides
With right sides together, align the notches of the top piece to the side loop. Sew them together using a ¼-inch seam allowance, back tacking at the start and finish of your seams. Take your time during this step to avoid pleating or puckering, and press your seams open after sewing to ensure a smooth finish.
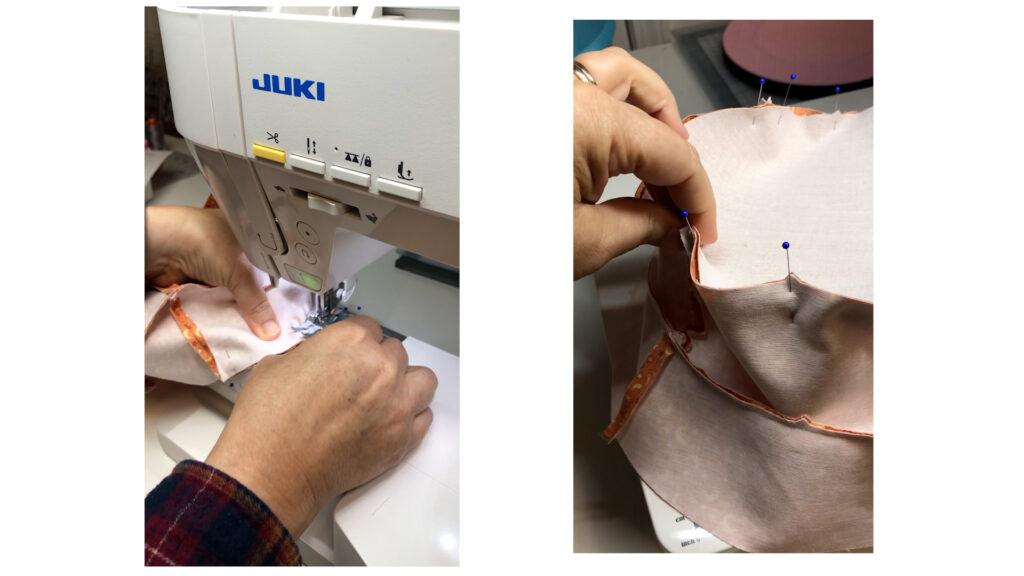
Repeat the process for the lining fabric. You’ll now have two identical bucket hat assemblies: one for the outside and one for the lining.
Step 5: Attach the Brim
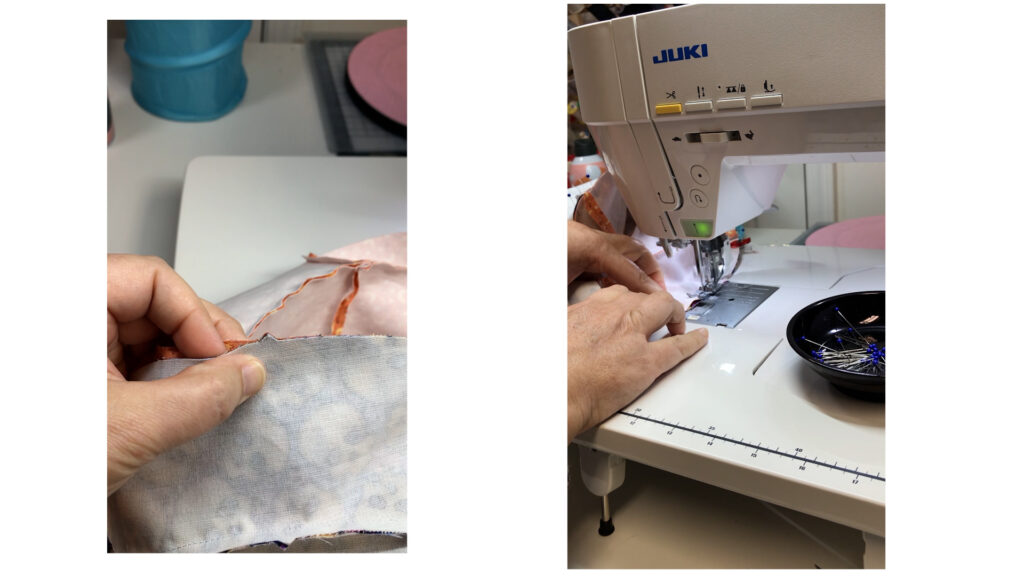
Next, with right sides together, pin the brim loop to the bottom of the side piece loop, matching up the notches. Sew the pieces together with a ¼-inch seam allowance, back tacking and pressing seams open after sewing. Do this for both the main and lining fabrics.
Step 6: Assemble the Hat
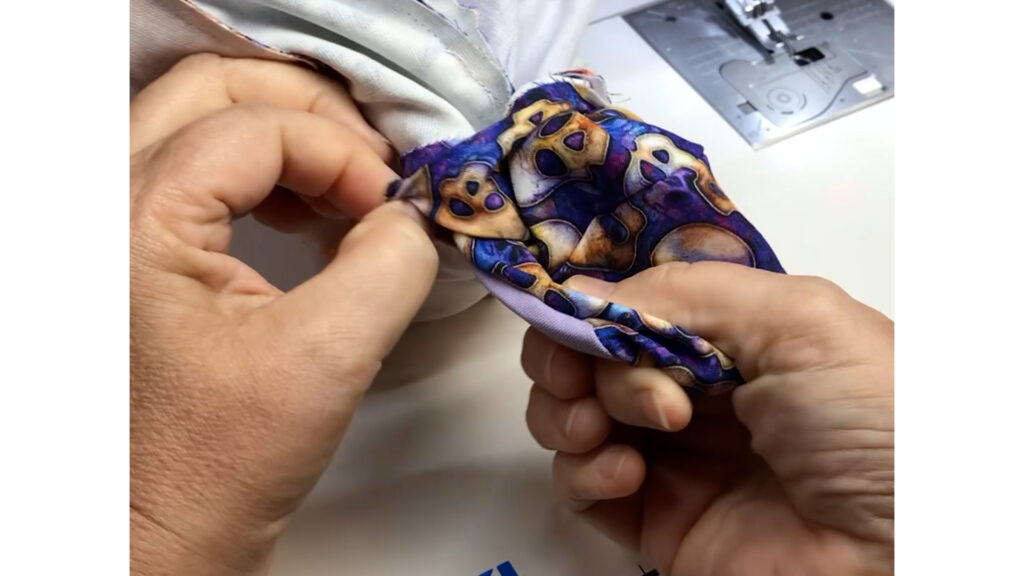
Now that you have two finished hat pieces, it’s time to sew them together. Place the main hat and lining right sides together, aligning all the notches. Don’t forget to mark a 3-inch section on the brim where you won’t sew – you’ll use this opening to turn the hat right side out.
Step 7: Turn the Hat Right Side Out
Sew around the brim, starting and stopping at the marks, leaving that 3-inch opening. Once sewn, turn the bucket hat right side out through the opening. Afterward, press the seams to ensure the hat sits smoothly.
Step 8: Finish with Top Stitching
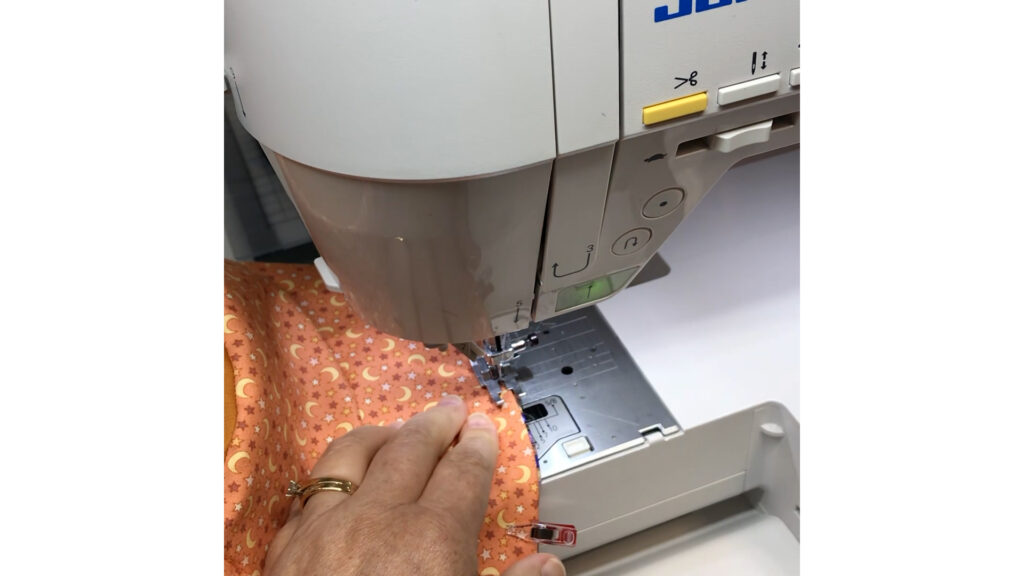
Fold the raw edges of the 3-inch opening in by ¼ inch and press. Top stitch around the entire brim to close the opening and add a finished touch. For added stability and a clean look, stitch around the brim a few more times, ensuring it lays flat and smooth.
Pro Tip: Need to Adjust the Size?
If you need to make the hat smaller, simply use a larger seam allowance throughout the project. This is a quick and easy way to adjust the fit without altering the pattern pieces.
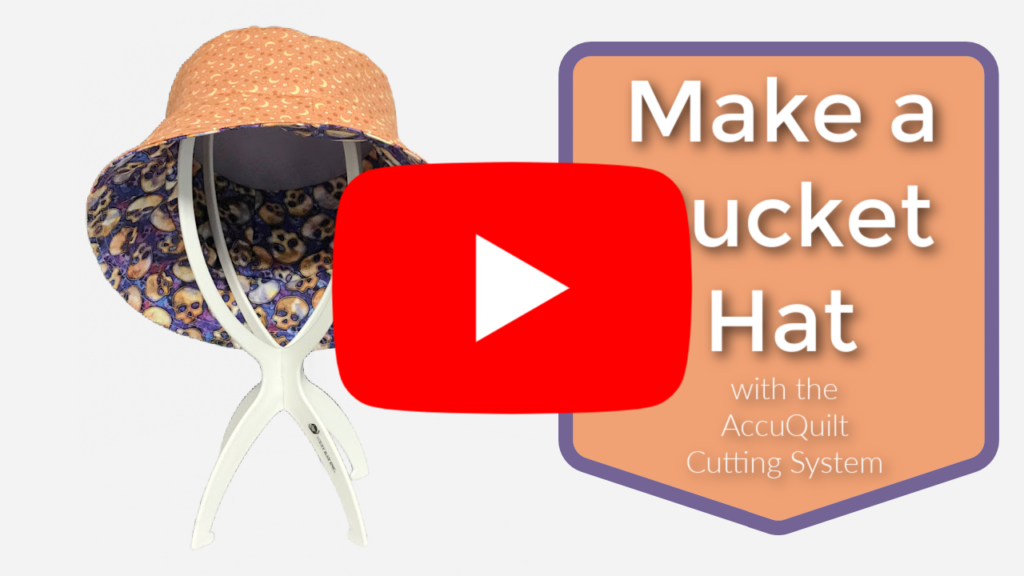
Watch the Video
Ready to Show Off Your Bucket Hat?
This reversible bucket hat is not only stylish but practical! Using the AccuQuilt system made cutting quick and accurate, and the result is a perfect fit.

Whether you wear it with the main fabric or flip it to the lining side, you’ll be stepping out in style. Ready to make your own bucket hat? Give it a try with some favorite fabric scraps!

Very cute hat! Is there a paper pattern if I don’t own an AccuQuilt Cutting System?
I will be sharing a tutorial and have a PDF Pattern available soon! If you would like access to this sooner – consider joining the Quilt Block Club! We are having a workshop for this pattern in a couple weeks!
~Nicole
I have an AccuQuilt cutter but not the bucket hat die. Is there a paper pattern for this hat ? Or do I have to buy the die? Thank you 🙏🏻
I will be sharing a tutorial and have a PDF Pattern available soon! If you would like access to this sooner – consider joining the Quilt Block Club! We are having a workshop for this pattern in a couple weeks!
~Nicole
I have an AccuQuilt cutter but not the bucket hat die. Is there a paper pattern for this hat ? Or do I have to buy the die? Thank you 🙏🏻 help is appreciated
Hi Mandy, I will be sharing a tutorial and have a PDF Pattern available soon! If you would like access to this sooner – consider joining the Quilt Block Club! We are having a workshop for this pattern in a couple weeks!
~Nicole