Make a Burp Cloth by AccuQuilt
I love making practical gifts, and a Burp Cloth by AccuQuilt is definitely one that any new parent will appreciate and use often. It’s such a fun project and easy to accomplish in a single sewing session. Using the AccuQuilt Cutting System, along with the GO! AccuQuilt Burp Cloth die and optional GO! Christmas Medley die, makes the process even simpler. Let me show you how easy it is to create your own.
Materials and Tools Needed
Materials:
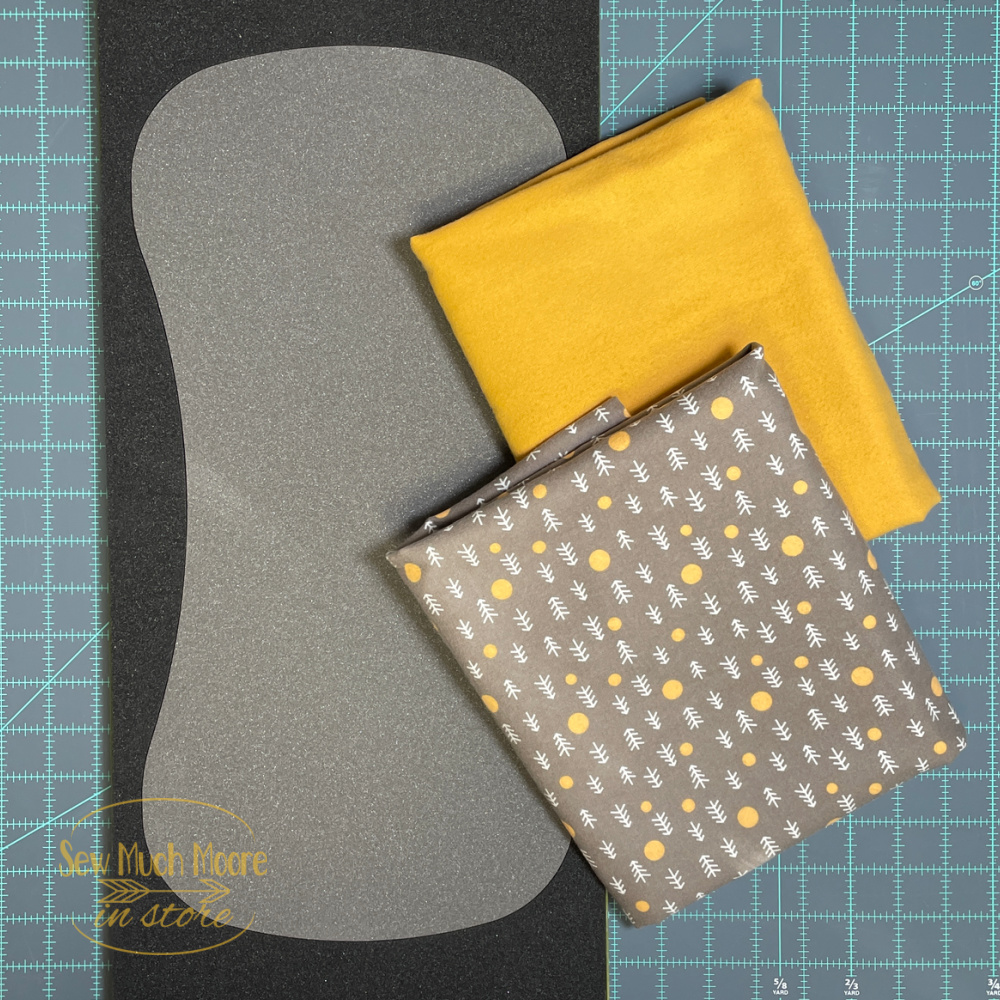
- Flannel for the front and back (from my local quilt shop)
- Optional fabric for fun embellishments
- Just some scraps from the burb cloth body
Tools:
- Sewing machine (I used my Juki DX-4000 QVP)
- Basic sewing supplies
- AccuQuilt Cutting System
- GO! AccuQuilt Burp Cloth Die
- GO! Christmas Medley Die
- Iron and pressing mat
- Sharp pointed scissors (These scissors are perfect for snipping)
Cutting Your Fabric with AccuQuilt
The first step to creating a Burp Cloth by AccuQuilt is cutting your fabric. I precut my fabric into manageable pieces and then ran it through the AccuQuilt Cutting System.
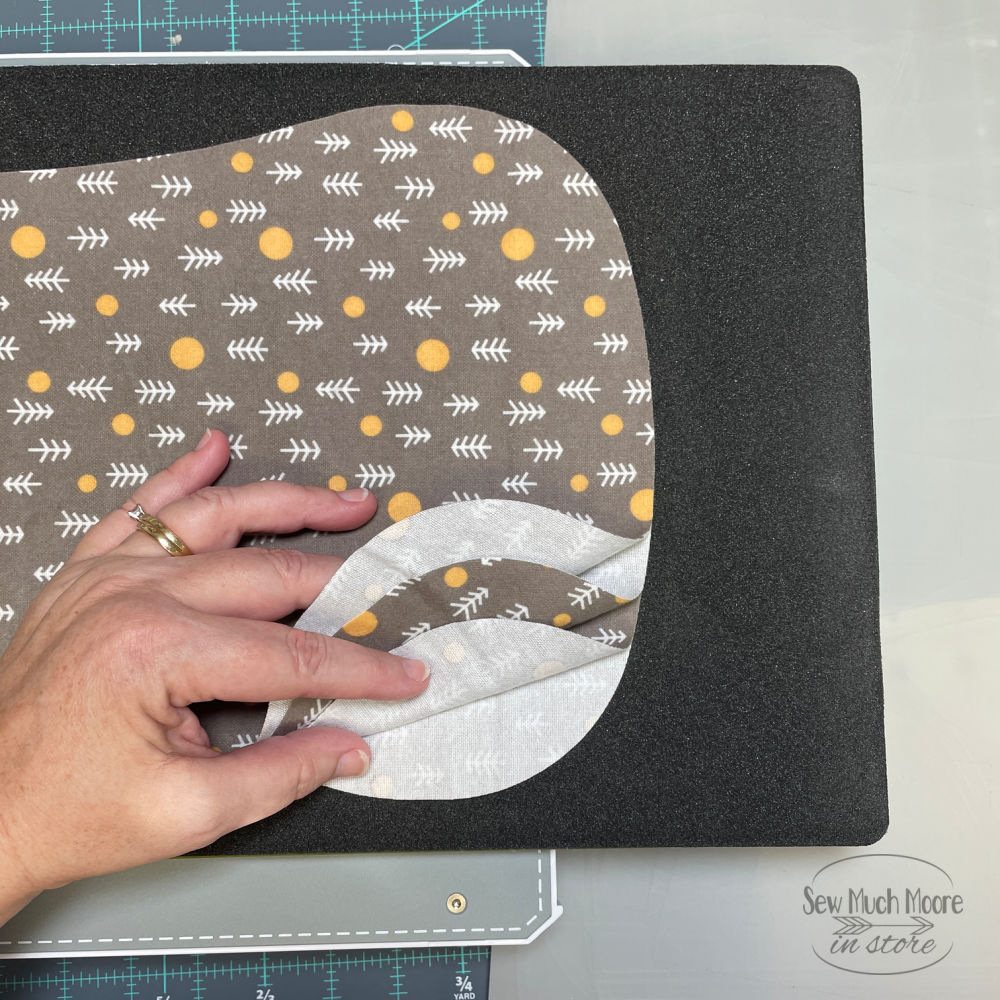
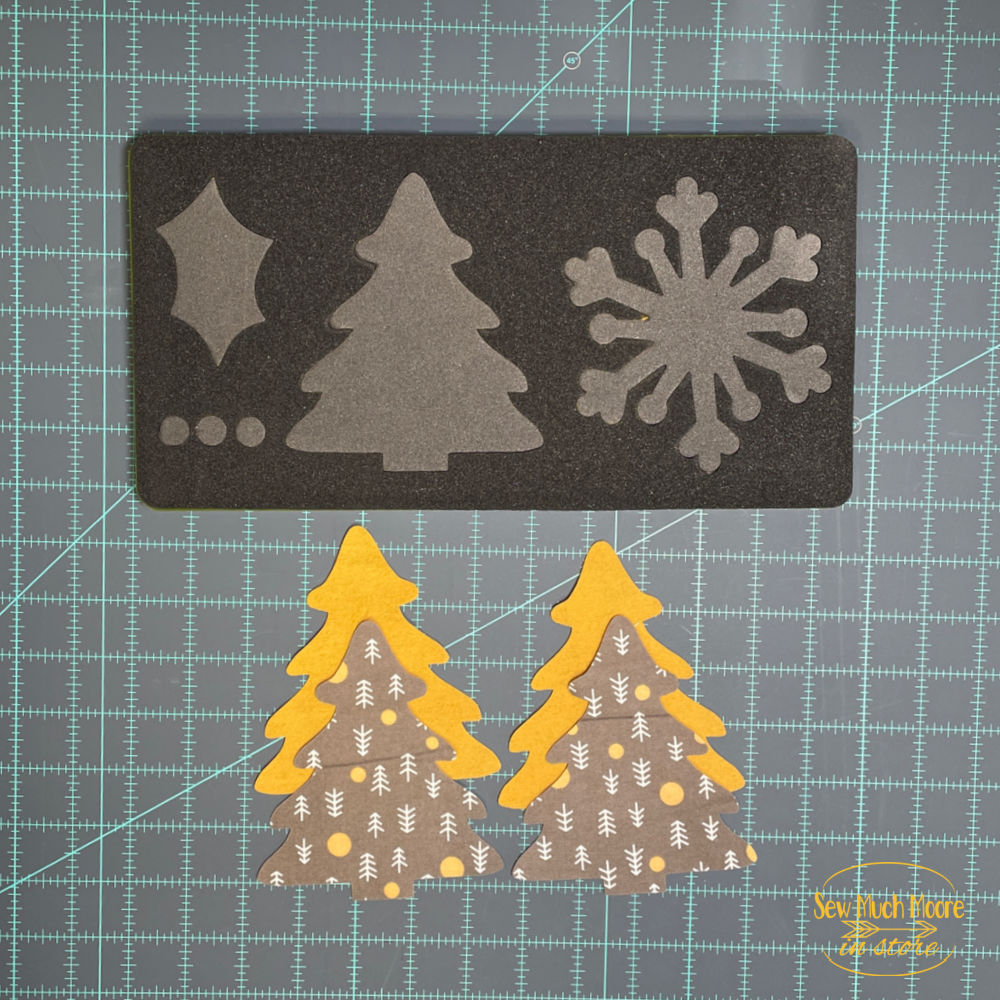
One of the biggest time-savers is the ability to cut several layers of fabric at once. For this project, I used the Burp Cloth die to cut the main shapes and utilized scraps with the GO! AccuQuilt Christmas Medley die to create adorable tree-shaped embellishments that complemented my fabric selection.
Placement of Accent Fabric
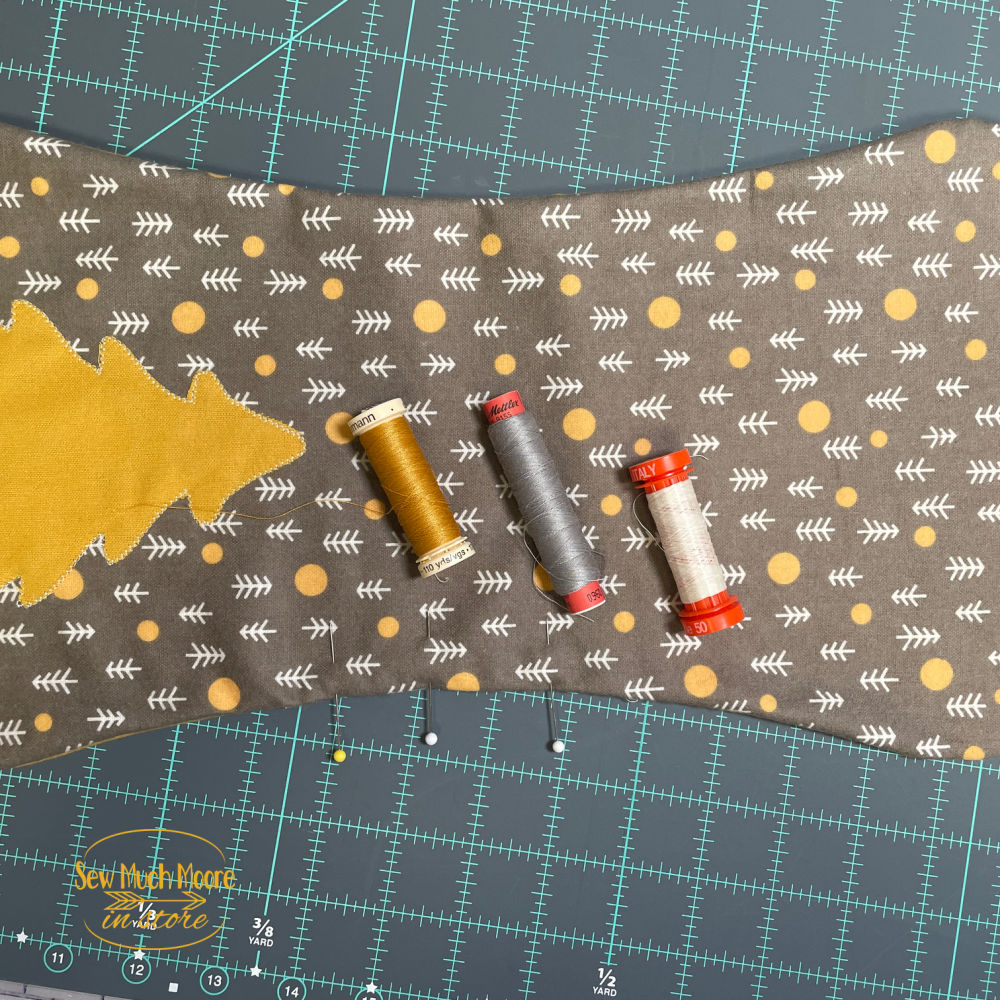
Adding accents to your Burp Cloth by AccuQuilt is a great way to make each one unique. I positioned my accent pieces on both sides of the burp cloth, using the opposite side’s fabric for contrast.
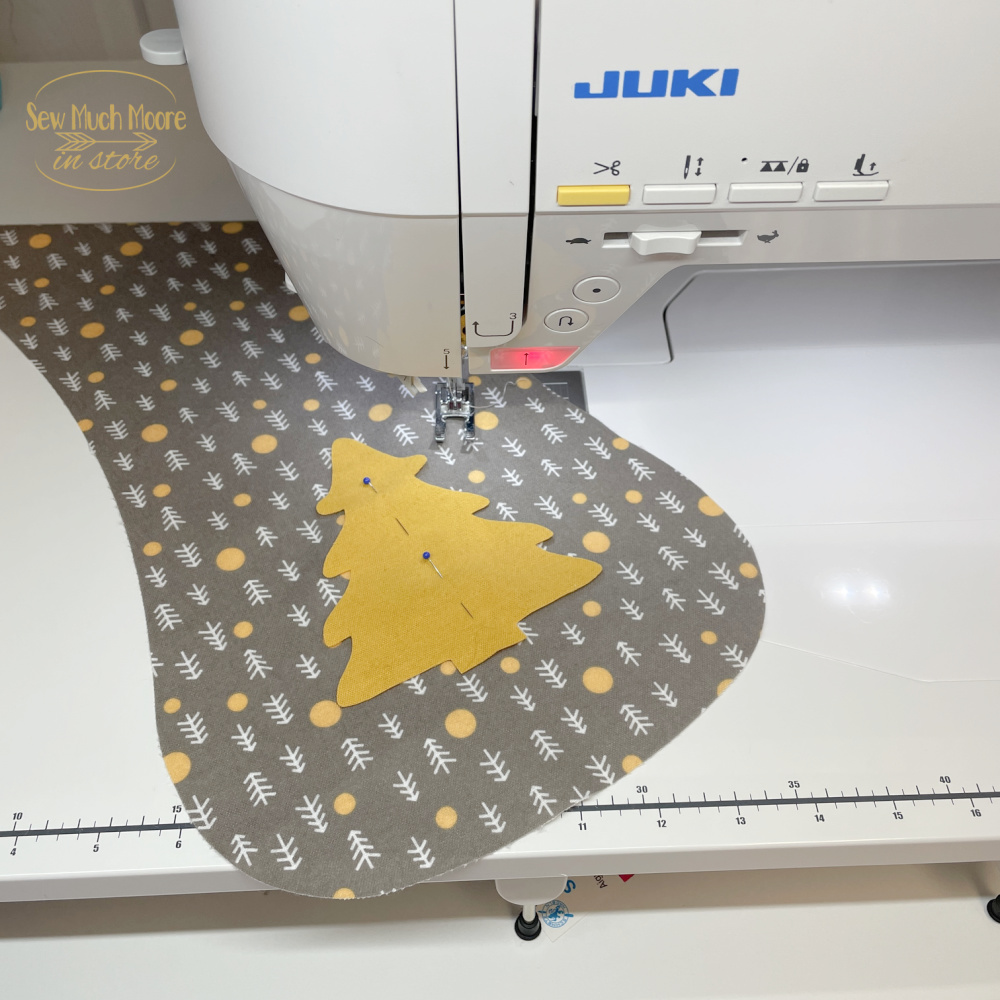
Once I was happy with the layout, I secured the pieces with sewing pins. To attach the accents, I used an appliqué blanket stitch, which added a polished finish.
Sewing the Burp Cloth Together
To assemble the Burp Cloth by AccuQuilt, I placed the front and back pieces right sides together and stitched around the perimeter using a quarter-inch seam allowance.
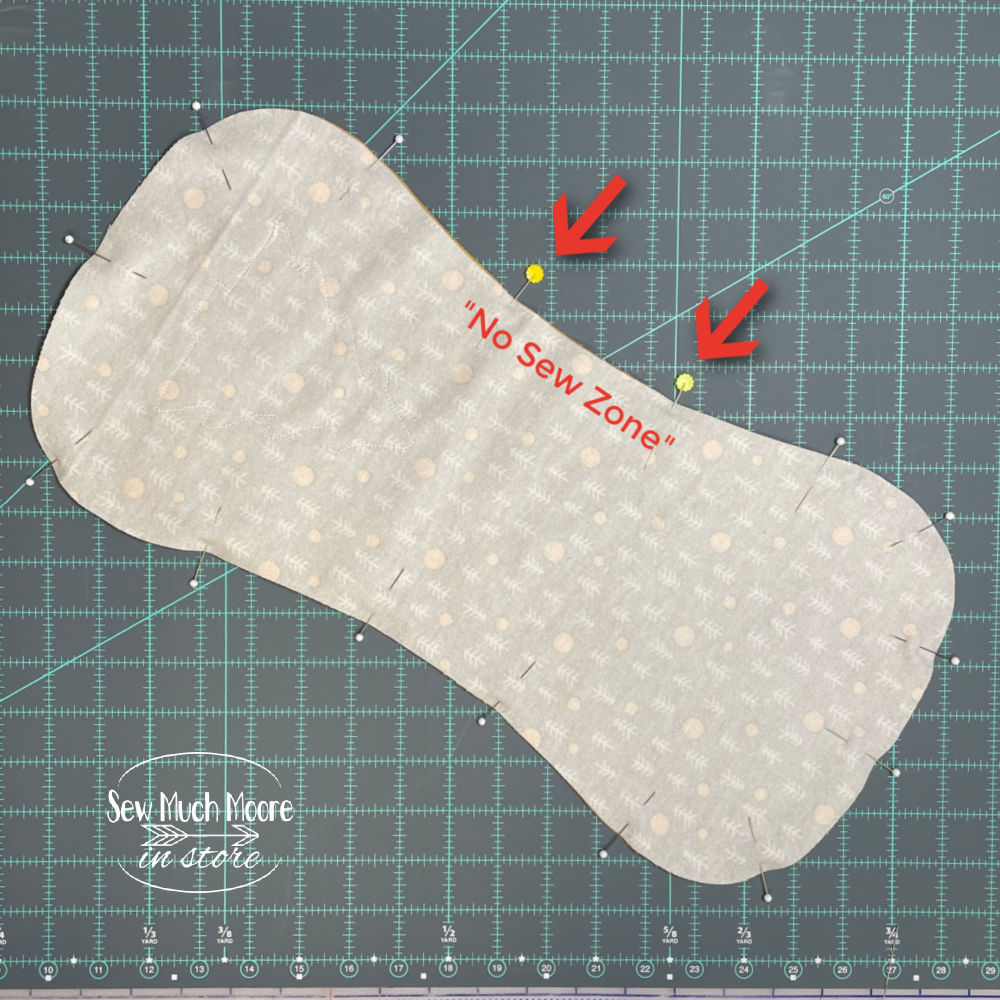
I left a 3-inch opening to flip the project right side out. Before flipping, I clipped the curves at all four corners to ensure the burp cloth would lay flat once turned. I used Karen Kay Buckley Scissors because they have a very sharp tip and are perfect for snipping. You can get these great scissors RIGHT HERE.
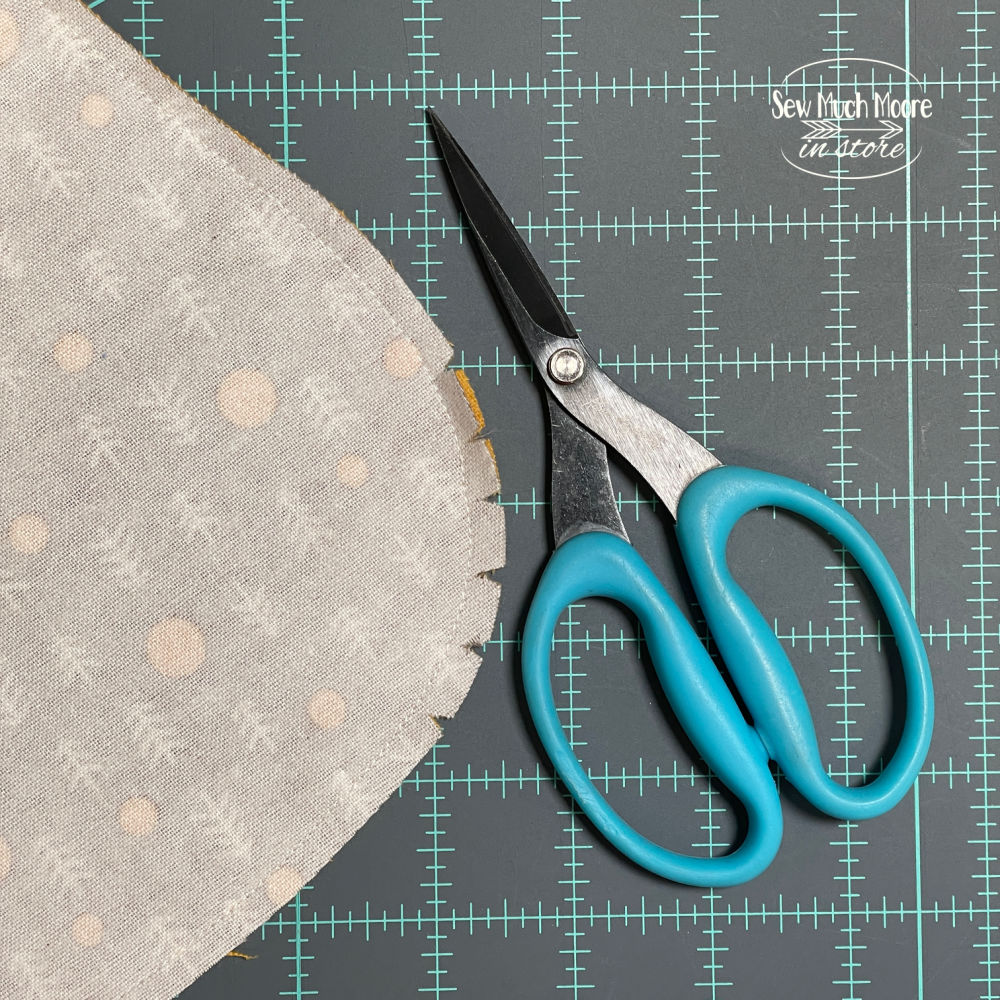
This small detail makes a big difference in achieving a smooth and professional look.
Topstitching for a Finished Look
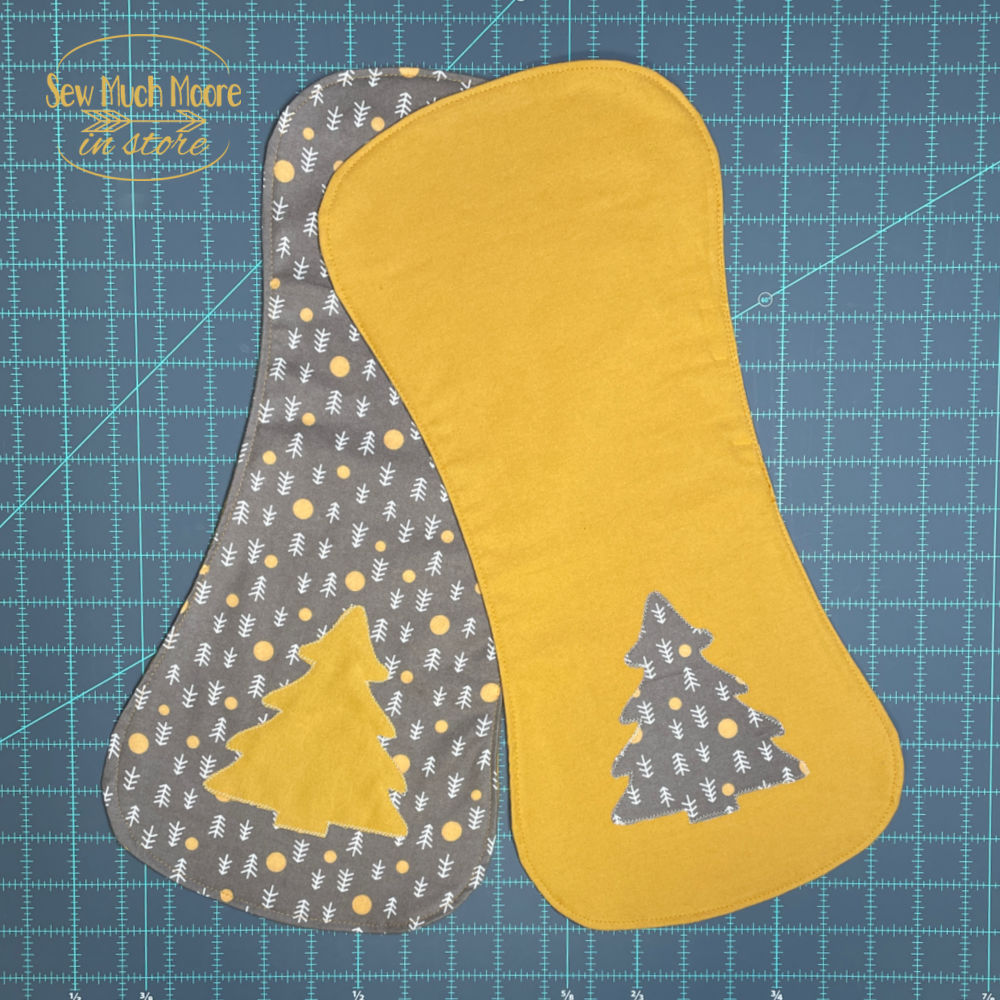
For the final step, I topstitched around the exterior of the Burp Cloth by AccuQuilt.
This not only gives the project a polished appearance but also secures the opening used for turning the fabric right side out. The topstitching adds durability and ensures the burp cloth is ready to withstand plenty of use and washes.
Try It Yourself
This project is quick, practical, and perfect for gift-giving. In just a couple of hours, I made several Burp Cloths by AccuQuilt to add to my gift stash.
With the AccuQuilt cutting system and dies, the process is straightforward and enjoyable. Whether you’re making these for a baby shower or stocking up on gifts for new arrivals, you’ll love how simple and rewarding this project can be. Give it a try and see for yourself!
