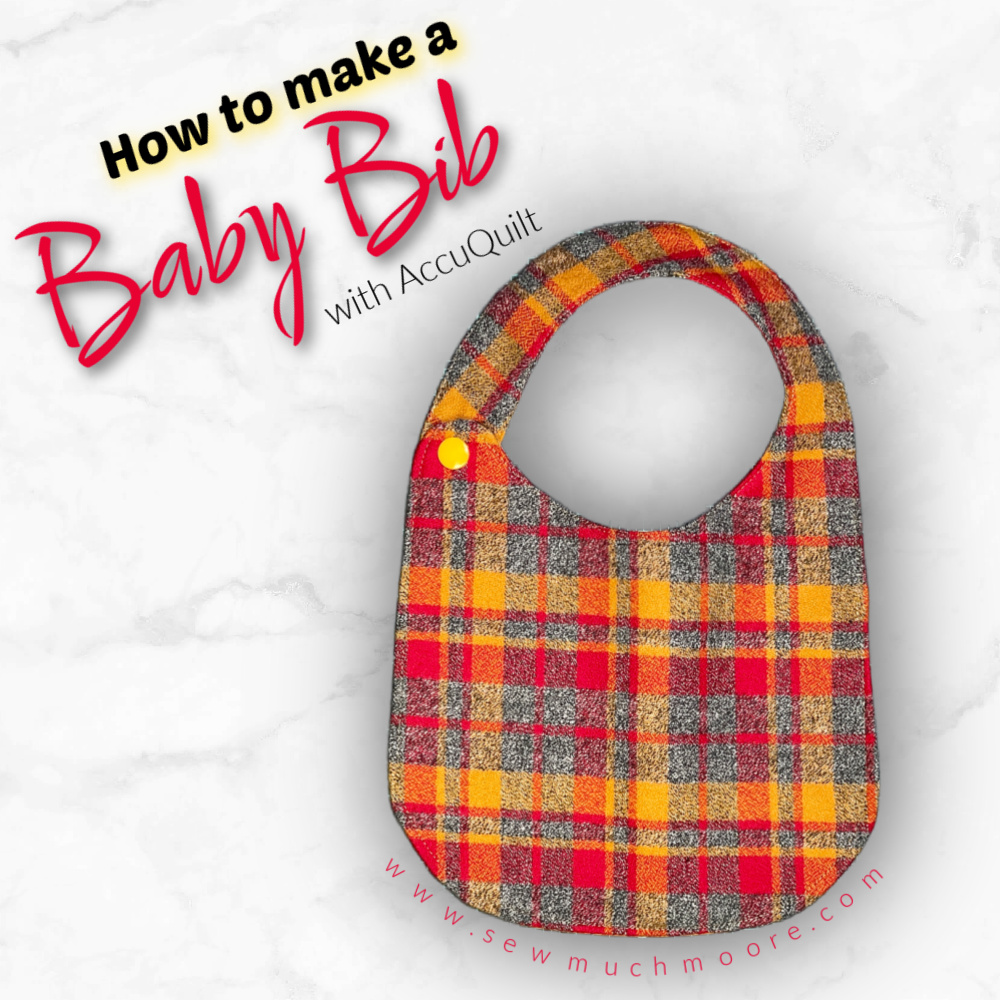
Make a Baby Bib with AccuQuilt
If you’re looking for a quick and practical sewing project, making a baby bib with the AccuQuilt Baby Bib die is a great option. Recently, I needed a baby gift for a family member who’s a big Kansas City Chiefs fan. I knew their teething baby would appreciate something both useful and fun, so I decided on a custom bib.
Using the AccuQuilt Baby Bib die made cutting a breeze, and the entire project came together in a single sewing session. Whether you’re making bibs as gifts, for craft fairs, or just to have extras on hand, this project is perfect for quilters and sewists of all skill levels.
Materials and Tools
Here’s what you’ll need to get started:
Materials:
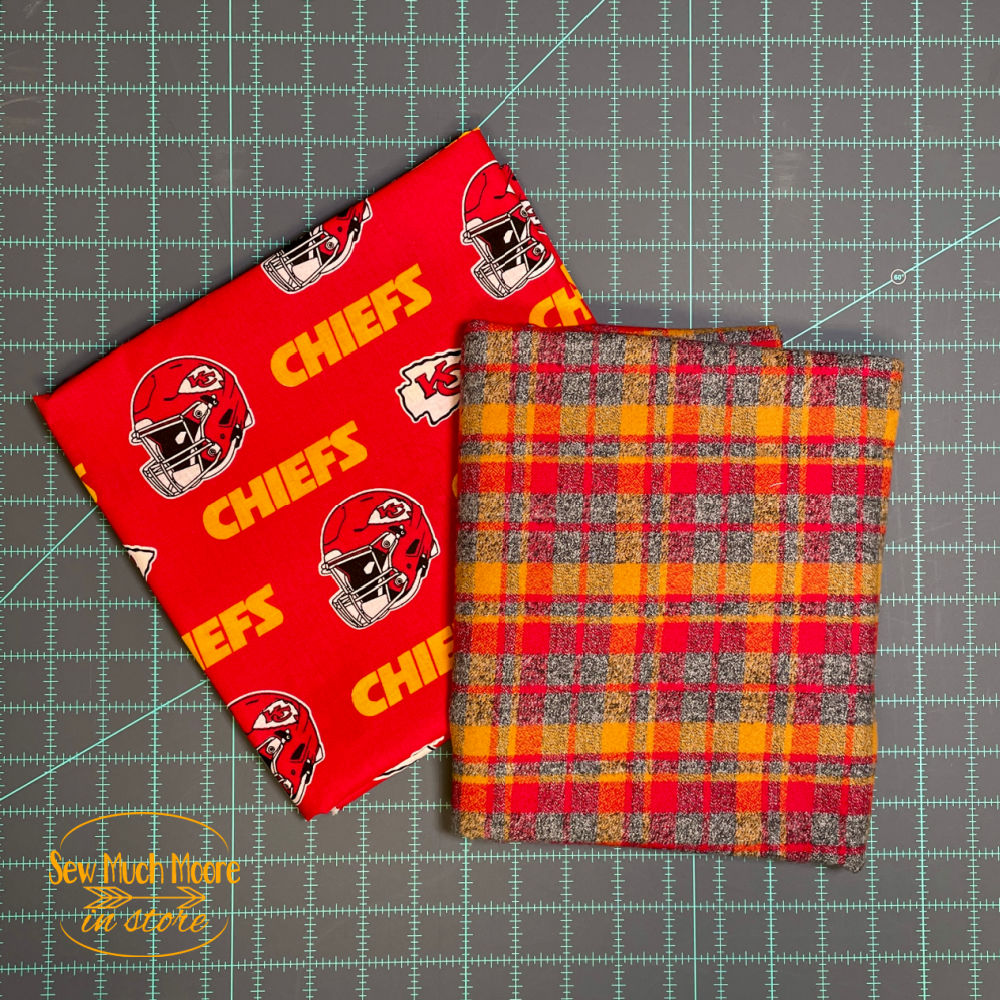
- Main Fabric (I used a Licensed Kansas City Chiefs Fabric)
- Accent or Secondary Fabric (I used Mammoth Flannel – Crimson)
Tools:
- Sewing Machine (I used my Juki DX-4000 QVP)
- Basic Sewing Supplies (thread, scissors, pins, etc.)
- AccuQuilt Cutting System
- GO! Baby Bib Die
- Iron & Ironing Mat
- Sharp-Tip Snips
- Bib Closure (Velcro, button, or snaps with a setting tool)
Cutting Your Fabric with the AccuQuilt Baby Bib Die
The first step is cutting your fabric. You’ll need to cut one piece each from your main fabric and your secondary fabric. The AccuQuilt Cutting System and the AccuQuilt Baby Bib die makes this step incredibly fast and precise. You can cut up to six layers of fabric at a time, but keep in mind that flannel or thicker fabrics may count as two layers due to their thickness.
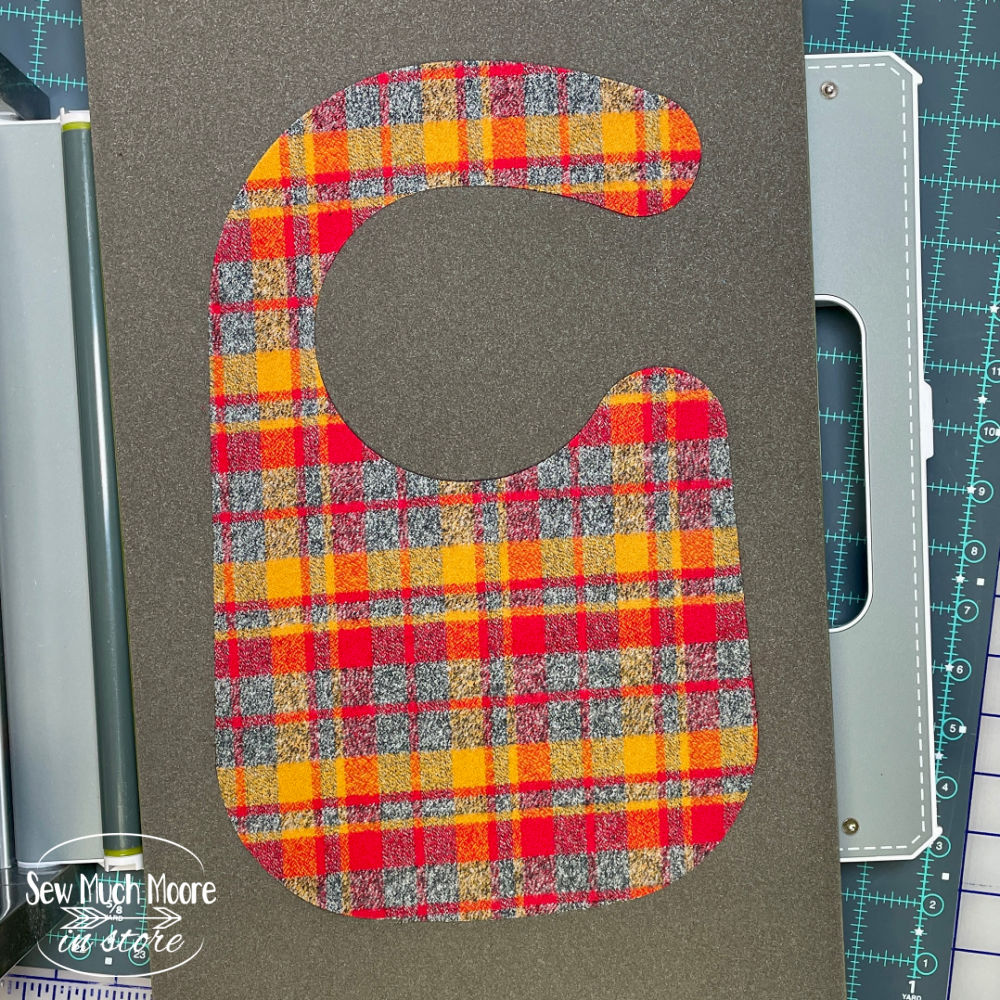
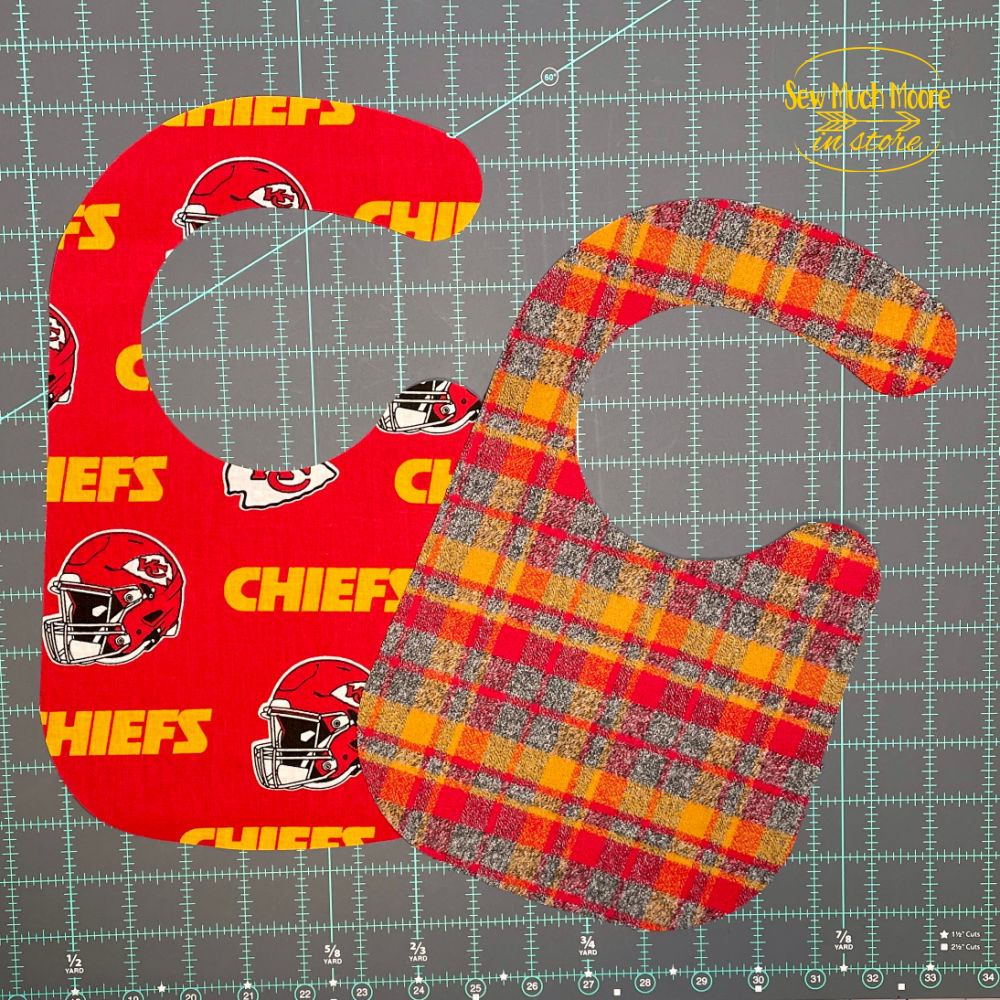
Remember – your prints are going to be mirror images, so it’s important to ensure your fabric is facing the correct direction or they won’t piece correctly together.
For this project, I used flannel as my secondary fabric, so I didn’t cut too many layers at once. My main fabric was a directional print. A key tip when using directional fabric is to double-check the layout before cutting. The last thing you want is an upside-down print on your bib—trust me, it’s worth the extra minute to get it right!
Assembling the Bib
Once your fabric is cut, place the pieces right sides together. Pin around the edges to hold the fabrics securely in place.
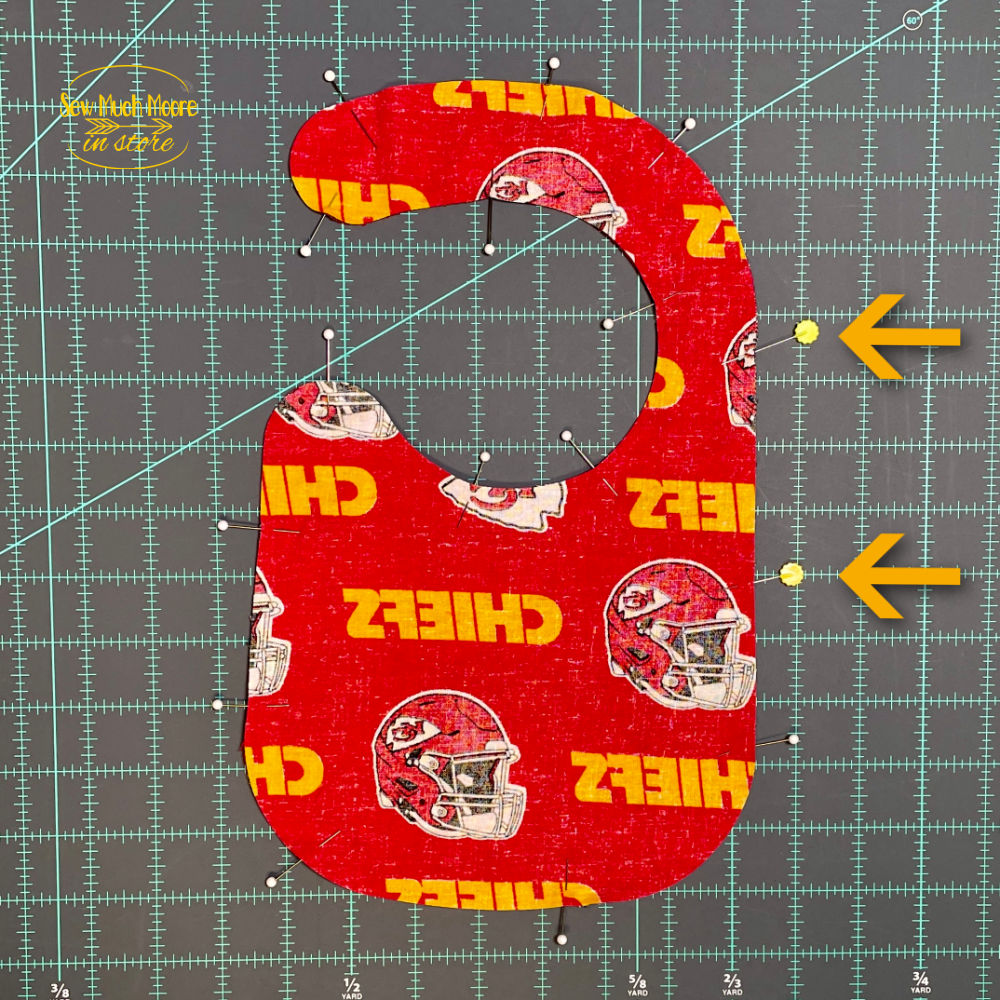
Be sure to mark a “No Sew Zone” of about 3 inches along one edge. This opening will allow you to turn the bib right side out later. I use different colored sewing pins to make it easy to spot my opening.
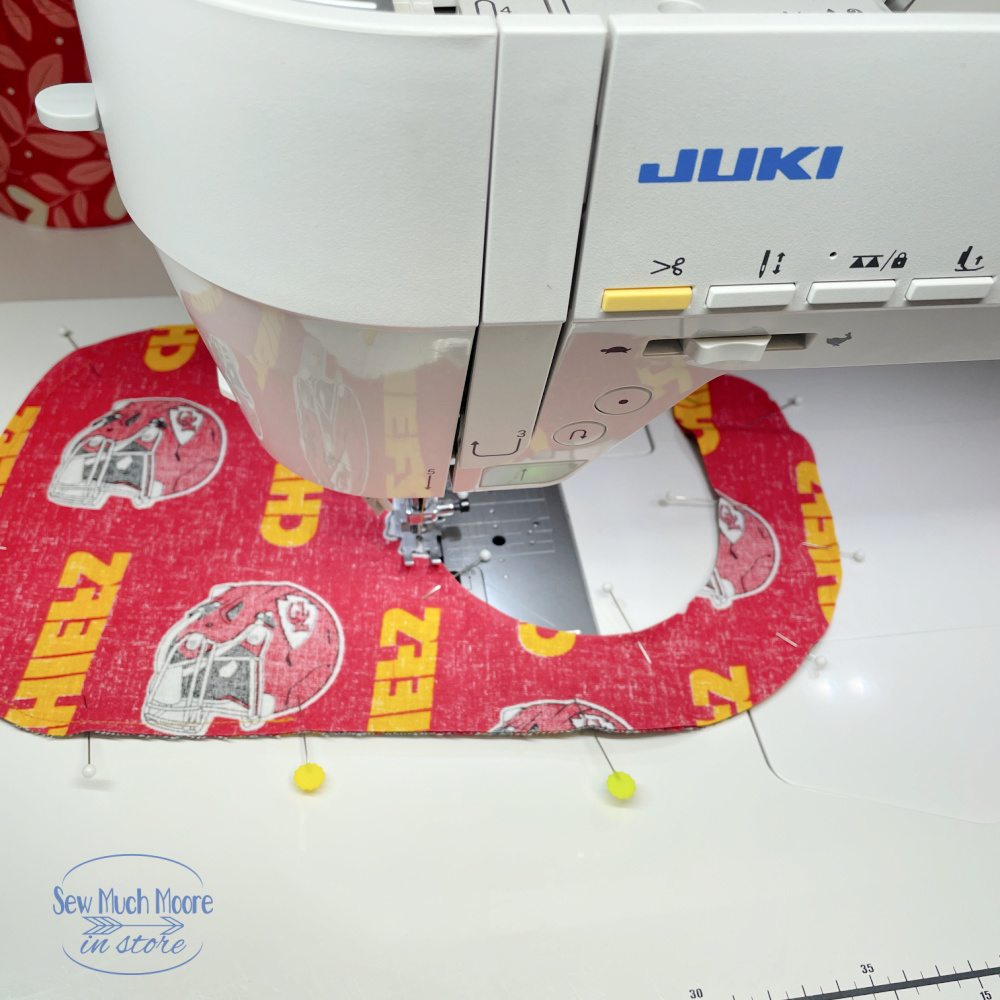
Sewing the Bib
Using my Juki DX 4000 QVP sewing machine, I sewed a ¼-inch seam around the entire perimeter of the bib, leaving the 3-inch “No Sew Zone” untouched. This seam allowance is perfect for a clean finish without bulky edges.
After sewing, I used sharp-tip snips to clip the curves of the bib, being careful not to cut into my stitches. This step is essential for getting smooth, flat edges once the bib is turned right side out.
Turning the Bib Right Side Out
Turning the bib right side out can be a little tricky, especially around the neck area. I used a chopstick to carefully push the fabric through the narrow neck section.
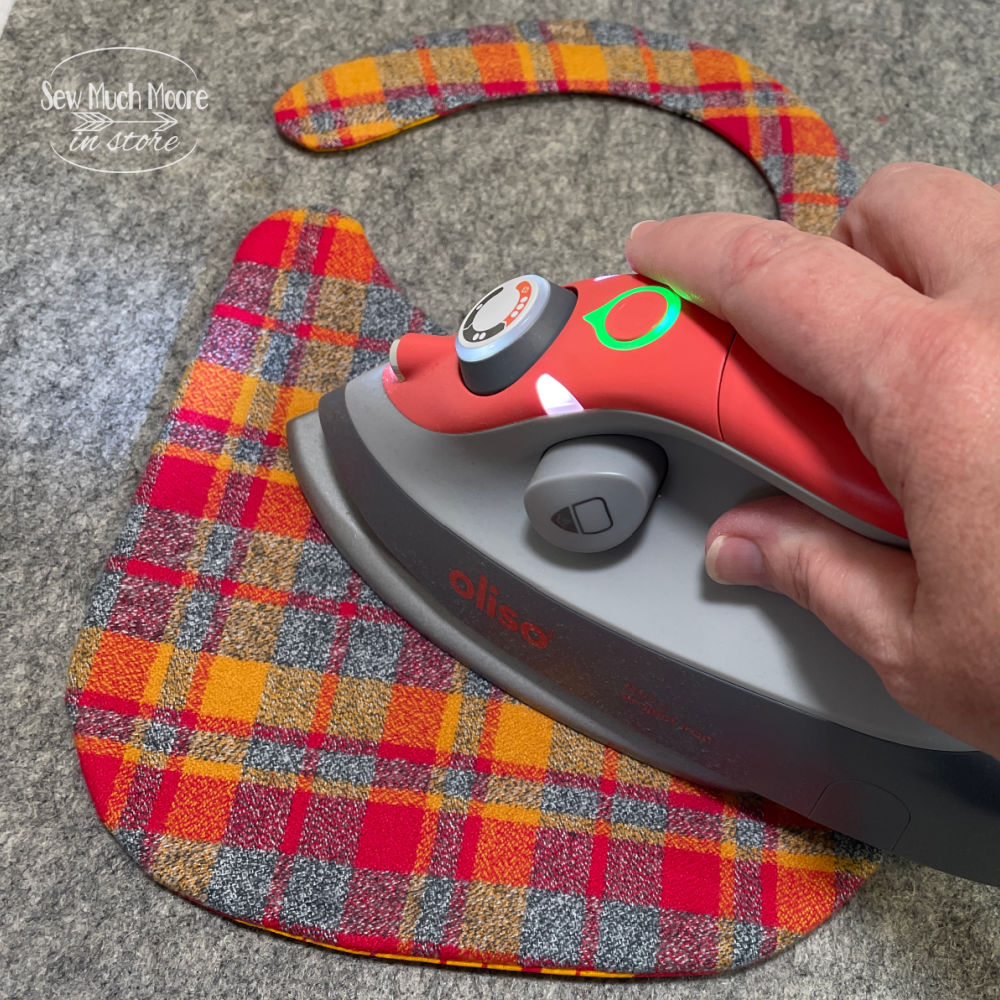
Once the bib was fully turned, I gave it a thorough press with my Oliso M3 Pro Project Iron to smooth out the edges and prepare it for topstitching.
Topstitching the Bib
Topstitching serves two purposes: it closes the opening from turning the bib and gives the project a polished, professional look.

I topstitched around the entire perimeter of the bib, which not only secured the layers but also ensures the bib will lay flat after multiple washes.
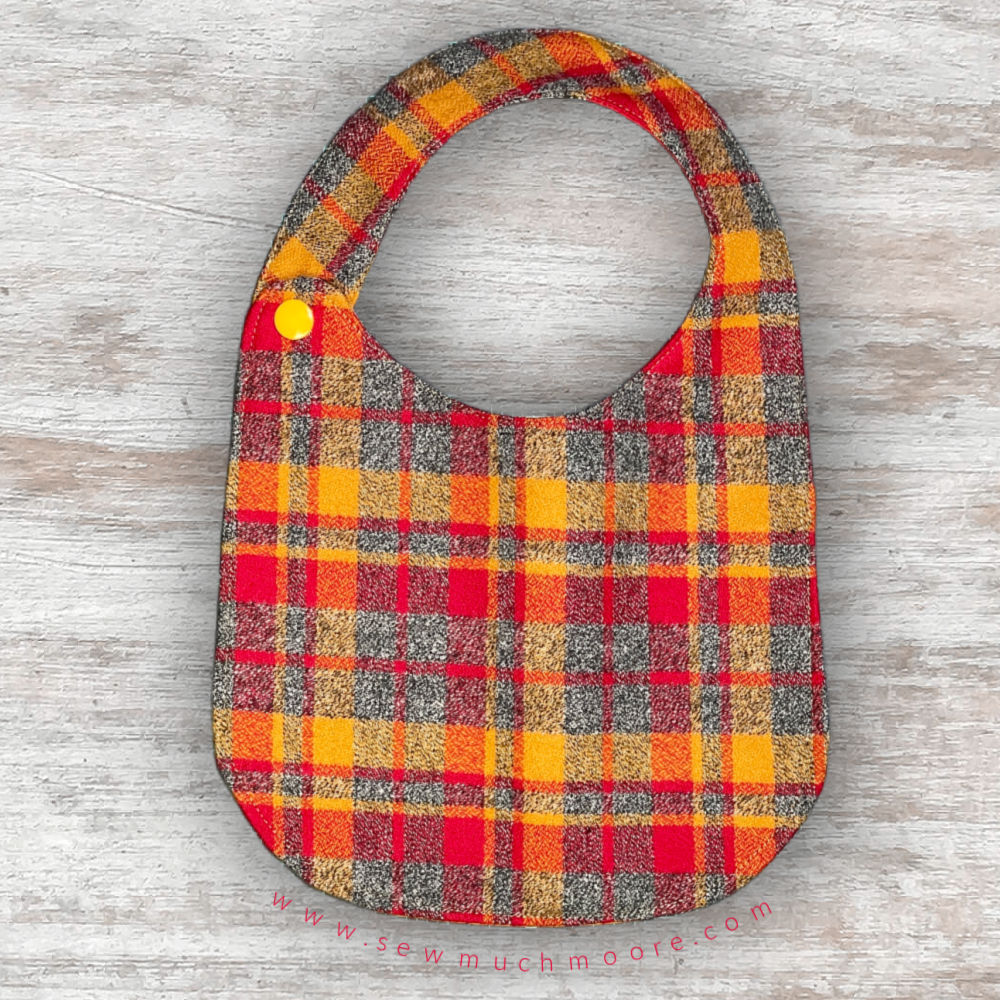
Adding the Bib Closure
There are several options for adding a closure to your bib. Velcro is quick and easy but may require sewing. Buttons look great but require a buttonhole. I prefer using snaps for their simplicity and durability.
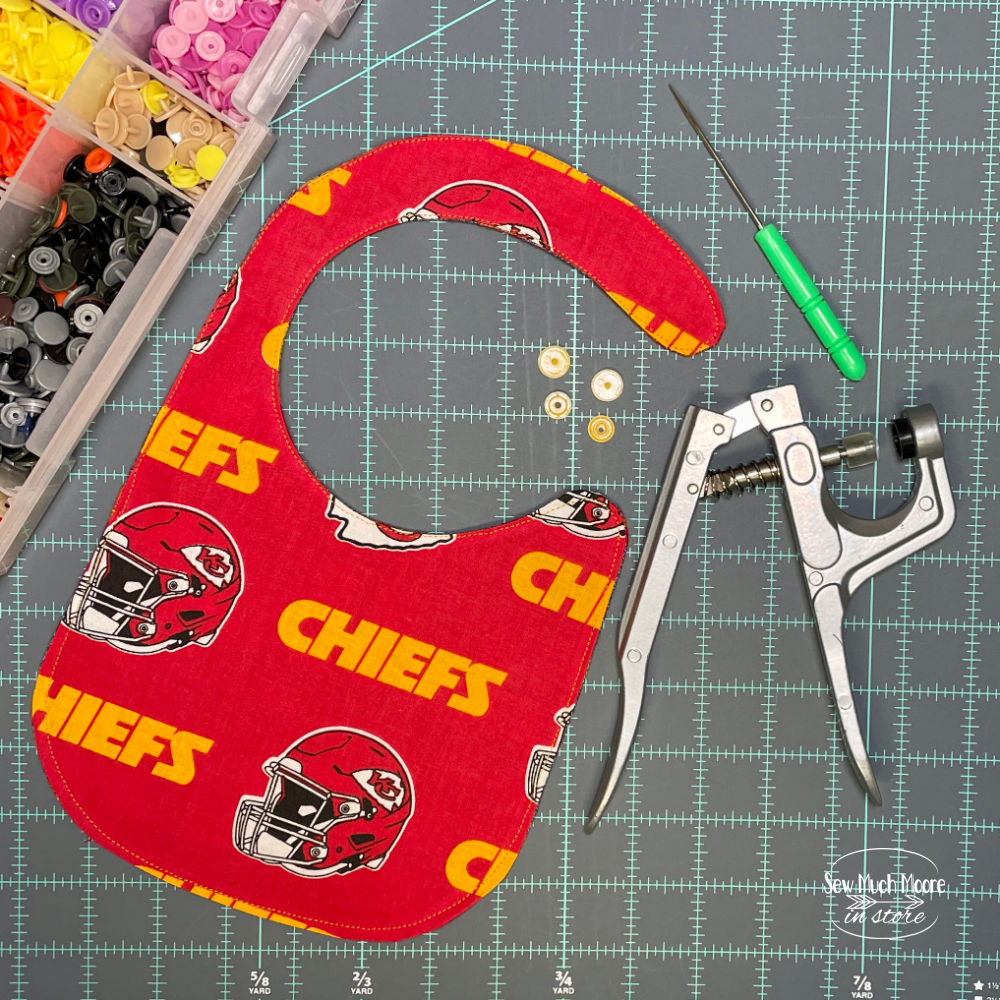
I use a THIS snap set that includes a variety of colors and a setting tool, which makes application a breeze. To place the snaps, I measured and marked where the closure would go on both the neck strap and the bib body. Following the manufacturer’s instructions, I attached the snaps, and it only took a few minutes to complete.
Why You’ll Love the AccuQuilt Baby Bib Die
Using the AccuQuilt Cutting System and the AccuQuilt Baby Bib die made this project incredibly quick and easy. The precision cuts saved me so much time, and the die can handle different fabric types, from quilting cotton to flannel. If you’re making multiple bibs for gifts or craft fairs, this tool is a game changer.
With just a few materials and the right tools, you can create custom baby bibs that are as functional as they are adorable. You can even personalize them by adding embroidery, applique, or other embellishments before assembling.
Try It Yourself
If you’ve been looking for a beginner-friendly sewing project or a practical gift idea, give the AccuQuilt Baby Bib a try. This project is not only fun but also highly functional, making it the perfect gift for new parents. Whether you keep it simple with bold prints or add personalized touches, the finished bib will be appreciated by any family.
Grab your AccuQuilt cutting system, the GO! AccuQuilt Baby Bib die, and your favorite fabrics, and start creating! You’ll be amazed at how quickly you can whip up a stack of these for any occasion.

Would love to have a PDF for this.
That’s a great idea! I may need to make one. It would need to be a different shape (for copyright reasons).