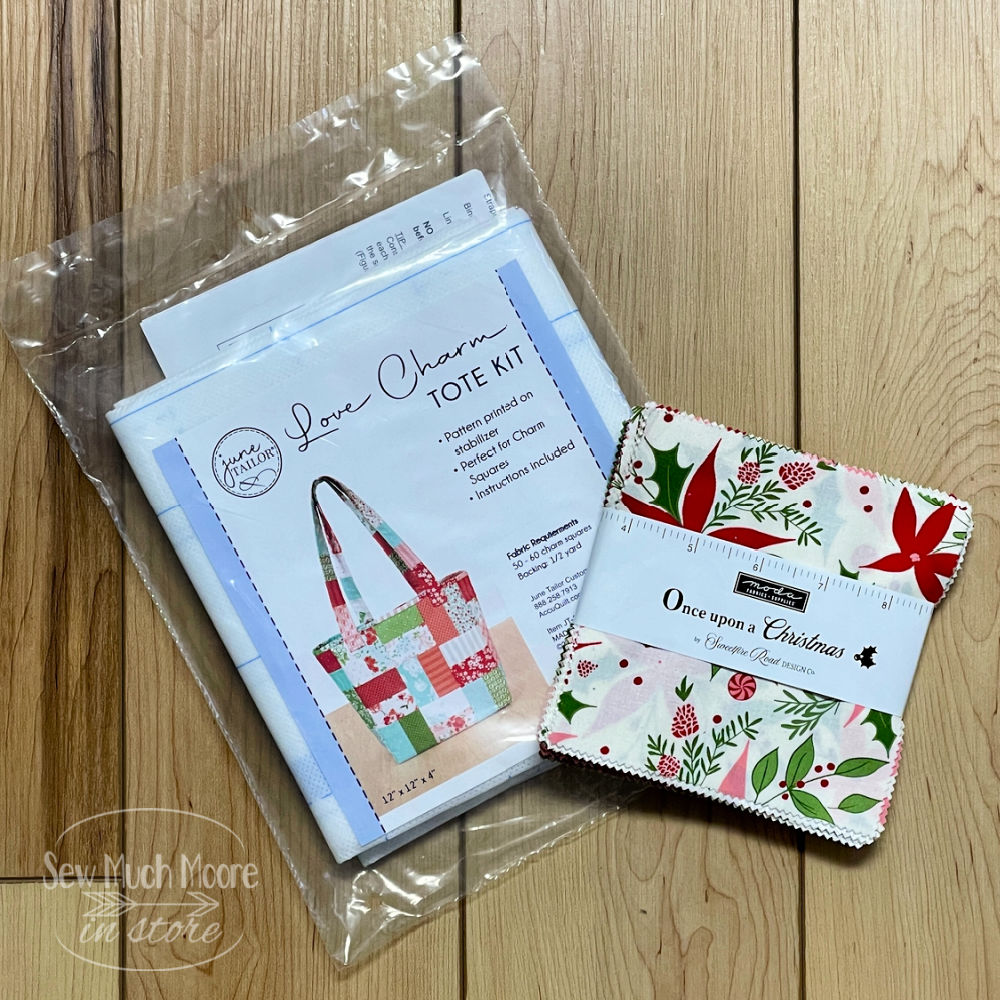
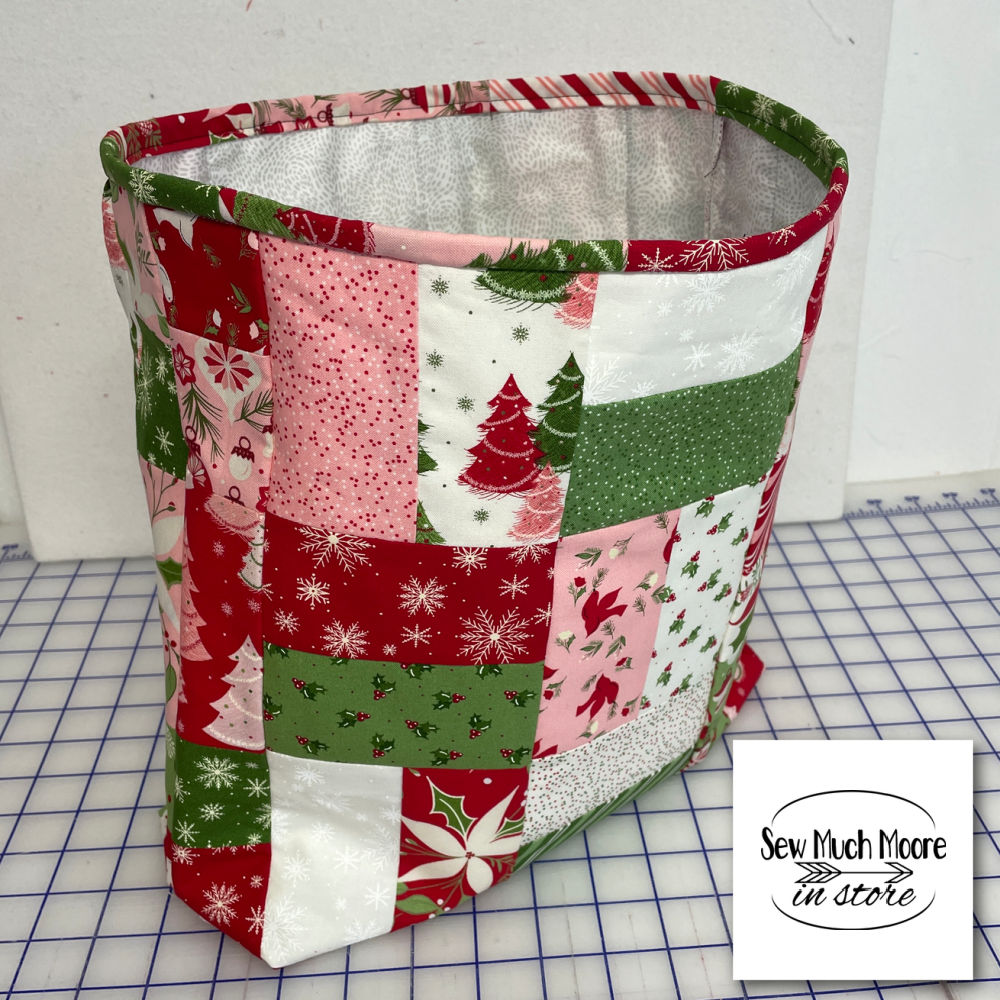
Love Charm Tote
The Love Charm Tote Kit by June Tailor is a fun, easy-to-follow project that’s perfect for using charm squares to create a stylish and functional bag. This quilt-as-you-go design lets you create a beautifully quilted tote while making the most of your favorite fabrics. The end result? A unique, sturdy tote that’s perfect for holiday shopping or everyday use!

Gathering Supplies for the Love Charm Tote
To make your Love Charm Tote, you’ll need a few basic supplies, including fabric, stabilizer, and some general sewing tools. The fabric requirements are flexible, letting you personalize your tote by combining different charm squares for the body, straps, and binding. For lining, a 2/3-yard cut works well, ensuring a sturdy interior. To make sewing easier, June Tailor recommends Quilter’s Starch Savvy, the Magic Seam Wand, and Quilt Basting Spray or a temporary fabric glue stick. These extra tools help keep your fabric smooth and secure as you assemble your tote.
Basic Supplies:
- June Tailor Love Charm Tote Kit
- Sewing Machine (I used my Juki DX-400 QVP)
- Iron & Ironing board
- General sewing tools (scissors, pins, thread)
- Stabilizer (included in the kit, serves as both pattern and structure for the tote)
- Starch: Helps keep your fabric smooth for easy assembly
- Magic Seam Wand: For pressing seams without a hot iron, especially useful on the stabilizer
- Quilt Basting Spray or Temporary Fabric Glue Stick: Keeps fabric layers secure while you sew
Love Charm Tote Fabric Requirements:
The project calls for (2) charm packs, but I used all of one and some scraps. I used charm pack from Moda Fabrics called Once Upon a Christmas by Sweetfire Road Design Co.
Here is what the project actually calls for:
- Body: 33–35 charm squares
- Straps: 14–20 charm squares
- Binding: 4–8 charm squares
- Lining Fabric: 2/3 yard
Getting Started with Layout and Stabilizer
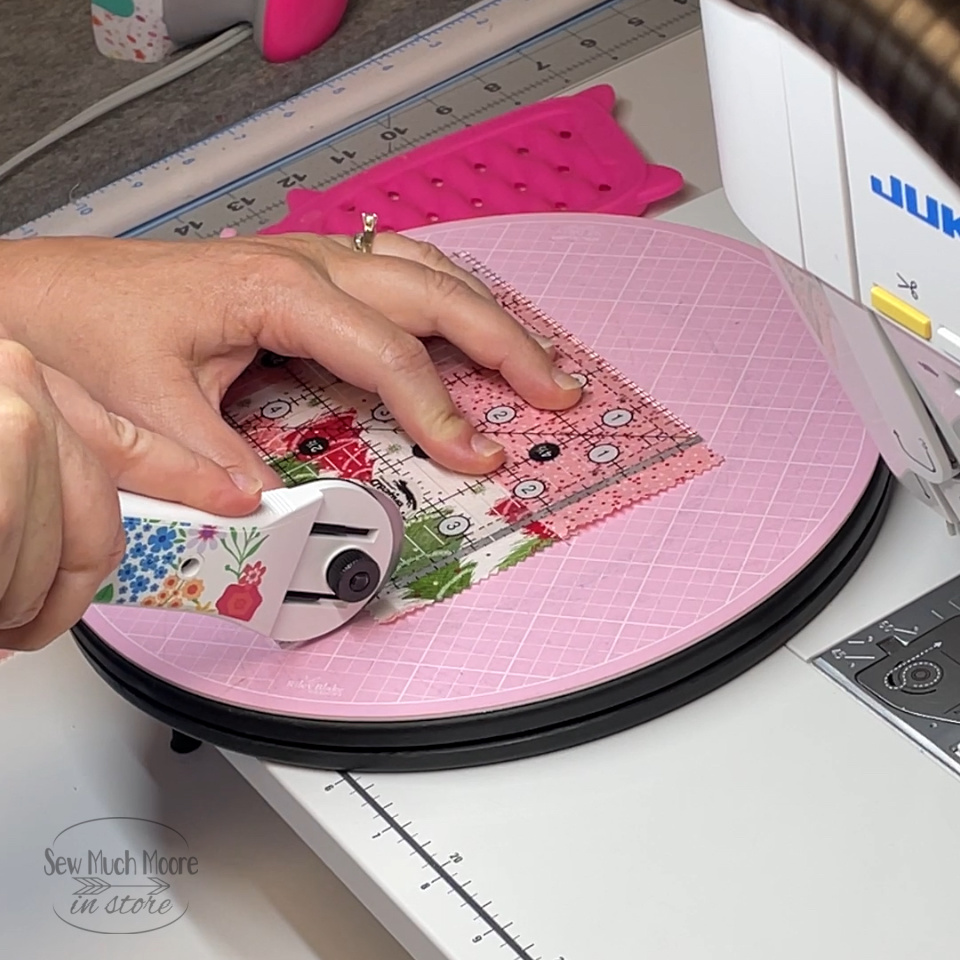
The key to this kit is the printed stabilizer, which acts as both the pattern and a stabilizing layer for the tote. Start by laying the stabilizer flat and positioning your charm squares according to the printed layout. Each charm square should be cut in half horizontally to fit the design, giving you twice as many pieces to play with for a unique pattern. Placing the stabilizer with the fusible side up, arrange your squares until you’re satisfied with the layout.
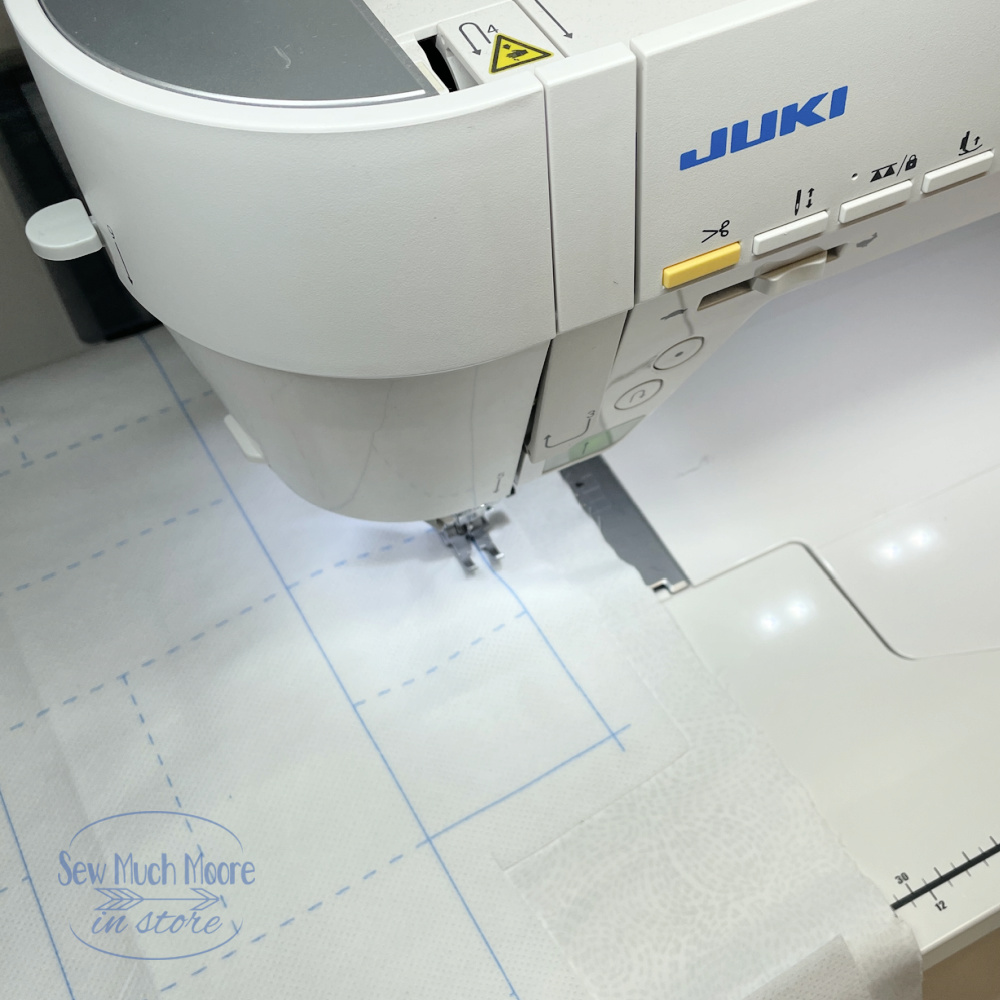
Before you start sewing, make sure not to touch a hot iron directly to the raw stabilizer. Instead, finger press seams or use the Magic Seam Wand to smooth fabric edges. Once you’re ready, press the pieces into place following the kit’s instructions. The stabilizer will securely hold your layout, allowing you to start sewing with confidence.
Assembling with the Quilt-As-You-Go Technique
Once your fabric is arranged, you can start sewing following the printed pattern on the stabilizer. Place your first piece right side up in the section labeled “1,” aligning it with the solid printed lines. Add the second piece by placing it right sides together with the first, ensuring edges are aligned with the placement lines on the stabilizer. Sew a scant ¼” seam to secure, then flip the piece right side up and smooth it down.
Continue building your tote by following the layout, always placing new pieces right sides together with the previous one and aligning with placement lines. When each section is secured, flip it up, smooth, and finger press, using the Magic Seam Wand or a press cloth if needed.
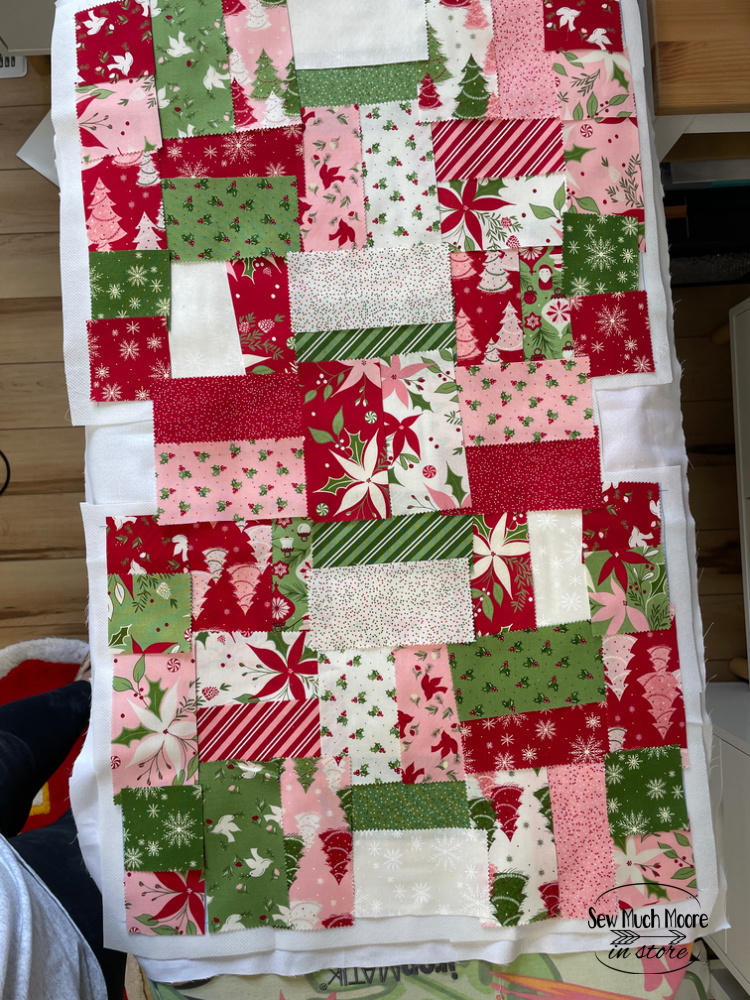
Repeat until all pieces are sewn, creating a beautifully pieced tote that’s already stabilized and ready for finishing.
Stitching and Securing Your Tote Shape
Once you’ve assembled all the fabric, stitch around the outer edge of the stabilizer to secure the layers in place. Trim any excess stabilizer, leaving a slight margin for easy handling as you move to final assembly.

With all sections stitched, turn the stabilizer so the printed side faces up, and sew around the tote, following the outer solid line. This step will reinforce your seams and create a clean edge for trimming.
Finishing the Tote
To complete the tote, fold it with right sides together, keeping the lining fabric facing out. Sew the side seams to create the basic tote shape. For added depth, box the bottom corners by folding each bottom edge toward the side seam and aligning it with the center.
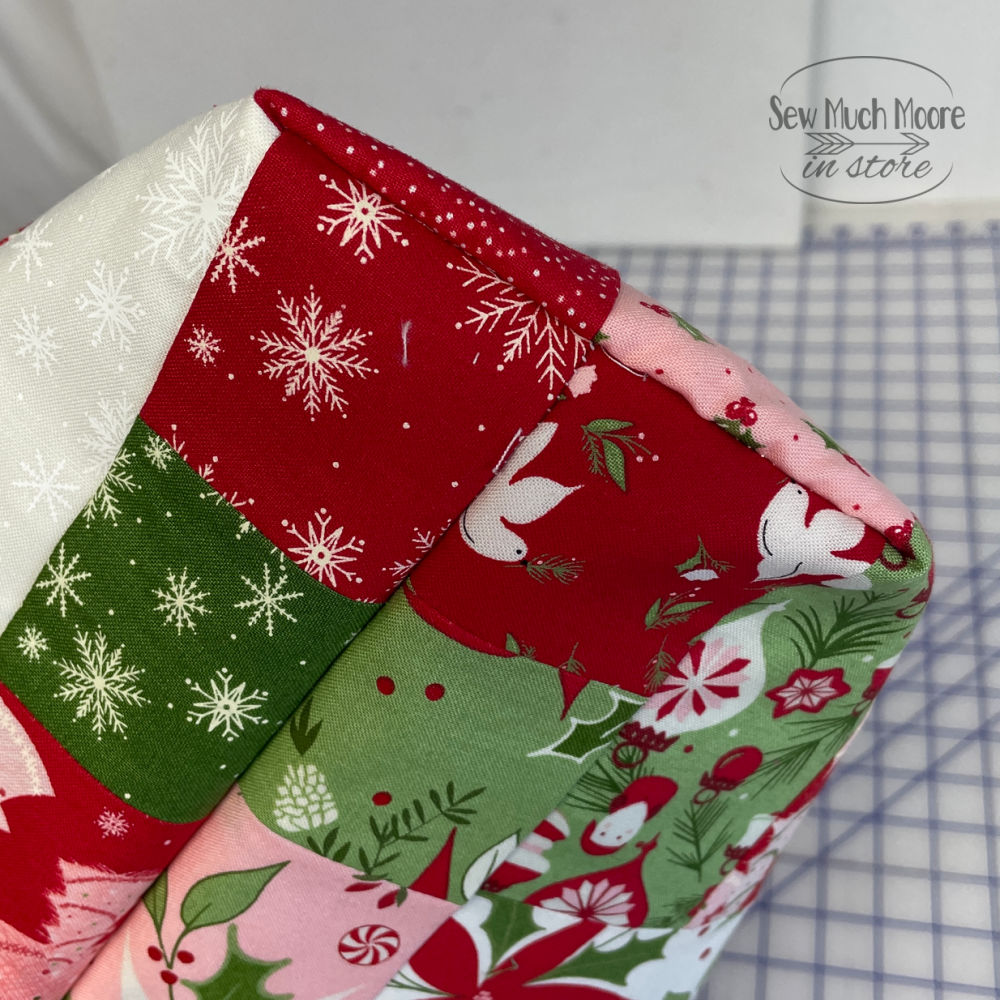
Sew across this edge, forming a boxed bottom that will help the tote stand upright. If you want an extra-clean finish, you can serge, pink, or stitch the interior seams.
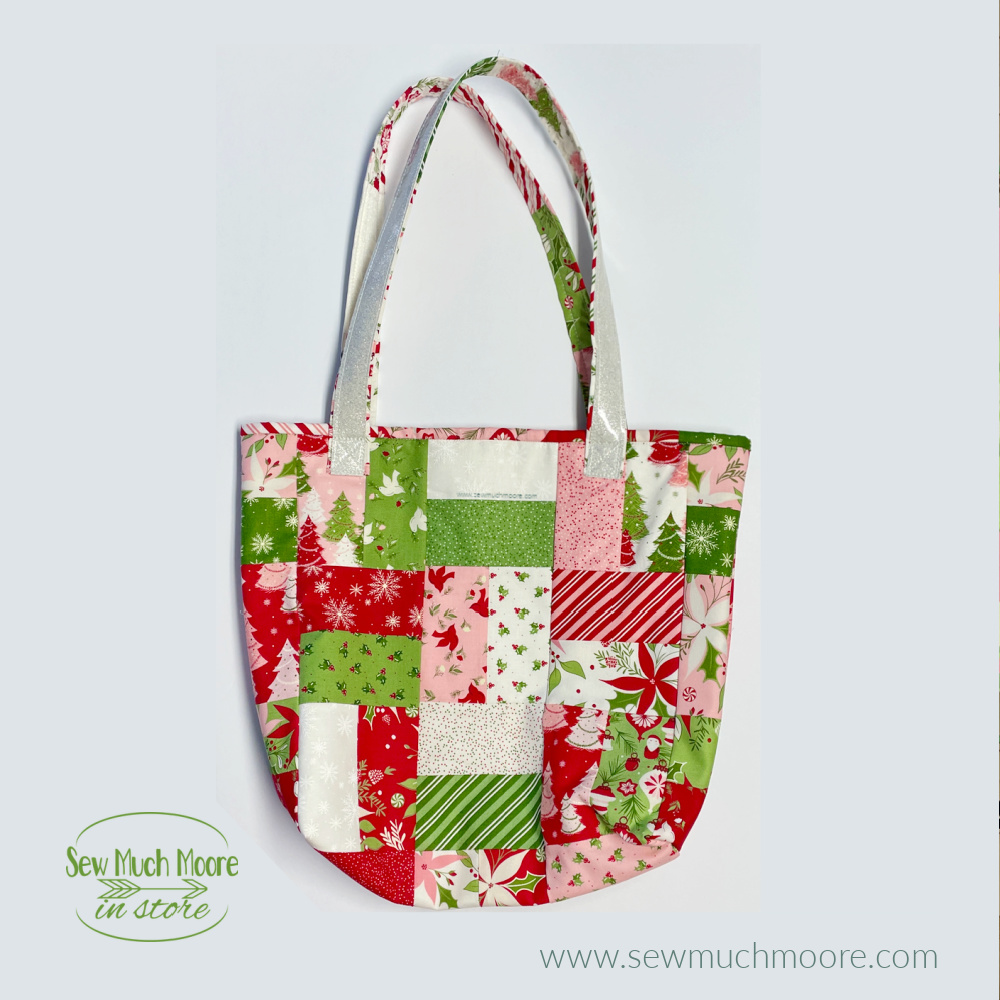
Adding the Binding and Straps
With the body of the tote complete, it’s time to add the binding. Sew the binding squares together to form a continuous strip, pressing the seams open to reduce bulk. Place this binding strip around the top edge of the tote, aligning the raw edges, and stitch in place. Fold it over and sew to secure, giving the tote a polished look.
For the straps, arrange the remaining charm squares or add a personal touch with trim, such as glitter vinyl or leather, for a unique finish. Sew the straps as directed in the kit, and then attach them securely to your tote.
Personalizing and Using Your Love Charm Tote
One of the best parts of the Love Charm Tote is how customizable it is. If you’re working with just one charm pack, you might want to get creative with your strap materials, or add decorative quilting lines to give the tote extra texture and interest. The quilt-as-you-go method makes it easy to experiment with different layouts and fabric combinations, so feel free to make it your own!
This tote is a quick and rewarding project that results in a finished bag both practical and beautiful. Whether you make it as a gift or keep it for yourself, the Love Charm Tote Kit offers a wonderful way to bring your favorite fabrics together in a design you’ll love using every day.

Love the tote bag and will be making my own. In the photos you have a beautiful, floral rotary cutter. Can you give me the brand? I have several of the Olfa brand cutters and not sure if it’s one of theirs or not, but I don’t have that one. Thanks