Learn to make Zipper Tabs
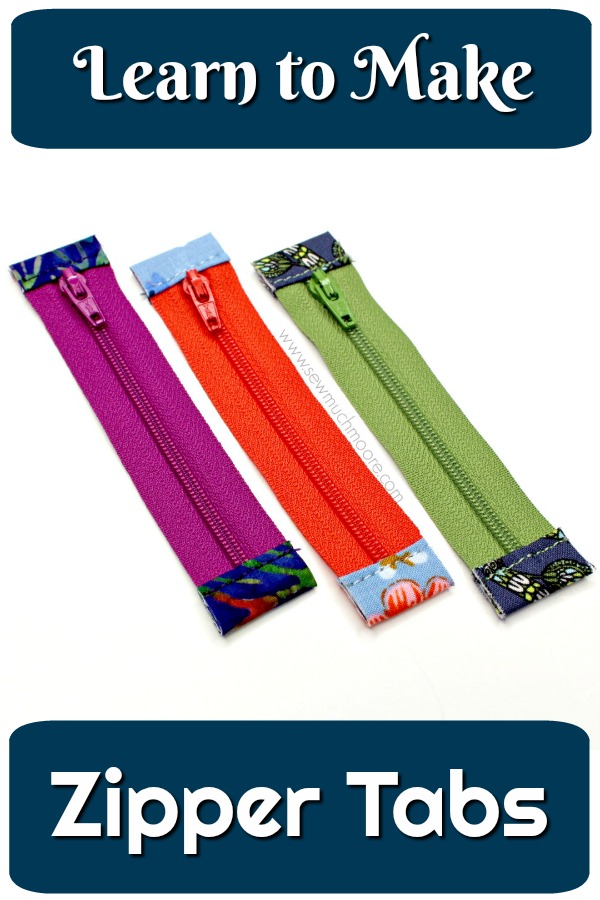
Sometimes, it is hard to find the exact zipper needed in your for a project. There are so many different types, colors and sizes of zippers. In this tutorial, you will learn to make zipper tabs with a nylon zipper.

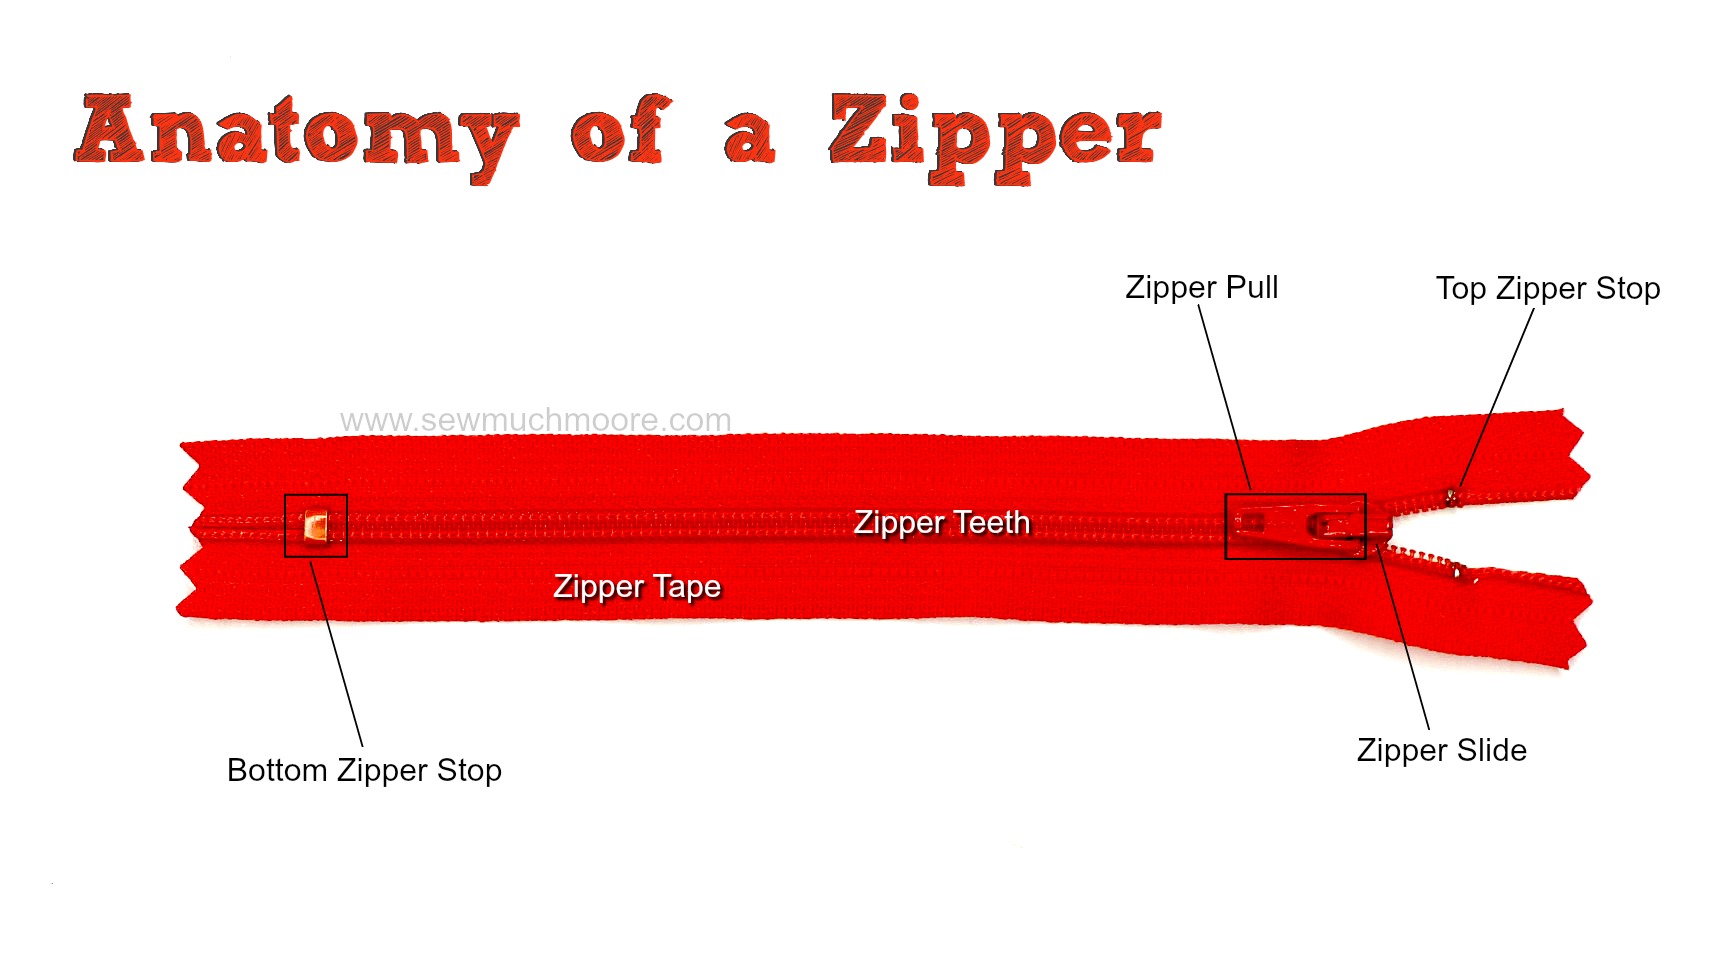
But first, let’s explore the anatomy of a nylon zipper.

This post contains affiliate links for your convenience. ? Read my full disclosure policy here.
I like to use colorful zippers! They make projects fun and exciting! Let’s dive right in and Learn to Make a Zipper Tab!
Supplies:
- Nylon Zipper (I get all my zippers right HERE)
- 3″x 4″rectangle of quilting cotton fabric
- Thread (I recommend using a 40 wt thread – perfect for zippered projects)
Tools:
- Sewing Machine
- Double sided adhesive tape
- Small Rotary Cutter (just the Right Size!)
- Scissors (these are my favorite scissors)
- iron and ironing board


Basic Instructions:
- Fold and press fabric rectangle in half lengthwise , wrong sides together
- Open it back up and fold each side to the center; press.
- Trim the ends of the zipper tail to just beyond the “stopper”.
- Slip the zipper end in between the folded fabric to create a sandwich. Fuse in place.
- Straight stitch along the edge. Trim off ends of fabric from zipper tab.
- Open zipper and repeat steps 3 & 4. Be sure to line up the zipper straight across the top opening before attaching the zipper tab.
Important Tips:
- Go SLOW when stitching over the coil part of zipper. If the needle hits the zipper coil too fast it could snap and break.
- Consider stitching the fabric a couple times, just for security sake.
I created a YouTube tutorial to help you learn to make zipper tabs. Enjoy!
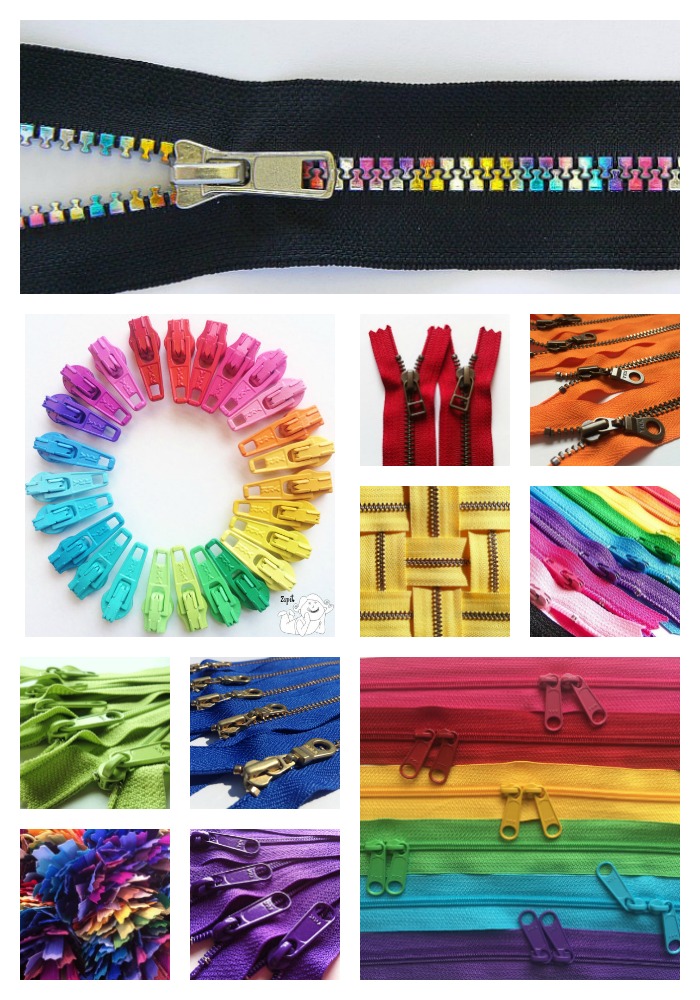
Zipper tabs are the perfect little detail for small pouches. Sometimes, even if the zipper is the right size, I will make it smaller just to add the tabs. I just love the added punch of color! Like I mentioned before, I get all my zippers from my favorite zipper source. There are so many colors available and so many different zipper types and sizes too! This shop even has some excellent zipper pulls available as well!
I hope you learned a lot from this tutorial. I would love to know how you are going to use this technique in your next project. Let me know in the comments below!
Happy Sewing!


Great video! Thanks so much! I always wondered how to do that! I might try that on my next zipper bag.
Thanks for the video. I also liked the anatomy of the zipper. I always get those parts mixed up!
Loving all your new tutorials and videos! Thanks so much for sharing your talents and tips with us. Keep up the great work!
What a smart way to make zipper tabs! I’m going to try that! Loved the video! Thanks!
Thank for the tips.
thank you for sharing your excellent expertise.