QCT5 – How to Plot a Quilt Design
There are many ways to quilt your quilt. In this article, I will explain how I use my Quilting Automation,
with my Juki J350 QVP Longarm. Juki uses the QCT5 system. QCT5 stands for Quilter’s Creative Touch. The number five is the latest edition of the software. Also in this article, I will explain how I plot out an individual quilt block from start to finish. Let’s get started!
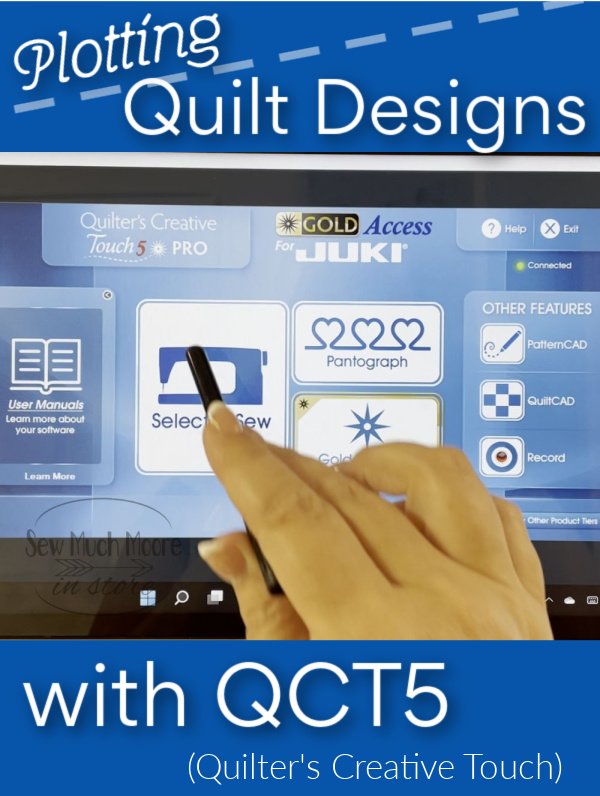
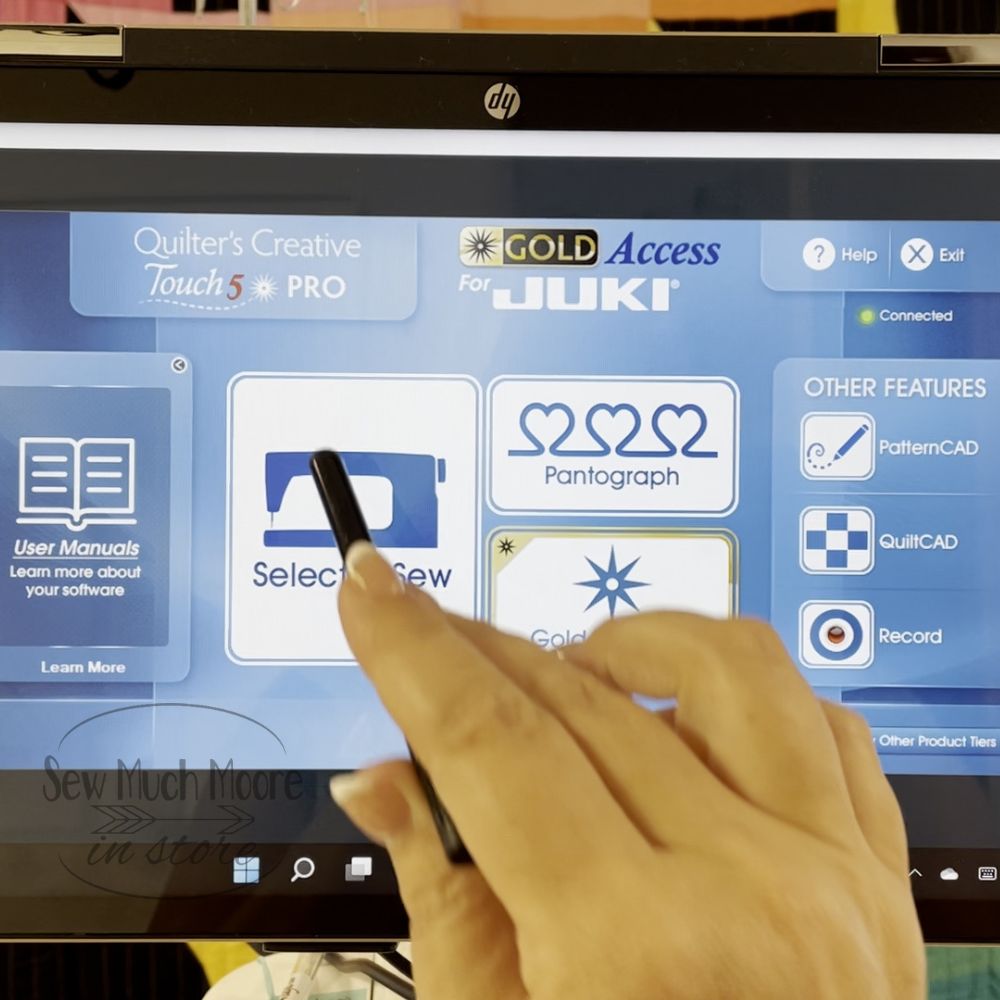
QCT5 – Getting Started
This system allows you to quilt designs, instead of using the free motion quilting method. I’m using
QCT5 and choosing “Select & Sew”. This option opens a multitude of Quilting motifs and designs.
The design that I chose is Basic pattern, which is square. However, I need it to Quilt onto a parallelogram shape.
This shape has four plotting points. I’m going to move the head of my long arm, and align the needle to each particular point on the parallelogram shape. I’m in going to assign each corner to the design on my QCT5 interface. Continue to plot out the shape and I’m also going to select the ditch feature. This will basically stitch around the perimeter of my shape.
Handy Tools
I am using a stylus instead of my finger to touch my screen. I have found this to be a more accurate way to command my movements into the system.
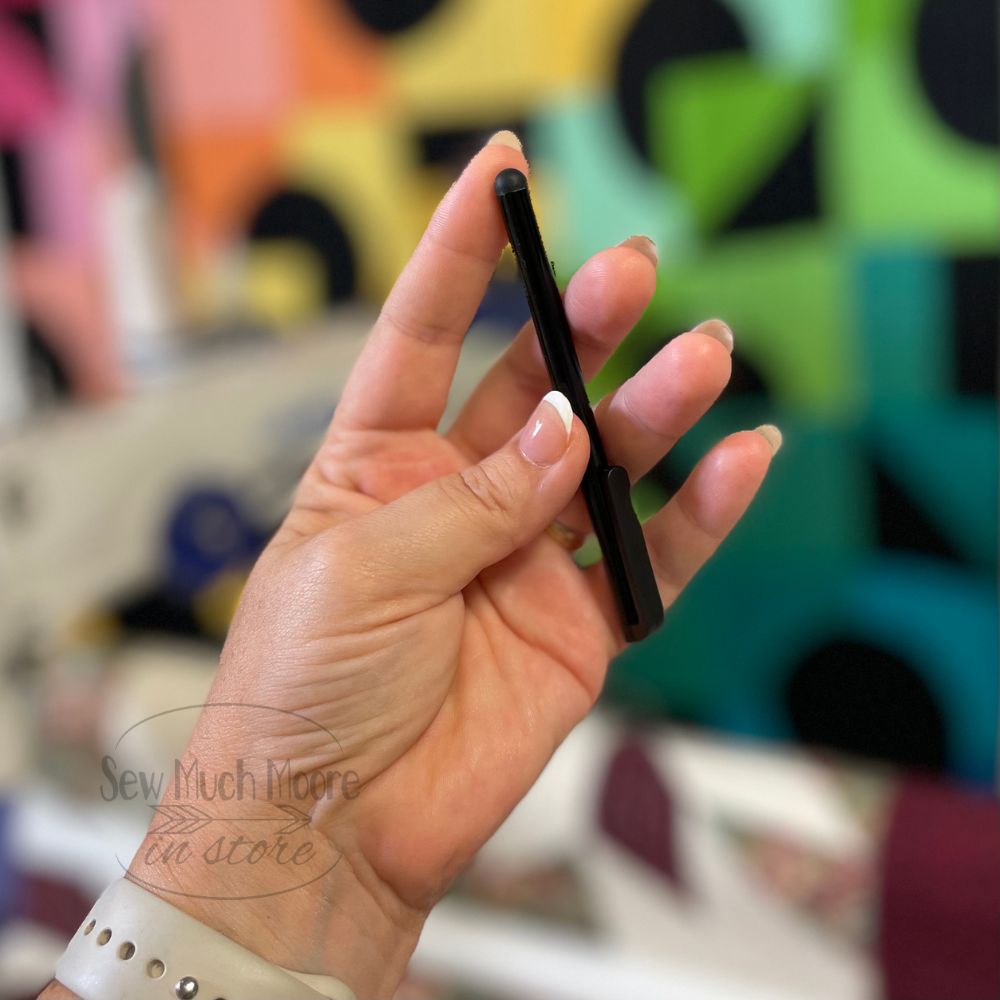
These little gadgets are super handy! I have even used them with my iPad and my iPhone! And since I often teach, I uses these on other peoples machines too! You can get these right HERE.
QCT5 – Optimize your Pattern
Once I’ve aligned everything then I’ll select the quilt button. This takes me to some additional features where I’m going to optimize my pattern. The first thing I’m gonna do is take out this trim line.
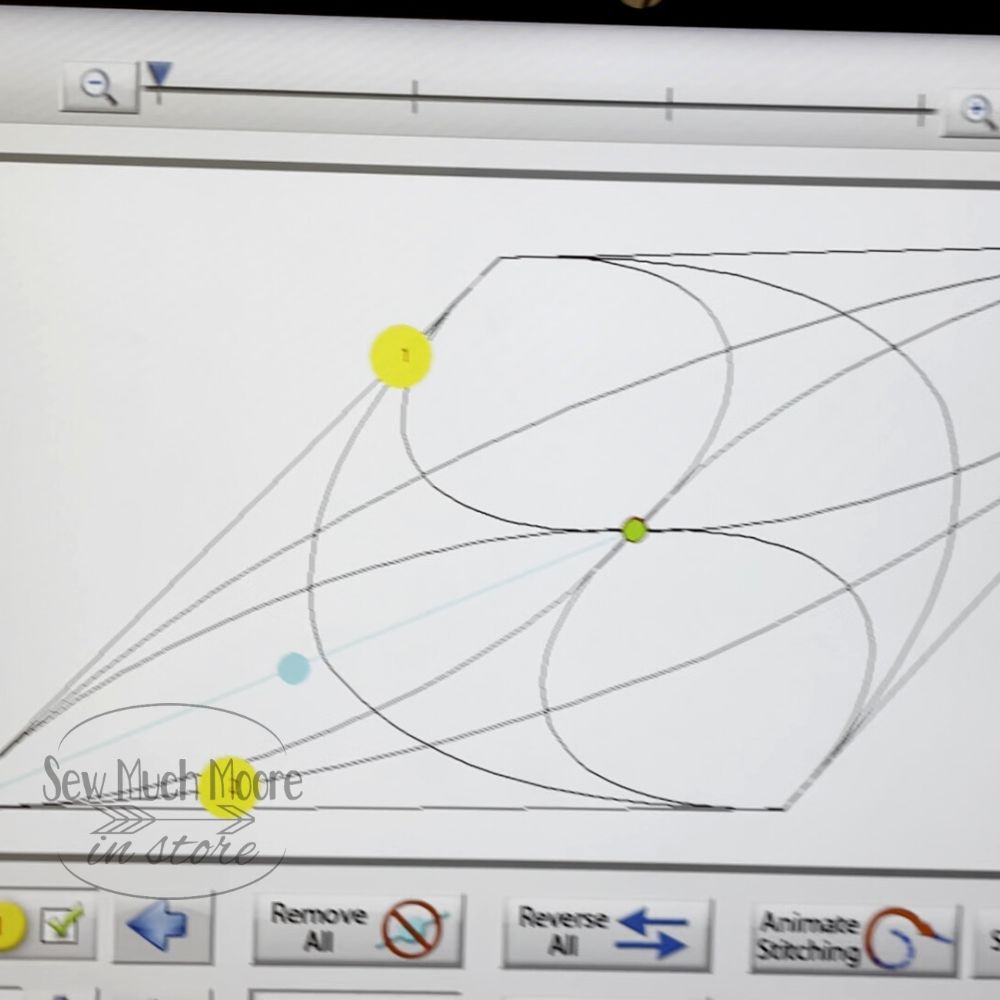
This aqua blue line simply means that it’s going to require us to move to another section and possibly cut thread and bury threads. Select Remove All. This will turn your trim line into a stitching line. I happen to like this stitching line, so I’m going to leave it.
Start and Stop Options
You’ll notice a red and green circles here. The green means this is where stitching is going to start and the red indicated the stitching end. I prefer to start my stitches on a corner. You can move your start and stops around by clicking the reverse all button.
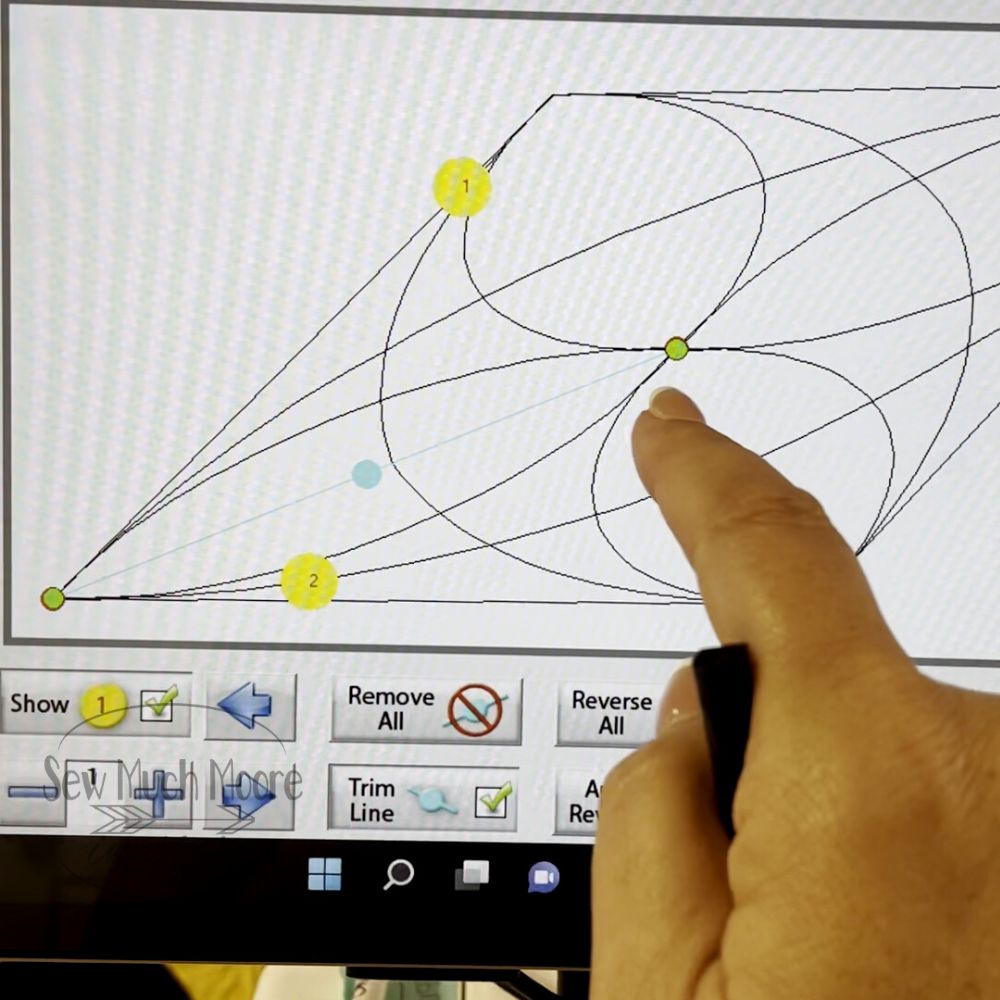
You can also see how your pattern is going to stitch out by pressing the animate stitching button. I like to slow down the speed for this because I think it goes too fast. There are quite a few features on this page but we’re going to press on to Quilting our parallelogram.
Bobbin Thread Management
So you’ll notice that our stitching point is on the bottom left-hand corner of our shape. I’m going to
manually move the head of my long arm towards that spot. You can let the computer do this for you but I like to go ahead and pull my bobbin thread up, before the stitching begins.
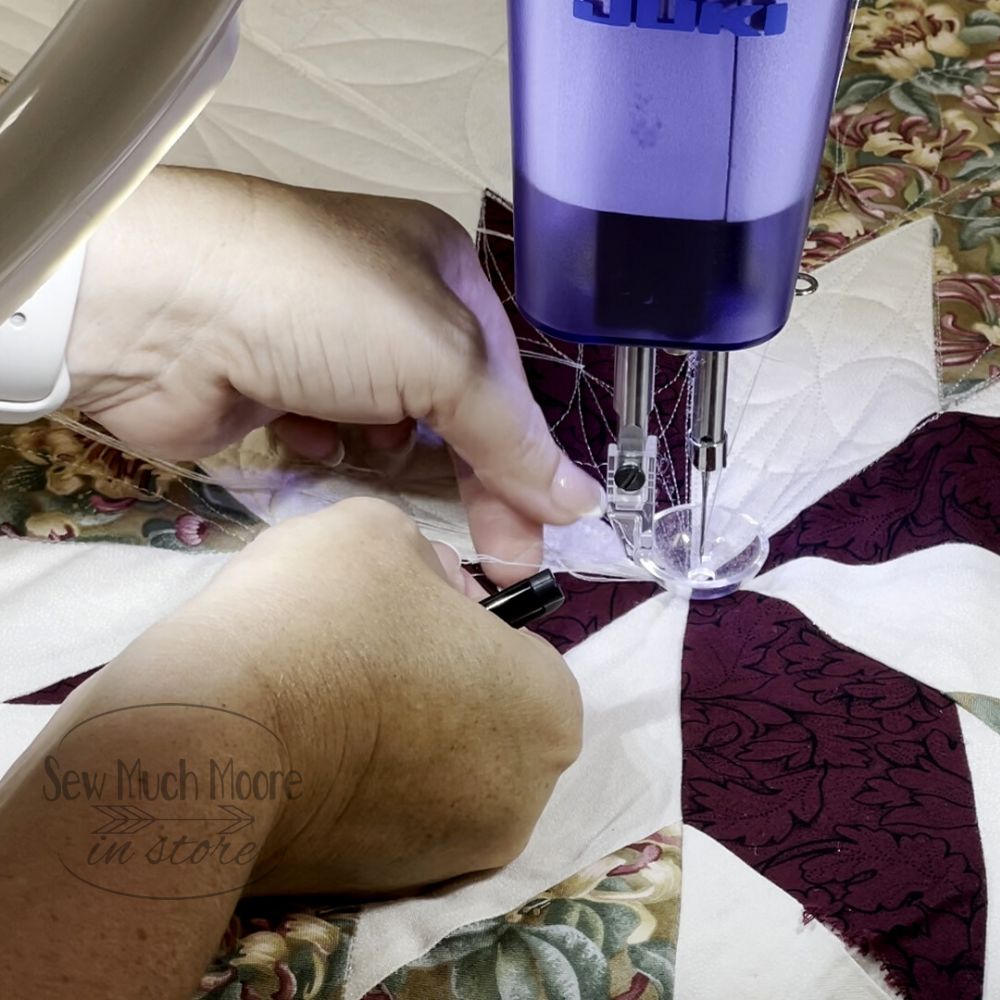
An easy way to move your bobbin thread to the top is to take a single stitch and then pass your top
thread under your quilting foot and grab hold of that bobbin thread. You’ll see the bobbin thread come up. Simply grab that bobbin thread and pull it up and out to the top.
Let’s Press ‘SEW”
At this point, you are ready to stitch out your quilting pattern. Simply click the sew button on the QCT5 interface and your pattern will begin stitching, just as it was programmed. In case you’re wondering, I am using the glide foot. This is a great accessory to have.
The machine I’m using is the Juki J-350 QVP. It has 18 inches of throat space and has built in stitch
regulator. You can learn loads more details about this machine right HERE. The QCT5 package is an
added feature and upgrade from just having a Long Arm. Hooking it up to the QCT5 interface was easy. While I am comfortable quilting in the free motion method, you cannot compete with this quilting automation software! It’s so fun and easy!
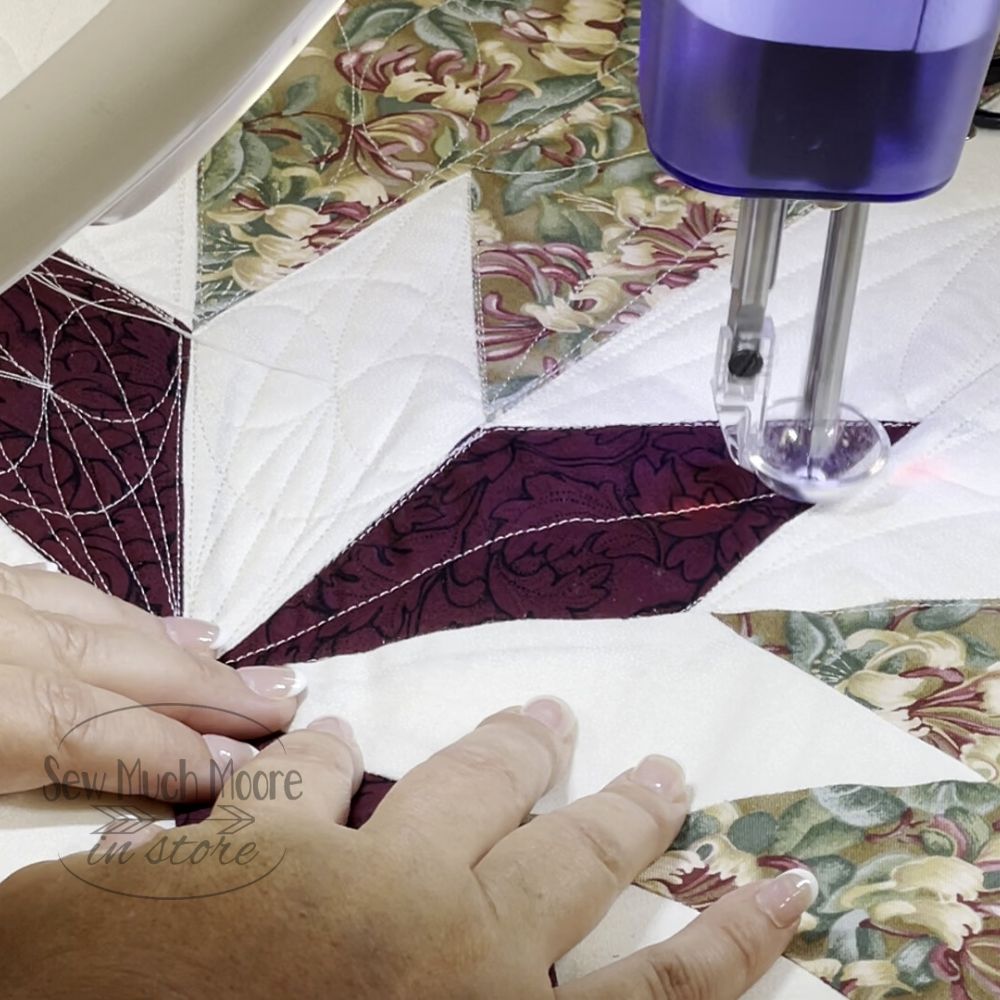
QCT5 – Finishing the Quilt Design
Once the pattern is stitched out, it’s time to bring our bobbin thread to the top. This is easy to do.
Make a single stitch at your stopping point. Pull the head of your long arm away from that stitch and
grab the top thread to create some slack. Go back to your stitch point and make a second stitch. Pull
the head back again to reveal your bobbin thread. Now pull these threads and trim.
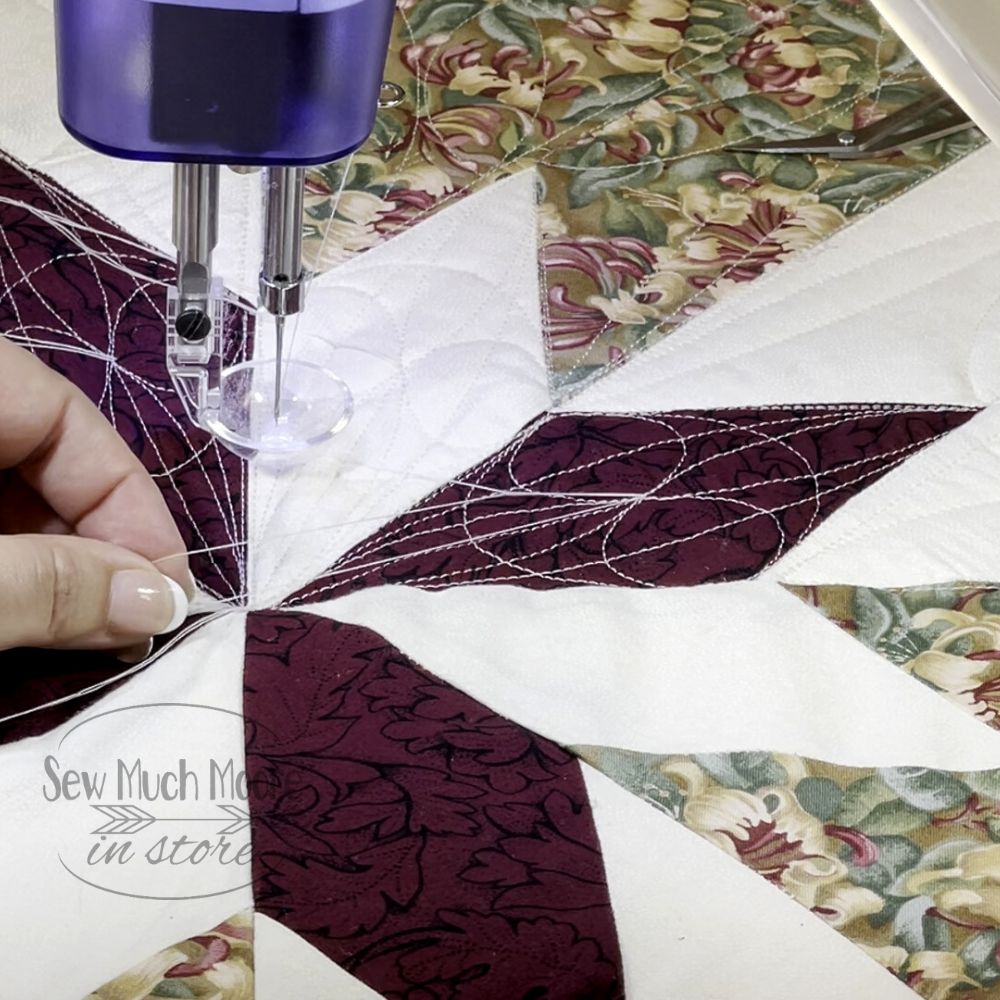
Bury your Threads
Finally we’re going to bury our threads. I love using the Snag Magic Tool. This little gem comes in a 2 pack and it really helpful for the tedious task of burying threads.
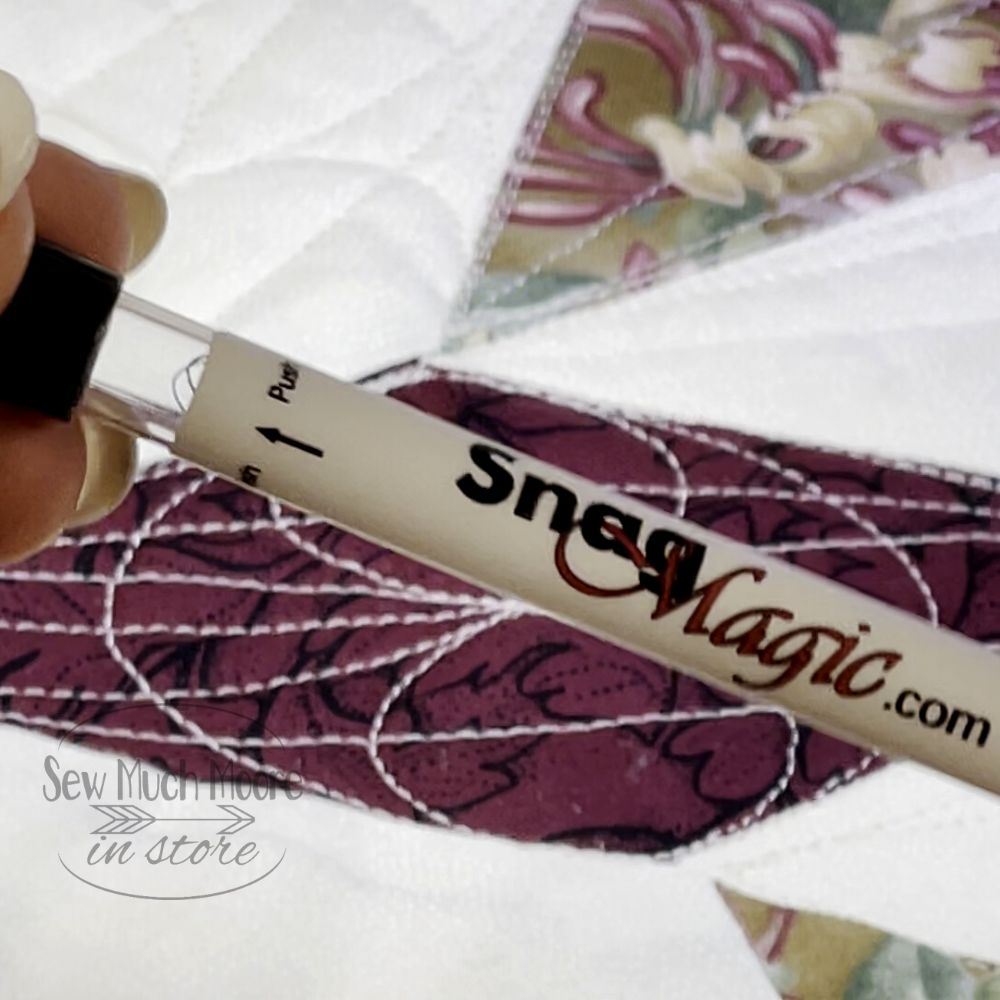
If you bury your threads, you will want to grab this for your quilting studio. You can get these right
HERE. Once you’ve pulled your threads through, simply snip the excess threads and go onto your next block.
Watch the Video
Show us your creations! Whether you use a quilt automation or not, we want to see your quilts! Be sure to post these in our Modern Quilting Community.
Happy Stitches,
