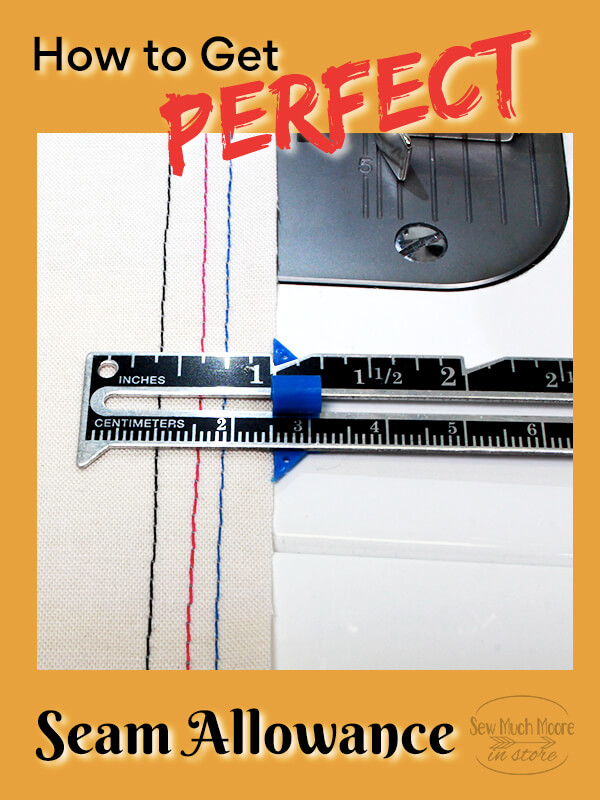
How to get PERFECT Seam Allowance
In this tutorial, I will show you several different ways to achieve a perfect seam allowance for your sewing projects.
Using my Juki TL2010Q sewing machine, I will introduce you to several different tools that will get you sewing like a pro!
Tools for Seam Allowance
Washi Tape
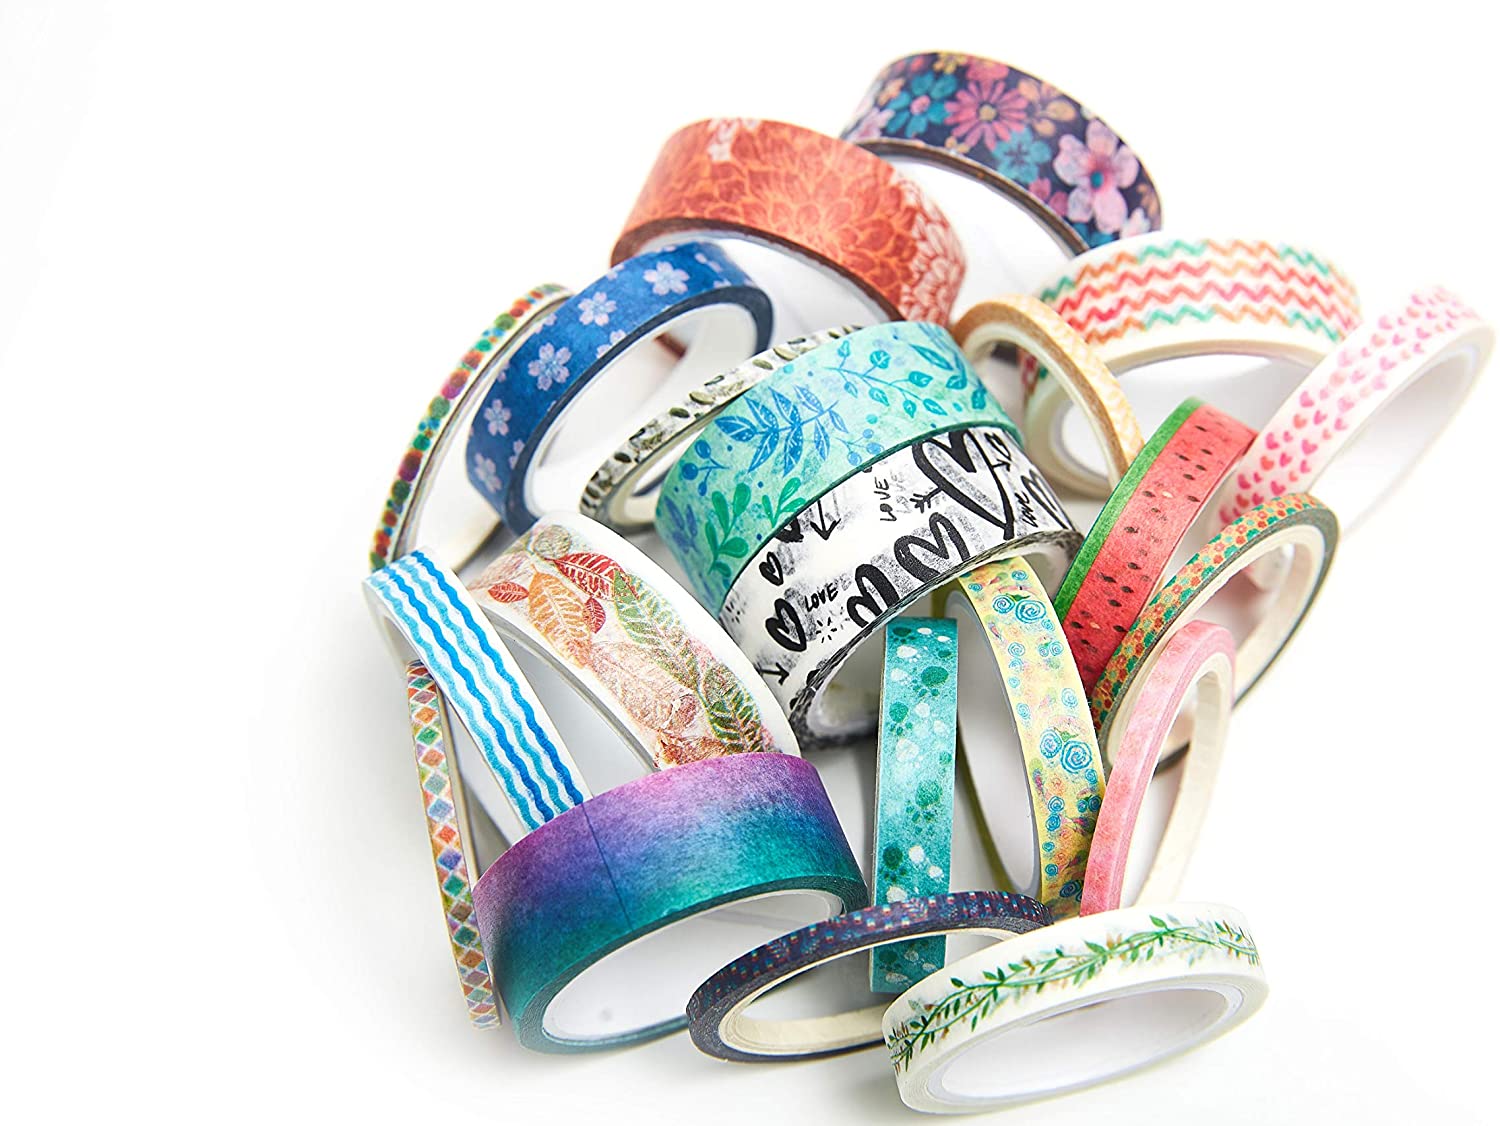
The 1st tool is something that you may have already at your house. Washi Tape is an easily available and inexpensive product. Simply place washi tape on the faceplate of your sewing machine. Usually, there are seam lines that are already embossed on your faceplate. To get started you can align your washi tape at the quarter-inch marking. Once you’ve aligned your tape, against your desired seam allowance marking, you can simply position the edge of your fabric against the edge of the washi tape. This technique is quick and easy and can provide excellent results! I use a seam guide to ensure that my seam allowance is correct!
Magnetic Seam Guide
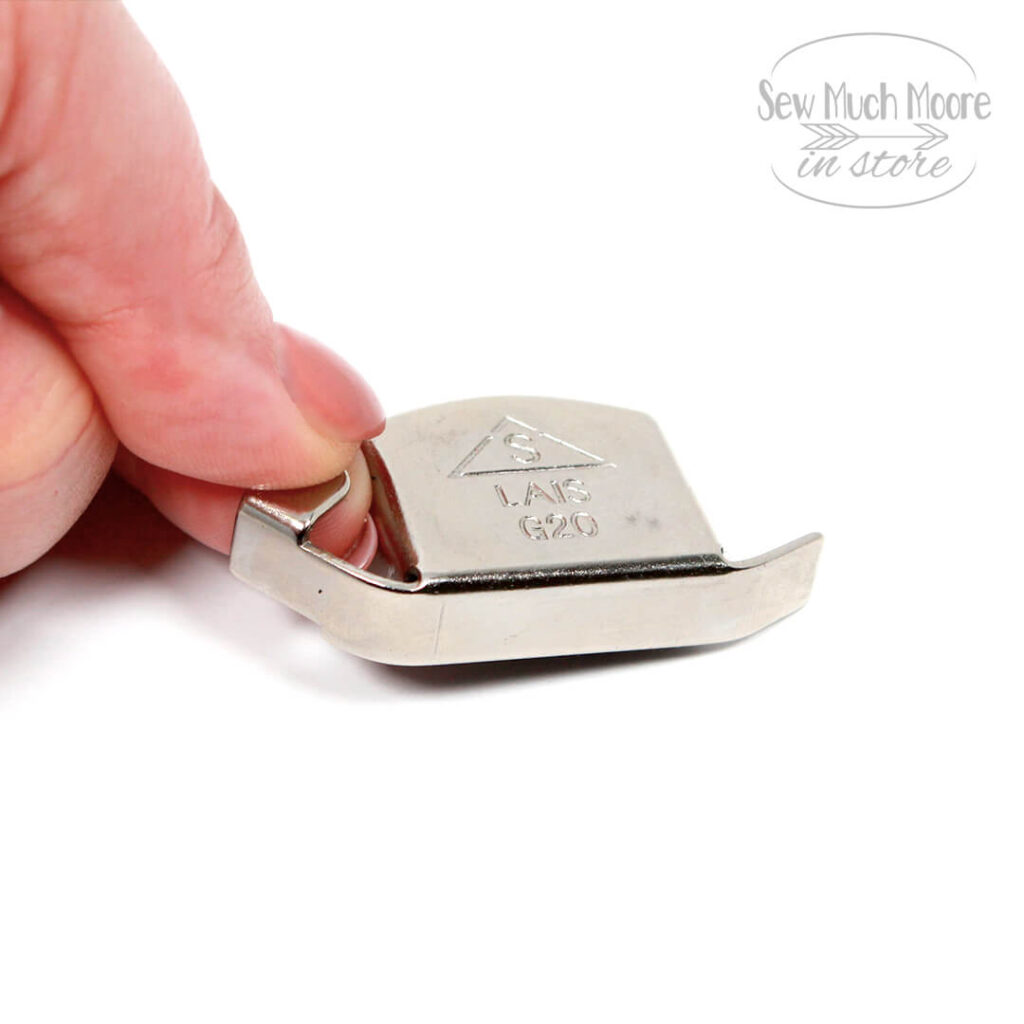
The second tool I want to show you is the Magnetic Seam Guide. This gadget has a strong magnet on the back and will hold into place on your sewing machine faceplate. To use this tool, simply locate your desired seam allowance and align the edge of the magnetic seam guide to the edge of the seam allowance line. (What makes the magnetic seam guide better than washi tape is the raised edge of the guide. It is much easier to hold the fabric edge next to the magnetic seam guide.) You can easily move the guide further in or further out – depending upon the seam allowance you might need for different projects.
Quarter Inch Presser Foot
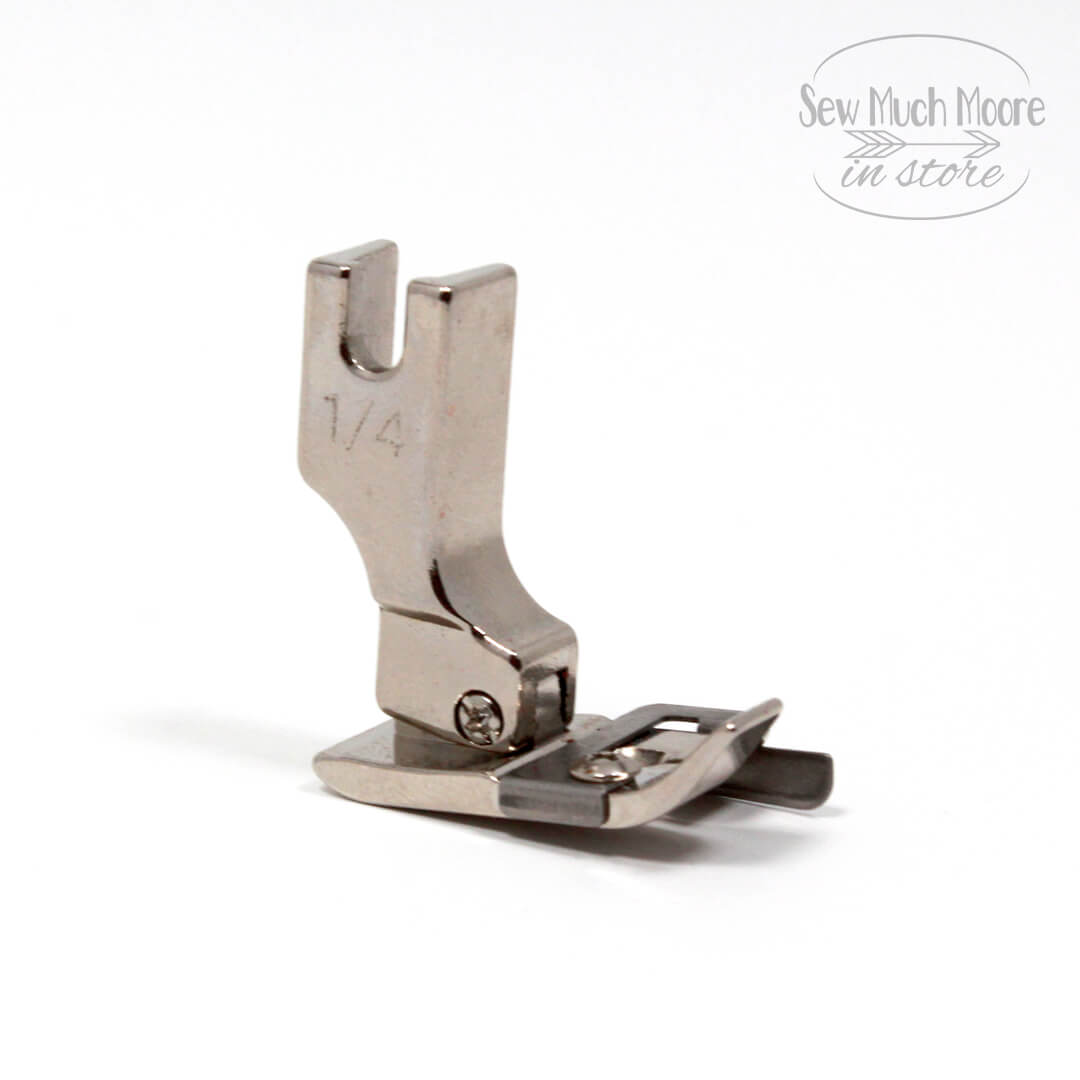
One of my favorite ways to get a great seam allowance is by using a Juki Brand quarter-inch presser foot. While this foot doesn’t come standard with the Juki TL2010Q; it is easily purchased aftermarket. These feet are super simple to switch out. You just remove the side screw and replace the foot. Once you have the new foot in the place you can just begin sewing. This foot is specifically for a quarter-inch seam allowance. This specialty sewing foot is particularly great for making quilt blocks.
Marking a Sewing Line
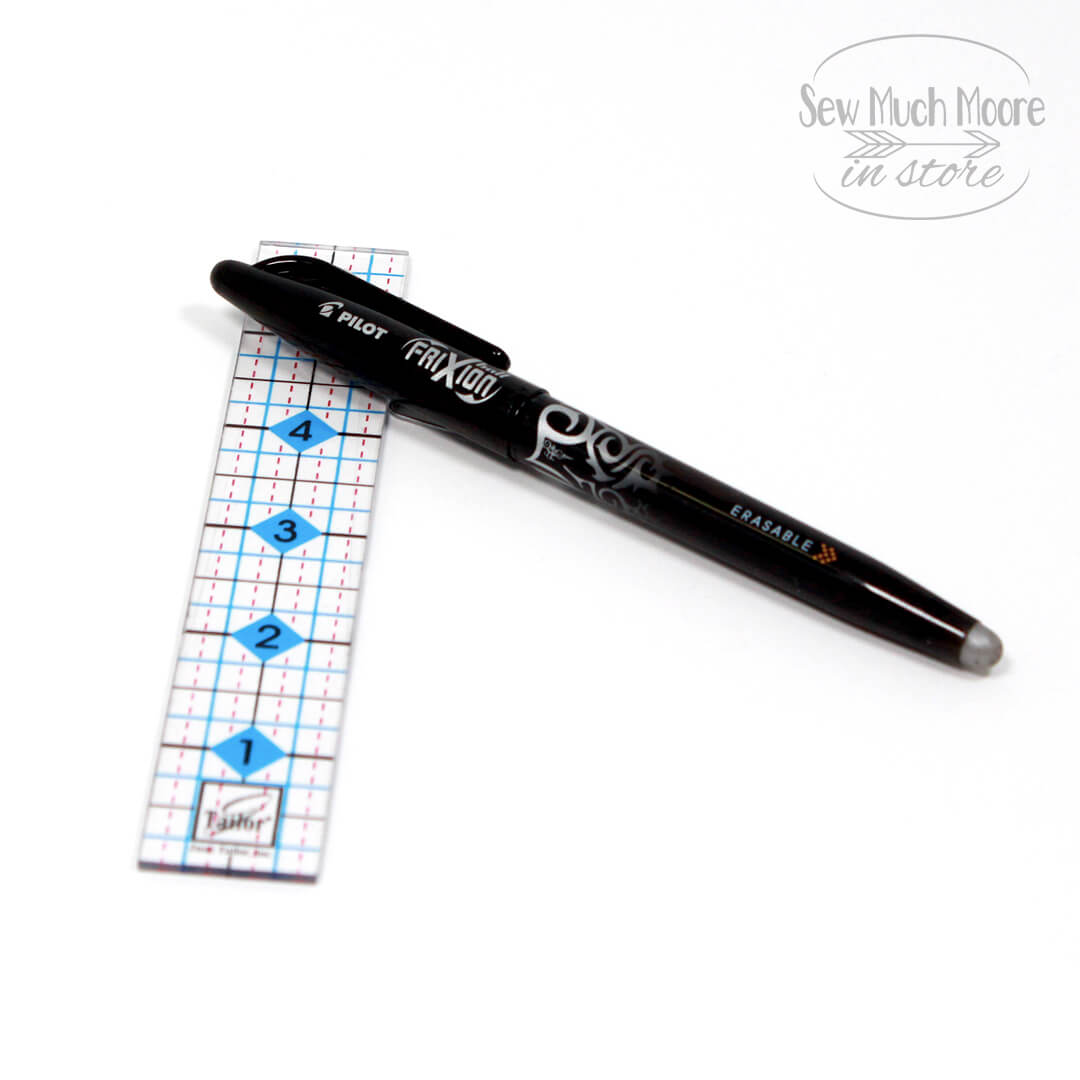
One of the last ways to sew with perfect seam allowance is by marking your sewing lines. Whenever I mark my sewing lines, I like to use a Frixion Pen. These pens are super useful. The magic is when you apply heat. You simply mark on your fabric and then press with your hot iron and the marks magically disappear. Now, I will tell you that I only use these pens for marking my sewing lines. I never use these in an area that won’t be hidden by stitches or a seam allowance. To mark your sewing line, just lay your acrylic ruler over the edge of your fabric. Draw your line, right against the edge of your ruler. Sewing lines are also very helpful if you are new to sewing and need that extra bit of visual help.
Using a Grid Glider
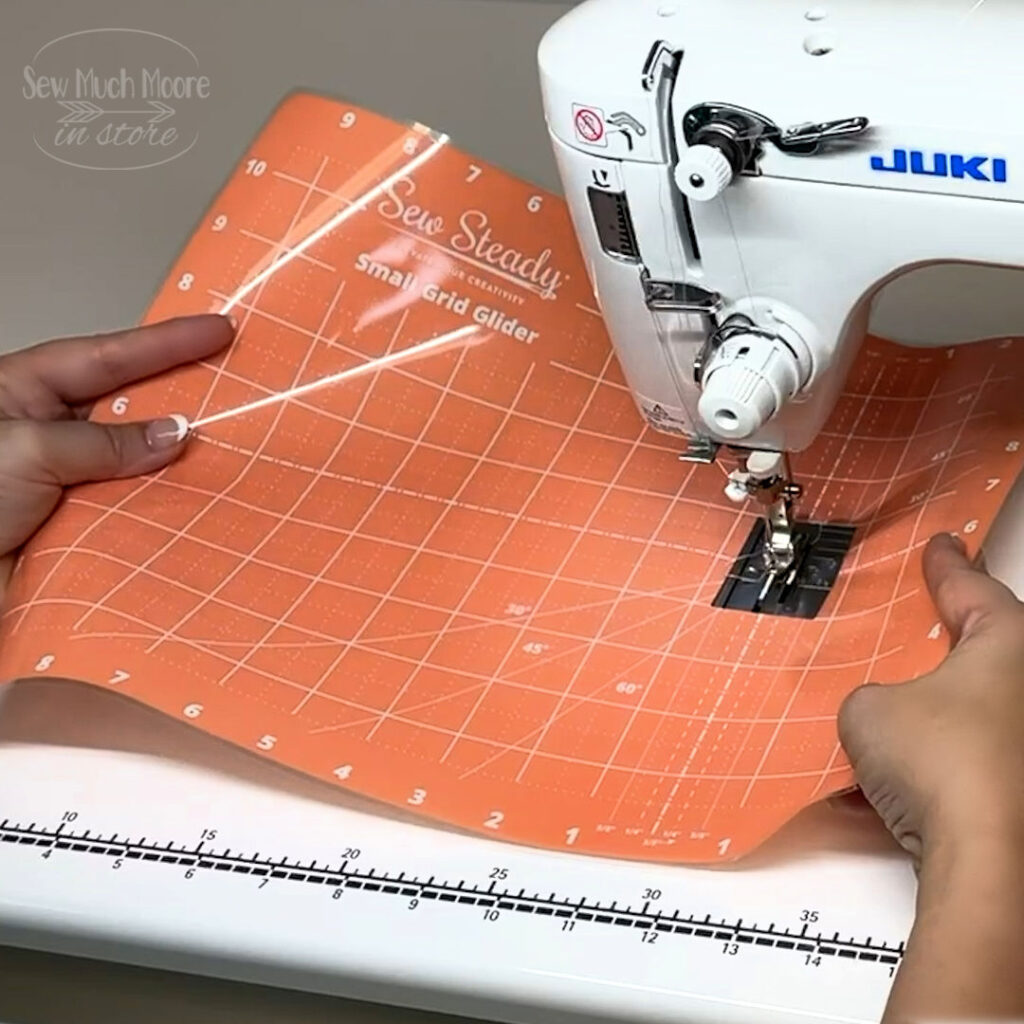
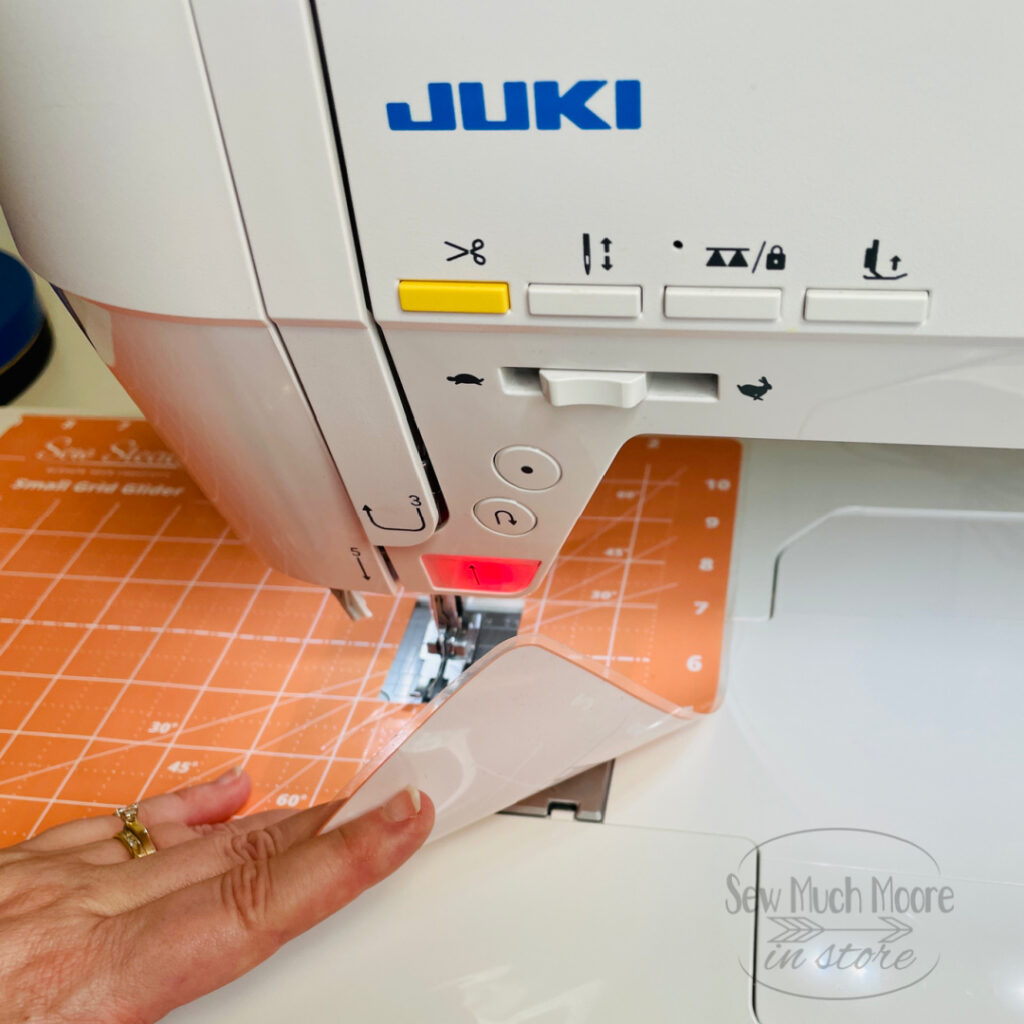
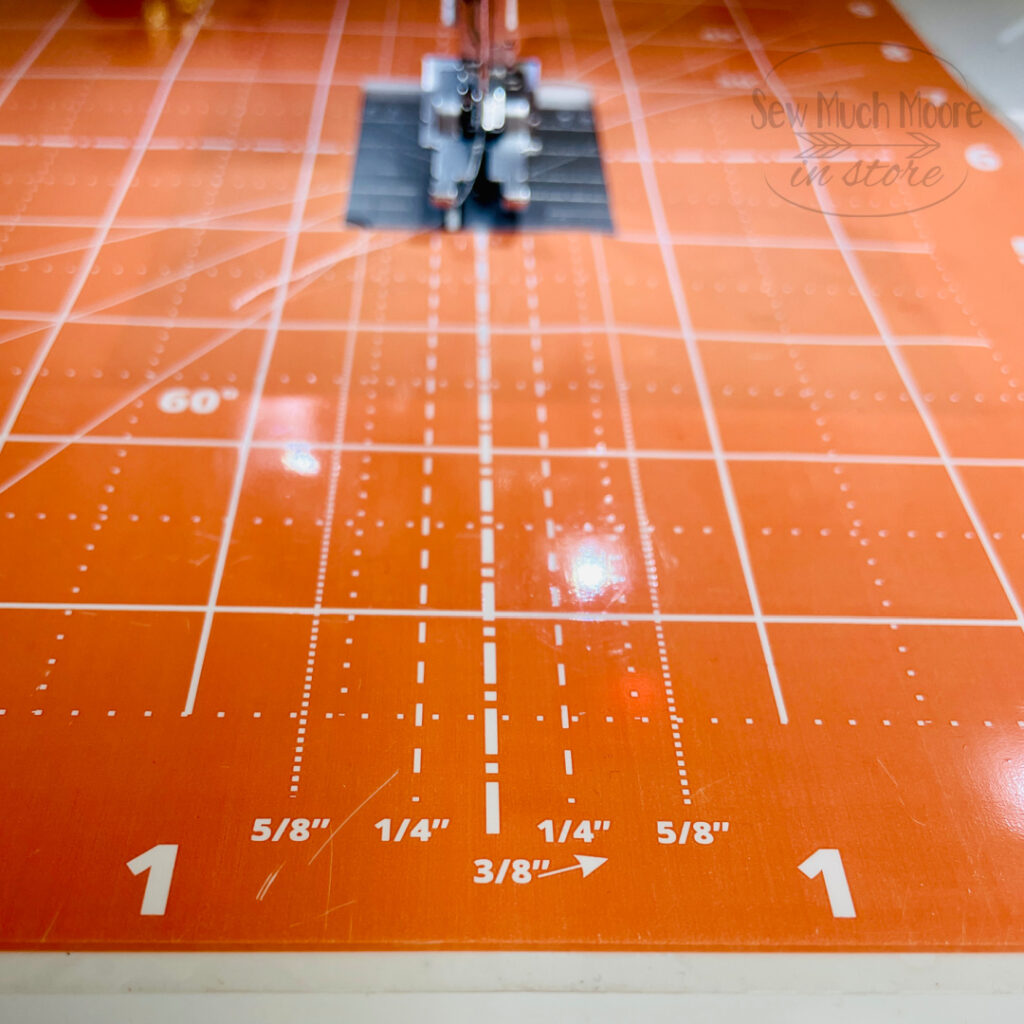
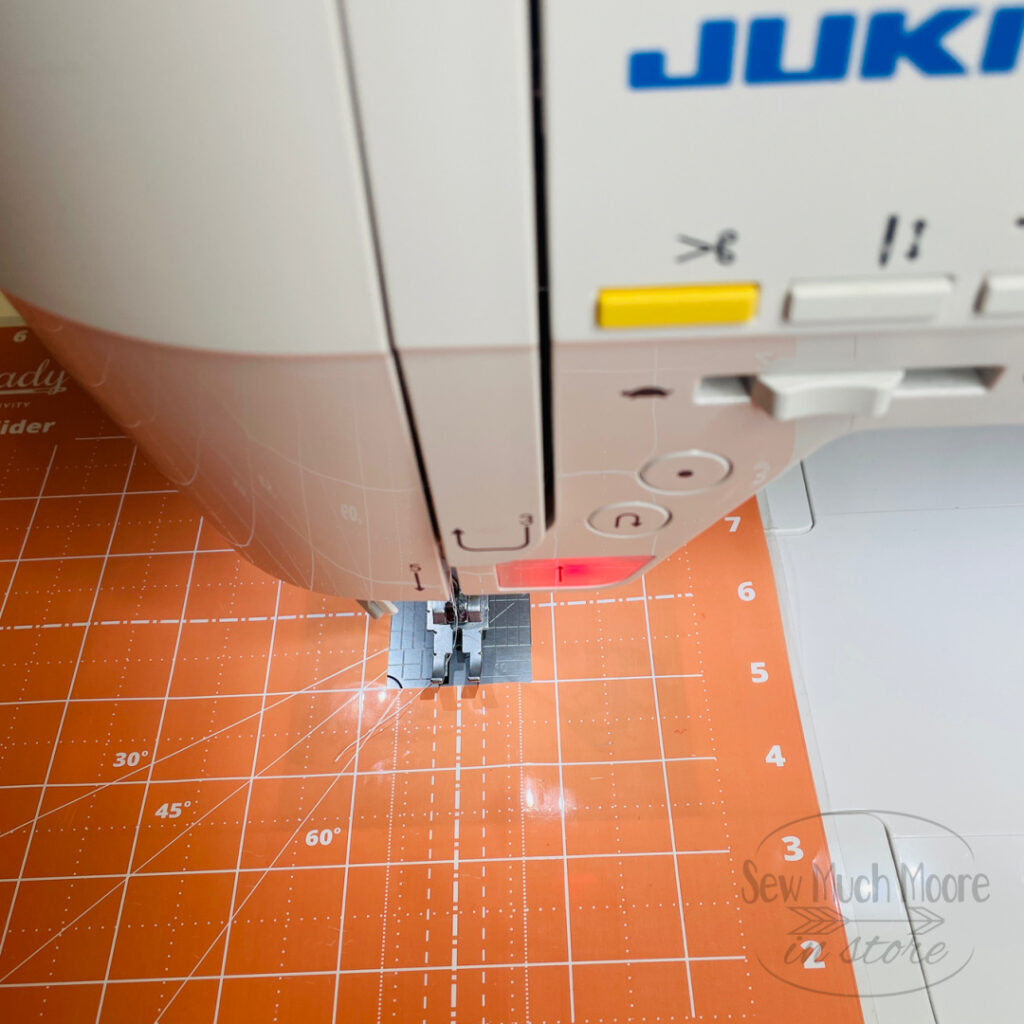
I have used a Grid Glider for several years. I have the small version on my Juki DX-4000 and the Large Version for my Juki TL-2010Q. The DX-4000 has a larger throat, but the table isn’t big enough for the large grid glider. In fact, I trimmed an inch off the left end of it! My Juki TL-2010Q has a smaller table (from the factory), but I opted for an upgrade with my Sew Steady table that is much much larger. You can learn more about the grid gliders and how they work right HERE.
Watch the Video
I hope this article gave you some ideas and help in order to achieve a perfect seam allowance. Be sure to check out my Facebook Group and Instagram Stories for more inspiration!
Happy Stitching!

That’s awesome thank you for sharing this link
i like the 1/4 presser foot
I just recently started sewing again On a machine after 35 years, I normally hand sew everything. I am working with a machine I know nothing about and having the worst time sewing the masks that my husband needs so he can work. He has a kinda chunky face so standard measurements are not working. I just want to say how great grateful I am for you sharing all the tips that you do. I will be using that washi tape trick. I wish there was a class that I could take to take so I don’t feel so lost about my machine but I can’t find one in my area at all. Thank you so much again, You are great.
Angela, what type machine are you using. Can you post the brand and model# , and maybe some of us can help you out. Also some of the brand home sites have manuals to machines available. Good luck.
Great stuff that I might never have tried. Thank you.