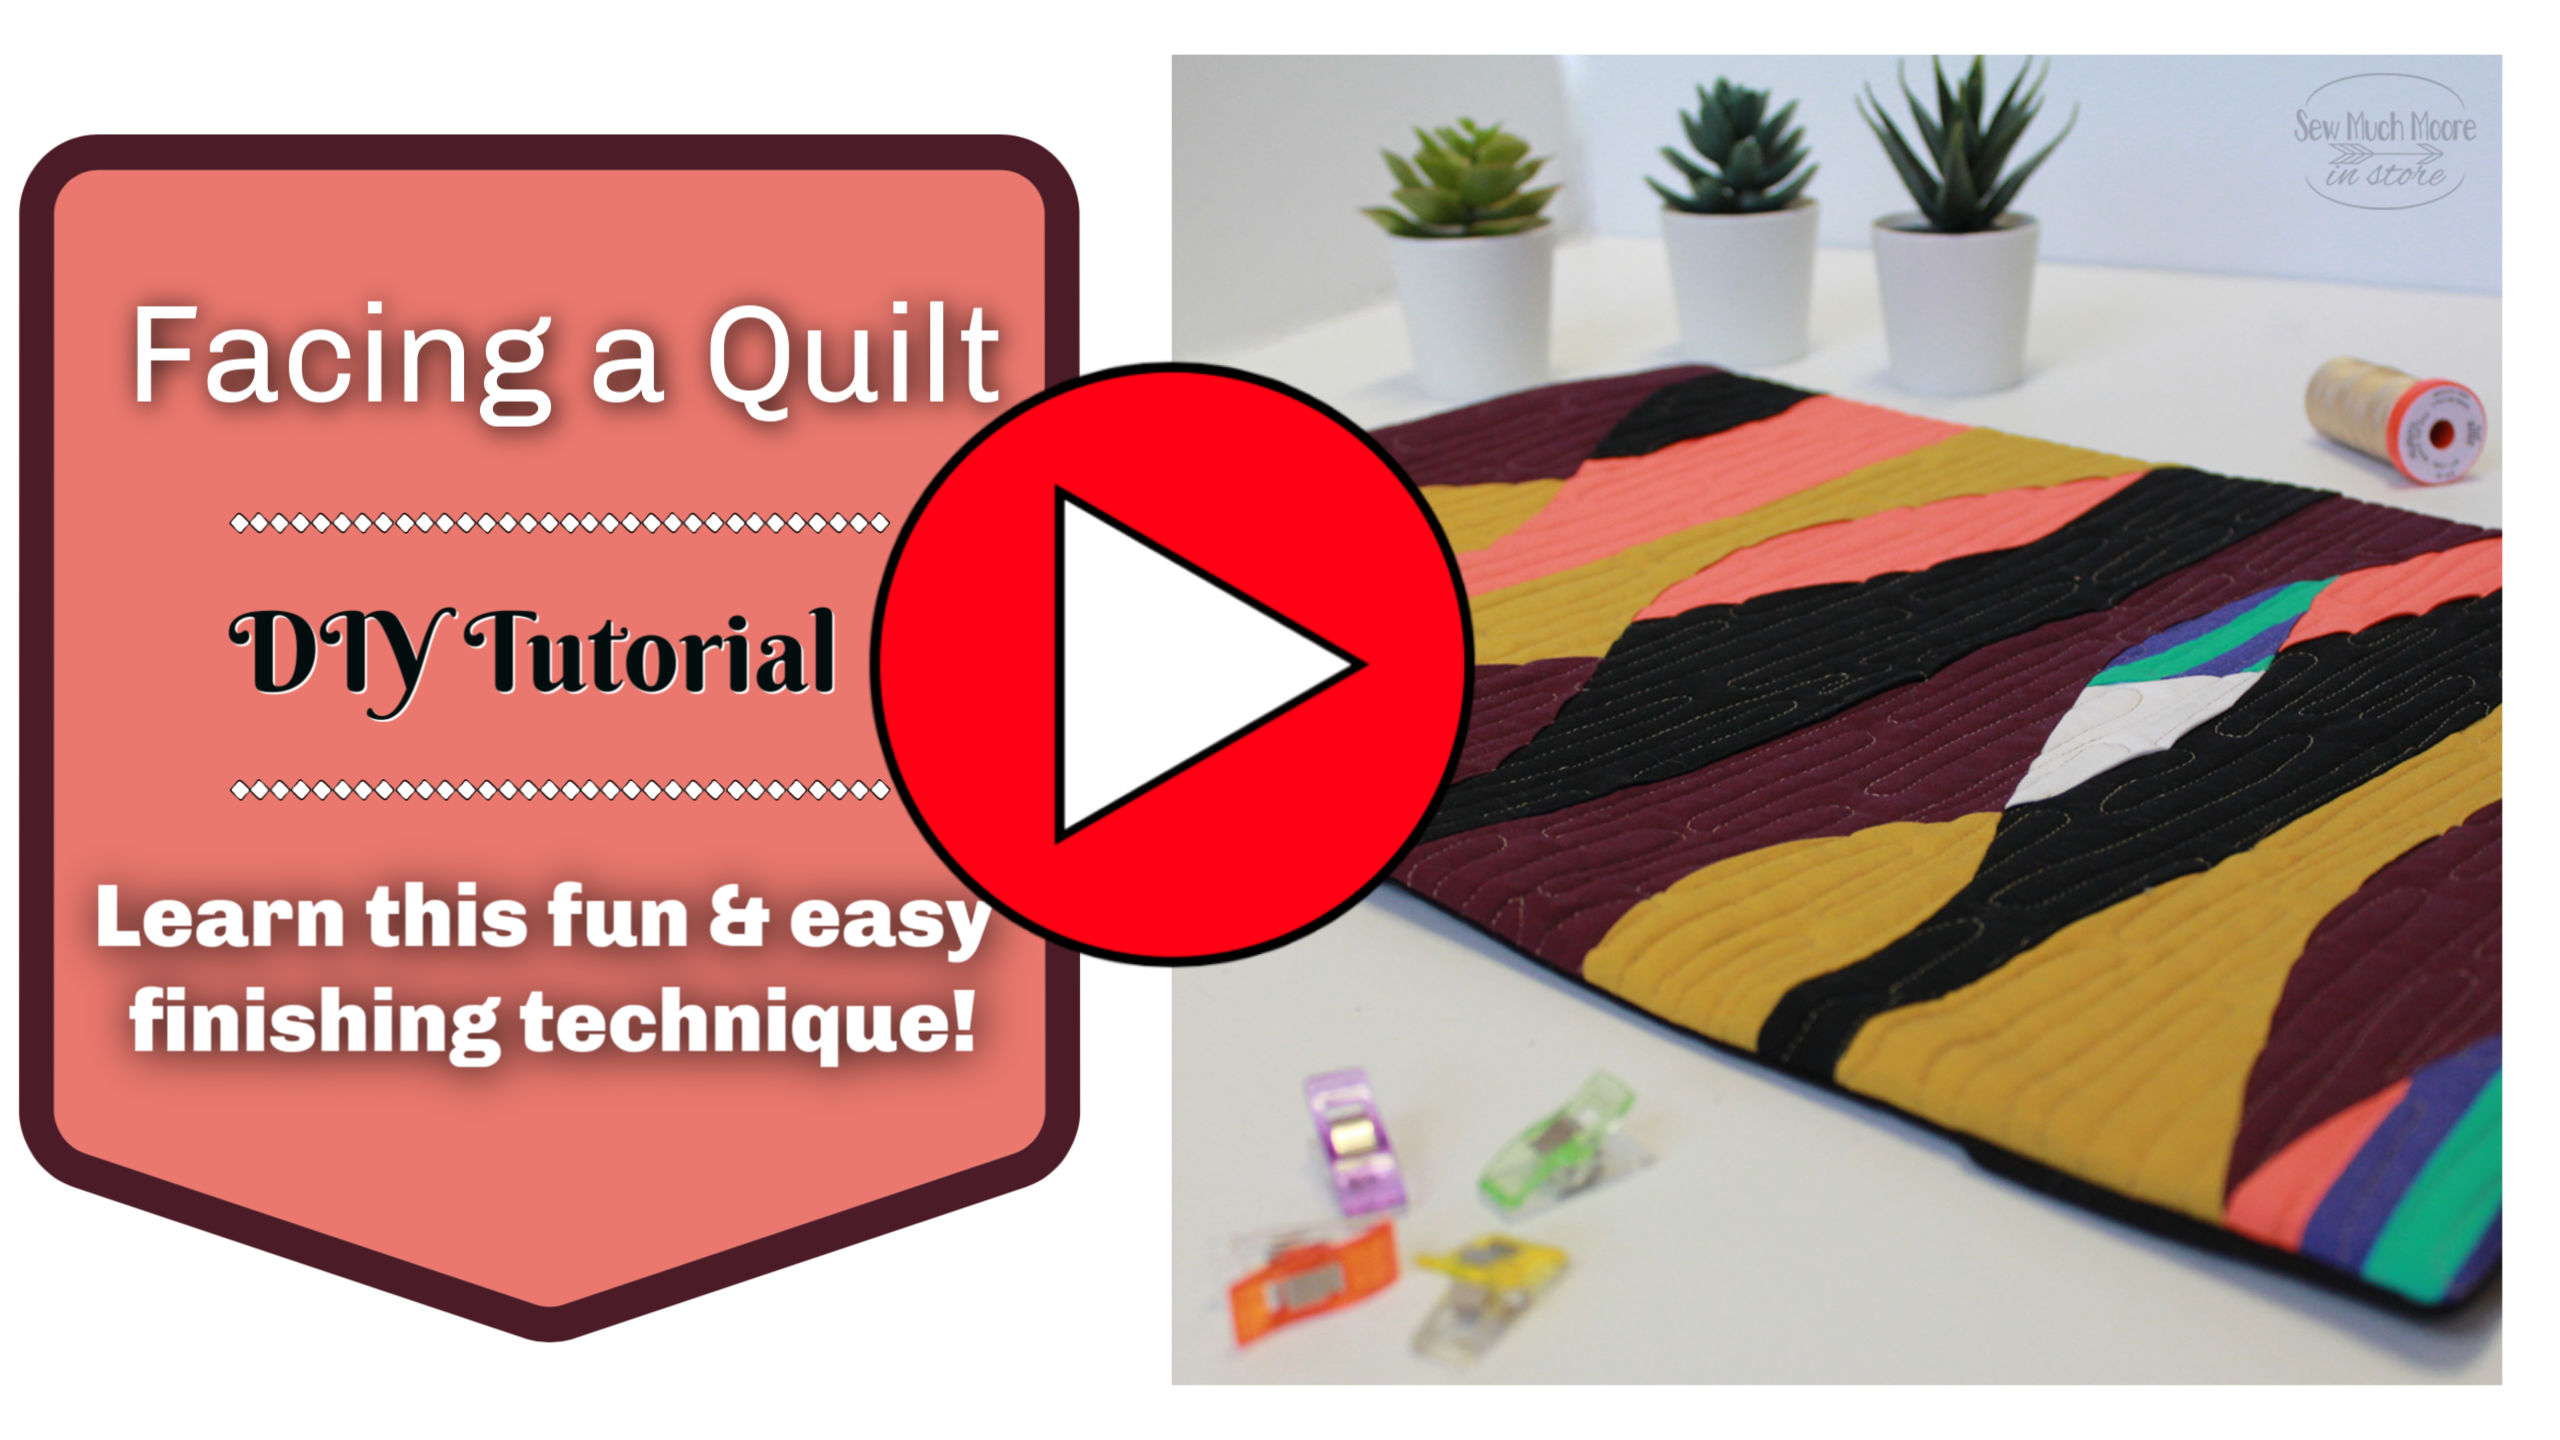
How to Face a Quilt
Facing a Quilt is a wonderful way to finish your quilt! After all the work of designing and piecing – finishing is very exciting! There are many ways to finish a quilt. In this tutorial, I will show you how to add facing to your quilt as an excellent way to finish! Don’t forget to watch the video tutorial too!
This post contains affiliate links for your convenience. ? Read my full disclosure policy here.
Quilt Facing SUPPLY LIST
- Quilted (unbound) quilt top – any size will work
- Qty (4) squares of fabric- measuring 4″ x 4″
- I used Ebony by Paintbrush Studio
- Qty (4) facing strips – cut two WOF strips measuring 2.5″ wide and then cut these in half
- I used Ebony by Paintbrush Studio
BASIC SEWING SUPPLIES NEEDED
- Sewing Machine (I love my Juki TL-2010Q)
- Cotton Thread (this is what I use)
- Rotary Cutter with a sharp blade (I use this brand – 45mm)
- Acrylic Ruler (I like this brand)
- Rotary Cutting Mat (I recommend this mat)
- Iron & Ironing Board Cover
- Wonder Clips
- Optional sewing stiletto
- Fabric Scissors (I used these scissors in the video)
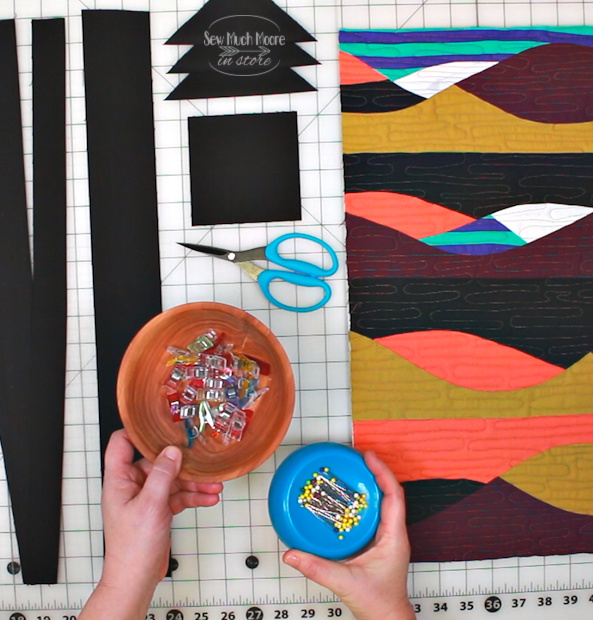
This art quilt consists of several class samples from a Modern Quilting Class I took with my local guild last summer. Besides a quilted top, you will also need your corner pieces (which can also come in handy for hanging your quilt, four facing fabric strips that are at least the length of each side of your quilt top. You can use sewing pins or clips. I prefer clips for this technique, so that is what I will use in this tutorial. You will also need a pair of scissors.
Sewing the Facing
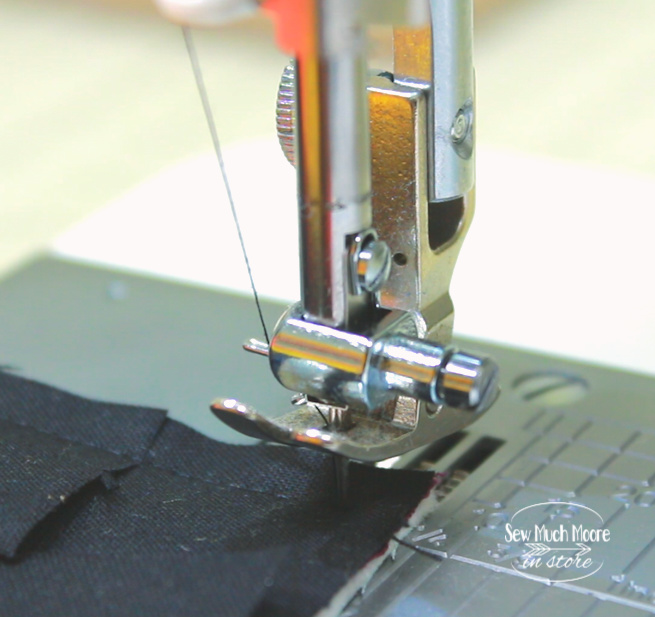
Once we have all the facing and corner pieces attached to our quilt top, we will sew these in place. Simply start at one corner and sew the entire perimeter of your quilt, using a one quarter inch seam allowance. I love using a sewing stiletto to help keep the fabric in place while I’m sewing. This is especially useful when you want to keep your fingers away from the needle. While you are sewing, when you reach a corner of the quilt, ensure that your needle is in the down position – lift up your presser foot and pivot your quilt. Continue sewing around the entire perimeter of the quilt
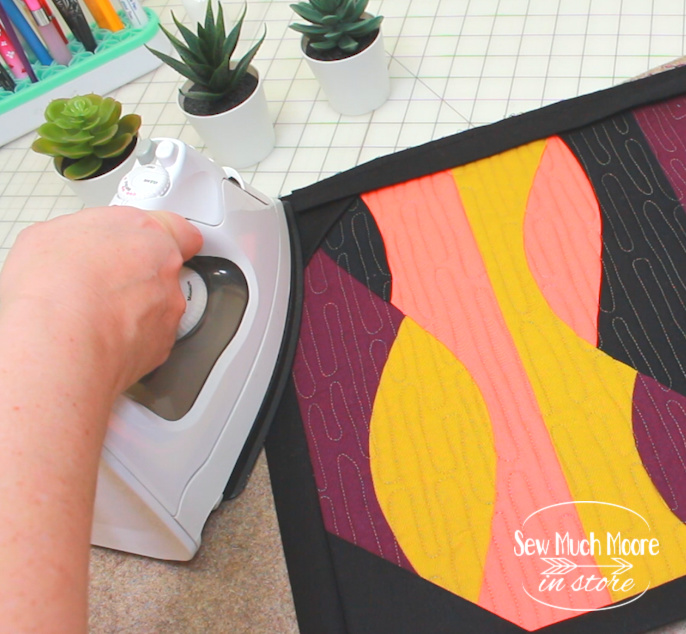
Once you have all the facing and corner pieces secured with your stitching, you will take just a moment to press your facing strips out. The next step is to sew a line of stitches along the facing strips, just about an eighth of an inch away from your seam. The purpose of this step is to help the facing strips easily fold to the back of the quilt.
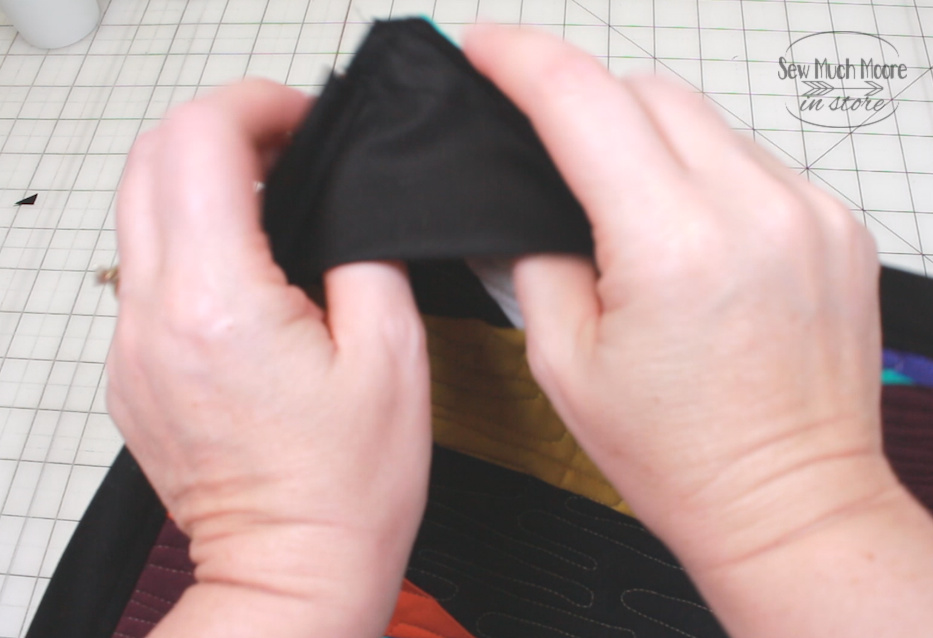
Using your scissors, snip away each of the corners. Be careful not to snip past the diagonal line of stitching you made earlier. Making these little snips will reduce the bulk in the corners when you turn the facing right side out. When turning your facing right side out, simply flip out each corner of the quilt. The raw edges of the facing strips will be hidden behind the facing corners. I used a chopstick to help my corners along.
Quilt Facing Finishing Touches
Next, we will hand-bind the facing strips to the back of your quilt. I found the easiest way to do this is to clip the facing strip into position. You can even move the corner to the back so you can reach the raw edge of each strip to hand stitch this down. Once your binding is finished, you can add a dowel rod to the insides in case you wanted to hang your quilt on the wall.
The finished Faced Quilt!
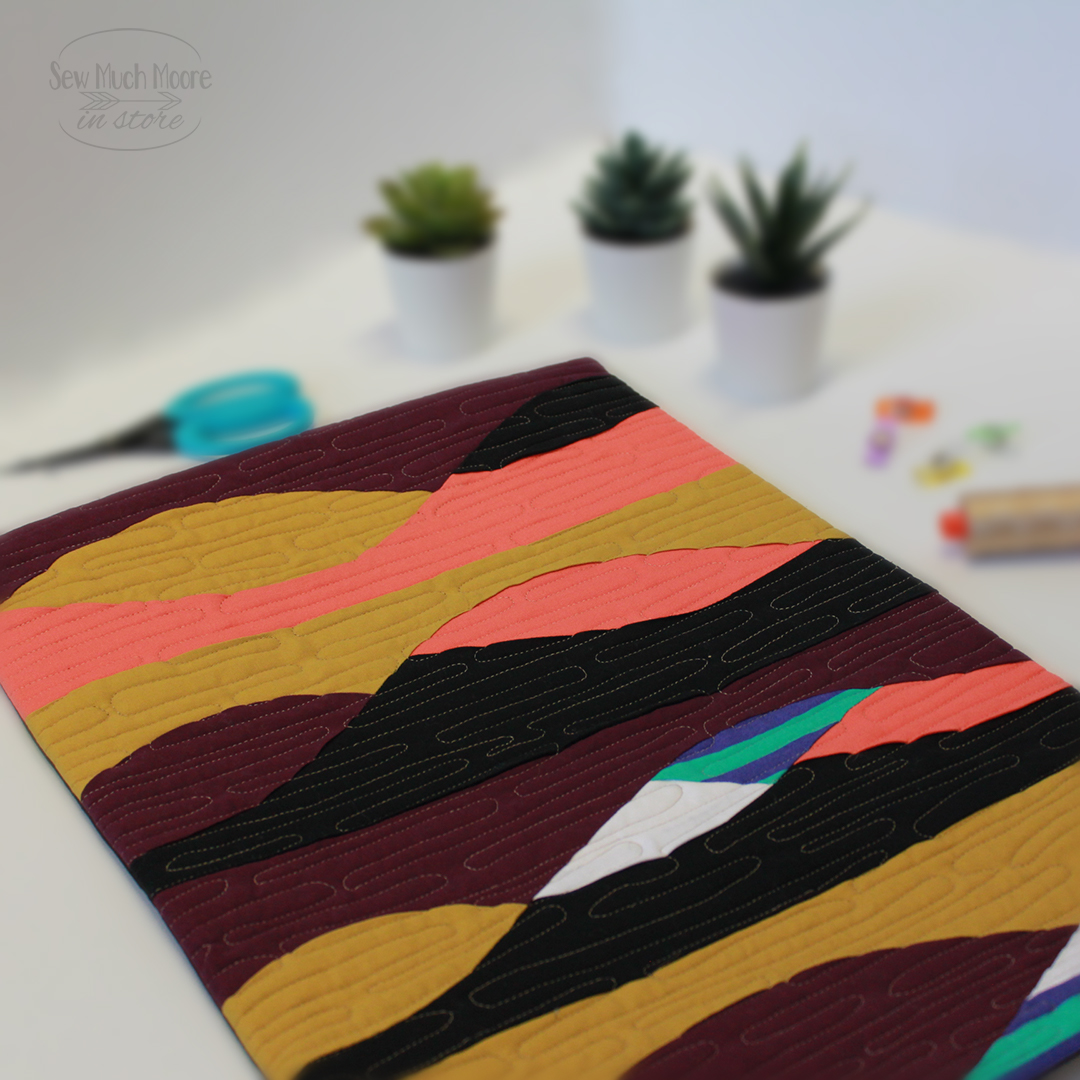
I really like the way facing a quilt does not take away from the original design of this quilt. Regular binding would have districted the vision of this mini quilt and taken away from all the soft curves. I hope you enjoyed and learned from this tutorial. Be sure to watch the video tutorial!
Let me know, in the comments below, if you have ever tried facing a quilt. I love hearing from you! Happy Quilting!

Enjoyed the video. I might use the 2 1/2” strips cut on the length of the fabric if I have enough and don’t want to waste. No slight stretch and tends to square the piece more. Trying to see (on the video) and understand why you sew a small diagonal on each corner. That 1/8” stitch around the facing strip really does help the turning.
I have always wanted to learn how to face a quilt—I will get out one of my small UFO quilt tops and try this! You’ve given me easy steps so that I feel good about trying. Thank you!