Star Spangled Shield Throw Quilt Pattern: A Modern Twist on a Classic Design
The Star Spangled Shield Throw Quilt Pattern is a unique take on the traditional American flag, using both traditional piecing methods and just a touch of foundation paper piecing (FPP). This versatile pattern allows you to use yardage or go scrappy for your FPP stars. The result is a generous throw-size quilt, perfect for a family member, friend, or even to donate to a deserving service member. This project offers a satisfying challenge that combines modern techniques with a timeless design.

Choose your Pattern Format
We offer three choices of pattern formats to suit your preferences:
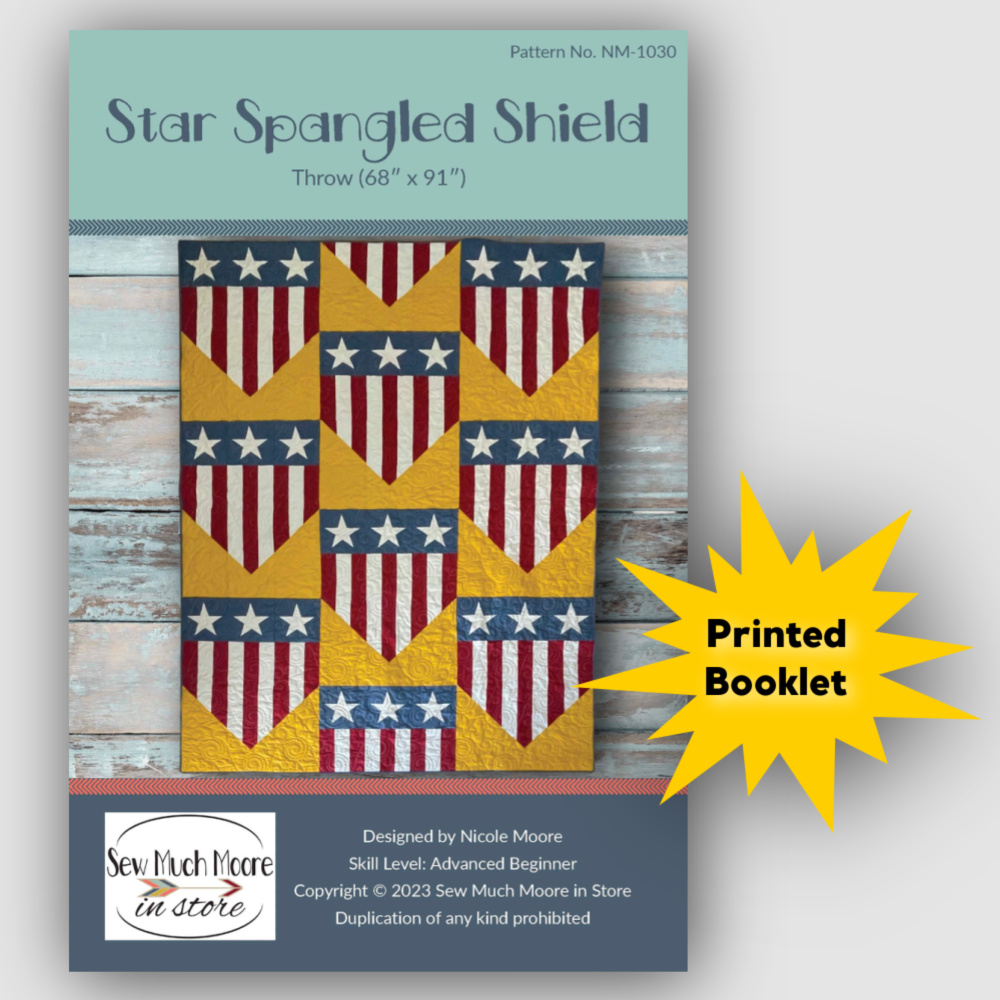

- Printed Booklet: This option comes with the templates needed to create your FPP star, along with excellent directions and illustrations. You will also get a QR code to access a free tutorial, a printable template, and a coloring page. The printed booklet pattern is mailed to our customers in the USA only. It’s perfect for those who enjoy having a physical copy to work from, complete with clear, easy-to-follow instructions.
- On-Demand Course: This is the best choice if you prefer step-by-step video instructions. This option includes the PDF Download pattern as well as detailed videos for every step of making the quilt top. The videos provide additional tips and techniques, helping you finish your quilt faster and with greater confidence.
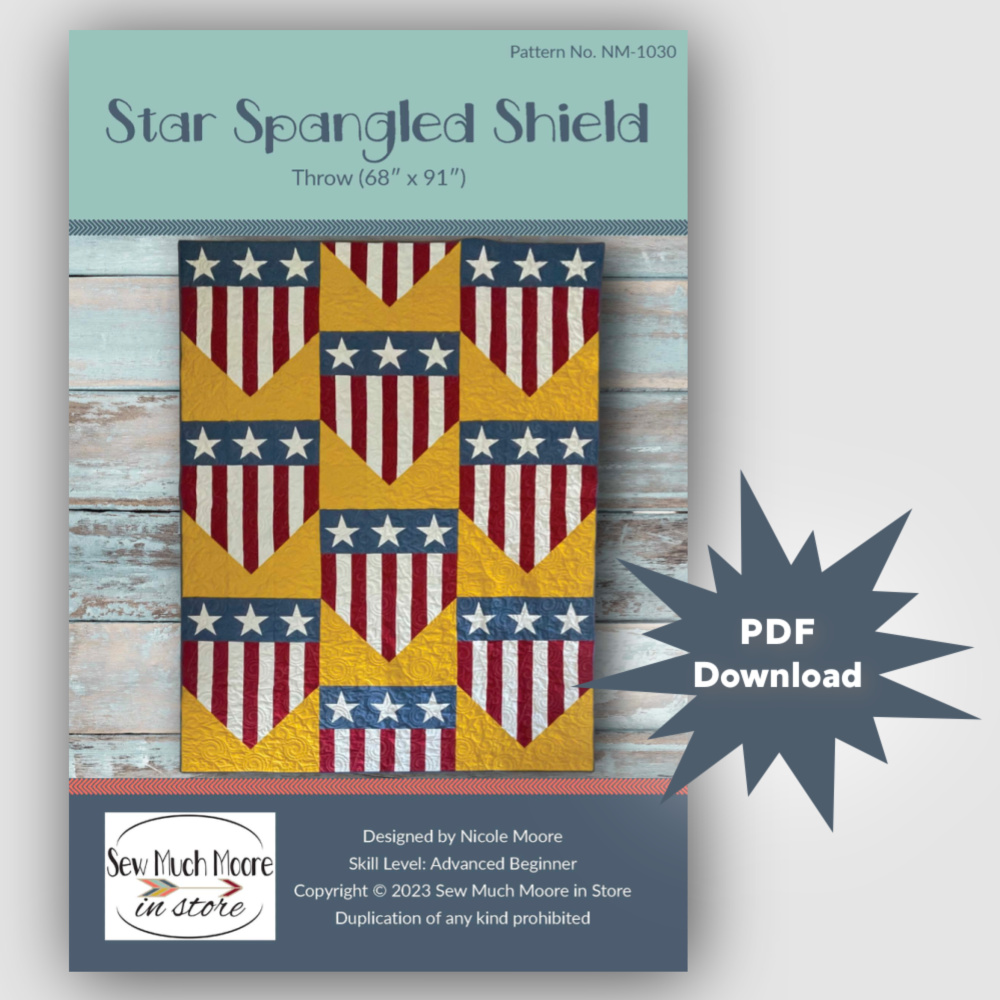
- PDF Download: Ideal for instant access, this option includes all the features of our printed booklet with the convenience of an instant download. You will need a printer to print your template for the FPP stars. This option is great for quilters who are eager to get started right away and prefer digital formats.
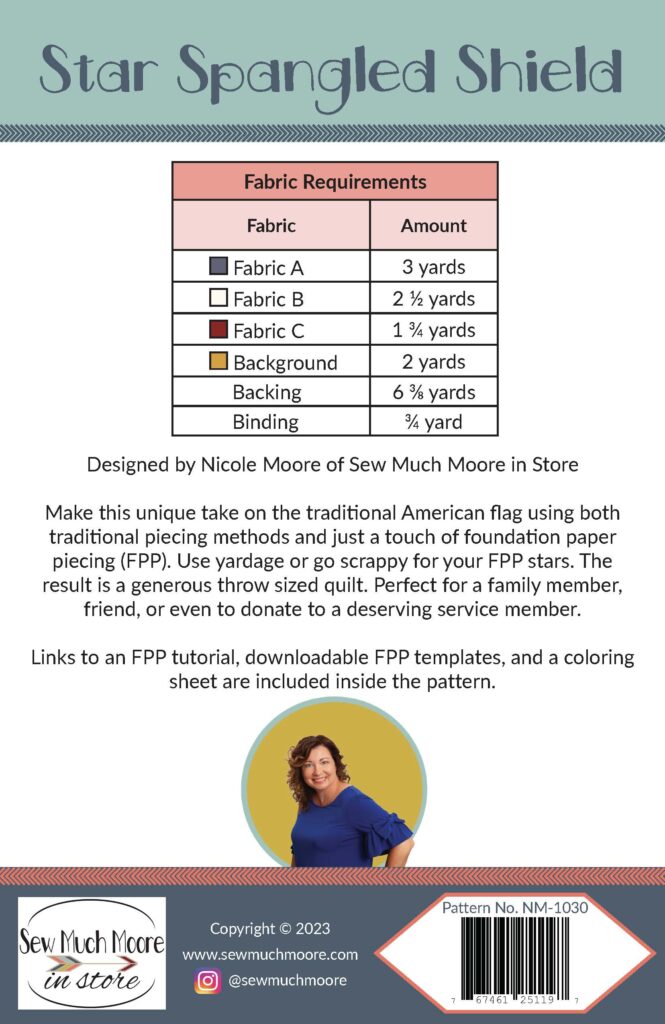
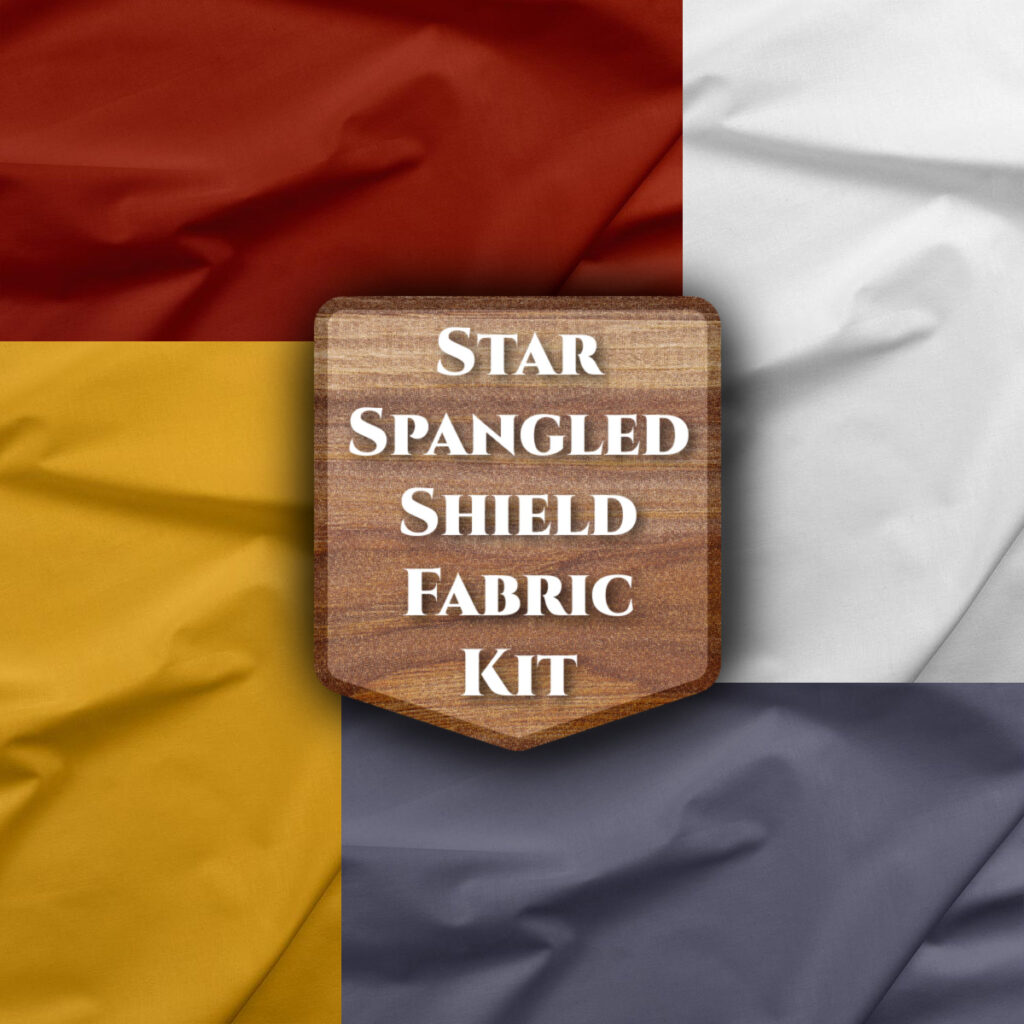
Fabric Requirements
We have made our quilt sample with Painter’s Palette Solids by PBS Fabrics, which you can purchase as a kit from my online shop. Alternatively, you can use your own stash to make things scrappy. This kit includes everything you need, except the backing and the pattern. You can purchase these seperately.
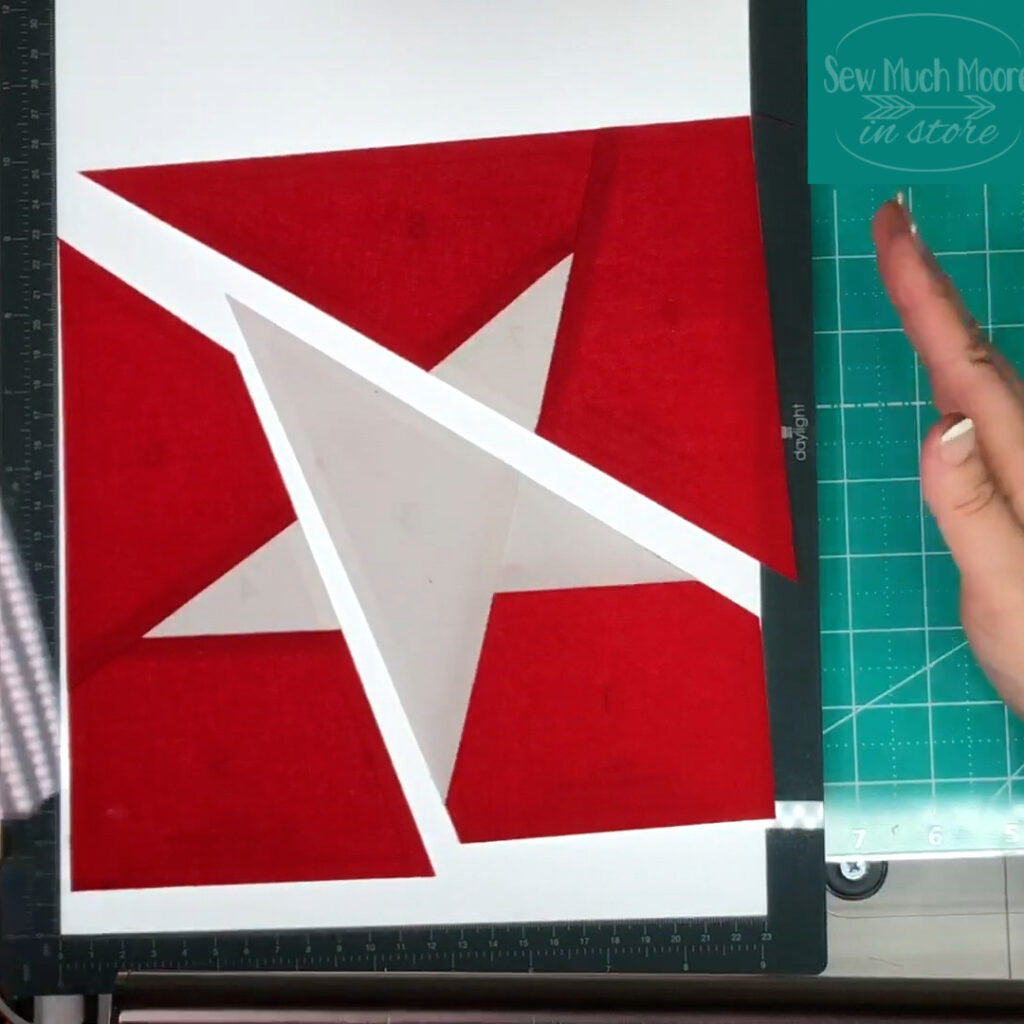
Make Star Blocks
The Star Spangled Shield Throw Quilt pattern includes a template for making 27 FPP star blocks. The template is included in all pattern options. If you’ve never tried FPP before, don’t worry! I have a quick tutorial video on my YouTube channel to get started. For those opting for the On-Demand Course, we provide more detailed tips and tricks to help you succeed in this step. FPP can seem daunting at first, but with our guidance, you’ll find it’s a fun and precise way to create intricate designs.
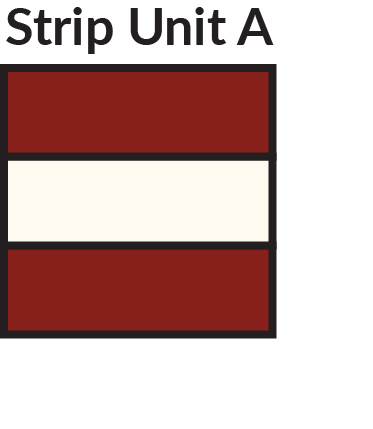
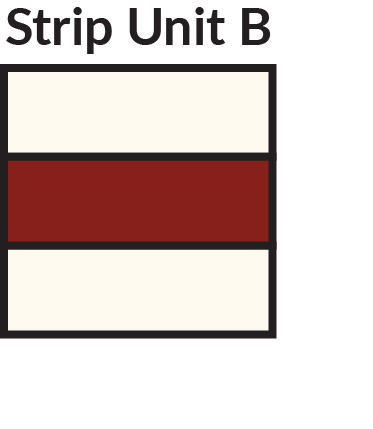
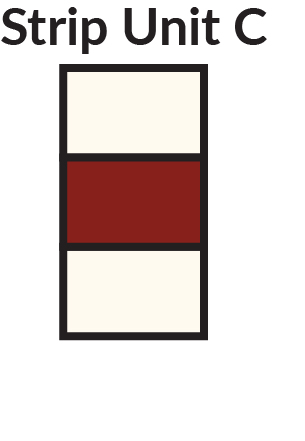
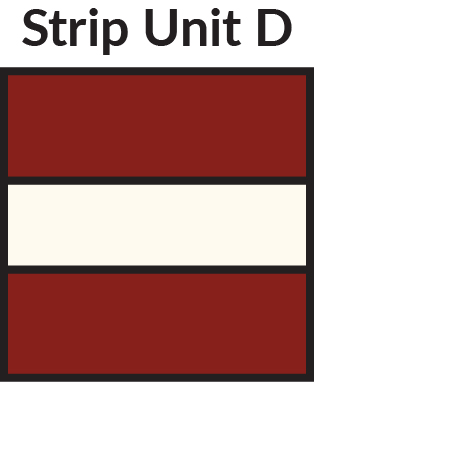
Strip Units for the Stripes
To help you finish your Star Spangled Shield quilt faster, this pattern features quick strip units for the stripes. These strip units are designed to save you time and ensure consistent results. You’ll find that the process of piecing the stripes is both efficient and enjoyable, allowing you to focus on the overall design and assembly. Exact measurements for the strip units are listed in your pattern.
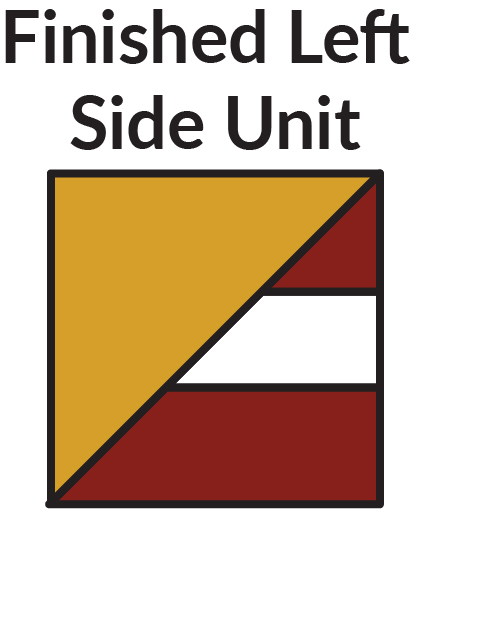
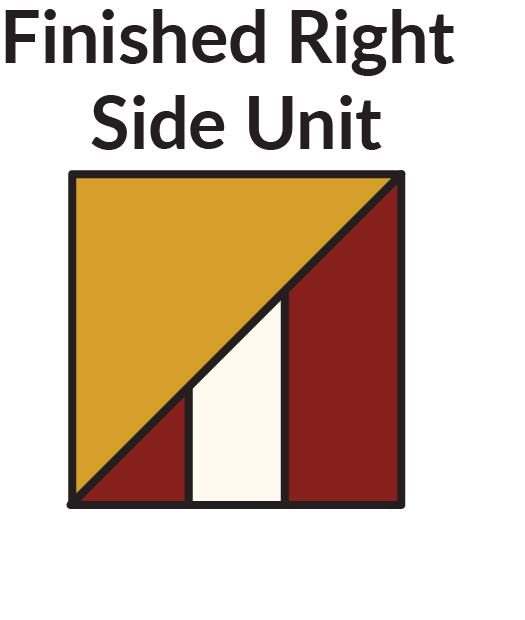
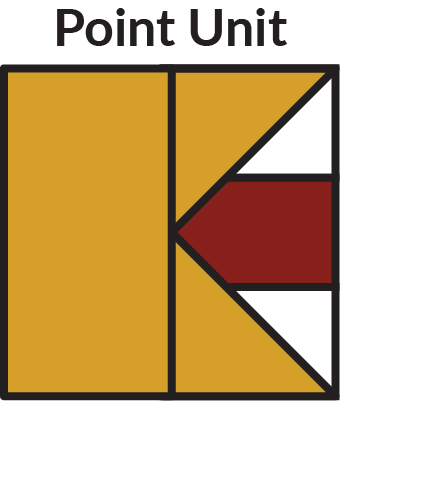
Make Side and Point Units
Using the measurements in your pattern, create left and right side units. This involves using the strip units along with some background pieces. You’ll make 10 left units and 10 right units, trimming each down according to the pattern measurements. The point units will also utilize the strip units and background pieces. Instead of making HSTs, we make flying geese for the point units. Trim each flying geese unit as specified in the pattern. A total of 9 point units are needed for the Star Spangled Shield quilt. These units come together quickly and add a dynamic element to your quilt.
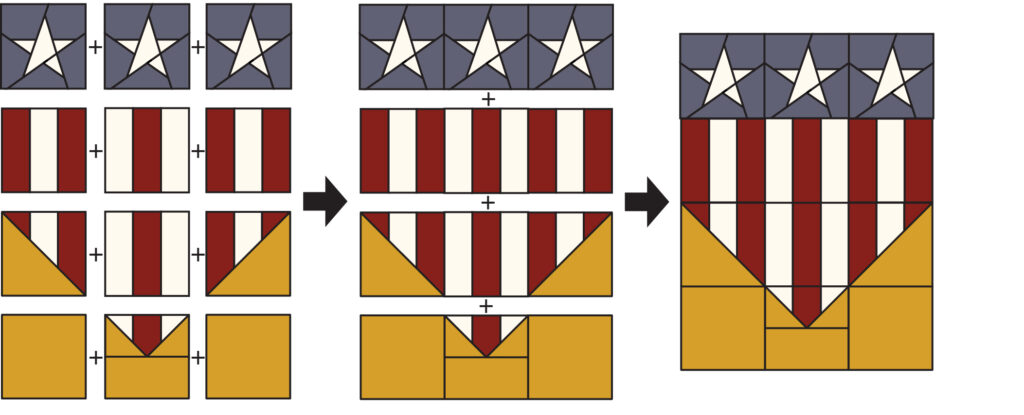
Assemble Blocks
The finished block comes together quickly. Gather 3 star blocks, some background pieces, a left side and right side unit, some strip units, and your point unit to complete a finished block. The pattern includes illustrations and pressing instructions to help you nest your seams. You will make a total of 8 whole blocks and leave a ninth block partially assembled. This assembly process is straightforward, and the clear instructions ensure that your blocks will be accurately pieced and beautifully aligned.
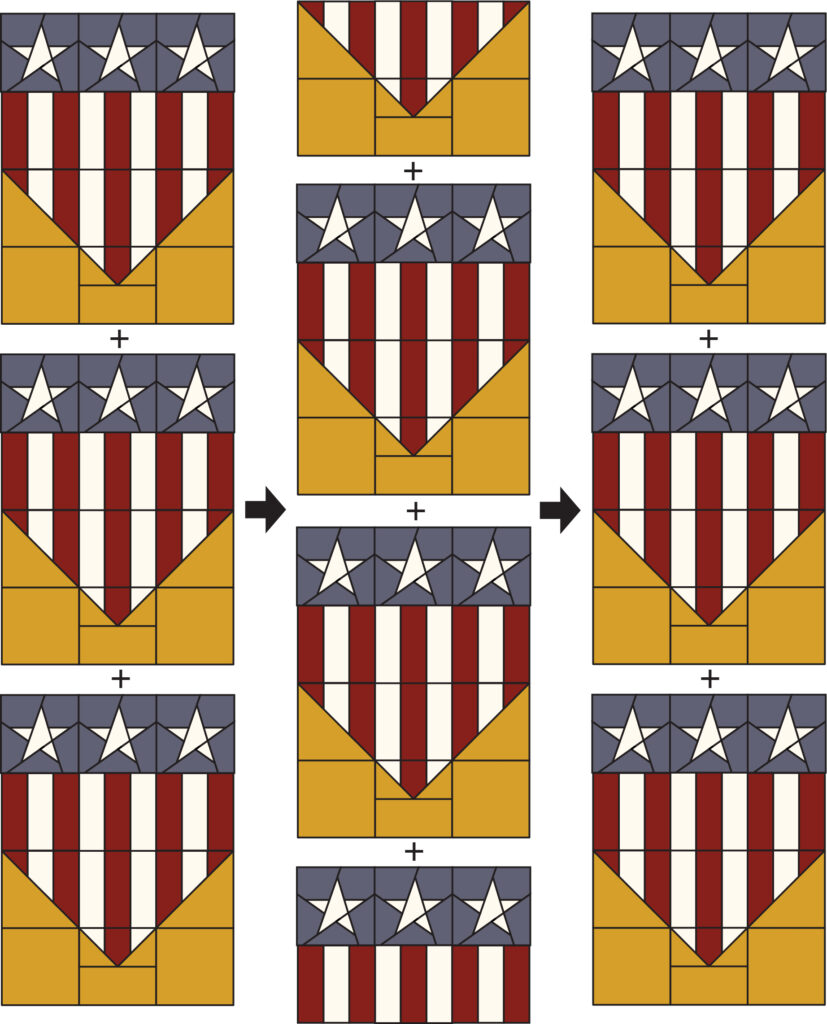
Quilt Top Assembly
Following the assembly diagram, sew your blocks together in rows and then sew the rows together. Pressing instructions are included in your pattern to help you achieve a flat, professional-looking quilt top. The assembly process is intuitive and allows you to see your quilt come together step by step, creating a stunning final product.
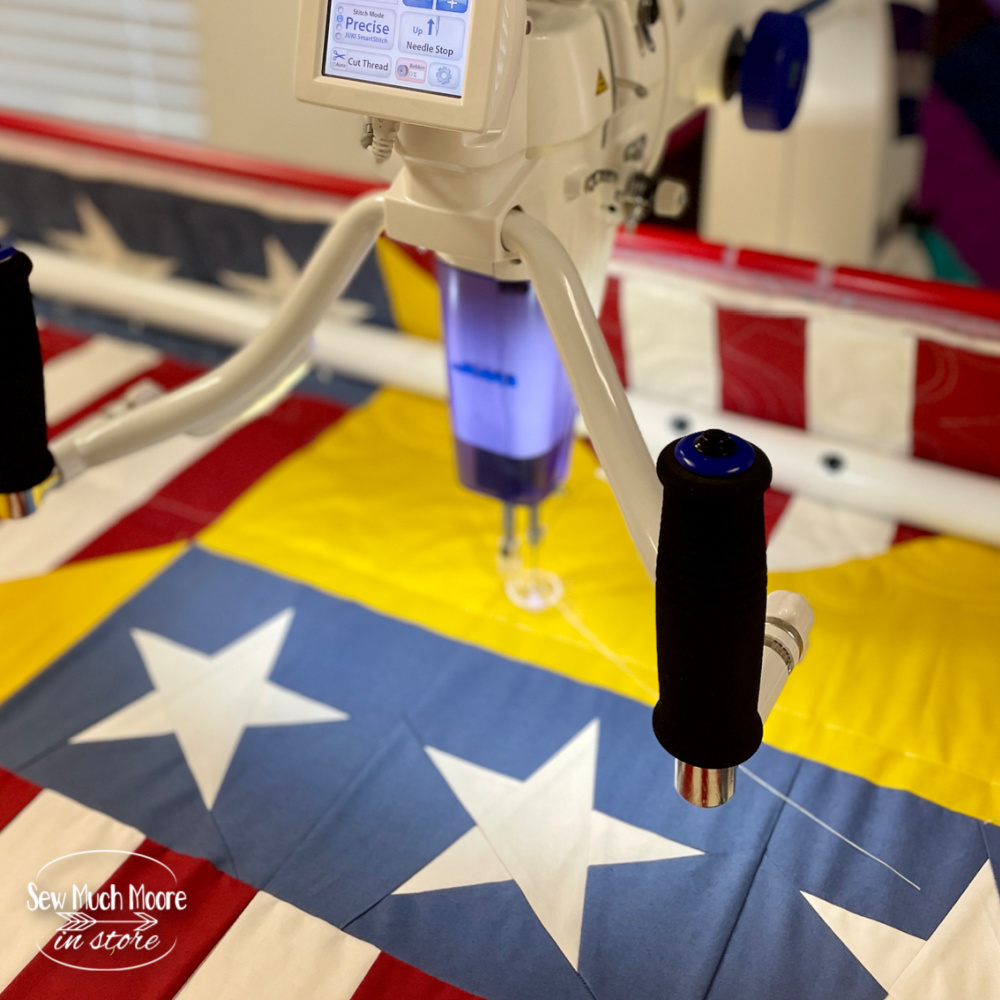
Finishing Instructions
Finishing instructions are not included, but binding cutting info is provided. I used a fun quilting design called Star Blitz by the Quilting Mill to finish my quilt on my Juki J-350 Quilting machine. You can find the quilting design here. I used a wide back backing that I purchased locally, which makes for a wonderful finish. Taking my quilt on location for some glorious finished photographs was a rewarding experience, showcasing the quilt’s beauty and craftsmanship.
The Finished Star Spangled Shield Quilt!
I just love how this quilt turned out! I took it for some fun photo shots – check it out!

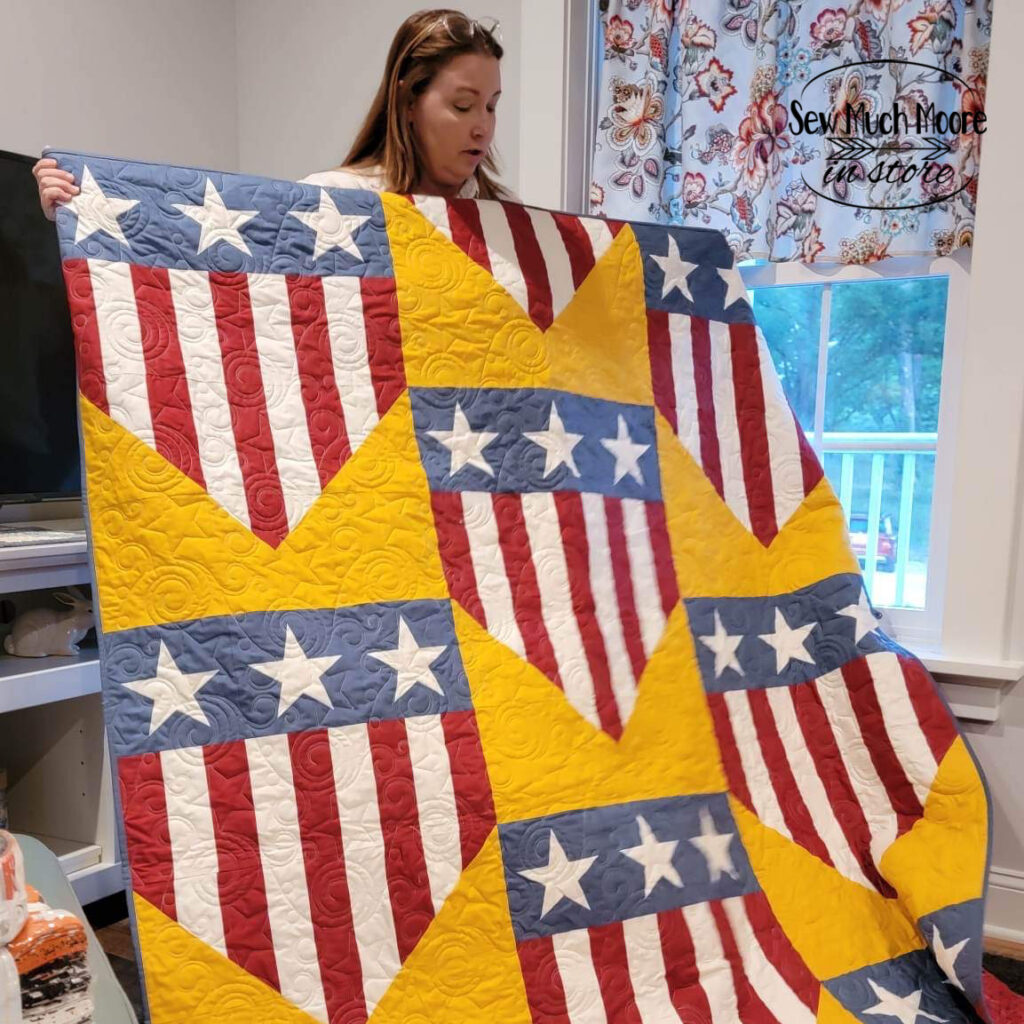
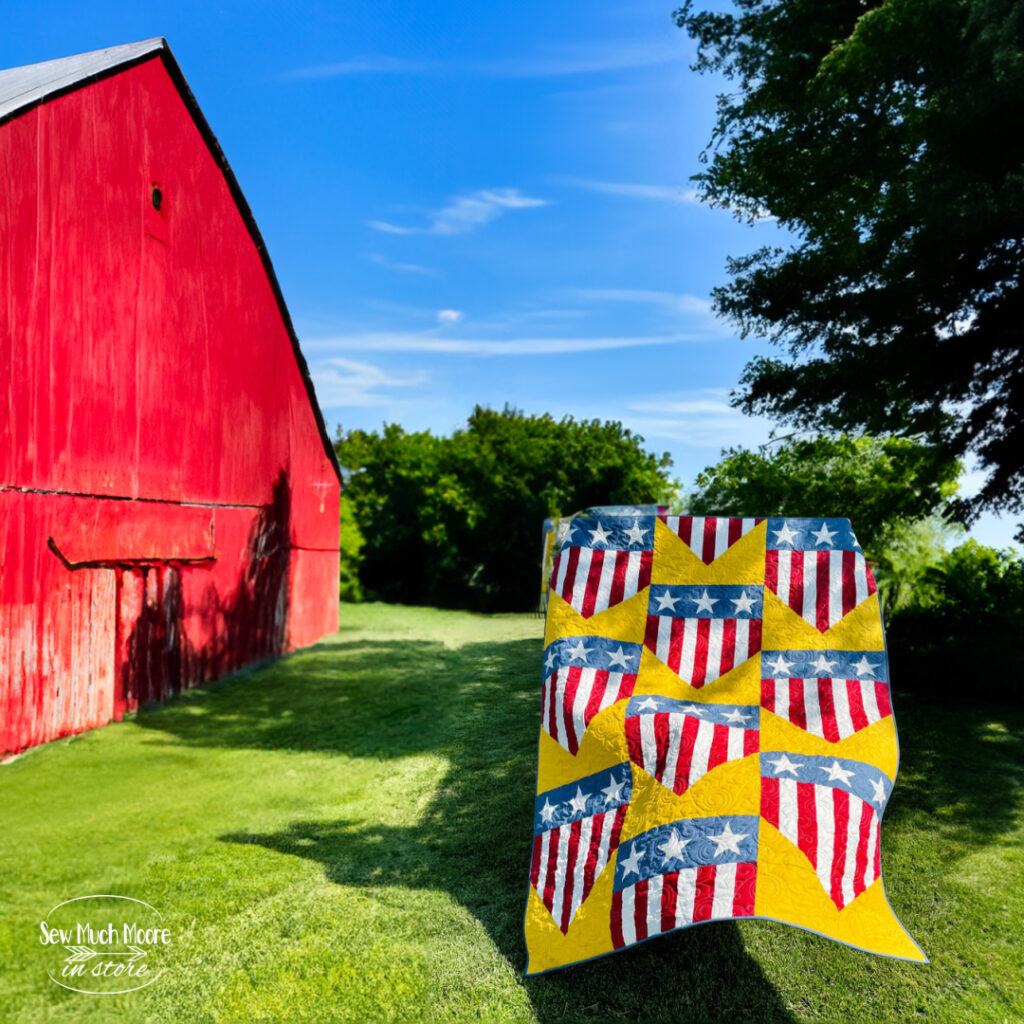
Star Spangled Shield Throw is fun to make!
This is a fun and rewarding quilt to make. The Star Spangled Shield Throw Quilt Pattern is not only a beautiful and modern take on a classic design, but it also offers flexibility in fabric choices and techniques, making it suitable for quilters of all levels. Make this quilt for a loved one or donate it to a service member, and they will surely cherish it. I hope you enjoy making it as much as I did.
Happy quilting!
