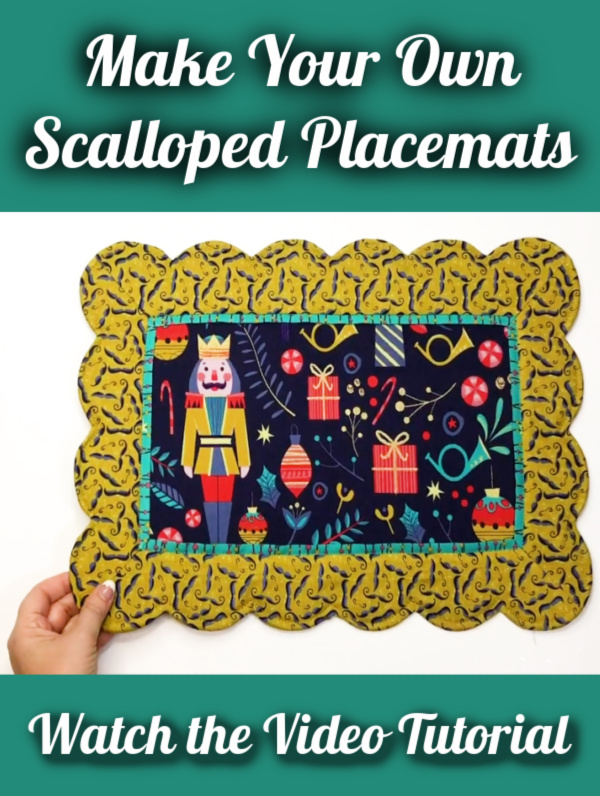
Scalloped Placemats Tutorial
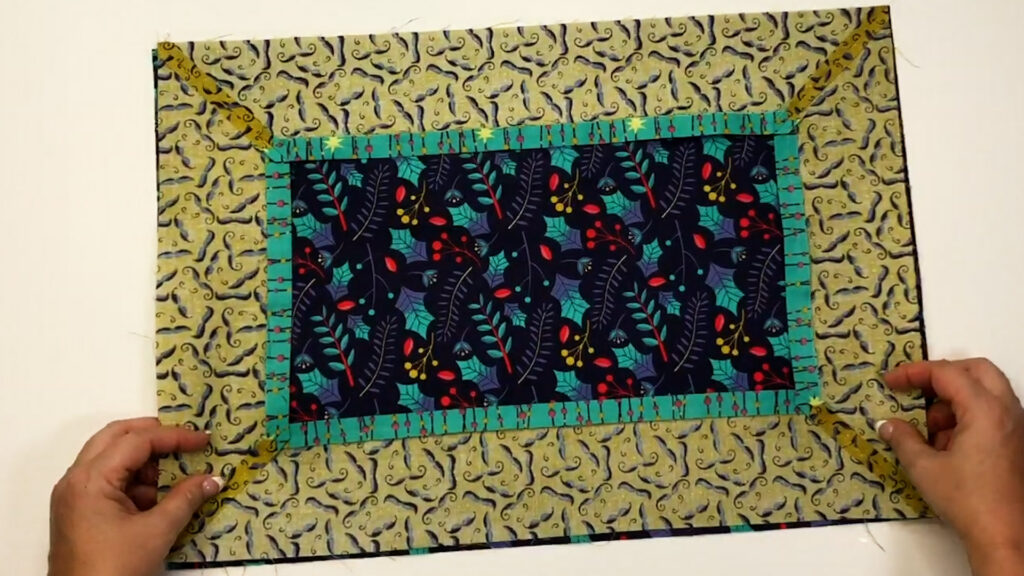
In today’s video I will be demonstrating a scalloped placemats tutorial using the pattern by Poorhouse Quilt Designs. I’ll be using a wonderful line of designer fabric called Night of the Nutcracker by PaintBrush Studio Fabric’s. These fabrics feature playful mustaches, contemporary holiday foliage including Hollie leaves and berries and of course the Majestic nutcracker himself.These placemats have a unique scalloped shape which may appear intimating to make. I don’t know why, but sewing curves can be scary!Not to worry because The Bosal double sided fusible precuts make this project a snap. You can find this pattern and all of your supplies in my online shop which I’ve linked in the Supply and Materials List below.
This project is especially great for creating unique and custom placemats for your home. These are perfect for upcoming holidays and even for every day. Let’s get started and you’ll see just how easy it is to make these scalloped placemats!
Materials List
- Scalloped Placemats Pattern by Poorhouse Quilts Designs
- Fabric (I used Night of the Nutcracker)
- Front: Gold Metallic
- Border: Mustaches Gold
- Accent: Tree Lights Green
- Back: Leaves Metallic
- Scalloped Placemats (set of four)
- Teflon Pressing Sheet
- Point 2 Point Turner
- Fray Check
Basic Sewing Supplies Needed
- Sewing Machine (check out my recommendations right here)
- Thread
- basic color for construction (I use THIS color)
- matching threads for the accent, border and back
- Scissors (I recommend this pair – super sharp and pointy)
- Ruler (this one is perfect for this project)
- Rotary Cutter and Cutting Mat
- I used this little mat to trim the excess miters
- Iron (I use and recommend this brand of iron)
- Ironing board (I always use a Wool Pressing Mat)
- Spray Starch (I love this brand and scent)
- A variety of presser feet for your sewing machine
- Regular presser foot
- Zipper foot
- 1/4″ Seam Presser Foot (this foot is specifically for my machine)
Prepare the Accents and Borders
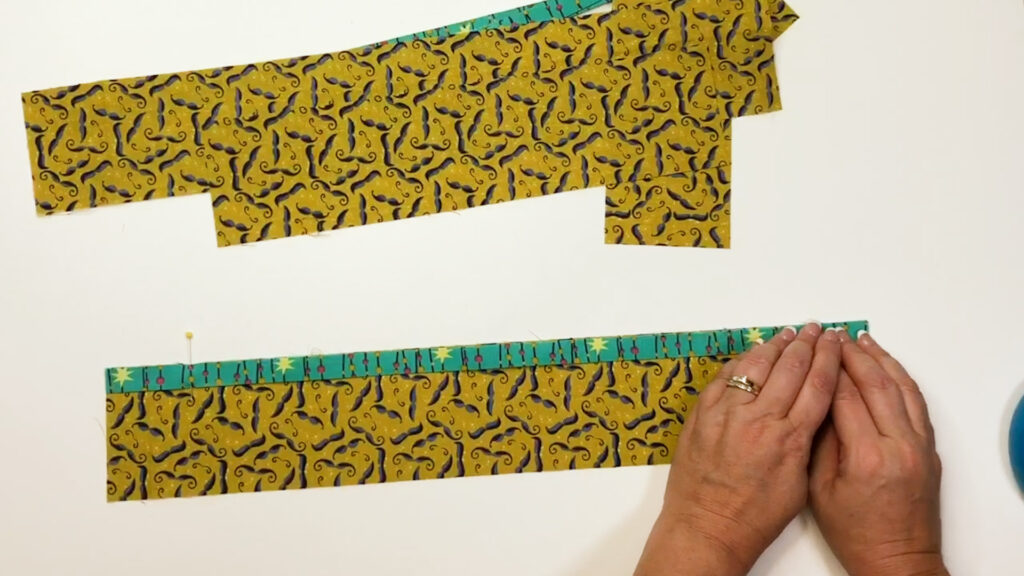
Once you’ve gathered your supplies, you’ll take your accent pieces over to the ironing board. Fold the accent pieces lengthwise, wrong sides together. I like to pre-treat mine with spray starch.
Once you have all of your accent pieces starched, folded and ironed, you will pin the accent to the border pieces. Pin all of these in place and then take these units over to the sewing machine.Sew these pieces together using a 1/4 inch seam allowance. I love using my quarter inch seam presser foot for jobs like this.
Once you have that sewn in place you will press the seam allowance towards the border strip, extending the accent beyond the border edge.
Create your Mitered Corners
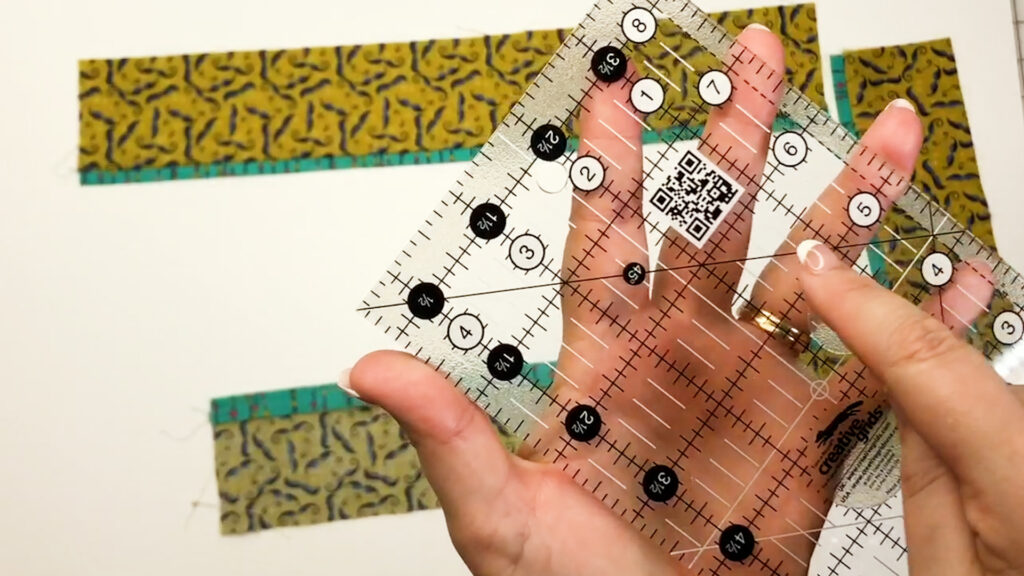
Now, If you’re not comfortable with miters, let me show you how easy they actually are. I’m using a 4.5″ x 8.5″ ruler by Creative Grids. This is a really great size ruler for this project. You can see a very obvious 45° angle markings.
Layout your project in the proper orientation, with the accent flange towards the middle. Place one border unit on top of the other, right sides together. Make sure you match the raw and finished edges. I add a pins to keep the units from slipping around.
I place the 45° line along the long raw edge of the stacked border pieces. I’ll take my friction pen and mark my angle. You may find that you need to be very specific with your measurements when making mitered corners. Go ahead and take your time lining up your fabrics and making your mark.
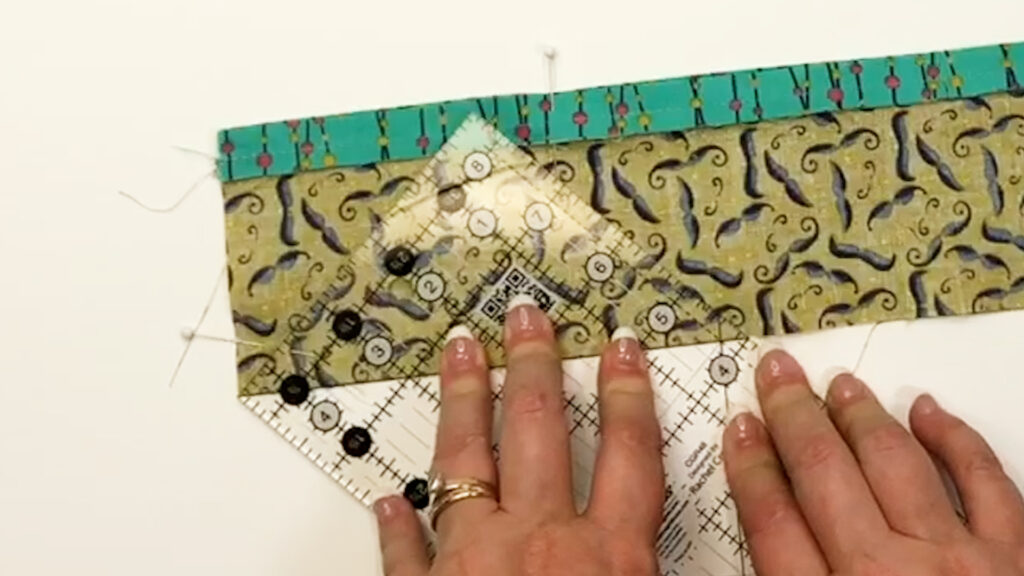
We’re going to sew all corners exactly the same way. Before we cut any of the excess fabric away, we’re going to ensure that we liked the miters. If you don’t like how it looks, then you’ll have to see to seam rip and try again. Once you’re happy with how they turned out you’re going to give yourself a quarter inch seam allowance from the seam and trim away the excess fabric. You’ll do this on all corners.
Press your seems for each mitered corner open. I like to use my Wool Pressing Mat and spray starch to get them nice and flat.
Scalloped Placemat Assembly
Pin the border strips set right sides together to the backing fabric. Stitch around the entire perimeter, using a 1/4 inch seam allowance.
Now we will work on the front part of the placemat.
Attach the double-sided foam fusible scalloped placemat to the wrong side of the Front Fabric. Secure with Clips and take this over to your Wool Pressing Mat. Place your teflon sheet on your pressing surface. Lay your exposed fusible side on top and against your teflon sheet. Make sure that non of the fusible materials are exposed to your pressing mat.Without the Teflon sheet, you may accidentally fuse the opposite side of your project to something that you don’t want it to be fused to.
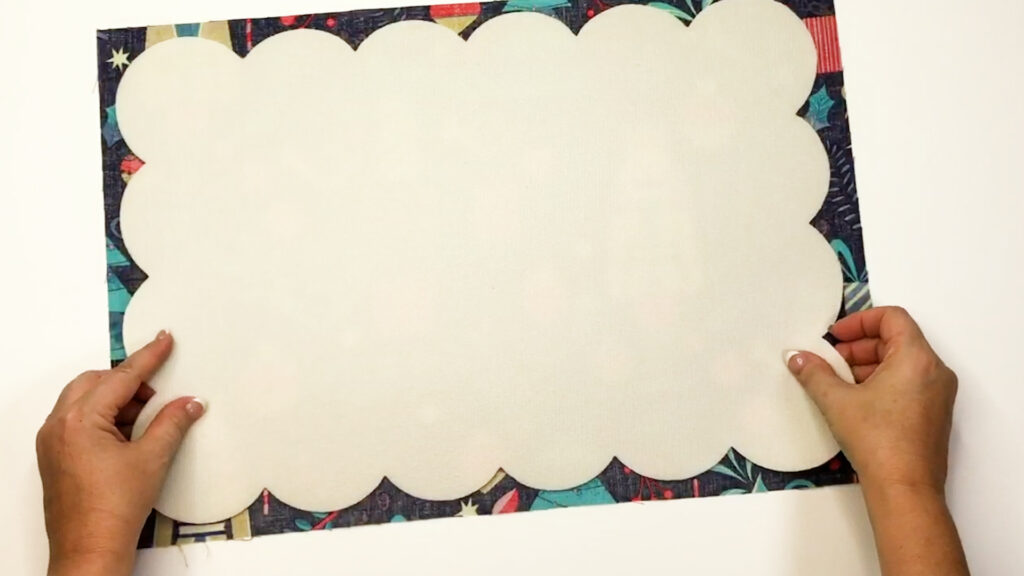
Once you have your Front exterior fabric fused to your placemat, you’ll take some sharp pointy scissors (I recommend these scissors) and trim away the excess fabric. Follow the edge of the foam scallops and trim out away the excess.

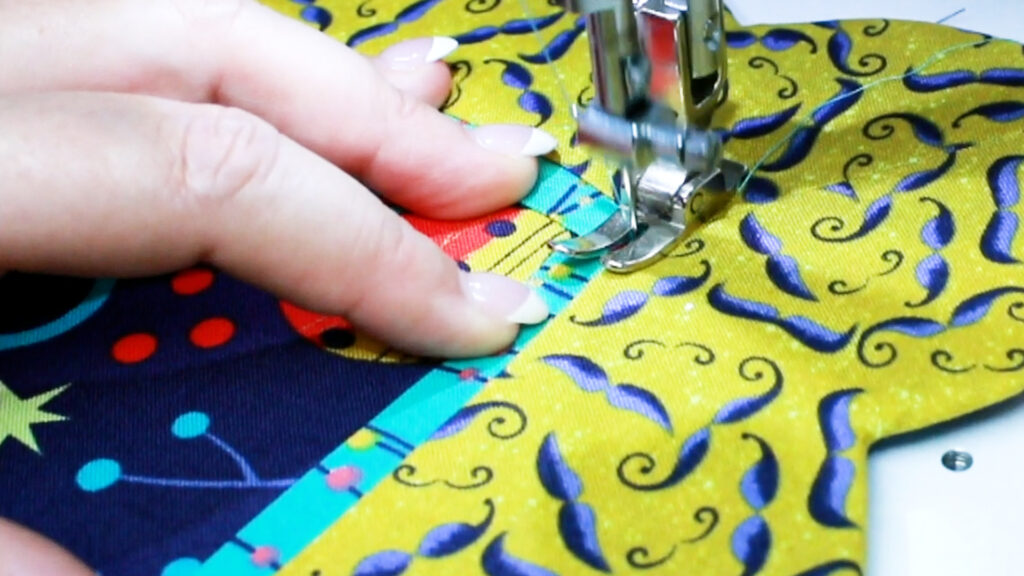
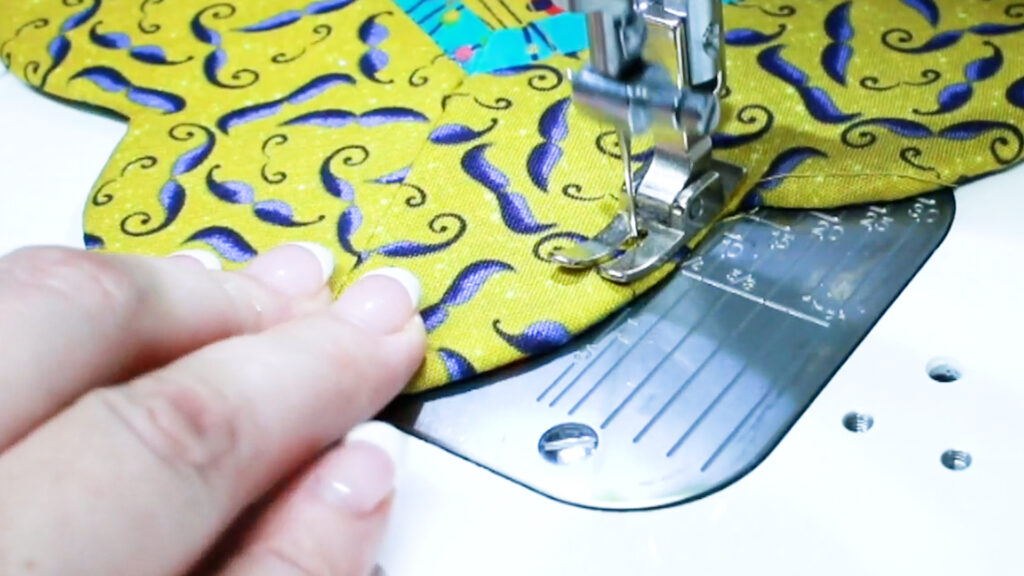
Next, Center the wrong side of the backing unit on the unfused side of your placemat. Your foam placemat should be facing right side up. Clip all around the exterior of the placemat. Flip the placemat over, take your project to the pressing mat, and fuse from the right side of the back. Using the zipper foot, you’r going to sew right along the edge of the foam scallop placemat. Sew around the entire perimeter of the scalloped placemat. When you come to a corner, make sure your needle is in the down position. Lift up your zipper foot, pivot your project, and then put your zipper foot down and continue sewing along the scallops.
Finishing Touches
Once you have everything assembled, you can trim away the excess fabric. I recommend trimming about an eighth inch away from your scallop seams. You’re gonna want to get close enough to where you won’t have excess of bulk when you flip this, but you don’t want to get too close where the seam will fall apart in the wash. Remember, these are placemats and you will be washing these so don’t make your cuts any less than 1/8 inch. Once you have everything trimmed, take your sharp snips and clip the corners. Then take Fray Check and put a drop of Fray Check around each of those snapped crevices.
Now it’s time to flip the project. The magic is happening. Flip the corners first and then continue flipping the rest of the placemat. I love using the Point 2 Point Turner to help get the curves all the way turned out. After your placemat is turned out, you are going to do some top stitching. I changed my presser foot to the regular presser foot, I changed my thread color to match my fabric, and I also changed the stitch length to three. You may change your thread a couple times. Once for the accent top-stitching and again for the border stitching. Remember to match your bobbin thread also! This project is done best when you pay attention to the details.
This is it fun and easy project to do, they make great gifts and perfect for creating your own custom decor for the Holidays and everyday as well!
Checkout my YouTube video tutorial and make a placement set for yourself!

Loved the video! Great idea!
That was great! I an definitely going to make these.
Great, informative video!