How to Make a Christmas Stocking with AccuQuilt
Every year, as the holidays approach, I think about making my own Christmas stocking. There’s something special about handmade holiday décor, but honestly, the thought of cutting out all those pieces and figuring out a pattern always felt a little overwhelming. That all changed when I discovered the AccuQuilt stocking die. Suddenly, the process felt not only doable but exciting.
Using the AccuQuilt cutting system made everything so much easier. It eliminates the guesswork, ensures precise cuts, and saves a ton of time. Plus, I decided to add a personal touch by quilting the fabric and lining the stocking for a polished, professional finish. Today, I’m sharing how I made my stocking, from preparing the fabric to the final assembly. If you’d rather watch the process, I’ve linked a video tutorial at the end of this post!
Choosing and Preparing Fabric
For my Christmas stocking, I wanted a classic yet modern look, so I chose fabrics that felt festive without being overly traditional. This project calls for three types of fabric: one for the exterior stocking, one for the cuff, and one for the lining. You could even use four fabrics if you want the cuff lining to be different from the main lining.
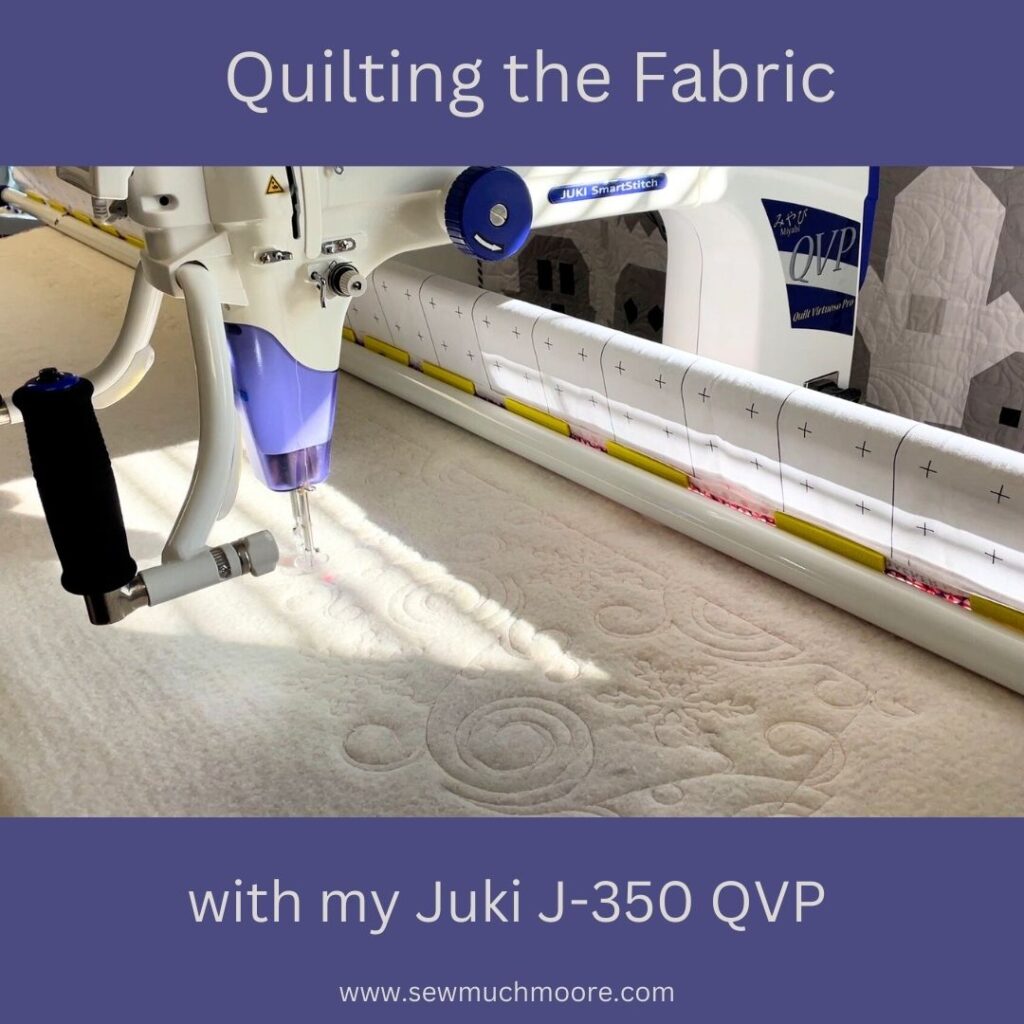
I decided to keep things simple by using just two fabrics—one for the stocking and its lining, and another for the cuff and its lining. To give my stocking a custom look, I quilted the exterior fabric and cuff with a fun edge-to-edge design using my Juki J-350 quilting machine. I used a fun Edge-To-Edge quilting pattern called Snow Blitz, from The Quilting Mill. This step gave the stocking texture and personality, and it was such a joy to watch the design come to life.
Cutting Made Easy with AccuQuilt
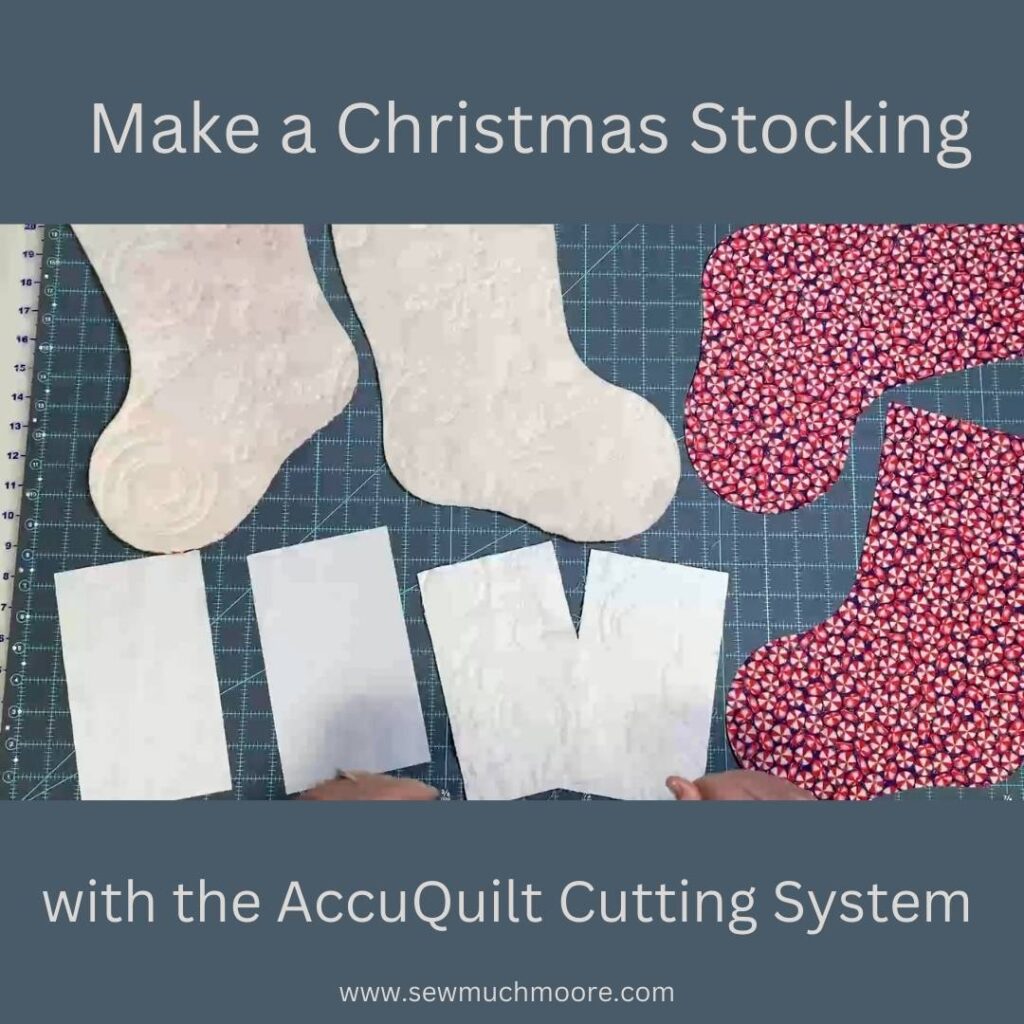
One of the biggest hurdles of sewing projects is cutting everything precisely. That’s where the AccuQuilt cutting system truly shines. With the AccuQuilt GO! Santa Stocking Die, I was able to cut all my pieces quickly and perfectly. No templates, no hassle—just clean, crisp edges every time.
For this project, I cut:
- Two stocking pieces for the exterior, each backed with scrap batting for added structure.
- Two stocking pieces for the lining.
- Two cuff pieces for the exterior (I quilted these) and two more for the lining.
- A small tab for hanging the stocking, which I cut from the exterior fabric (measuring 3” x 6”).
This step took just minutes and made the entire project feel so much more approachable.
Adding the Finishing Touches
As much as I love simple sewing projects, I also like my work to look polished. While the AccuQuilt instructions don’t mention lining the stocking, I knew I wanted mine to have that finished look. Lining adds durability and makes the stocking feel complete.
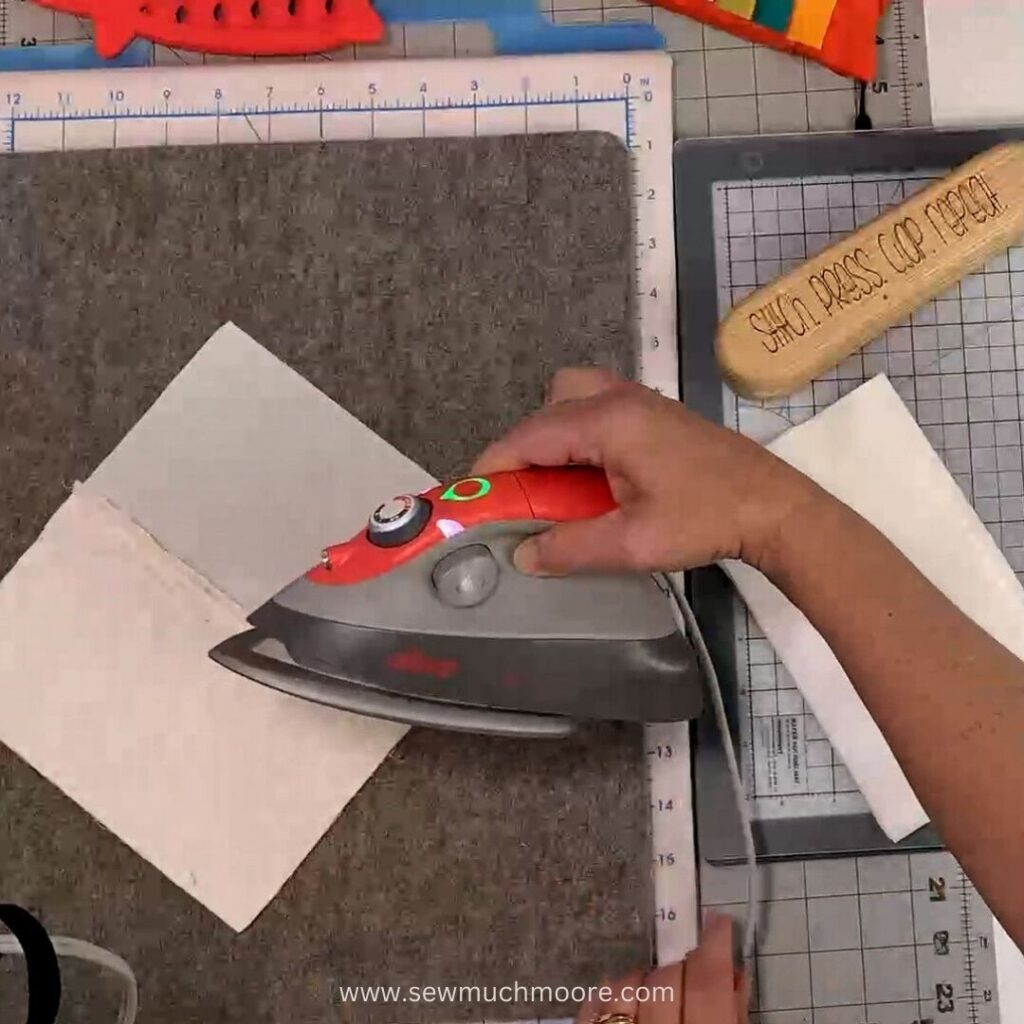
After sewing the exterior stocking pieces together and doing the same for the lining (leaving a small gap for turning), I added the quilted cuff. The cuff was a breeze to assemble, and pressing the seams really helped it take shape. Once everything was ready, it was time to put it all together.
Pulling the Christmas Stocking Together
The assembly process was like putting together a puzzle, and watching the final piece come together was so satisfying. I attached the cuff to the stocking, added the hanging tab, and aligned all the raw edges. Then, I nestled the entire assembly inside the lining and sewed around the top.
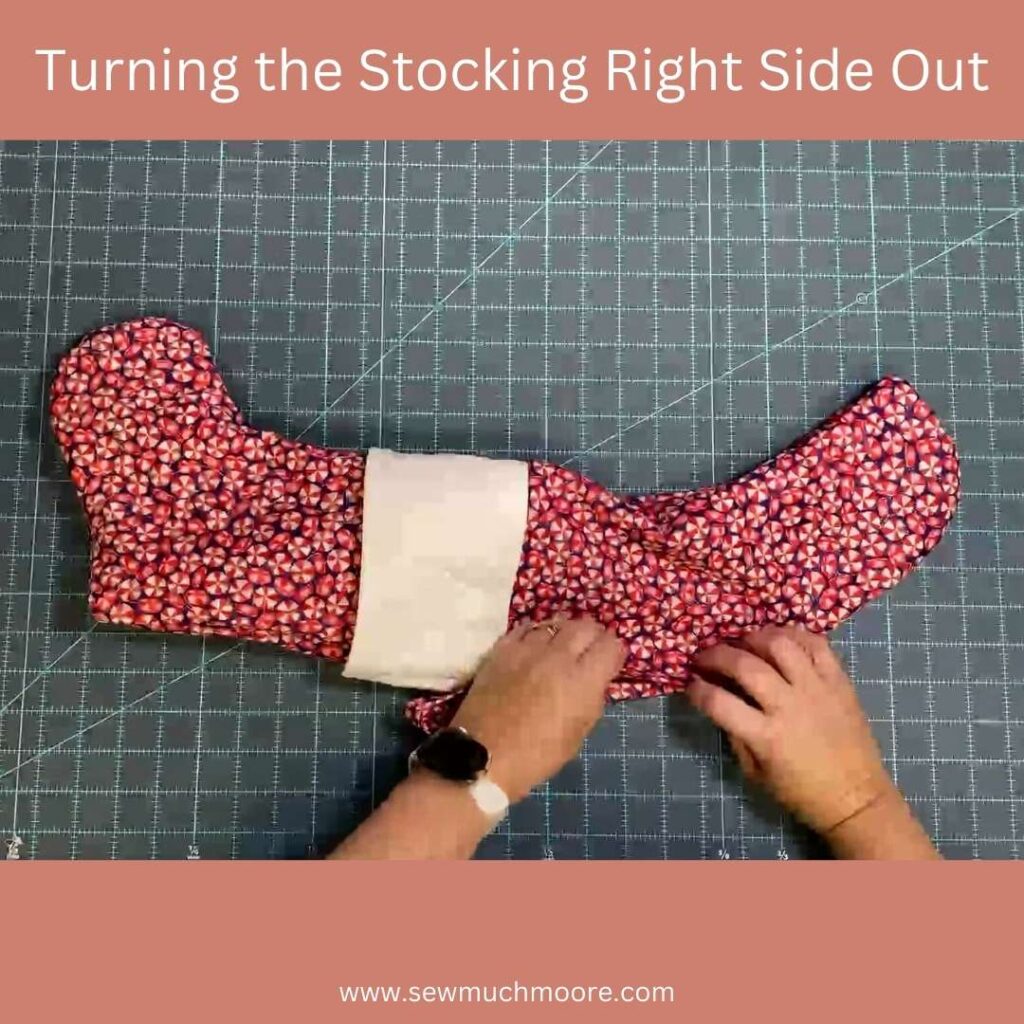
Turning it right side out through the gap in the lining felt like a little magic trick, and I couldn’t help but smile when I saw the finished stocking. A quick press, and it was ready to hang.
Why I’ll Be Making More
This project turned out to be one of my favorite holiday sewing experiences. The AccuQuilt cutting system took the stress out of cutting, and the quilting added a personal touch that made the stocking uniquely mine. I’m already planning to make a batch of these for my weekly group, and I might even personalize them with names using my Cricut machine.

If you’ve ever been hesitant to make a Christmas stocking, let me tell you—this is the year to do it. It’s easier than you think, and the results are so rewarding. Want to see how it all comes together? Check out my video tutorial linked above, and get ready to create your own handmade holiday magic.
What do you think? Would you like more personal touches or tweaks to make it fit your style?
