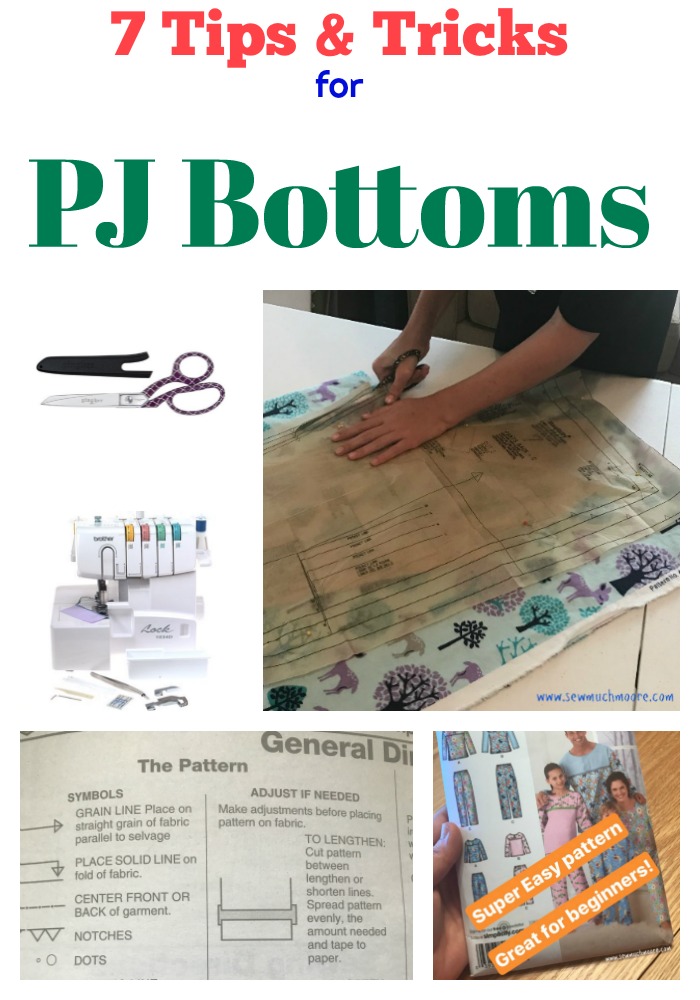
Sewing Pajama Bottoms
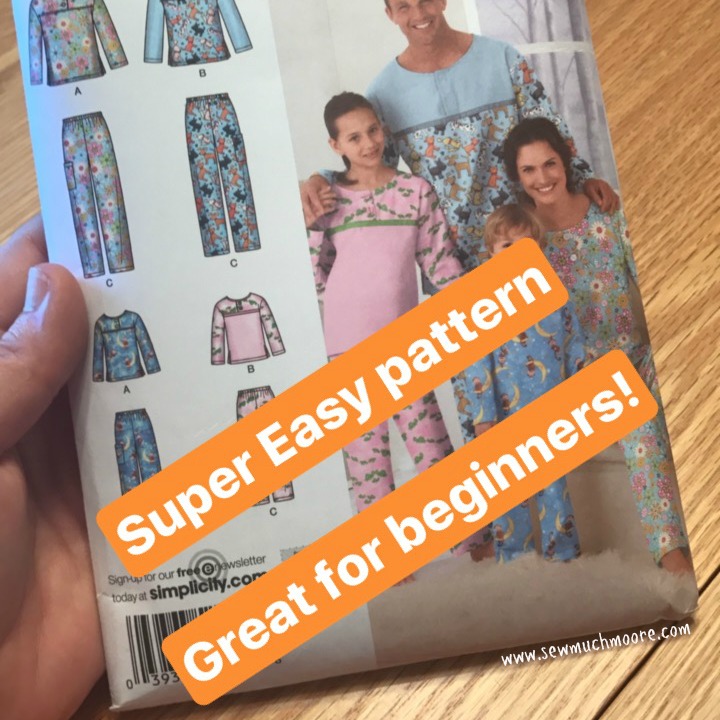
Have you ever wanted to make some pajama bottoms, but felt intimidated by the written patterns? When you open up the pattern and see all the tissue paper, does it give you anxiety? I completely understand how that feels! A few years back, I was fortunate to have my Mom show me the basics of sewing a pair of pants. Since my first lesson, I have practiced several times. During my practice, I tried several different patterns and found one that I really liked! I found the directions pretty simple, the illustrations are good and the tissue pattern is easy to understand. The pattern even has a pocket! Let me show you all about this project so that you can get the most out of sewing pajama bottoms for yourself and others!
This post contains affiliate links for your convenience. ? Read my full disclosure policy here.
Sewing Suppy List
- Pattern
- Fabric (Cotton, Fleece or Flannel)
- Elastic Band
- Measuring Tape
- Sewing Pins
- Fabric Soak(optional, but recommend)
- Swedish Tracing Paper
- Thread
- Seam Ripper (let’s hope we won’t need this)
- Sewing Machine
- Serger (optional, but recommend)
Sewing Pajama Bottoms – TIP #1
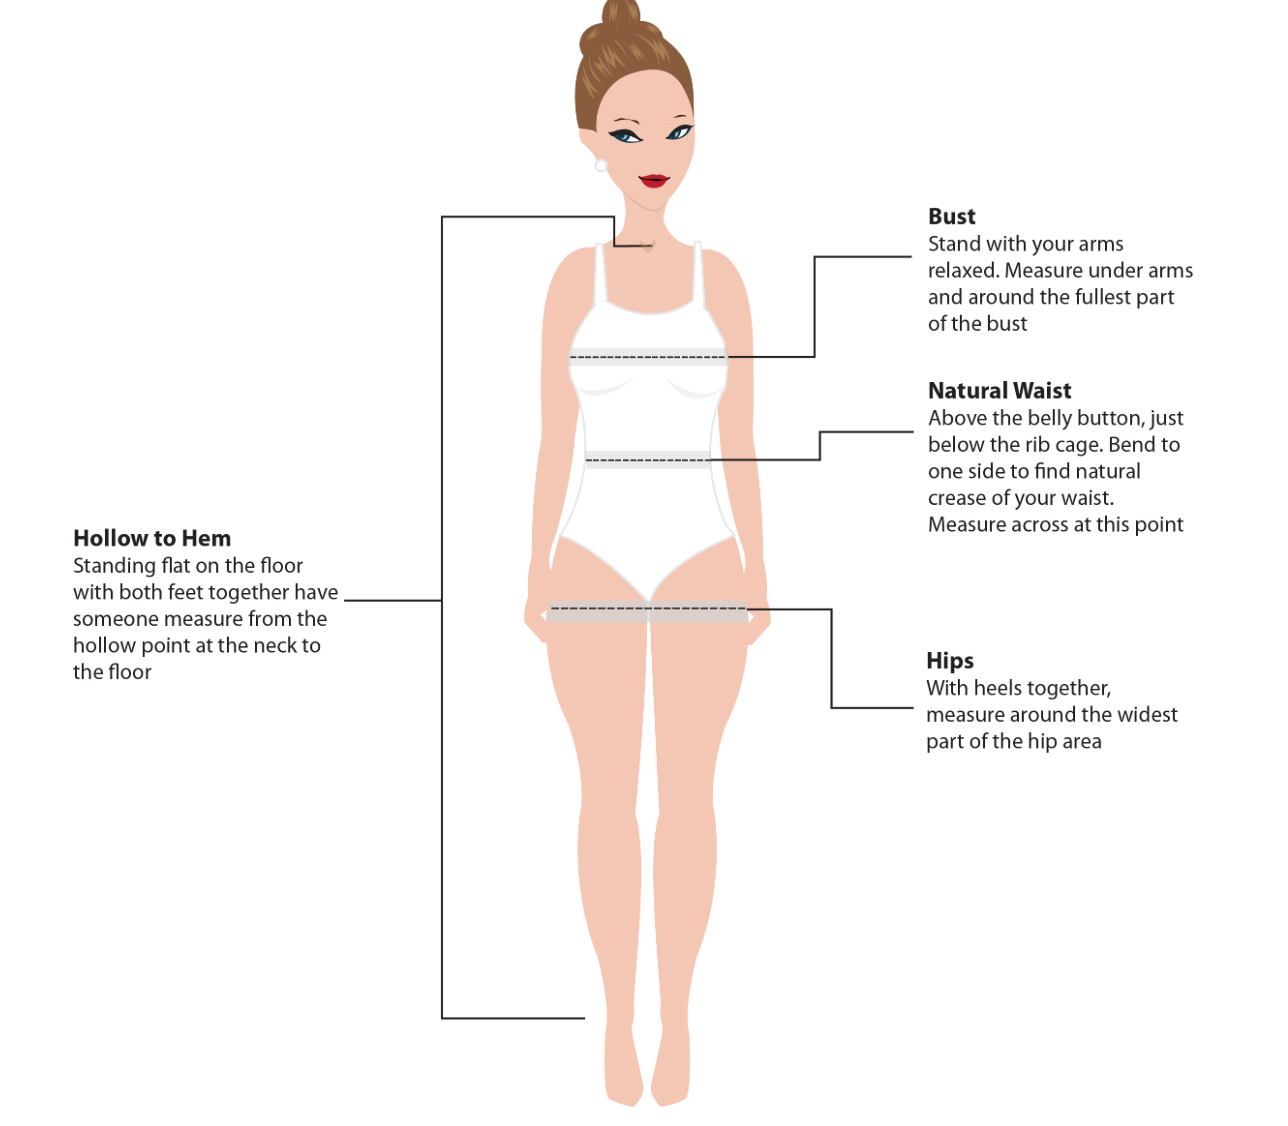
Having enough fabric for a project is important. The amount of fabric you get will obviously depend on your body size and if you choose directional or non-directional print. The outside of your pattern will help you determine how much of the fabric and elastic to purchase. If you are not sure how to measure yourself, please grab your measuring tape and refer to this guide:
Sewing Pajama Bottoms – TIP #2
Make sure you pre-wash or soak your fabric before you cut it out! Most fabrics will shrink during the first wash. Garment sewists are usually pretty savvy about preshrinking because of the variety of fabrics they work with to create clothing. The majority of folks in this group are advocates of preshrinking because if the fabric shrinks after the fact, the garment won’t fit. Plus, garments need regular cleaning and care.
A big part of sewing is knowing your fabric. A big part of knowing fabric is understanding how to care for it. The key is fiber content. The manufacturing process that fiber goes through to become fabric is often what makes it shrink. Take the time to learn about fabric and how to identify quality, as this directly relates to the amount of shrinking you may witness. We’ve all been guilty of finding and falling in love with fabric before we even have a use for it. If you buy and add to your stash, always include a few care and content notes before you put it away. You can find this information on the end of the bolt.
Sewing Pajama Bottoms – TIP #3
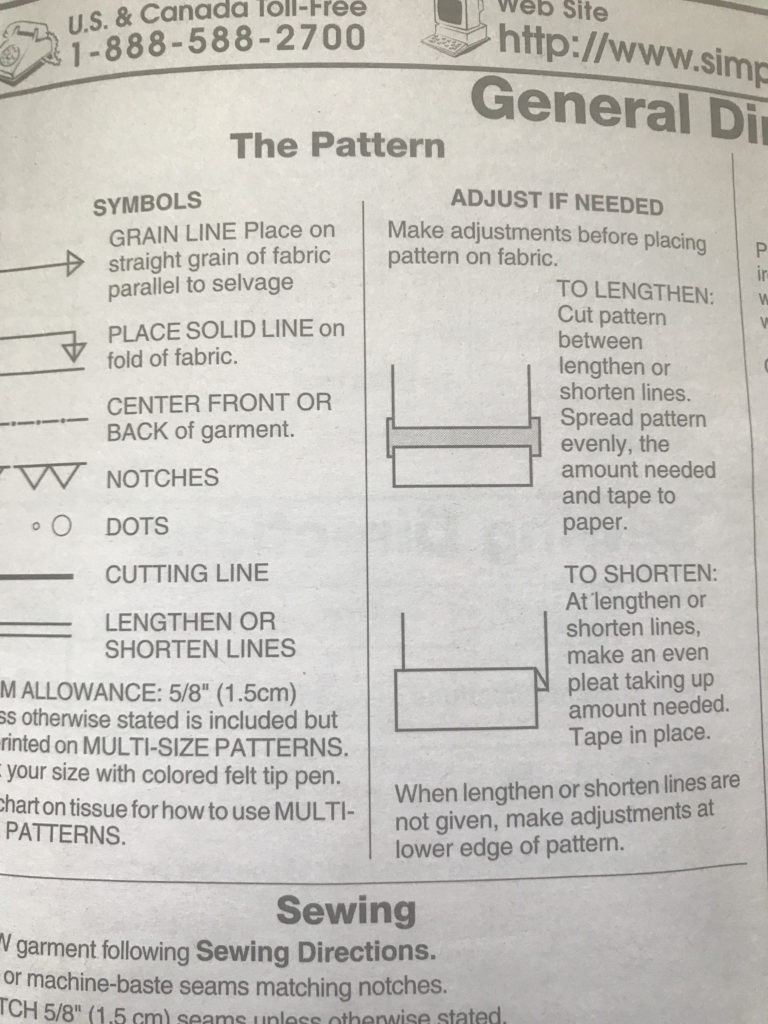
Check out the General Directions (located on the top right area of the 1st page). You will find all sorts of valuable information that may help you “decode” the pattern. Pay close attention to what the Symbols mean. You will want to know how they mark the following:
- Cut Line
- Grain Line
- Fold of Fabric
- Notches
- Dots
- Lengthen or Shorten lines
In the General Directions section, you may also find information about your seam allowance, Cutting Layout/Marking notes as well as special pressing or trimming notes.
Sewing Pajama Bottoms – TIP #4
Tracing your pattern onto Swedish Tracing Paper is a great way to reuse your patterns. All you need to do is identify your pattern pieces, lay the tracing paper over the original pattern and then lightly trace the pattern with a pencil. You will want to mark down all the notches, dots, fold arrow symbols. You will also want to mark the pattern number and how many cuts you need to make. Copying your pattern onto a traced template is a great way to get the most out of your patterns. I love this pattern because I can make one for just about everyone in my immediate family! Since my boys are constantly growing, I can be sure to have the original pattern to make the next size up, when needed.
Sewing Pajama Bottoms – TIP #5
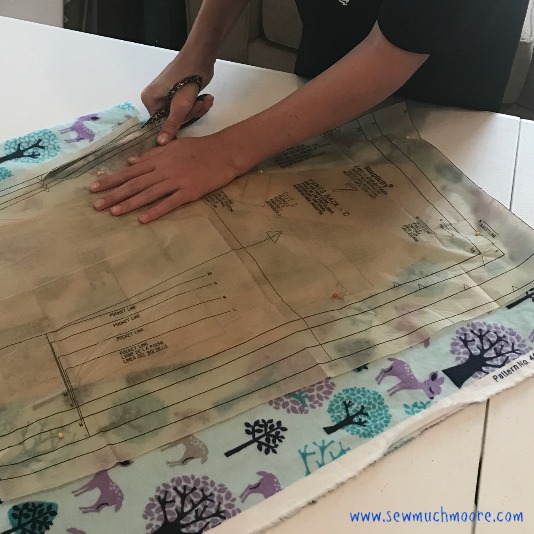
Study and review the cutting layout diagrams on your pattern instructions. I would recommend that you review the images on your pattern to see how best to layout your pattern on your fabric. The pattern will provide cutting layout instructions for both common measurements of fabric, which are 45″ and 60″. Pay close attention to how the fabric should be folded together. Should it be rights sides facing or wrong sides facing? Should the pattern be right side facing up or wrong side facing up? You will also want to make sure you have all your pieces laid out before you being cutting. This will help to ensure that you have accommodated each pattern piece while making the most of your fabric. Make sure you have a very sharp pair of scissors.
Sewing Pajama Bottoms – TIP #6
Serging your raw edges will help you get the most out of your handmade garments. Sergers use multiple spools of thread (anywhere from two to eight, depending on the manufacturer and model). While it can seem intimidating, most stitches I use frequently only require three spools of thread. And if you think about it, that’s just one more than a sewing machine! My advice is to master one or two basic things with a serger, and then move on to more complex functions. Start with a 3-thread overlock, which is probably the most basic and most used overlock stitch. Once you learn how to vary the stitch length, the knife cutting width, the thread tensions, and the differential feed on a variety of fabrics, then branch out and experiment with other stitch options available on your machine. You’ll be a pro in no time! You can check out my favorite serger right HERE.
Sewing Pajama Bottoms – TIP #7
Hemming your pants is the last step in this pattern. Hemming is easier if you have someone to help you, but this is not always the case! If you are hemming by yourself, I recommend you take the following steps:
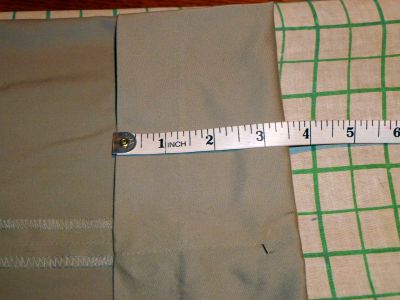
- Determine the pant length. Put on your pants inside out. Fold the excess length of the pant cuffs toward the inside of the pant leg and pin the pants to the appropriate length. Pin the pant cuffs at the proper length or mark the pants with a small mark of Tailors Chalk.
- Iron the hem. Still working with the pants inside out, iron the hems to make a crease at the correct length. Keep measuring as you position the pant legs for ironing to make sure that the length is uniform.

- Trim the pants. Be sure that you have measured properly before cutting. If you cut too much you may spoil the garment. Keep the pants inside out. Extend the pants to their full length and trim them depending on the type of hem: For a simple straight hem (e.g. jeans or pant lining), trim about one or two inches below the crease
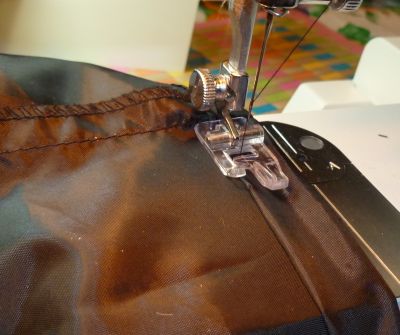
- Start sewing. Load your bobbin and top spool with the same color of thread. The thread should match as closely as possible the original thread used on the pants. Fo
 r a simple hem with straight stitching, set your machine for a small to medium straight stitch. Fold the hem so that the cut edge is folded in toward the crease. Begin stitching 1/8 inch from the top of the hem and go all the way round.
 r a simple hem with straight stitching, set your machine for a small to medium straight stitch. Fold the hem so that the cut edge is folded in toward the crease. Begin stitching 1/8 inch from the top of the hem and go all the way round.
Once you get your hemming done, then turn your pants right side out and try them on. Voila! Yay!
Give this pattern a try and let me know what you think! Do you have favorite pajama bottoms pattern that you use? I would love to know!
Happy Sewing!