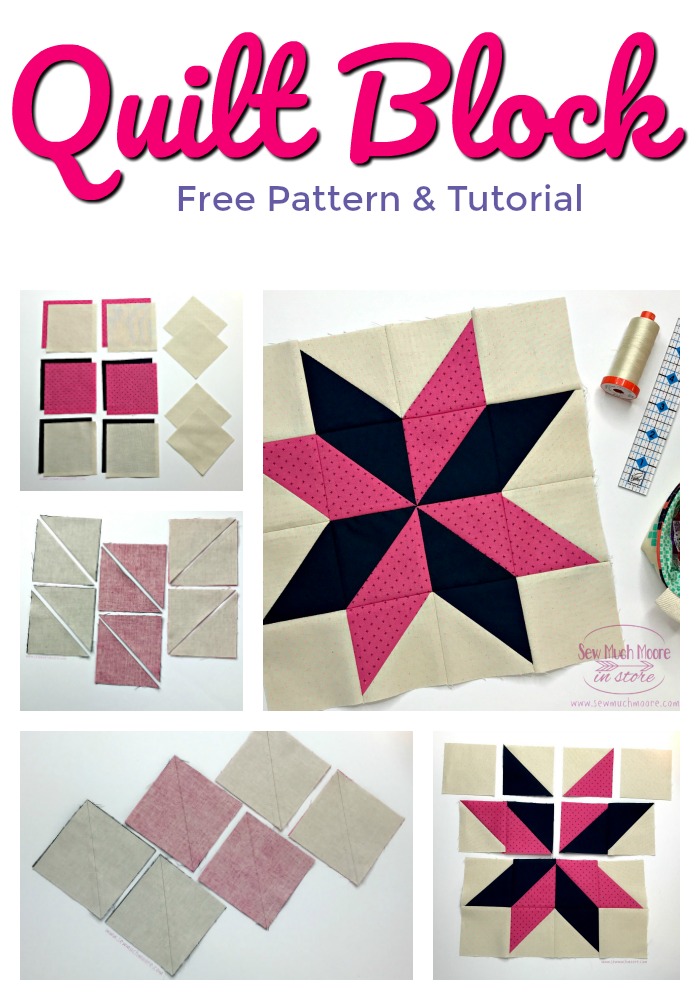
Sarah’s Choice Quilt Block
Sarah’s Choice Quilt Block is a wonderful star quilt block. Sarah’s Choice incorporates a lovely pinwheel in the center and can be made in a number of combinations. Using squares and half square triangles, this fun and easy block comes together in a breeze! In this picture tutorial, I will show you how to put together this fun and easy quilt block. Grab your pattern and let’s get started with Sarah’s Choice Quilt Block Tutorial!
This post contains affiliate links for your convenience. ? Read my full disclosure policy here.
Sarah’s choice Quilt Block Supply List
- Quilt Block Pattern (fill out the form below)
- Qty (2) Fat Eighths of Contrasting Fabrics (I used Add It Up and Robert Kauffman Kona)
- Qty (1) Fat Eighth of Background Fabric (I used Add It Up)
Basic Sewing Supplies Needed
- Sewing Machine (I use this machine for piecing)
- Cotton Thread (this is what I use)
- Rotary Cutter with sharp blade (I use this brand – 45mm)
- Frixion Marking Pen
- Acrylic Ruler & Cutting Mat (I like this brand)
- Iron & Ironing Board (this brand is my favorite)
Sarah’s Choice quilt block tutorial
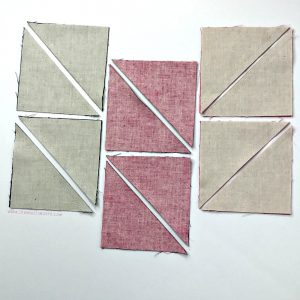
Iron your fabrics nice and flat to remove any and all wrinkles. Sometimes, I like to spray my fabrics with my favorite spray starch to make it easier to manage. Use your cutting measurements to get your pieces all cut and in order.
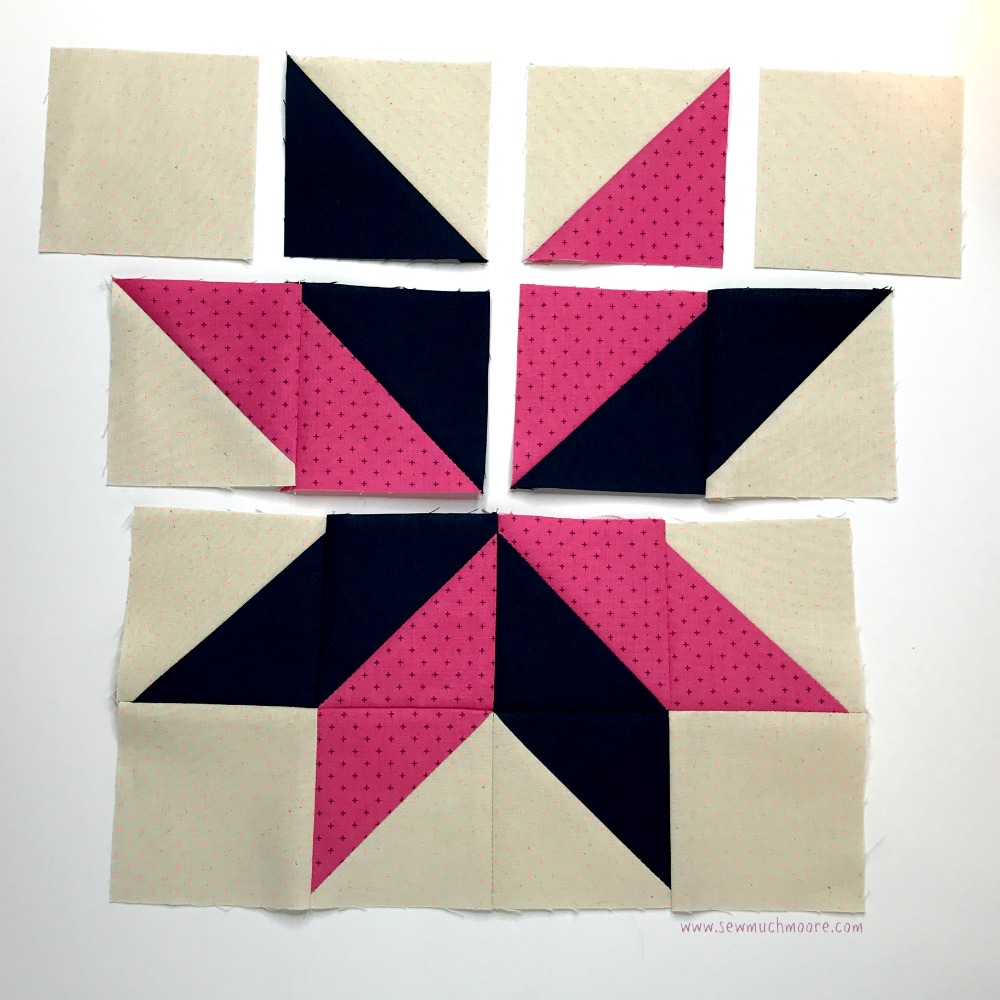
Using the cutting measurements in your pattern, cut out your background and contrasting fabrics. Set your (4) smaller background fabric squares (corners) aside.
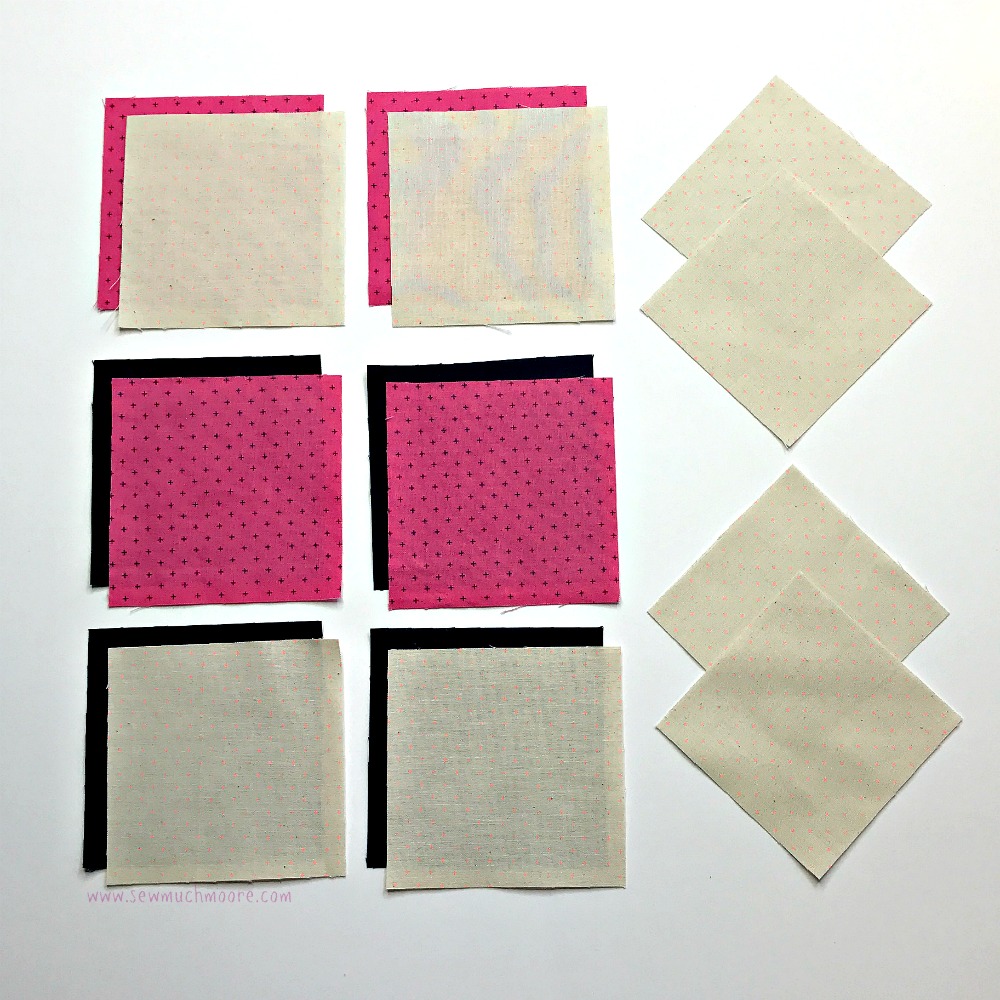
With a marking pen, draw a diagonal line on the wrong side of each larger square piece. With right sides together, place the following fabric pieces together:
- (2) Background Fabric with (2) Contrasting Fabric 1
- (2) Background Fabric with (2) Contrasting Fabric 2
- (2) Contrasting Fabric 1 with (2) Contrasting Fabric 2
Using a 1/4″ seam allowance, sew 1/4″ on each side of the marked line of each square set.
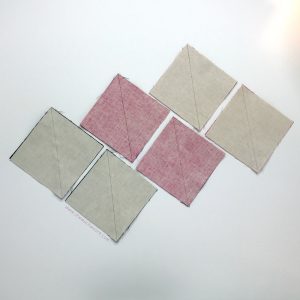
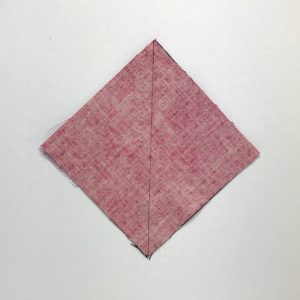
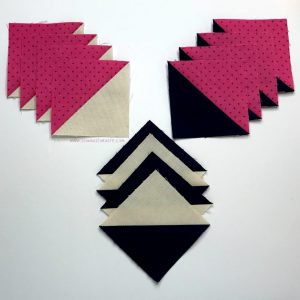
Cut each sewn set along the marked lines. Press each set open and square these blocks to the measurements indicated on your pattern.
Gather your Background squares (corners) and your sewn half square triangle sets. Line up your pieces, as indicated in the image below. Sew these pieces together, row by row, using a 1/4″ seam allowance. Press each row seams opposite of the last row. This will help you match your points.
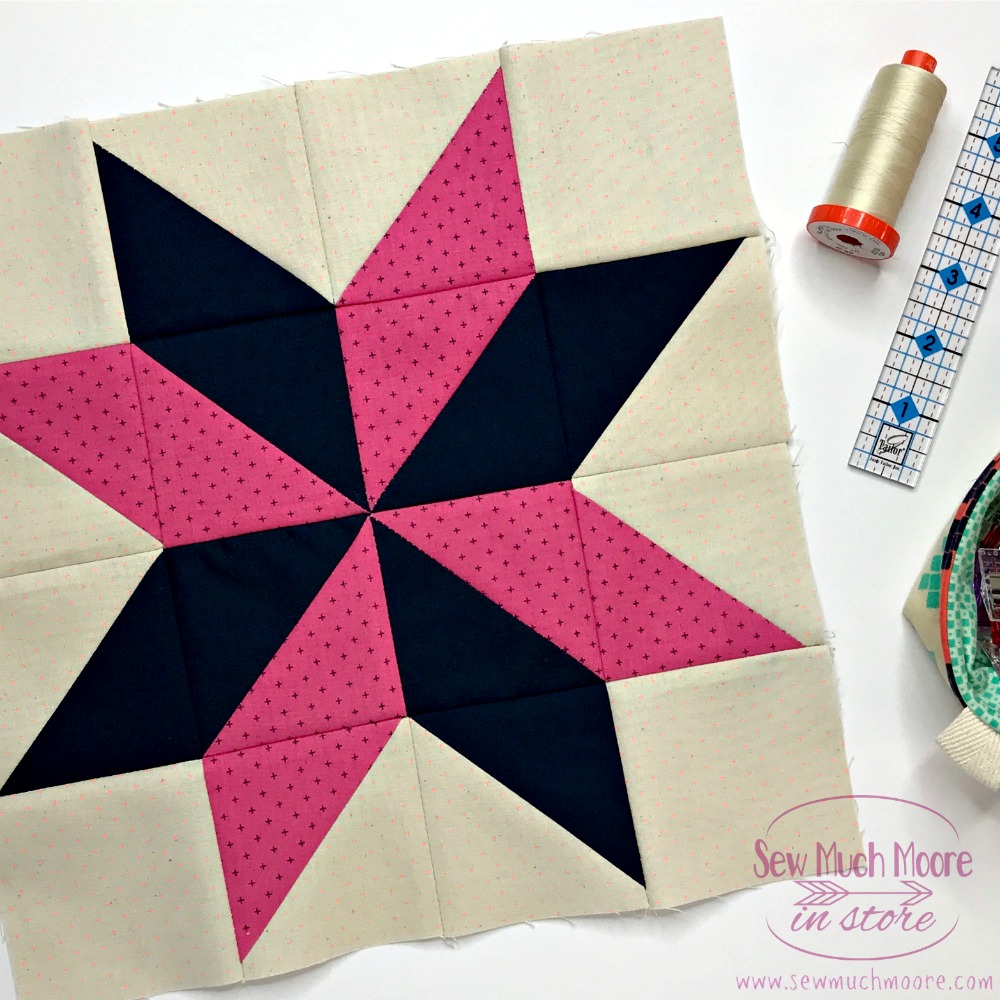
Simple and Beautiful! Once you have your block assembled, you can square this up to 12.5″.
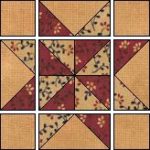
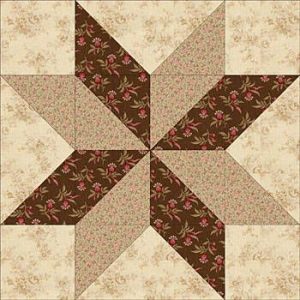
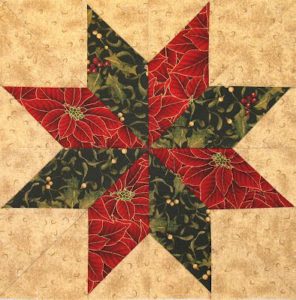
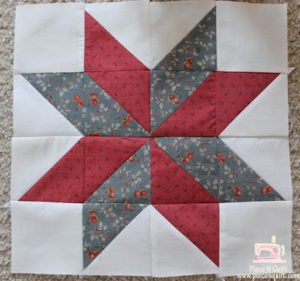
The fabric combination possibilities are truly amazing! Check out these fun Sarah’s choice quilt blocks that I have pinned on my Pinterest Board:
 |  |
 |  |
Be sure to show your completed Quilt Block in my FaceBook Group!
We would love to see your work!
ps – If you can tell me the origin of this quilt block – I would soooooo appreciate it! I could not find this in my research and love to know the history of quilt blocks! Comment below!
Happy Quilting!

Call me crazy but, I love half square triangles! The Sarah’s Choice block is such a fun block. You can use color play to make blocks look very different. I am going to add this to my current BOM as an extra block to make it a larger size quilt. Thank you for sharing!
Are the star quilt blocks two inch blocks
These are 12″ finished blocks
Do you have the measurements to make this in a
6 1/2” block? Thanks
Hello Renee, I did a quick google search and found that answer in a different blog. My post provides instructions for a 12″ finished block. Happy Quilting!
I love star blocks. Thank you.
Glad you are enjoying it! Happy Stitching!
i love this pattern and the colors you used.