Float A Quilt Top
I love to float a quilt top on my frame. There are several ways to load your quilt onto your quilting frame. My favorite way to load a quilt on a frame is to float a quilt top. I have found this method to be quick and easy. Make sure to watch the video at the end of this article as well!
Start with your Backing
First we will start with our backing. For this Quilt, I am using only solid fabrics from PaintBrush Studio. This line of fabric is called painters palette at and it is my favorite solid fabric because of the quality, color consistency and the high thread count.
I highly recommend you try this brand of solid fabrics. The color I’m using is called Honey and it’s really going to complement the front of the Quilt.
About my Quilting System
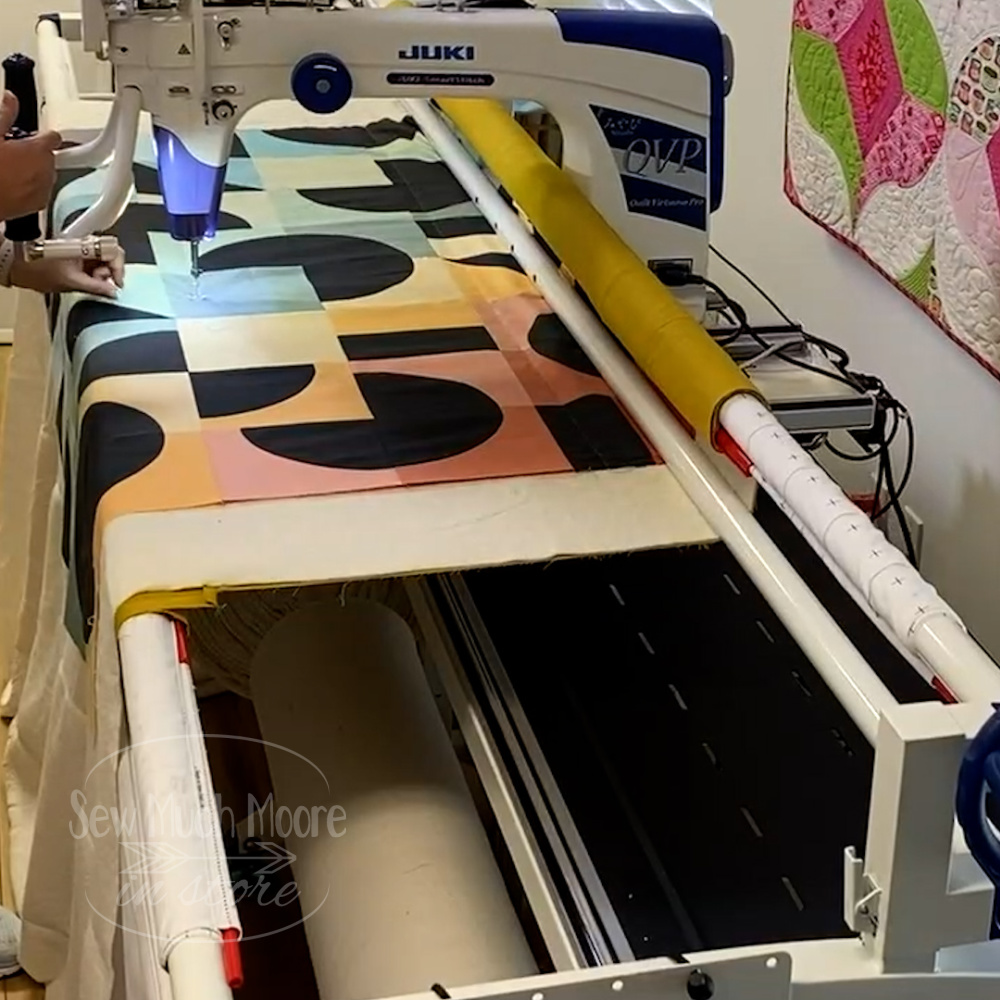
My quilting frame is Juki J350 Miyabi QVP. I can create beautiful stitches on my quilt with plenty of space. I have 18 inches of horizontal throat space between the arm of the machine and the needle and 10-inch height, unlike most long arm quilting machines, which only provide an 8-inch height or less.
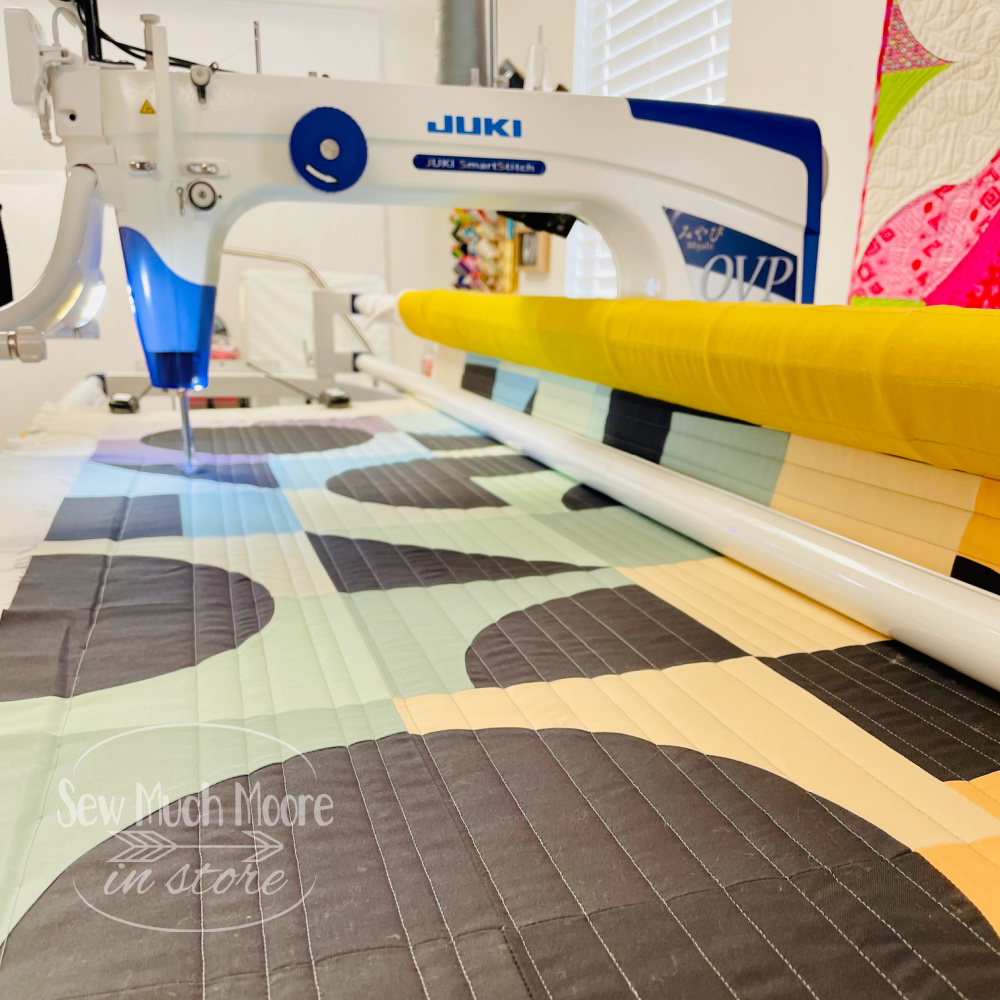
All these amazing capabilities come mounted on a deluxe quilting frame of up to 12 feet. I have a 10 foot quilting frame, which fits perfectly in my home sewing studio. There are two (5 foot) rails that create this frame, so the center line is easy to find. I also have markings on my leaders which I intentionally aligned with my center marking of the top rail.
Loading the Backing
In a previous video, I shared how I use the red snapper system to load my quilt. This system is quick and easy and that is what I’m using here. I snap the top, center, of my backing onto the top rail. I pull the rest of my quilt through so that it goes underneath the dead bar.
The first thing we’re going to do is locate the center of the top of the backing. I’m just folding the backing in half to identify the center and then marking it with a sewing pin. Next, I am locating the center of my quilt frame. Using the turning wheel on the frame, I advance my quilt so that the bottom of my backing is easily accessible to my backing rail. Again, locate the center of my backing, this time, on the bottom. I repeat the same process by aligning and snapping the bottom of the backing to the backing rail. Once I get the top of the backing and the bottom of the backing attached to the rails, I move the backing back to its starting position.
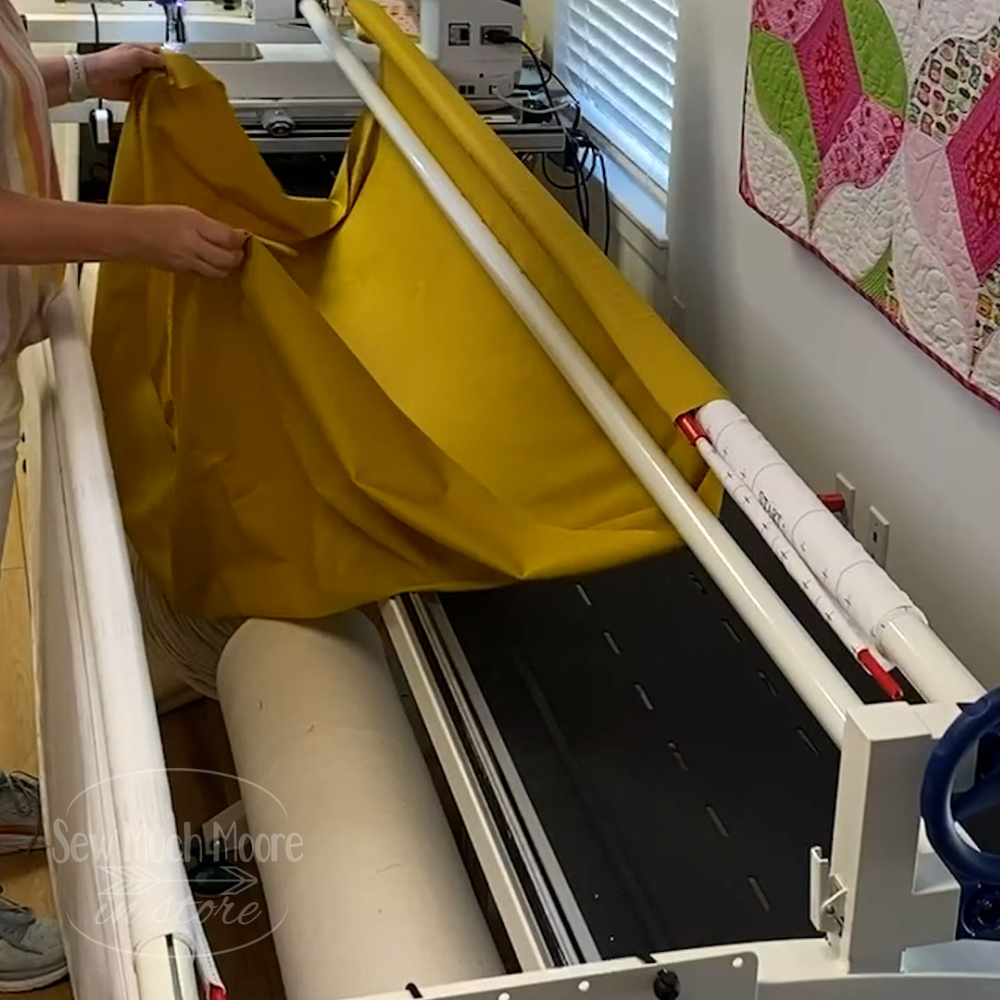
Float your Batting
Now it’s time to load the batting. This particular batting is called Elegant Blend, by Stitch N Time. Stitch in Time Elegant Blend 80/20 (which is 80% cotton and 20% Polyester) is a premium blend batting designed by quilters for quilters. This batting is needle-punched into a very fine scrim providing a stable and tug-gable batting for frame quilting but still wonderful for hand or domestic quilting. I used the twin sized package, which is the perfect width for this quilt.
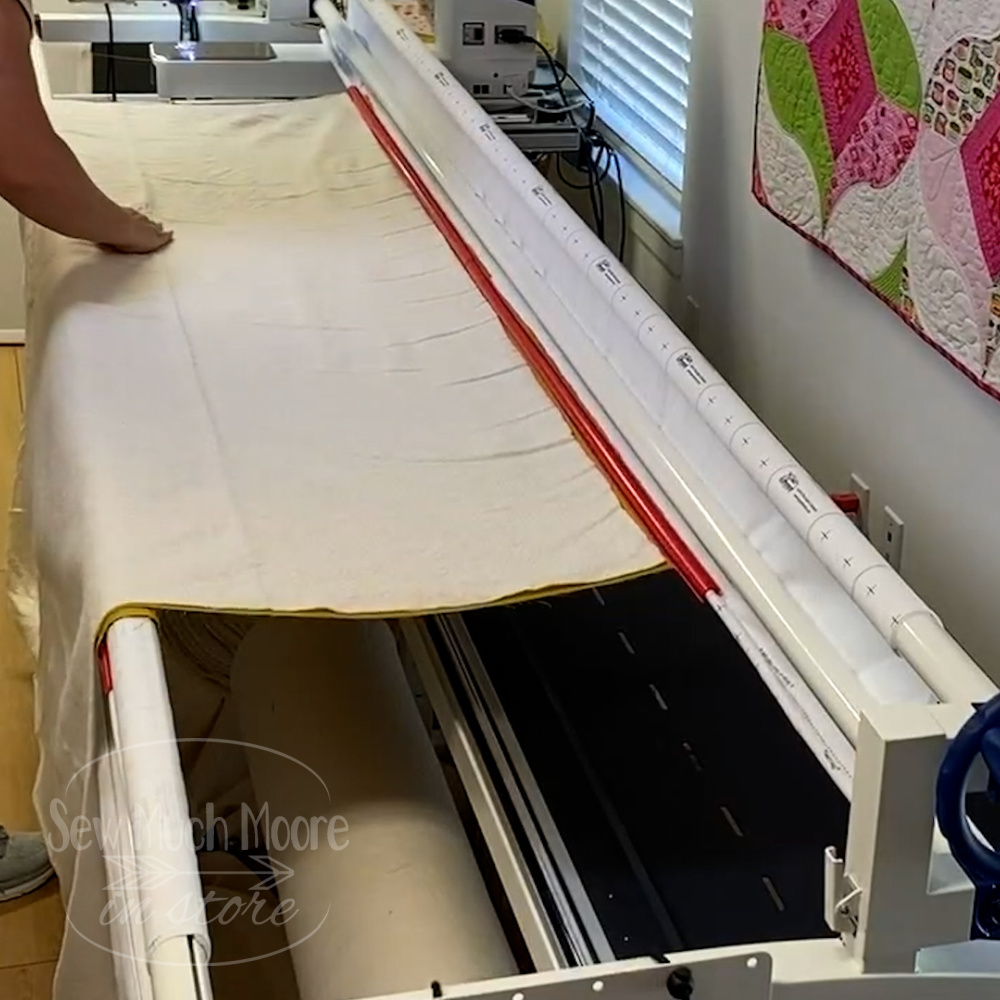
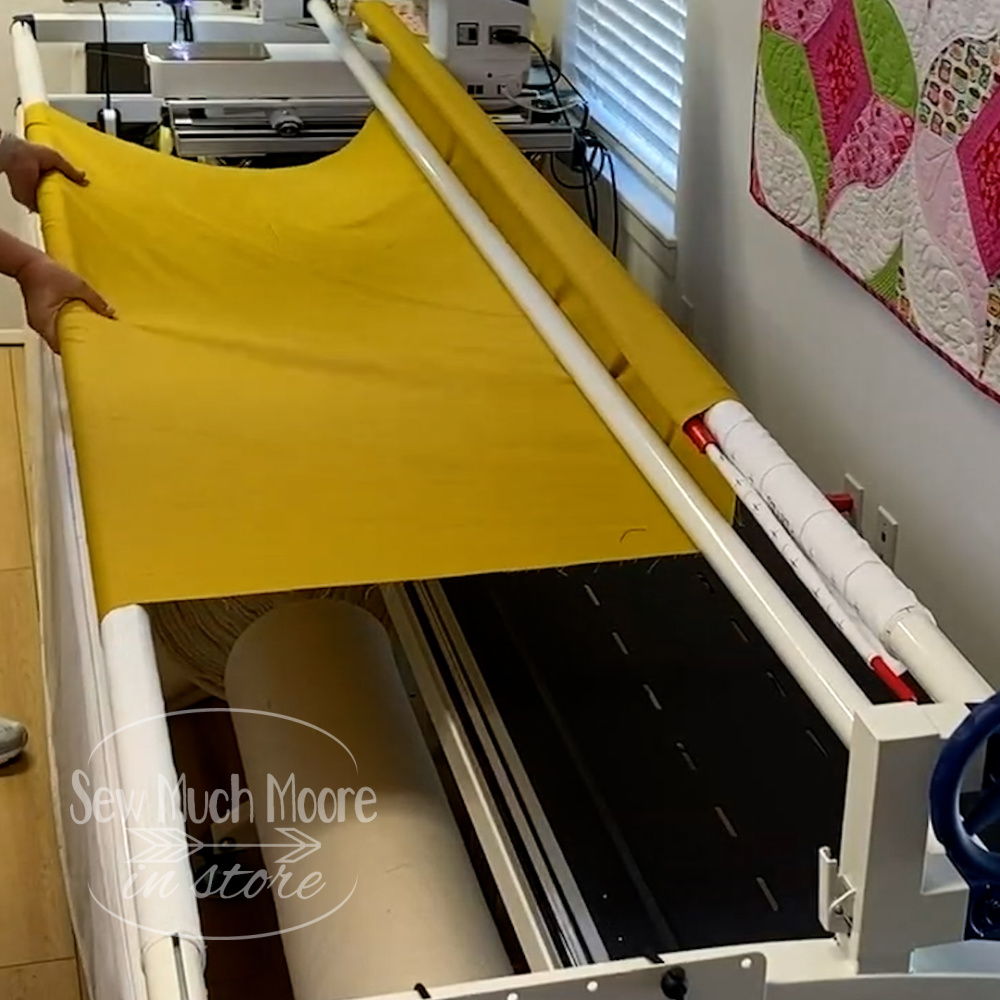
I’m just aligning the top of my batting against the top of my backing. I’ll let the remainder of the batting float over the edge of the rails. There are rails at the bottom of my frame that I could attach this batting to, but I like to float my quilts so I just let it drape over the edge. I’m using my side clamps to attach each side of my quilt. This helps to create an even quilting surface. These can easily adjusted to fit your quilt.
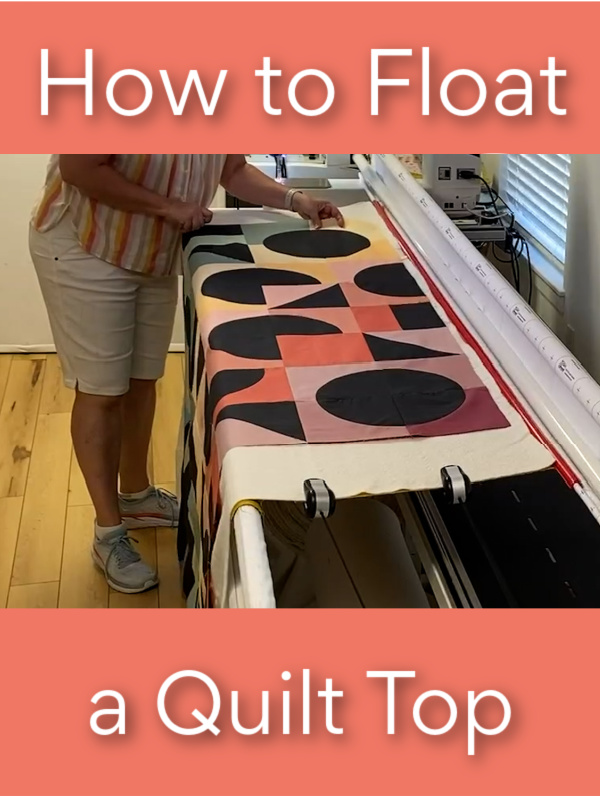
Float a Quilt Top
I’m also going to float my quilt top. This is just a personal preference. Many people like to attach the bottom of the top to the rail system, but I just like to float my tops. The quilt that I am loading is the Turntables Quilt. I have this pattern available in both paper or PDF format!

Once I align my batting and my quilt top, I’m going to do some large basting stitches with my long arm.
Baste Your Quilt
My Juki J-350 QVP has a basting function which helps me make sure that my Quilt stays put during the entire Quilting process. I’m simply basting and advancing the quilt until I get to the end. Each time I advance my Quilt, I make sure that the Quilting surface is taunt, but not super tight. It’s a delicate balance that you’ll learn over time. With each quilt advancement, I am applying another row of basting stitches.
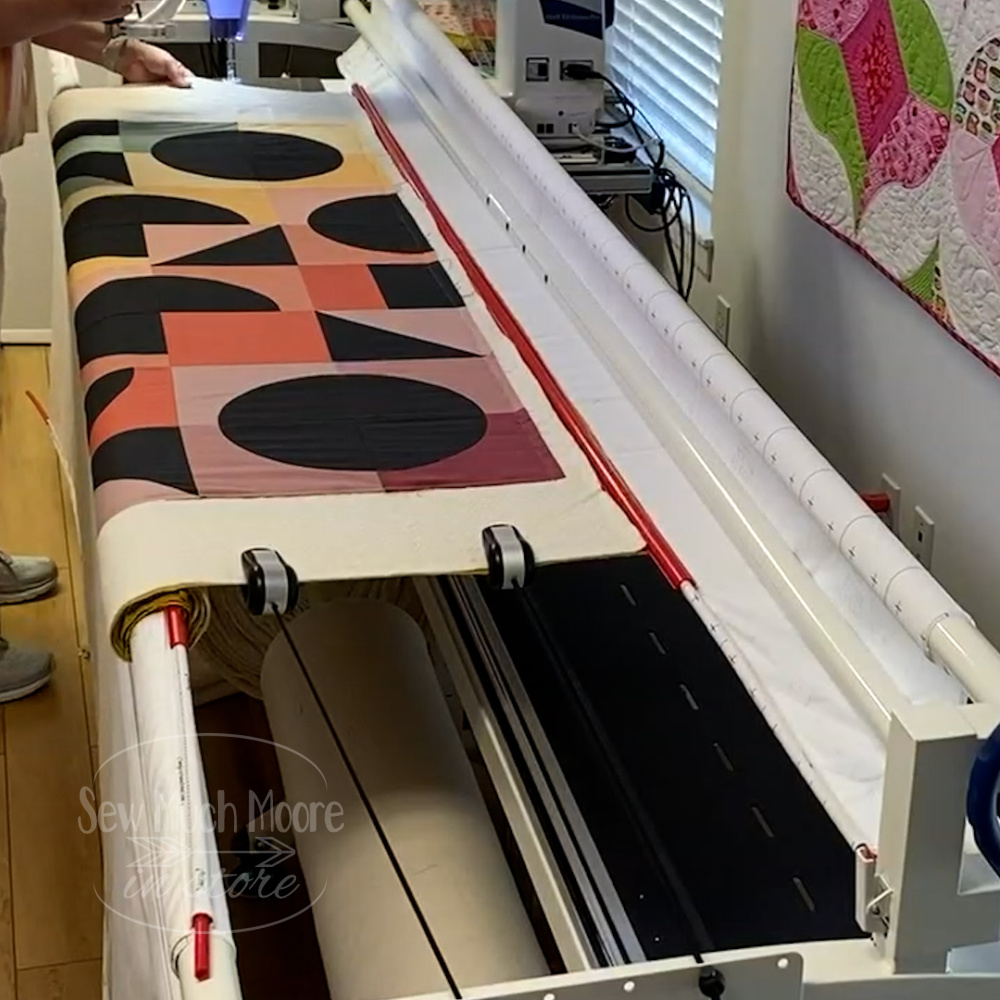
My Juki J-350 QVP lets me choose how large I want my basting stitches to be. I usually choose the largest stitch, since these will eventually be taken out either as I am quilting or after I am done quilting. It’s helpful to use a contrasting thread for basting. This makes it really easy to identify what needs to be removed. I like to trim off the excess batting. I don’t trim it too close to the edge of the quilt because you might need a little extra room when you finally get to the end of the quilt. I just don’t want all of the excess rolled up on my rail, so I just trim it off.
Ready for Quilting
Once I have the quilt basted then I will move the quilt back to the starting point and prepare my machine for the edge to edge design I have chosen.
I also have the quilting automation package on my my machine. This package is called Quilters Creative Touch 5 or QCT5. Look for more articles and lessons on this quilting automation.
WATCH THE VIDEO
I would love to hear from you about how you load your quilts! Do you like to float your tops?
Be sure to share your makes in my Community Group and don’t forget to join my Newsletter, where I share all the best tips, techniques, specials and events!
Happy Stitching!
